Last updated on
Discover practical steps to transform your kitchen cabinets with paint, increasing their aesthetic appeal and value.
Key takeaways:
- Painting kitchen cabinets is cost effective compared to replacing them.
- There are a variety of styles to choose from with endless color options.
- Painting cabinets can increase the home’s value and is environmentally friendly.
- Essential tools for painting kitchen cabinets include high-quality brushes, rollers, painter’s tape, sandpaper, wood filler, primer, and tack cloths.
- When selecting the right paint, consider oil-based paints for durability, water-based paints for easier cleanup, and cabinet enamel for a durable finish.
What's Inside
Why Kitchen Cabinet Painting Is Worth Considering
Revamping your kitchen doesn’t always require a full remodel. Painting your cabinets can breathe new life into the space with far less expense. Here’s why:
1. Cost Effective: Replacing cabinets is costly. Painting them is a fraction of the price. It’s a budget-friendly facelift.
2. Variety of Styles: With endless color options, you can tailor the look to your personal taste. A sleek white, a bold blue, or a soft gray can completely transform the mood of your kitchen.
3. Increased Home Value: A fresh, modern appearance can boost your home’s value. Think of it as an investment in your property’s appeal.
4. Sustainability: By painting rather than replacing, you’re practicing sustainability. Reusing your cabinets is environmentally friendly, reducing waste and the demand for new materials.
5. Quick Refresh: Unlike a full kitchen remodel, painting cabinets can be completed in a significantly shorter timeframe. This means less disruption to your daily life and a faster route to enjoying your new kitchen atmosphere.
Essential Tools and Materials for Painting Kitchen Cabinets
Starting with the basics, high-quality brushes and rollers are imperative for a smooth finish. Foam rollers can be particularly useful for flat surfaces to avoid brush marks. For intricate areas, an angled brush works wonders, allowing precision and control.
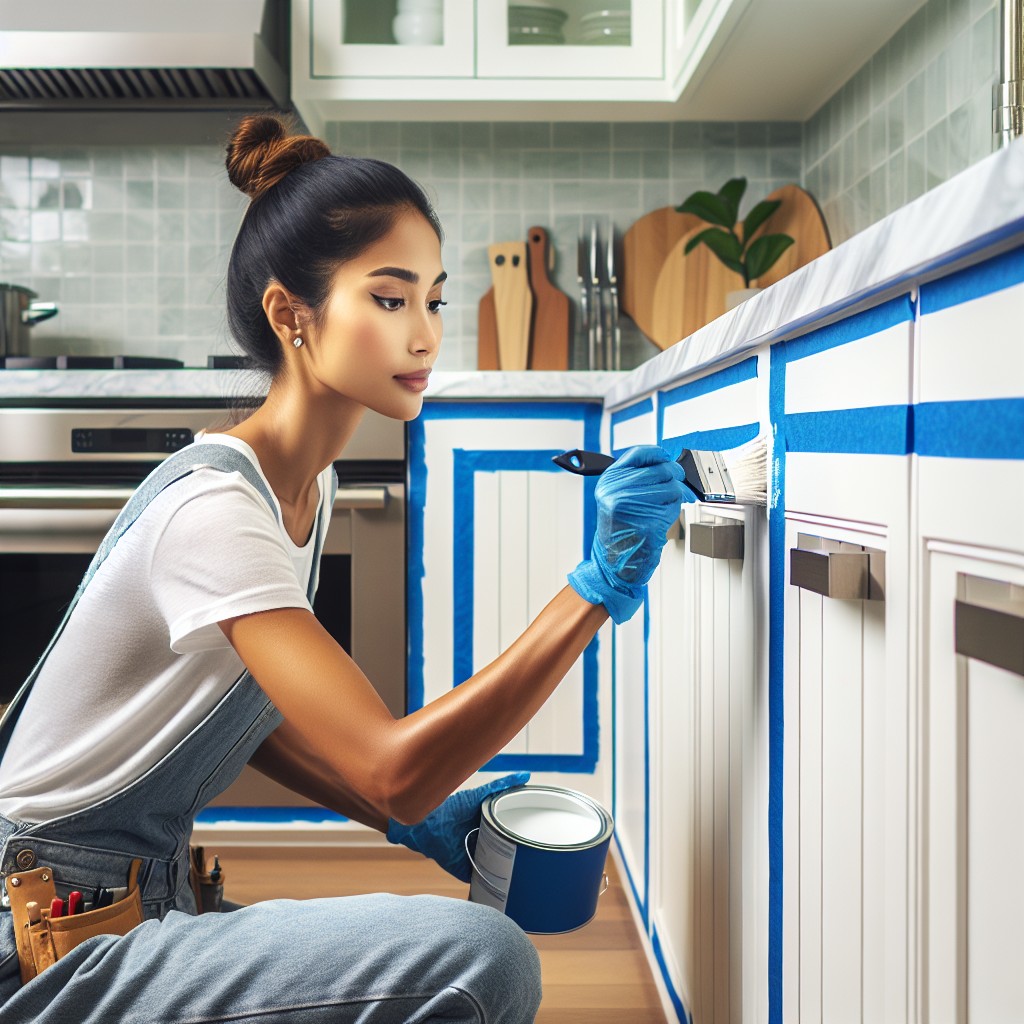
Don’t underestimate the value of good painter’s tape to achieve sharp lines around hinges and hardware. Removing doors and drawers is a task made easier with a simple screwdriver or drill – this avoids painting over hardware or hinges, which can lead to a less professional finish.
No matter the surface, preparation is key, so include sandpaper in your toolkit. A fine grit is optimal to rough up glossy surfaces without causing damage, ensuring the new paint adheres well. Alongside this, a reliable wood filler can fix nicks or scratches, presenting an even canvas for painting.
Before a drop of paint is applied, a high-quality primer sets the foundation for durability and color vibrancy. Finally, tack cloths or a damp rag are essentials for wiping away any dust or particles after sanding, ensuring a spotless starting point for your painting endeavor.
Selecting the Right Paint for Kitchen Cabinets
Navigating the myriad options in the paint aisle can be daunting, but the longevity and appearance of your cabinets hinge on making the right choice.
First, consider oil-based paints. They’re revered for their durability and smooth finish, making them a reliable option for high-traffic kitchen environments. However, they come with a longer drying time and a more laborious cleanup process involving mineral spirits.
If looking for a more user-friendly option, water-based paints (also known as latex paints), provide easier clean-up and faster drying times. They have significantly improved over the years in terms of durability and finish, and they’re less noxious, which is a boon for indoor air quality.
For those cupboards that see a lot of use, a paint labeled “cabinet enamel” can be a game-changer. This specialty paint melds the easy clean-up of a water-based paint with the hardy finish of an oil-based option. It resists chipping and retains a pristine look.
Don’t forget about sheen. Glossy finishes, while showy, showcase imperfections and are typically used sparingly. Semi-gloss or satin finishes tend to hit the sweet spot for kitchens: durable, easy to clean, and forgiving on cabinet surfaces that may not be perfectly smooth.
Lastly, picking a color isn’t just about matching décor; it’s strategic. Lighter colors can open up a space, while darker tones create a stately feel but show more dirt and finger smudges. Opting for a classic color can also enhance your kitchen’s appeal if you’re considering future resale.
In short, selecting the proper paint intertwines practicality with aesthetics, ensuring your kitchen’s heart remains both functional and stylish for years to come.
The Process of Painting Kitchen Cabinets
Embarking on the actual painting job involves a series of steps to ensure a smooth, long-lasting finish. Here is how you can navigate through the process:
1. Preparation
Clear cabinets of all items, and label doors and hardware to guarantee easy reassembly.
2. Cleaning
Thoroughly clean surfaces with a degreasing agent to remove grime and oils that would otherwise undermine paint adhesion.
3. Sanding
Sand the surfaces lightly to scuff the existing finish, providing a ‘grip’ for the new paint.
4. Priming
Apply a high-quality primer to ensure a uniform paint application, especially if transitioning from a dark to light color or vice versa.
5. Painting
Use a brush or roller designed for smooth surfaces. For best results, apply multiple thin coats, allowing appropriate drying time between each.
6. Drying
Allow the cabinets to dry thoroughly. Patience here prevents smudges and fingerprints, creating a professional appearance.
7. Reassembly
Once completely dry, reattach hardware and hang the doors, ensuring each piece returns to its original place.
Cost Analysis: Professional Painting Vs. DIY Approach
Navigating the financial aspect of kitchen cabinet painting is a crucial step in the decision-making process. Professional painting services typically charge by the hour or per cabinet door, with rates hinging on the level of expertise and geographical location. On average, you might expect to pay between $50 to $100 per door.
On the flip side, tackling the project yourself carries the allure of potentially substantial savings. You’d need to budget for paint, primer, brushes, and other supplies. Depending on the quality of materials you select, this could run anywhere from $200 to $600 for an average-sized kitchen.
However, it’s important to weigh the hidden costs of DIY. Time investment is significant – from initial sanding to the final coat, each step demands careful attention. There’s also the cost of potential mistakes; a slip of the hand or incorrect technique could mean additional expense in corrections or even professional intervention.
Professionals also bring value in efficiency and quality. Their expertise often translates to a more durable finish and uniform appearance, which can be tricky for DIY painters to achieve. Moreover, professional work often comes with a warranty or guarantee, granting peace of mind that might be worth the extra cost for some homeowners.
Read More
 How to Choose Kitchen Cabinets: Your Ultimate Buying Guide
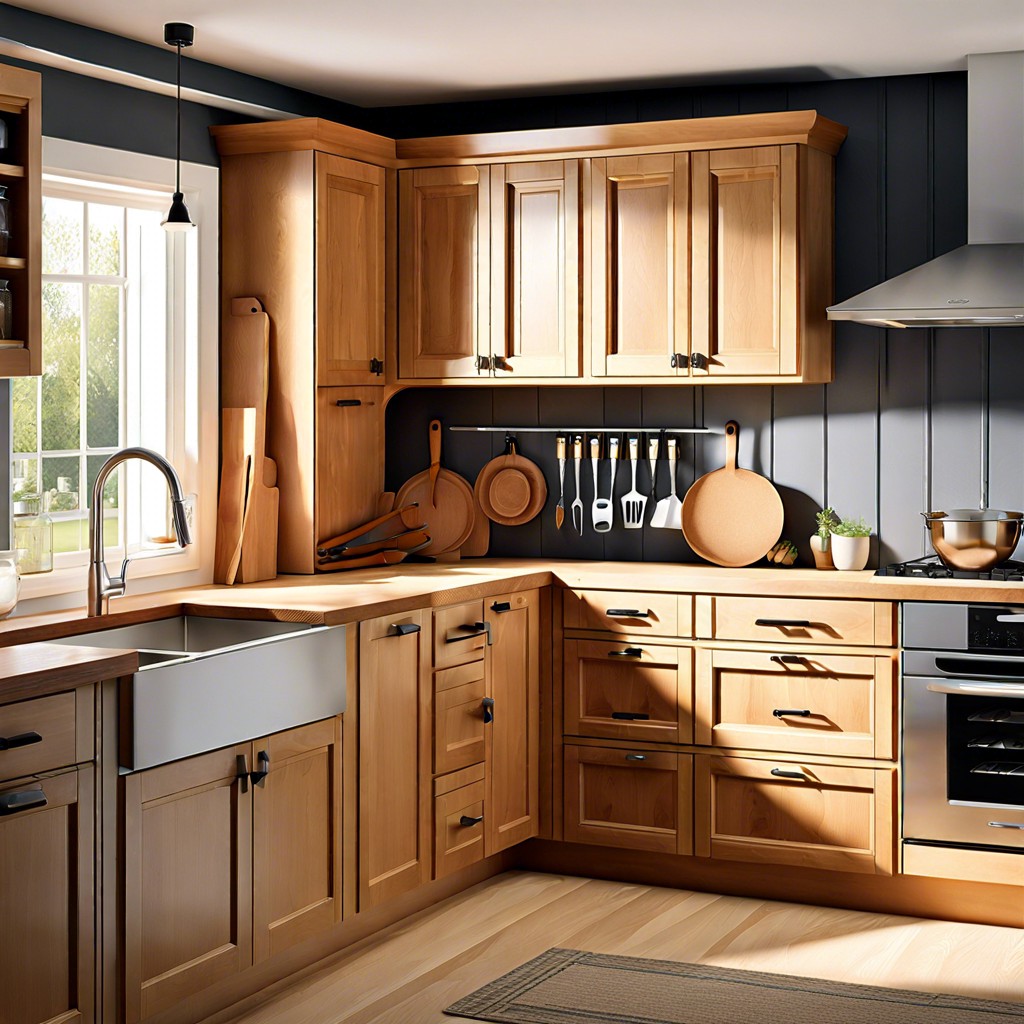 Staining Cabinets: A Step-by-Step Guide to a Fresh Look
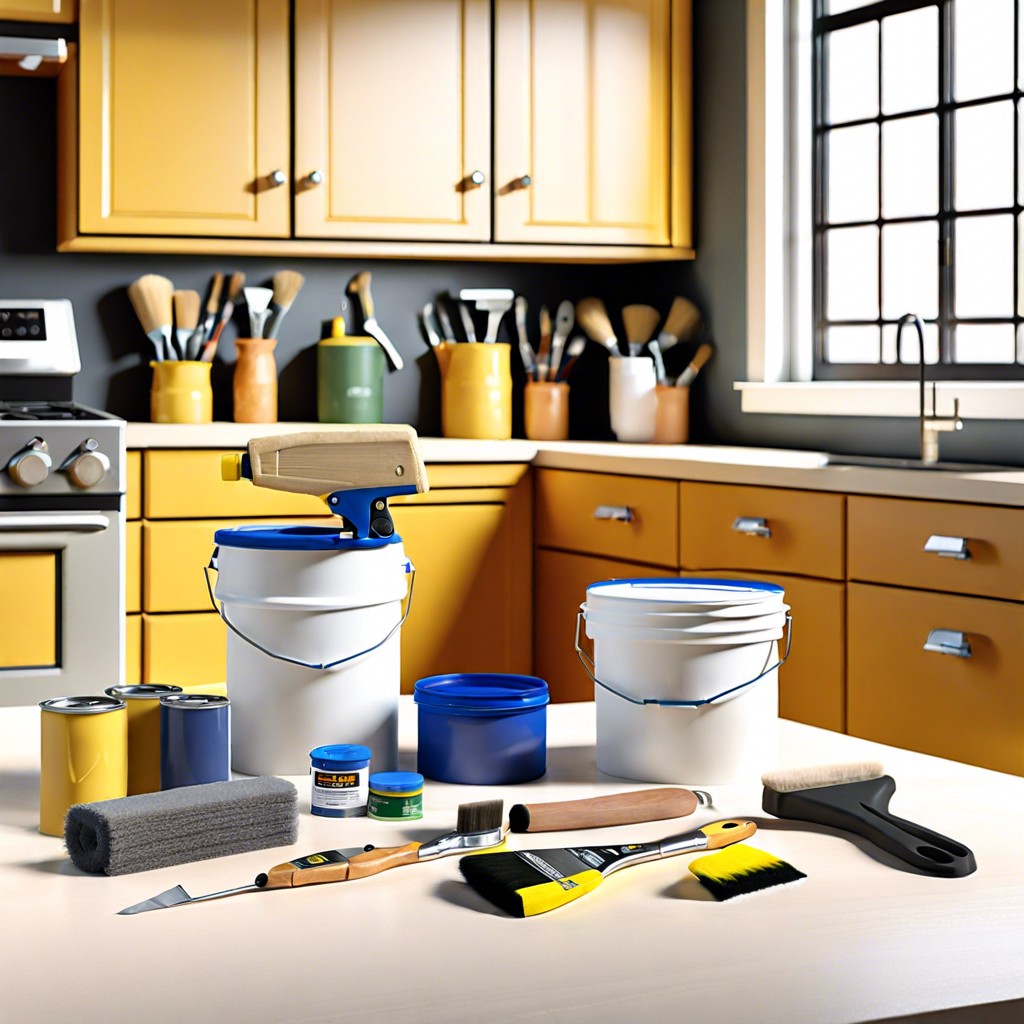 How Long Does It Take to Paint Kitchen Cabinets: A Time-Saving Guide
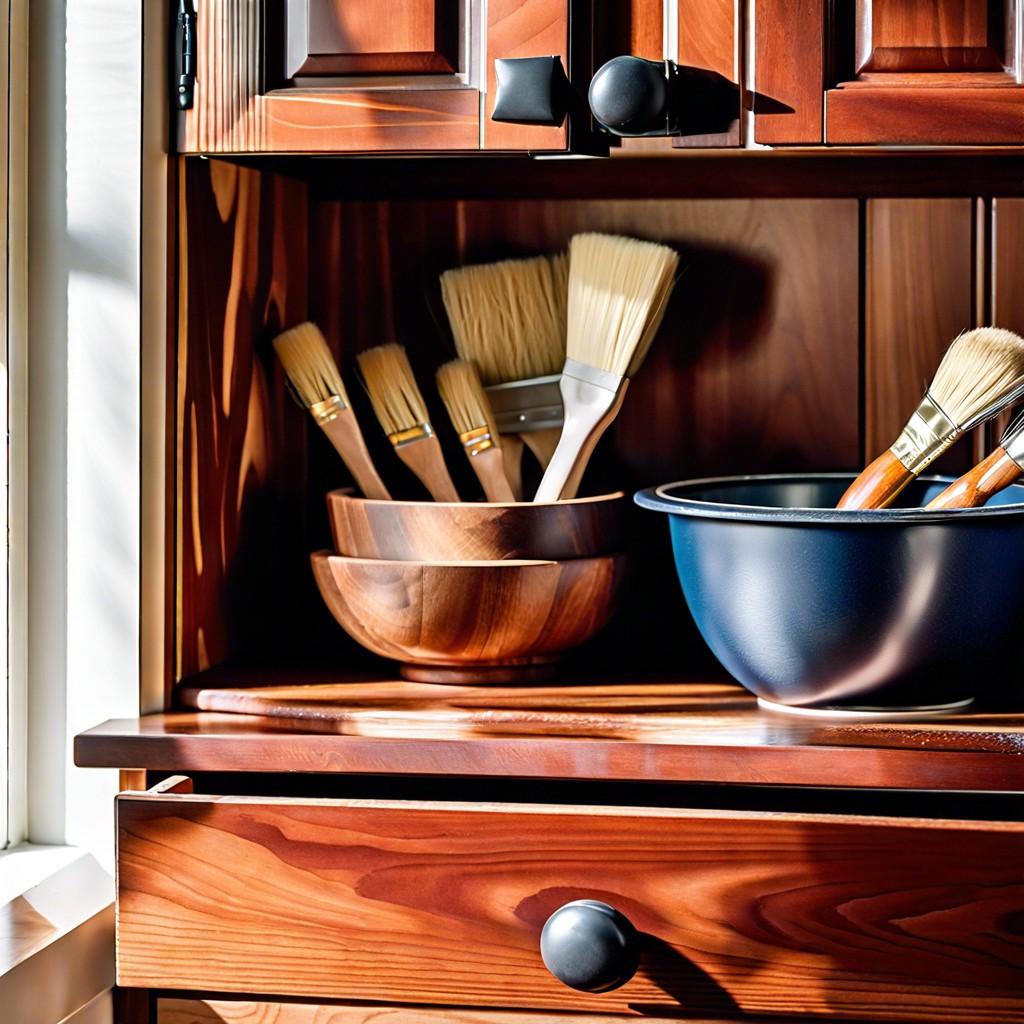 Cost to Refinish Cabinets: A Cheaper Revival
 How to Install Upper Cabinets: Tips for a Perfect Kitchen Makeover