Last updated on
Discover the ideal number of can lights to brighten up your kitchen and create a welcoming ambiance for cooking and socializing.
Are you planning to renovate your kitchen and wondering how many can lights you need? Well, the answer is not as simple as it may seem. The number of can lights required in a kitchen depends on various factors such as the size of the room, ceiling height, layout, and personal preferences.
But don’t worry! In this article, we’ll guide you through all the essential aspects to consider when choosing how many can lights in a kitchen. So let’s get started!
What's Inside
Determining the Ideal Number of Can Lights
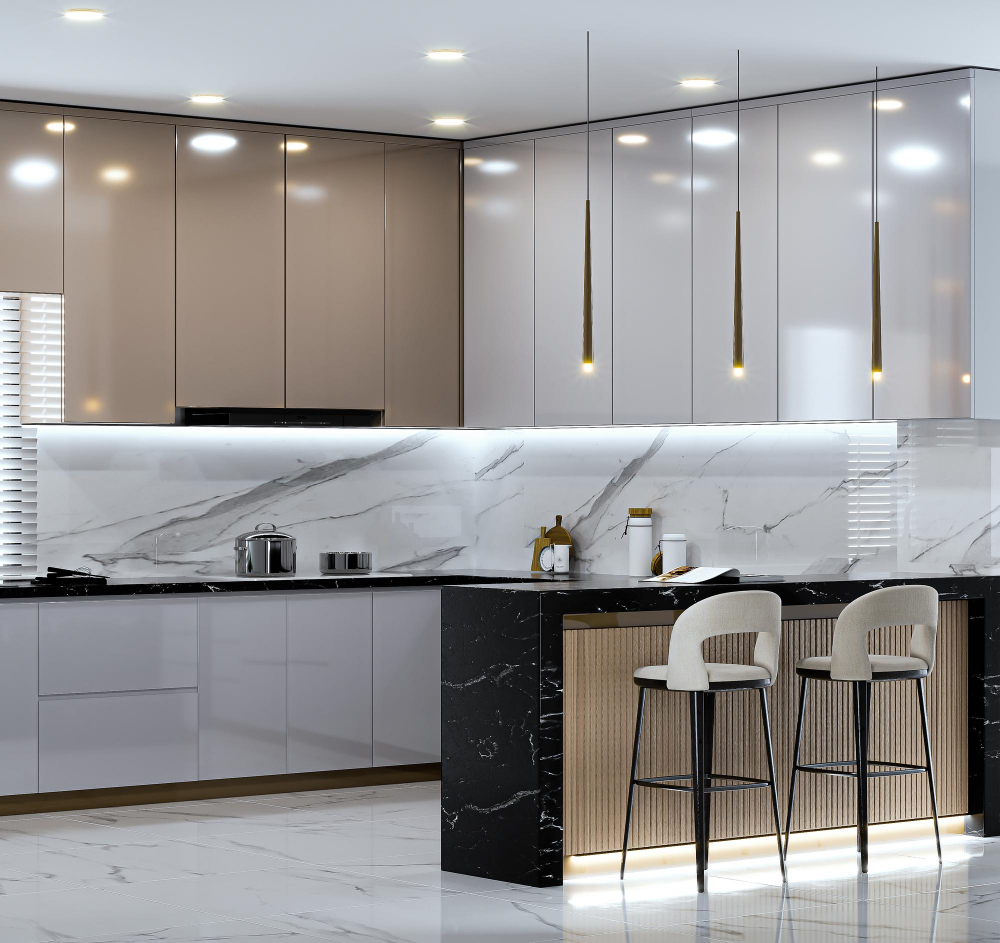
When it comes to determining the ideal number of can lights for your kitchen, there are a few factors you need to consider. The first thing you should think about is the size of your kitchen.
A larger space will require more lighting than a smaller one.
Another important factor is ceiling height. If your ceilings are higher than average, you may need more can lights to ensure adequate illumination throughout the room.
The layout of your kitchen also plays an essential role in determining how many can lights you’ll need. For example, if there’s an island or other central feature that requires additional lighting, this will impact how many fixtures are necessary.
Personal preferences come into play when deciding on the number of can lights in a kitchen. Some people prefer brighter spaces while others like softer ambient light for cooking and entertaining guests.
Can Light Placement Guidelines
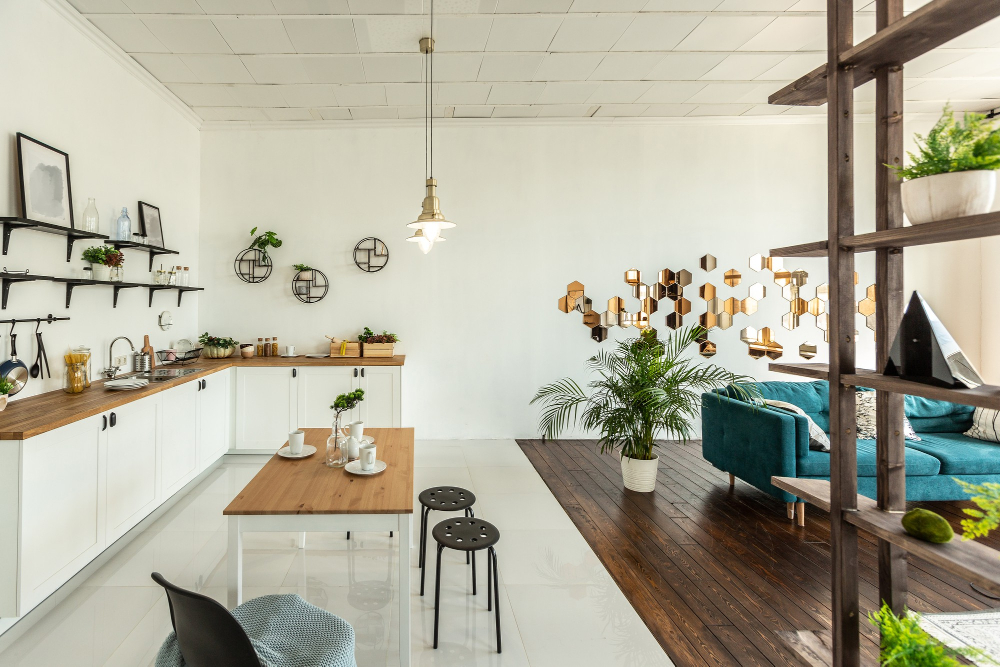
Proper placement is crucial as it affects the overall lighting quality and functionality of your space. Here are some general guidelines that can help you with can light placement in a kitchen:
1. Start by identifying key areas: Begin by determining which areas in your kitchen require more illumination than others, such as countertops, cooking surfaces or dining tables.
2. Consider ceiling height: The height of your ceiling will also impact how far apart each light should be placed from one another.
3. Avoid shadows: Make sure that there are no dark spots or shadows created when placing lights above cabinets or other fixtures.
4. Use symmetry: For an aesthetically pleasing look, consider using symmetrical patterns when placing multiple lights throughout the room.
5. Don’t overdo it: While having too few lights may leave certain parts of the room dimly lit; having too many could create a harsh and uninviting atmosphere.
Various Types of Can Lights
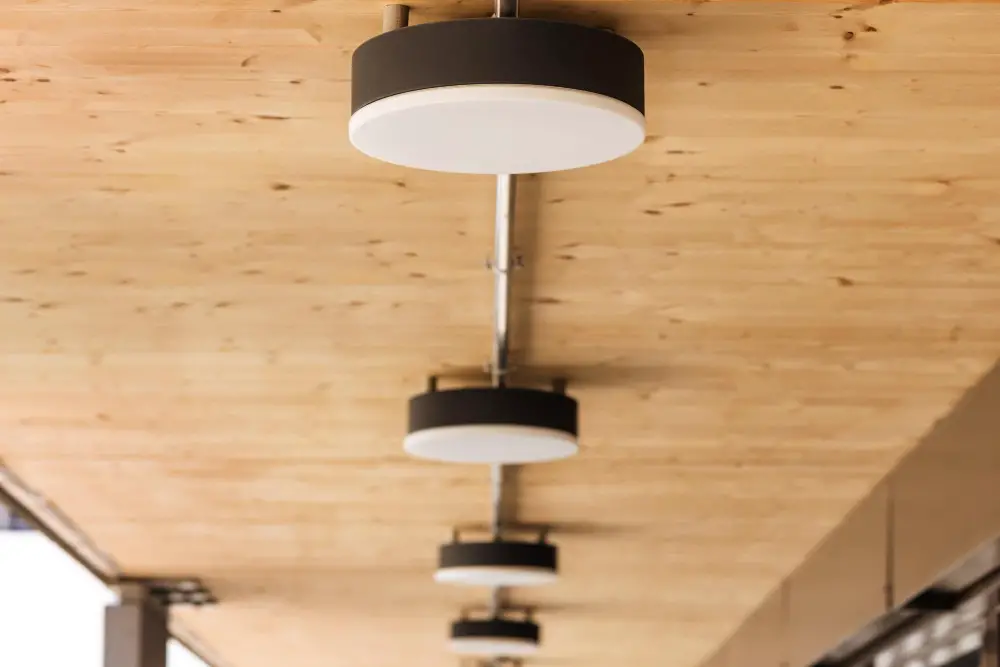
The most common types are the traditional recessed can light, surface-mounted can light, and adjustable gimbal trim. Recessed can lights are installed into the ceiling to create a seamless look while providing ample illumination.
Surface-mounted cans sit on top of the ceiling and offer more flexibility in terms of placement options.
Adjustable gimbal trims allow you to direct light where it’s needed most by pivoting or rotating them as desired. Other popular options include shower trims for damp locations such as above showers or bathtubs, wall washers that provide even lighting across walls or artwork displays, and eyeball trims that allow you to adjust both directionality and angle.
Spacing Recommendations for Can Lights
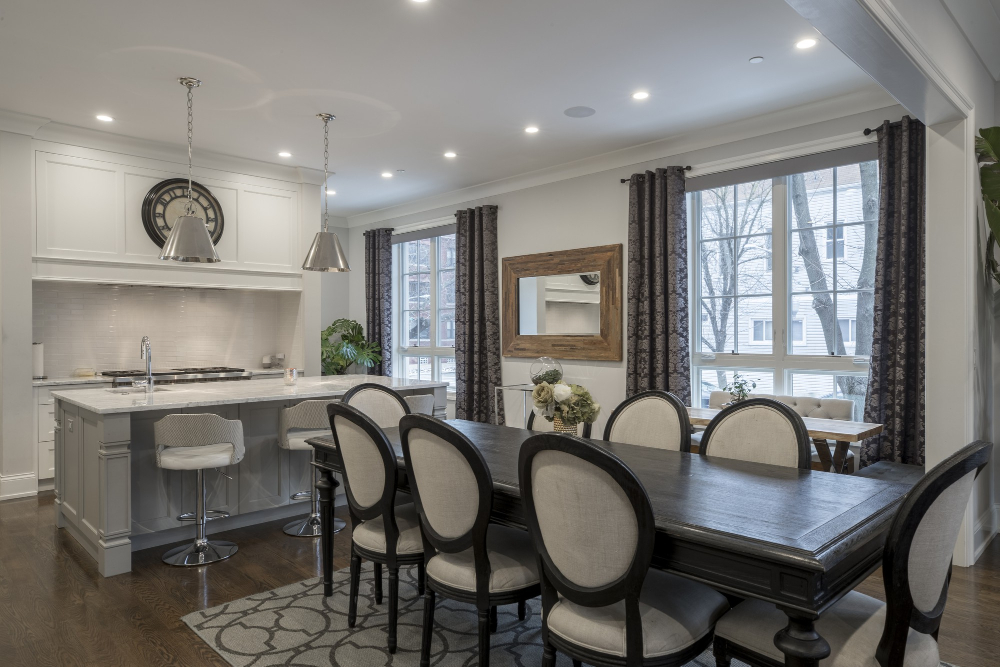
The first thing you need to consider is the size of your kitchen and ceiling height. For example, if you have a small kitchen with an eight-foot ceiling, then four evenly spaced can lights may be sufficient.
However, if your kitchen is larger or has higher ceilings than average (nine feet or more), then you’ll likely need more fixtures.
Another factor that affects spacing is the layout of your cabinets and appliances. You want to make sure that each area in the room receives adequate lighting without creating any shadows or dark spots on countertops where food preparation takes place.
As a general guideline for standard 8-foot ceilings:
- Space recessed lights between 4-6 feet apart.
- Place them about 18 inches from walls.
- Position them at least three feet away from other light sources such as pendant lamps and chandeliers.
For higher ceilings:
– Increase space between fixtures by one foot per additional foot in ceiling height above eight feet. – Consider using adjustable trims so that light direction can be adjusted according to specific needs.
Layering Different Types of Kitchen Lighting
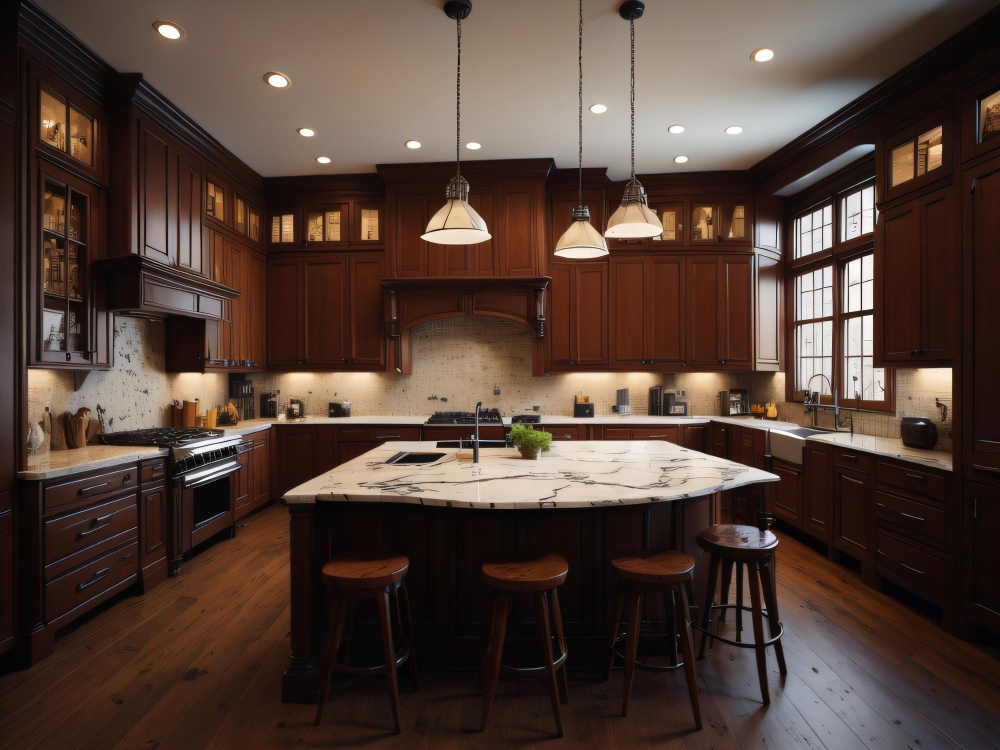
By combining various light sources such as can lights, pendant lights, under-cabinet lighting, and chandeliers in your kitchen design plan you can achieve a well-balanced look that enhances the functionality of the space.
For instance, if you have high ceilings in your kitchen area or want to highlight specific features like artwork or architectural details on walls or cabinets then pendant lights are an ideal choice. They come in various styles ranging from modern to traditional designs that complement any decor style.
Under-cabinet lighting is another popular option for layering light sources because it provides task-oriented illumination where it’s needed most – on countertops where food preparation takes place. This type of lighting also adds depth and dimensionality by casting shadows beneath cabinets which creates visual interest.
Chandeliers are perfect for adding elegance and sophistication to larger kitchens with open floor plans since they provide ambient light throughout the entire room while acting as statement pieces themselves.
Selecting Can Light Sizes and Styles
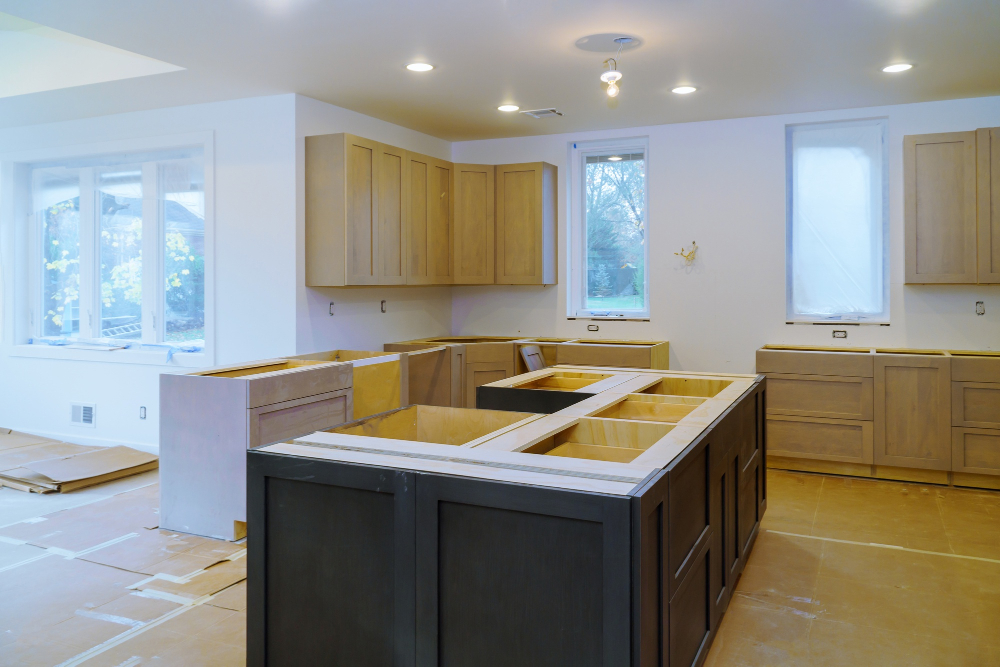
First, consider the size of your kitchen and the ceiling height. For smaller kitchens or lower ceilings, smaller can lights may be more appropriate.
Larger kitchens with higher ceilings may require larger can lights for optimal lighting coverage.
Another factor to consider is the style of your kitchen. If you have a modern or contemporary design aesthetic, sleek and minimalistic recessed LED fixtures might be ideal for achieving that clean look without detracting from other design elements in your space.
On the other hand, if you have a traditional-style kitchen with ornate cabinetry or decorative features on your ceiling such as crown molding or medallions – choosing more decorative trim options for your recessed lighting could help tie everything together seamlessly while still providing ample illumination.
How to Choose the Appropriate Wattage
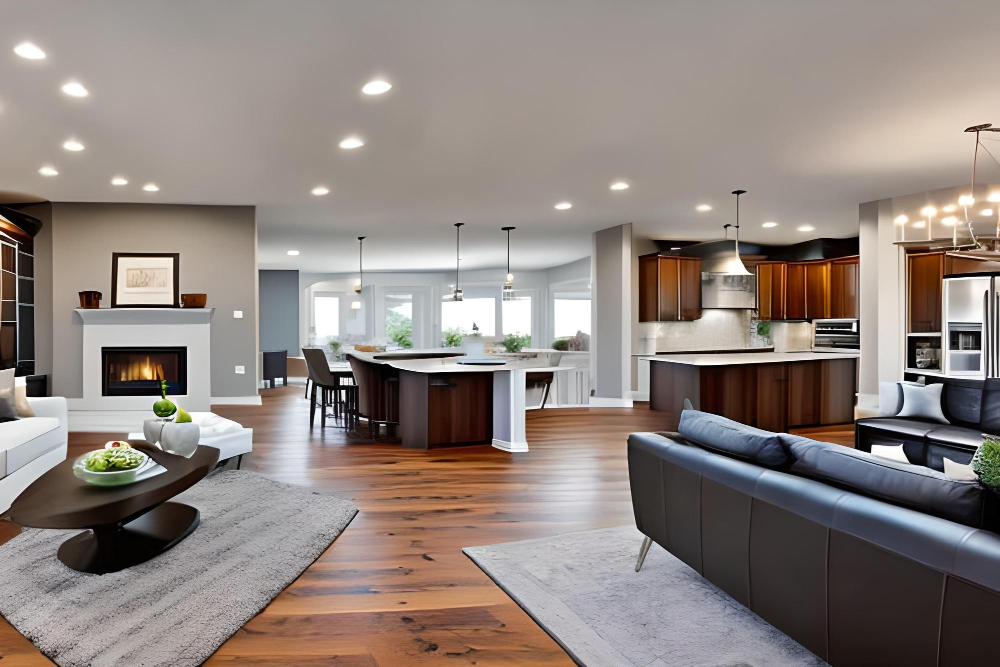
The right wattage will provide sufficient illumination for cooking and other kitchen activities while creating a warm and inviting atmosphere.
For general lighting purposes, a 40-watt bulb is suitable for every 5 square feet of space in your kitchen. However, if you have higher ceilings or darker surfaces that absorb more light, you may need brighter bulbs with higher wattages.
On the other hand, if you want to create mood lighting or accentuate specific areas such as countertops or cabinets with can lights, lower-wattage bulbs ranging from 15-25 watts are ideal. These lower-wattage bulbs produce less heat than their high-watt counterparts which makes them perfect for use in enclosed spaces like cabinets.
It’s important not to exceed the maximum recommended wattage specified by the manufacturer of your can light fixtures as this could cause overheating leading to damage or even fire hazards. Always check product labels before purchasing any type of bulb so that they match up correctly with your fixture’s specifications.
Picking the Perfect Can Light Color Temperature
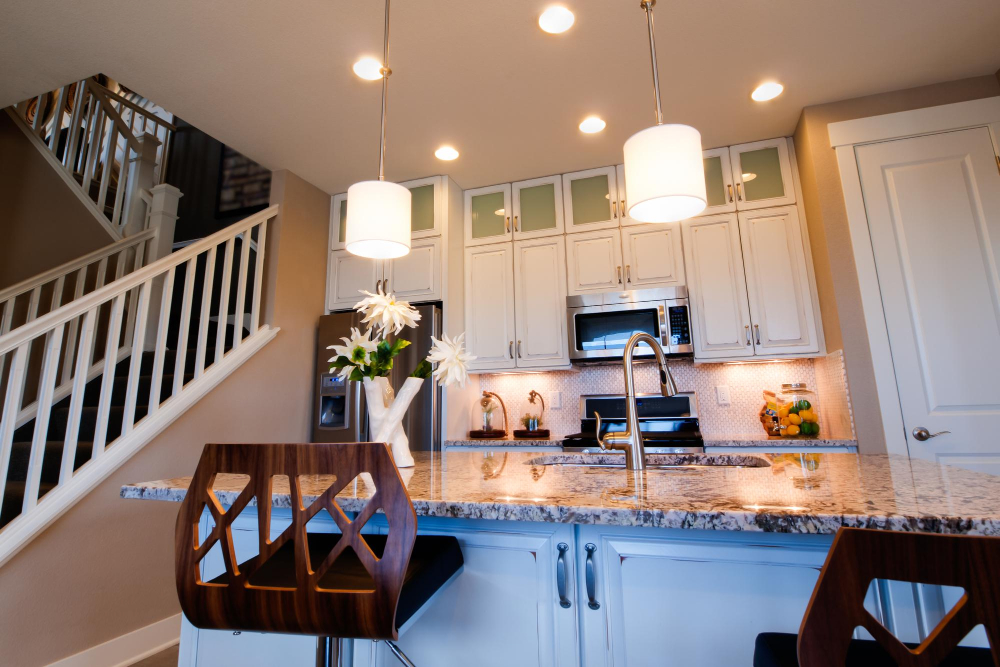
The color temperature refers to how warm or cool a light appears and is measured in Kelvins (K). A lower Kelvin number, such as 2700K, produces a warmer yellowish light that creates an inviting ambiance perfect for dining and socializing.
On the other hand, higher Kelvin numbers like 5000K produce cooler bluish-white light that’s great for task-oriented activities such as cooking.
When choosing can lights’ color temperatures in your kitchen, it’s essential to think about what you’ll be using each area of your space for. For instance, if you have an island where food preparation takes place primarily or a workspace where homework gets done regularly – then cooler white lighting may be more appropriate than warmer tones.
Energy Efficiency of Can Lights
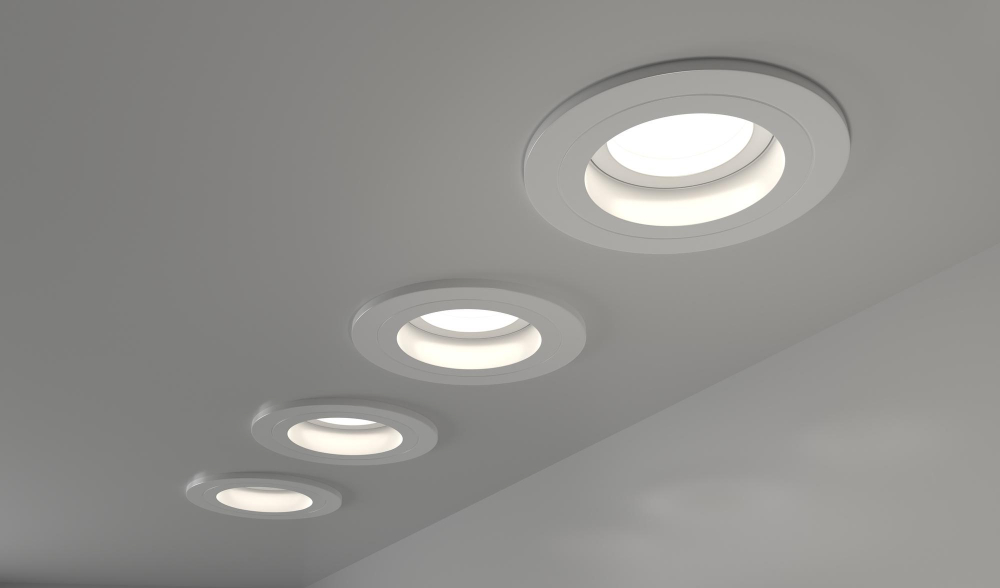
Not only does it help reduce your electricity bills, but also contributes towards environmental sustainability. LED can lights are the most energy-efficient option available in the market today.
They consume significantly less power than traditional incandescent bulbs and have a longer lifespan.
LEDs produce very little heat compared to other types of bulbs, which means they don’t waste as much energy on generating heat instead of light. They emit directional light that illuminates specific areas without wasting any excess light or creating unnecessary glare.
Another advantage of using LED can lights is their compatibility with dimmer switches and smart home systems like Alexa or Google Home Assistant for easy control over brightness levels and scheduling.
Tips for Installing Can Lights
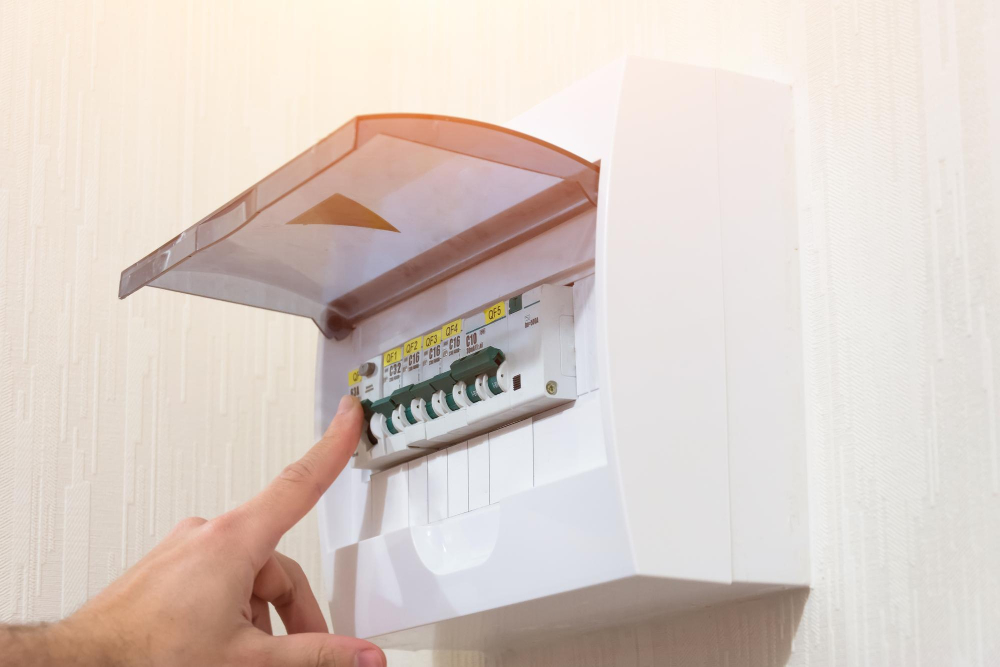
While hiring a professional electrician is always recommended for safety reasons, if you’re confident in your DIY skills, here are some tips to help with installing can lights:
1. Turn off the power: Before starting any electrical work, turn off the power at the circuit breaker.
2. Use a template: Most can light kits come with templates that make cutting holes easier and more accurate.
3. Check clearance: Make sure there is enough clearance between insulation and fixtures as well as other obstructions such as ductwork or plumbing pipes.
4. Secure wiring connections: Ensure all wiring connections are secure by using wire nuts or crimp connectors.
5. Test before finishing up: Once installed, test each fixture before finishing up installation to ensure they work properly.
Retrofitting Can Lights in Existing Kitchen Spaces

Retrofitting involves replacing the old fixtures with new ones that are compatible with LED bulbs and offer better energy efficiency.
Before starting the retrofit process, it’s important to assess whether your current wiring and electrical box can handle the additional load of new can lights. If not, you may need to hire an electrician for rewiring or installing additional circuits.
Another factor to consider when retrofitting is ceiling height. Can lights require at least 6 inches of clearance above them for proper ventilation and heat dissipation.
If your ceiling doesn’t meet this requirement, you may need shallow housing cans or surface-mounted fixtures instead.
Retrofit kits come in different sizes and styles that fit most standard openings in ceilings where recessed lighting was previously installed. They also include everything needed for installation such as mounting brackets, trim rings, bulb sockets among others.
Estimating the Cost of Can Light Installation

The price for installing can lights varies depending on several factors such as location, electrician fees, and materials used. On average, homeowners spend between $100-$200 per light installed.
If you’re working with a tight budget or want to save money on installation costs, there are some things you can do. First off is choosing LED bulbs instead of traditional incandescent ones since they last longer and consume less energy over time.
Another way to cut down expenses is by opting for retrofitting existing fixtures rather than installing new ones from scratch. This approach involves replacing old lighting fixtures with newer models that fit into the same space without requiring any additional wiring or structural changes.
Ensuring Safety With Can Light Installations
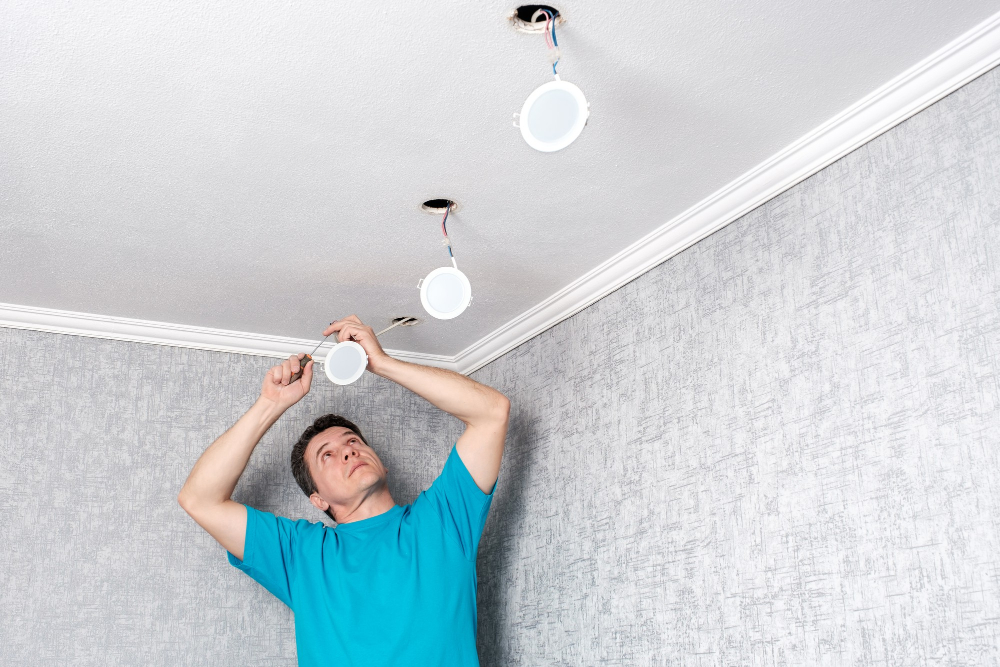
Before you begin the installation process, make sure that you turn off the power supply to avoid any electrical hazards. It’s also essential to follow all manufacturer instructions and guidelines for proper installation.
If you’re not confident about handling electrical wiring or cutting holes in your ceiling, it’s best to hire a licensed electrician or professional contractor who has experience with can light installations.
Ensure that there is enough clearance between the insulation and fixtures as overheating of bulbs may cause fire hazards. Also consider using LED bulbs which produce less heat than traditional incandescent ones.
Weighing the Pros and Cons of Can Lights in Kitchens
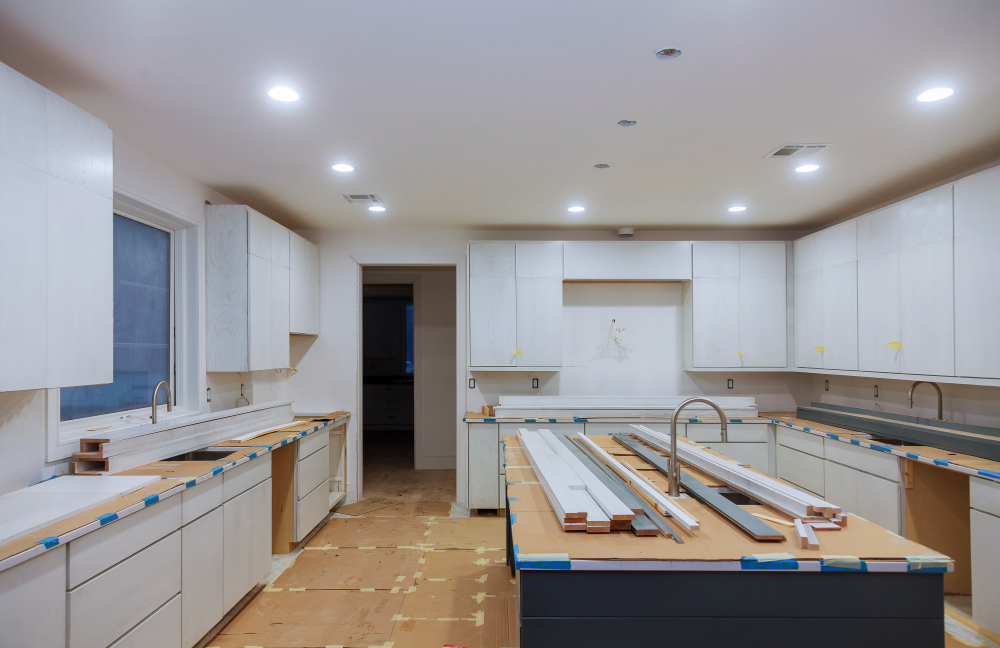
Like any other lighting option, they have their pros and cons that you should consider before making your final decision.
One of the main advantages of can lights is their versatility. They come in various sizes and styles to fit different kitchen designs and layouts.
They provide ample illumination without taking up too much space or interfering with other fixtures such as pendant lights or chandeliers.
On the downside, installing can lights requires cutting holes in your ceiling which may not be feasible if you live in an apartment or have limited access to wiring. Moreover, while they offer general illumination throughout the room, they may not provide enough task lighting for specific areas such as countertops where food preparation takes place.
Another factor worth considering is energy efficiency since using multiple bulbs over time could increase electricity bills significantly compared to alternative options like LED strip lighting that consume less power but still deliver bright light output.
Alternative Lighting Options for Kitchens
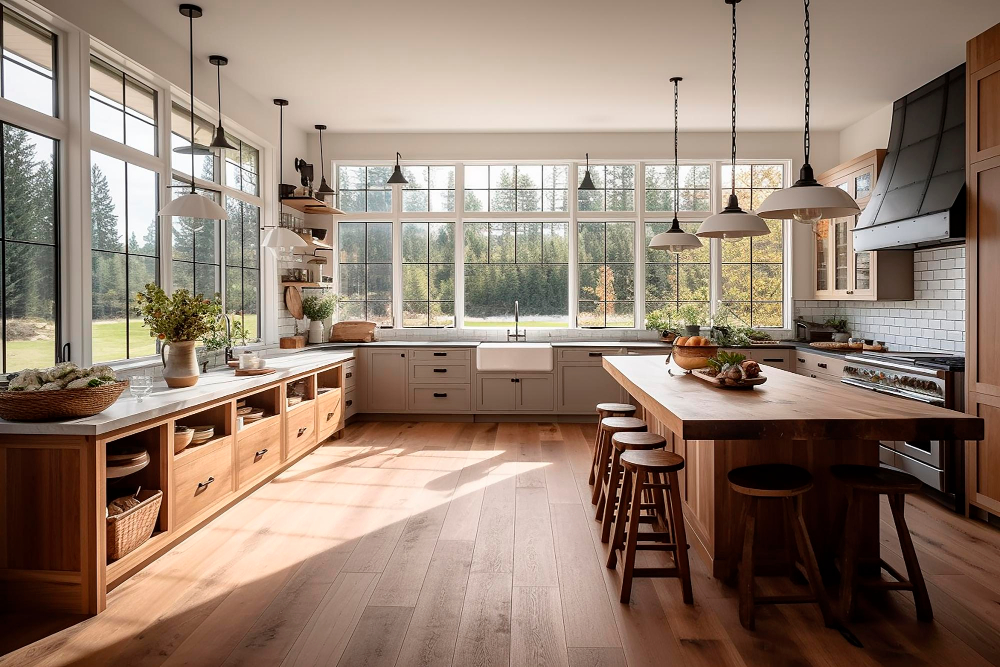
If you’re looking for alternative lighting options that can add character and style to your kitchen, consider pendant lights or chandeliers. Pendant lights come in various shapes and sizes and can be hung over an island or dining table to create a focal point in the room.
Chandeliers also make a statement piece while providing ample light with their multiple bulbs.
Under-cabinet lighting is another excellent alternative that illuminates countertops while adding depth to your space’s overall ambiance. These fixtures come in different styles such as LED strips, puck lights, or linear bars.
If you prefer natural light sources but don’t have enough windows in your kitchen area, skylights could be an ideal solution. They allow plenty of sunlight into the room during daylight hours without taking up any wall space.
There are several alternatives available if you want something other than traditional recessed can lights for your kitchen illumination needs!
FAQ
How far apart should canned lights be in a kitchen?
Canned lights in a kitchen should be placed approximately 14 to 18 inches apart from the light cannisters and the cabinets to avoid lost light.
Can you have too many recessed lights in a kitchen?
Yes, having too many recessed lights in a kitchen can make it uncomfortably warm and excessively bright, leading to an unpleasant atmosphere.
Where should recessed lights be placed in a kitchen?
Recessed lights should be placed 12 inches apart from each other and 12 to 18 inches away from cabinets, aimed at countertop edges, to properly illuminate counter work areas and the sink, while avoiding shadows created by people working at the counters.
What is the ideal layout for can lights in a kitchen to ensure proper illumination?
The ideal layout for can lights in a kitchen is to space them approximately 5 to 6 feet apart in a grid, ensuring even illumination without shadows.
How can the placement of can lights impact the functionality and aesthetics of a kitchen?
The placement of can lights can significantly impact the functionality and aesthetics of a kitchen by providing well-distributed illumination and enhancing the overall ambiance.
What factors should be considered when choosing the size and wattage of can lights for a kitchen?
When choosing the size and wattage of can lights for a kitchen, consider factors such as room size, ceiling height, desired brightness, and energy efficiency.


