Last updated on
Discover the essential steps to creating a stunning and functional outdoor kitchen with pavers, transforming your backyard into an entertainer’s paradise.
Summer is here, and what better way to enjoy the warm weather than by cooking and dining in your own outdoor kitchen? Building an outdoor kitchen with pavers is a great DIY project that will not only add value to your home but also provide a functional and stylish space for entertaining. In this article, we’ll take you through the step-by-step process of building an outdoor kitchen with pavers.
So grab your tools and let’s get started!
What's Inside
Assessing the Space
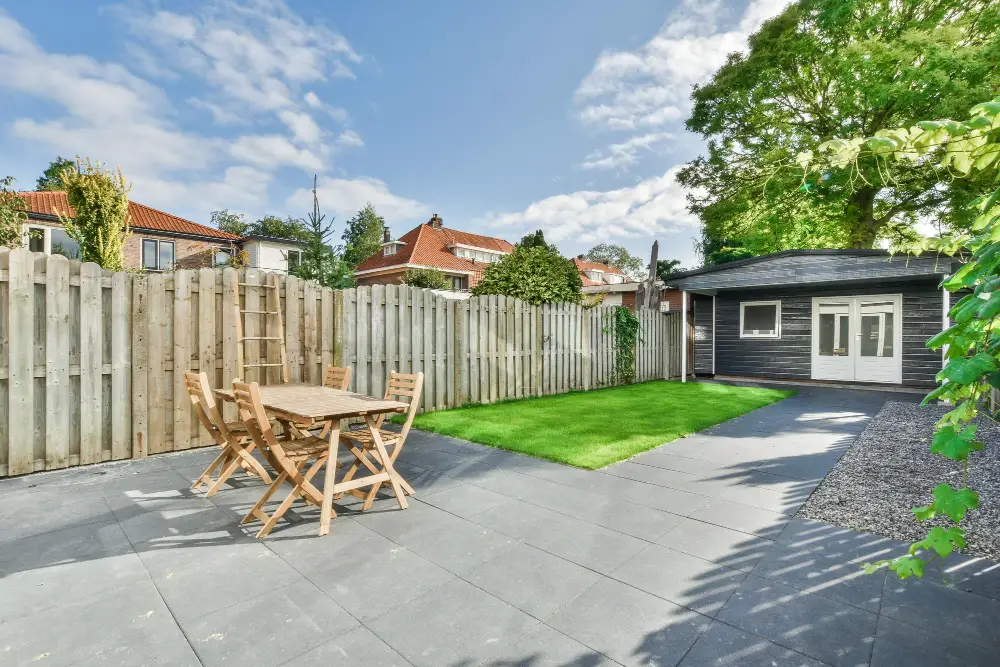
Before you start building your outdoor kitchen, it’s important to assess the space where you plan to build it. Consider the size of your backyard and how much room you want to dedicate to your new outdoor living area.
Think about how many people will be using the space and what activities they’ll be doing there. Take note of any existing features in your yard that may impact the placement or design of your outdoor kitchen, such as trees, slopes or drainage issues.
You should also consider factors like sun exposure and wind direction when deciding on a location for cooking appliances. Once you have a good idea of what kind of space is available for an outdoor kitchen with pavers, take measurements so that you can create an accurate layout plan.
This will help ensure that everything fits together seamlessly once construction begins!
Creating a Layout
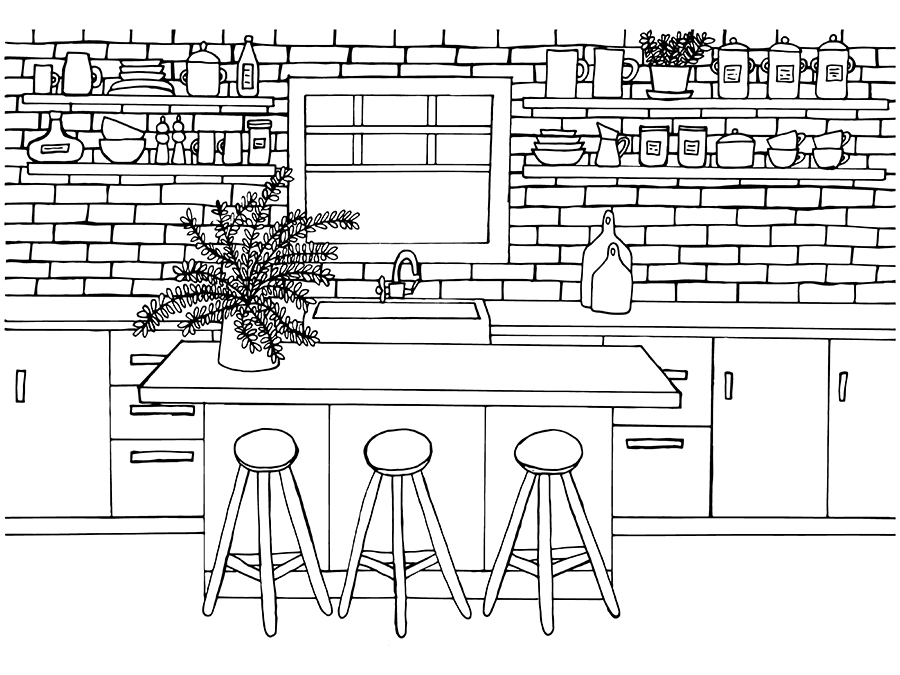
Consider how you want to use the space and what features are most important to you. Do you need ample counter space for food prep? Will there be seating areas or an outdoor dining table nearby? These factors will help determine the size and shape of your kitchen.
When creating your layout, keep in mind that functionality is key. You’ll want easy access between different areas of the kitchen, such as from grill to sink or fridge.
It’s also important to consider any existing structures in your backyard that may impact where you can place certain elements of your outdoor kitchen.
To get started on designing a layout, sketch out some rough ideas on paper or use online design tools like SketchUp or RoomSketcher. Once you have a basic idea in mind, it’s helpful to physically mark out the area with stakes and string so that you can visualize how everything will fit together before beginning construction.
Choosing the Right Pavers for Your Kitchen
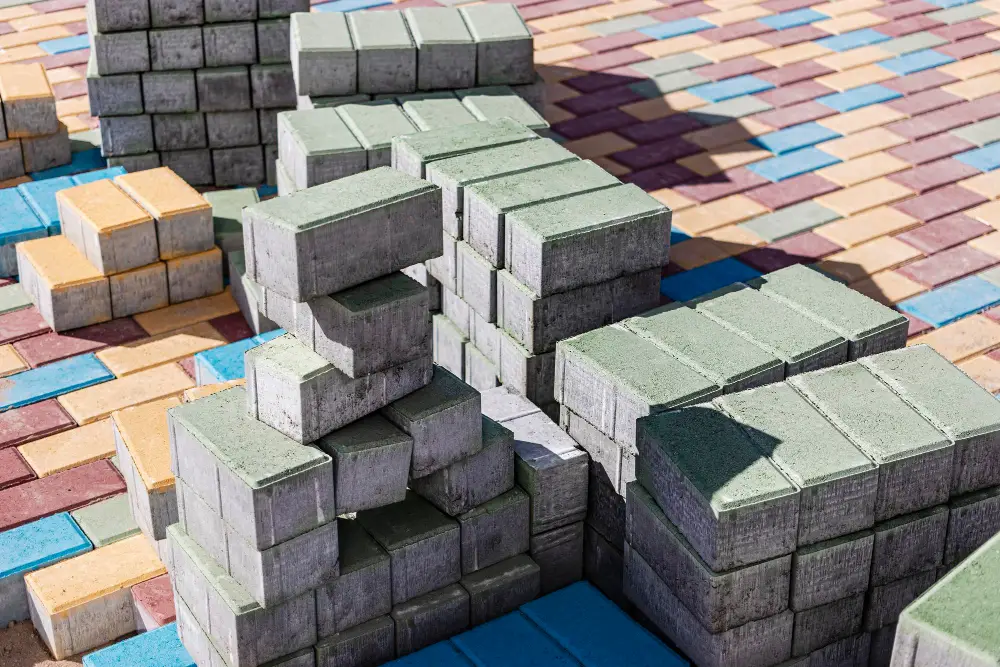
First and foremost, you want a material that is durable and can withstand the elements. Look for pavers made from natural stone or concrete as they are both strong and long-lasting.
Next, think about the style of your home and backyard. You want to choose pavers that complement your existing landscaping while also adding visual interest to your outdoor kitchen area.
Consider the color of the paver as well. Lighter colors will reflect heat better than darker ones, making them more comfortable underfoot during hot summer days.
Don’t forget about maintenance when choosing your paver material. Some materials require more upkeep than others so be sure to select one that fits with how much time you’re willing to spend on maintenance tasks like sealing or cleaning.
Preparing the Site and Foundation
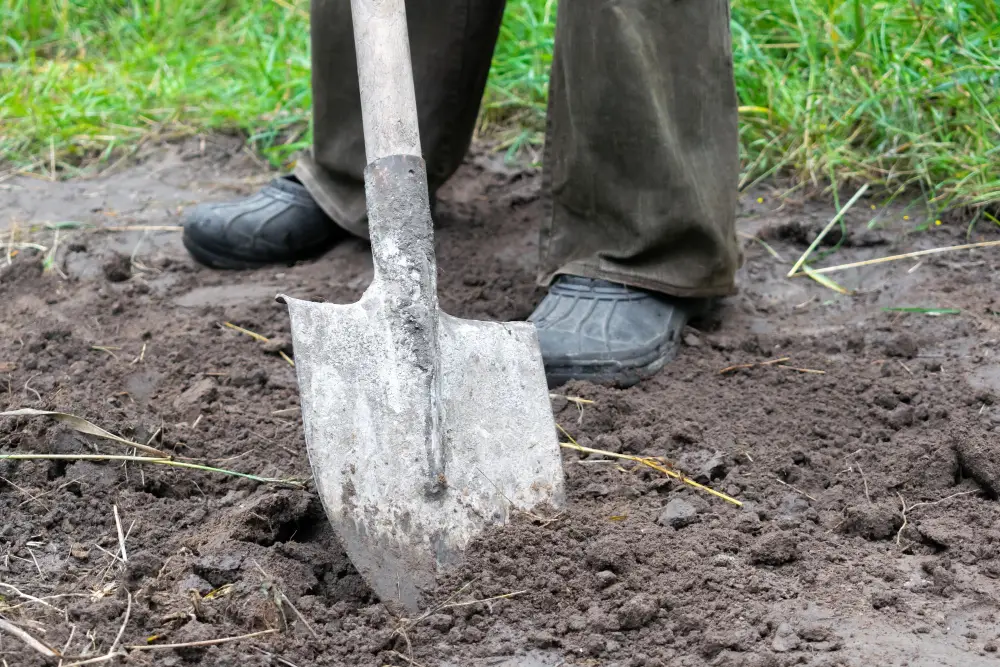
This step is crucial as it will ensure that your outdoor kitchen is stable and long-lasting. The first thing you need to do is clear the area where you want to build your outdoor kitchen.
Remove any grass, rocks or debris from the site using a shovel or a rake.
Next, mark out the perimeter of your patio using stakes and string lines. Make sure that all corners are square by measuring diagonally across each corner in both directions; if they’re equal lengths, then they’re square.
Once you’ve marked out the perimeter of your patio accurately, dig down about 6 inches deep within this area for proper drainage purposes. You can use a sod cutter or an excavator for this task depending on how big an area needs excavation.
After digging up enough soil from within this space (depending on its size), level off any high spots with sand before compacting everything down firmly using either hand tamper tools like plate compactor machines which vibrate at high frequencies until there’s no more movement underfoot when walking over them – indicating solid ground beneath!
Building the Base
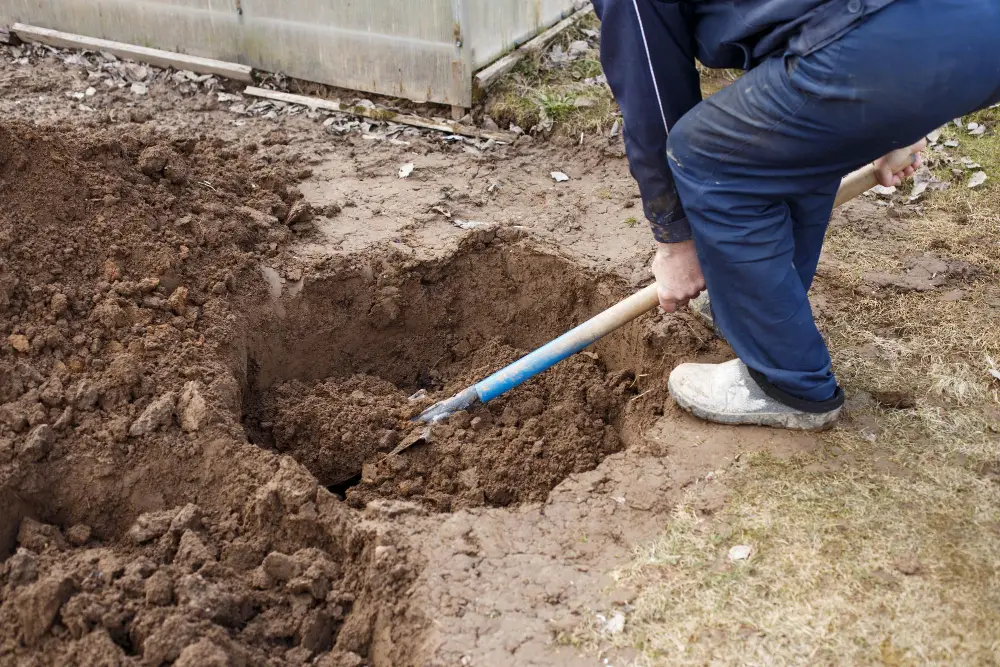
The base is an essential component of any outdoor kitchen as it provides stability and support for all other structures. To begin, mark out the area where you want to build your kitchen using stakes and string.
Next, dig down about 6 inches deep within this marked-out area with a shovel or excavator. This will create a level surface that can be used as the foundation for your paver base.
After digging out this space, add crushed stone or gravel into it until there is approximately 4 inches of material in place. Use a tamper tool to compact this layer firmly so that there are no air pockets left behind.
Add another layer of crushed stone on top of this first one until reaching around two more inches in height above ground level before tamping again thoroughly.
Installing the Pavers
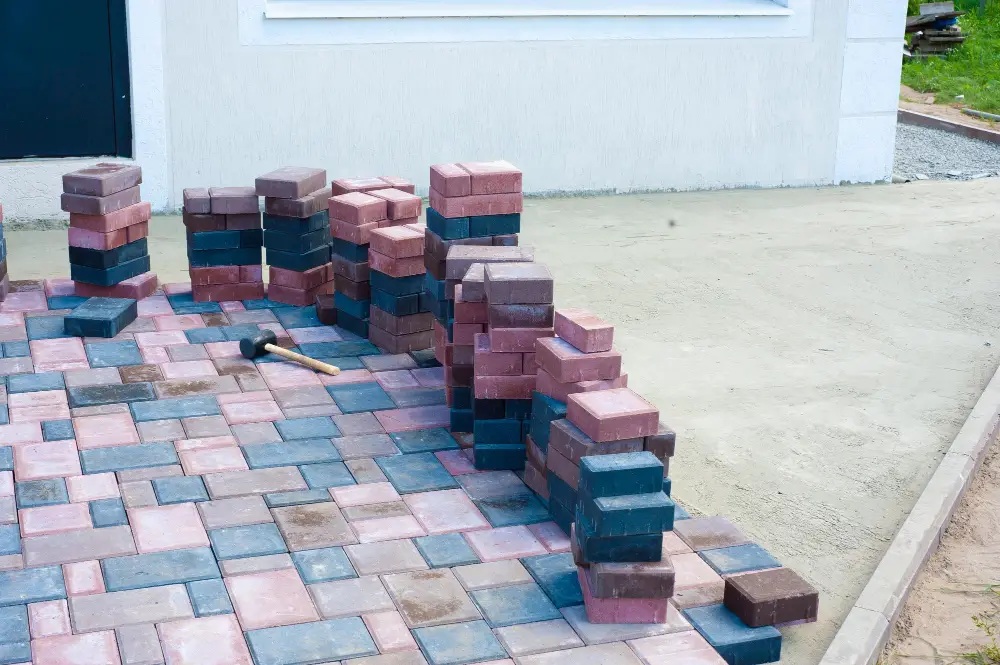
This is where your outdoor kitchen will really start to take shape! Begin by laying out a row of pavers along one edge of the base, making sure they are level with each other and with any adjacent structures or surfaces. Use a rubber mallet to tap them into place if necessary.
Next, continue laying rows of pavers in a staggered pattern until you reach the opposite edge of your base. Be sure to leave small gaps between each paver for sand or gravel fillers that will help keep them stable over time.
As you work on installing your pavers, periodically check that they remain level using a spirit level tool. If any adjustments need to be made, gently lift up individual stones and add or remove filler material as needed before replacing them back into position.
Once all of your outdoor kitchen’s main features are installed (such as countertops and appliances), use additional smaller pieces of stone called “soldiers” around their edges for added stability and aesthetic appeal.
Building Structures and Storage
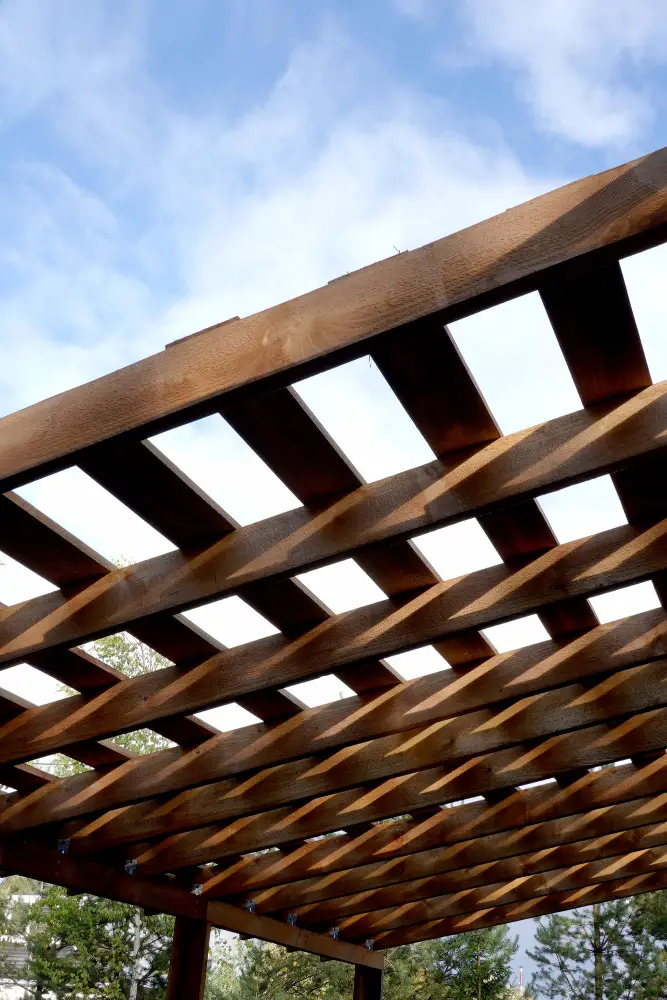
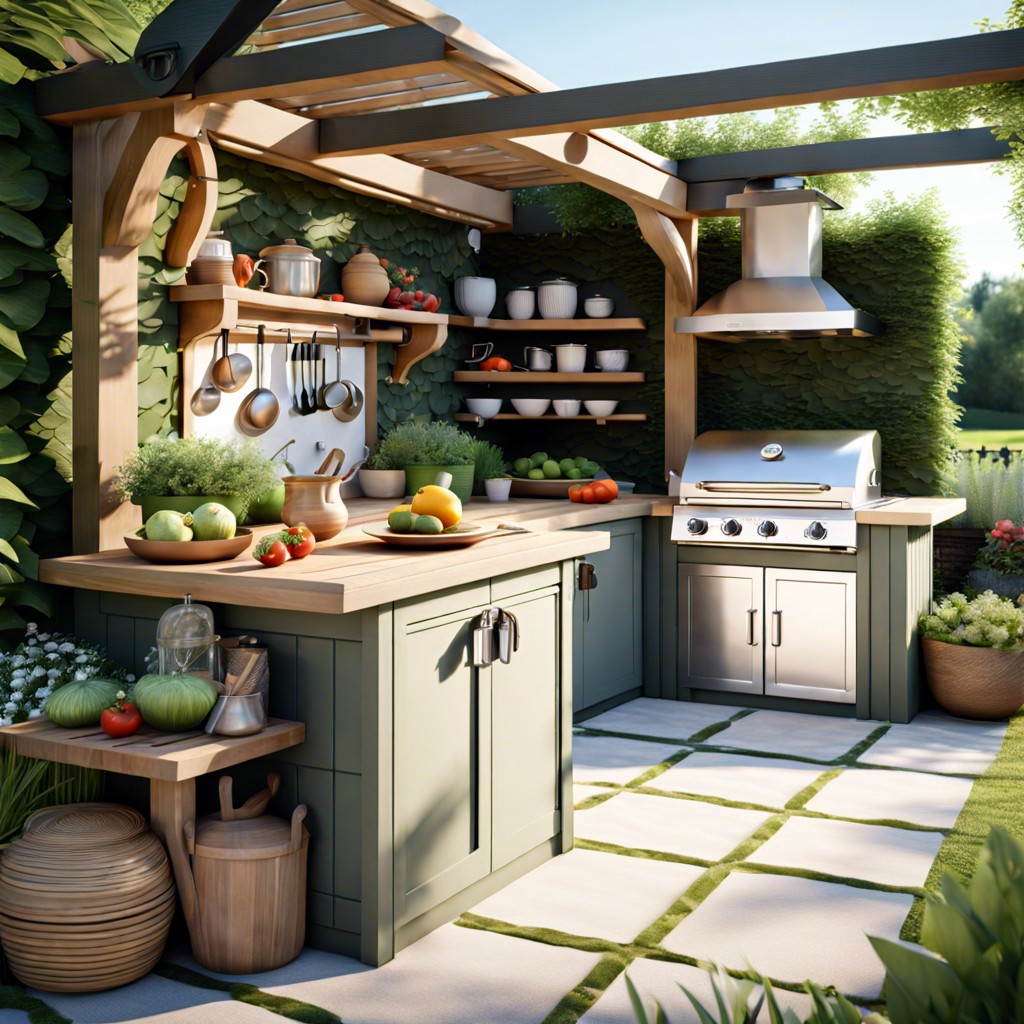
This is where you can get creative with design elements that will make your space both functional and visually appealing. Consider adding a pergola or canopy to provide shade during hot summer days, or build an outdoor bar area for guests to gather around while you cook.
When it comes to storage solutions, there are many options available depending on the size of your kitchen. You may want to install cabinets underneath countertops or build shelving units against walls for storing dishes, utensils, and cooking supplies.
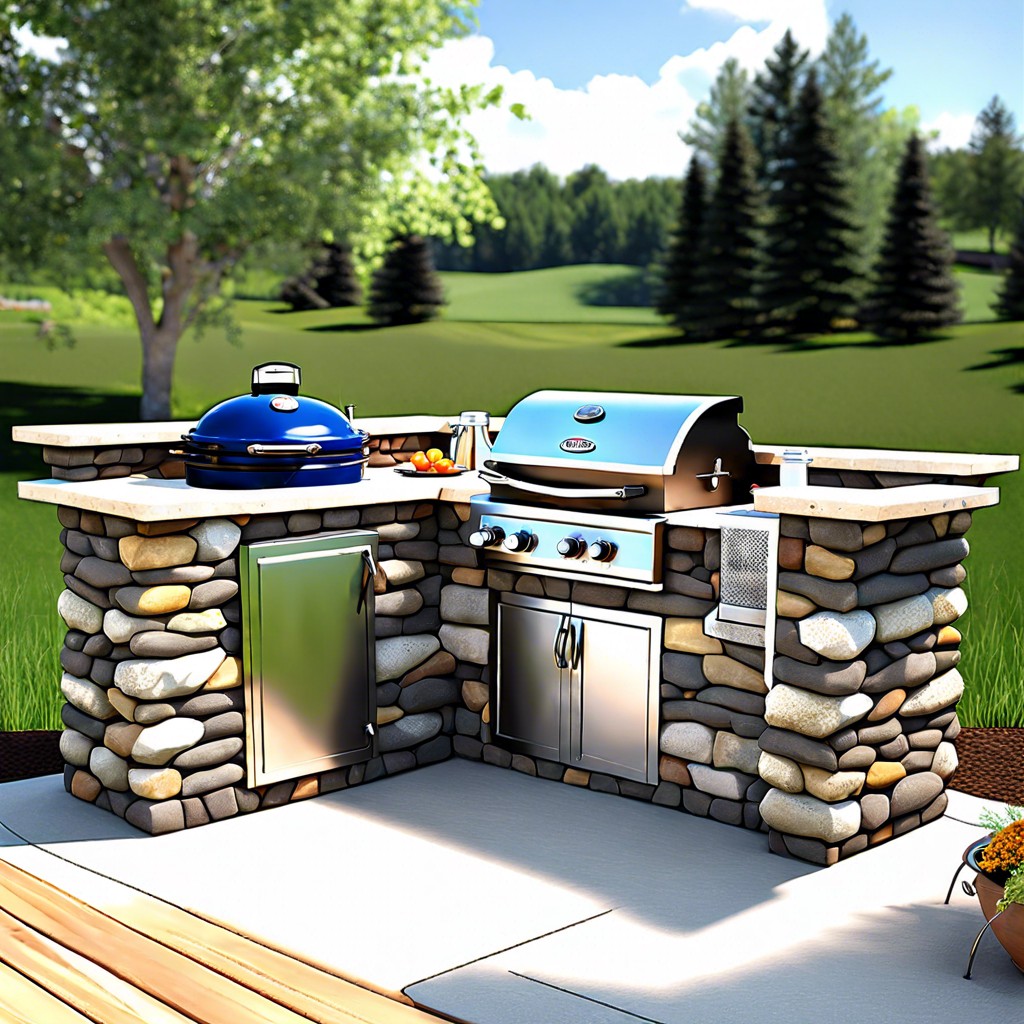
Another popular option is installing a built-in grill with side burners that offer additional cooking space as well as storage areas below them. Don’t forget about trash cans either; they should be easily accessible but also hidden from view so they don’t detract from the overall aesthetic of your outdoor kitchen.
Installing Countertops
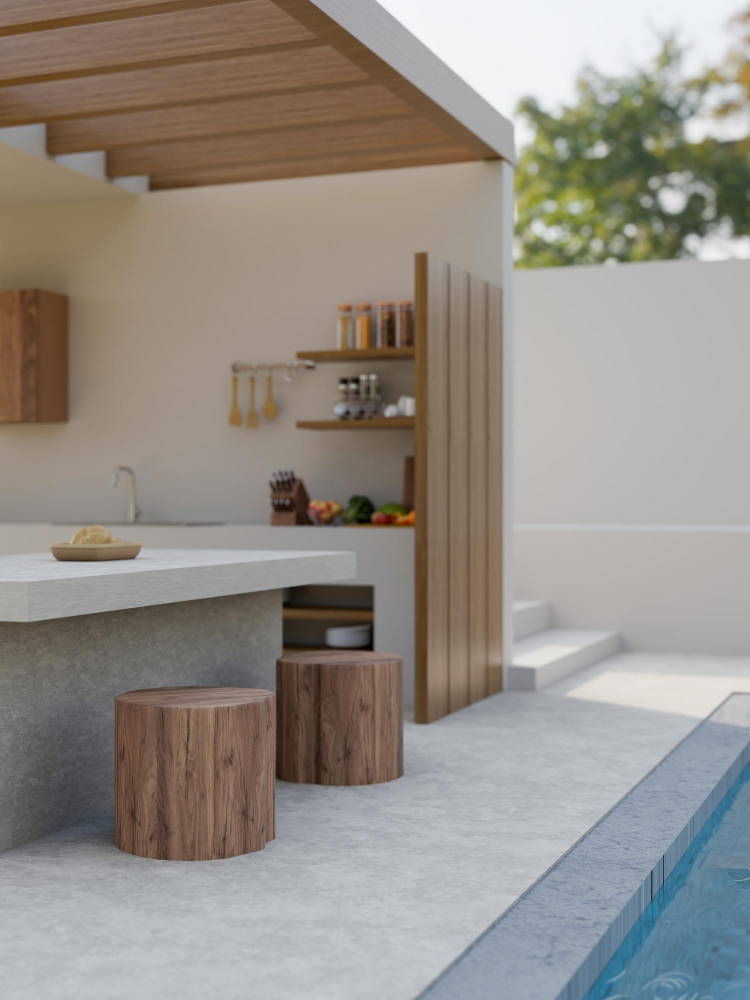
The countertop material you choose will depend on your budget, style preference, and durability needs. Popular options include granite, concrete, tile or stainless steel.
Before installing the countertops make sure that they are level with no bumps or dips in between them. This is important because if there are any uneven spots in between each piece of countertop then food can get trapped which could lead to bacteria growth over time.
To ensure a smooth installation process for your outdoor kitchen countertops hire a professional contractor who has experience working with outdoor kitchens as well as knowledge about different types of materials used for this purpose. They will be able to guide you through every step of the process from selecting materials all way up until final installation ensuring that everything is done correctly so that it lasts long without any issues arising later on down line!
Outdoor Kitchen Appliances
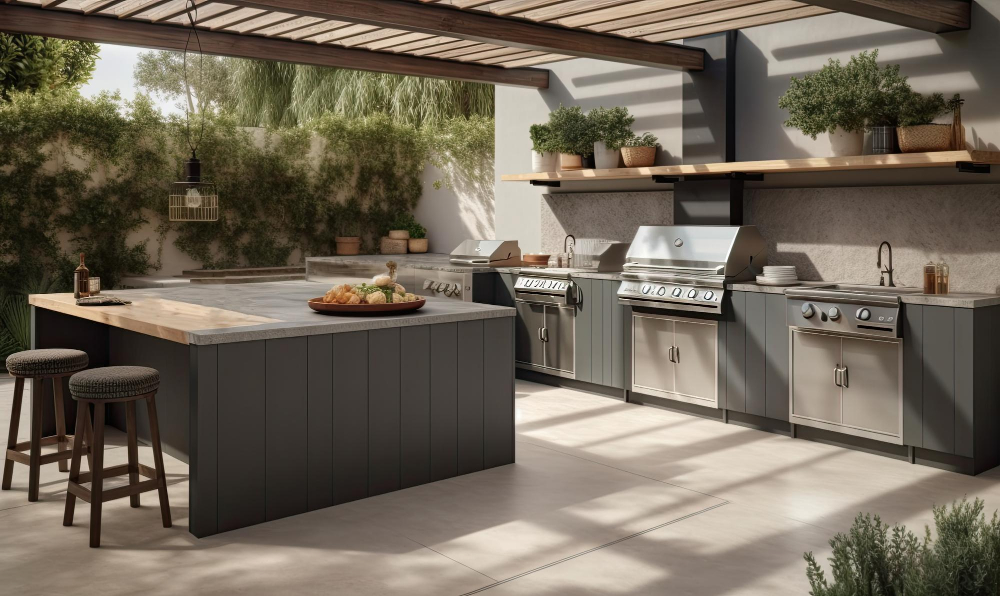
When selecting appliances for your outdoor kitchen, it’s important to consider durability and weather resistance. Stainless steel is a popular choice for outdoor kitchens because of its ability to withstand harsh weather conditions and resist rusting.
Some essential appliances you may want to include in your design are grills, refrigerators, sinks, ice makers, and wine coolers. When choosing a grill for your outdoor kitchen with pavers project consider the size of the cooking surface area that will be needed based on how many people you plan on entertaining regularly.
A refrigerator can keep food fresh while an ice maker ensures cold drinks are always available during hot summer days. Sinks provide convenience when washing hands or cleaning up after meals while wine coolers add sophistication when hosting dinner parties or special events outdoors.
Plumbing and Electrical

You’ll need a licensed professional to handle these aspects of the project since they require specialized knowledge and expertise. Plumbing will be necessary for running water to your sink, dishwasher or ice maker while electrical work is needed for lighting fixtures, appliances like refrigerators or grills that require electricity.
It’s important that all wiring is done according to local codes so as not to create any safety hazards. Make sure you hire an electrician who has experience with outdoor installations because they will know how best to protect the wires from moisture damage.
When it comes down plumbing installation, make sure there are no leaks before covering up pipes with concrete or pavers. It’s also essential that drainage systems are installed correctly so water doesn’t pool around your kitchen area causing potential slip hazards.
Utility Connections

This step is crucial for ensuring that your outdoor kitchen functions properly.
When connecting utility lines, it’s important to follow local building codes and regulations. You may need a permit from your city or county before beginning any work on utility connections.
For water connections, you’ll need a plumber to install pipes that run from your home’s main water supply line out to the outdoor kitchen area. Gas lines will also require professional installation by a licensed contractor.
Electrical wiring should be done by an electrician who can ensure proper grounding of all appliances and outlets in accordance with safety standards.
Before connecting any utilities make sure they are turned off at their source until everything is connected correctly. Once everything has been connected successfully test each connection thoroughly before using them regularly.
Drainage Solutions
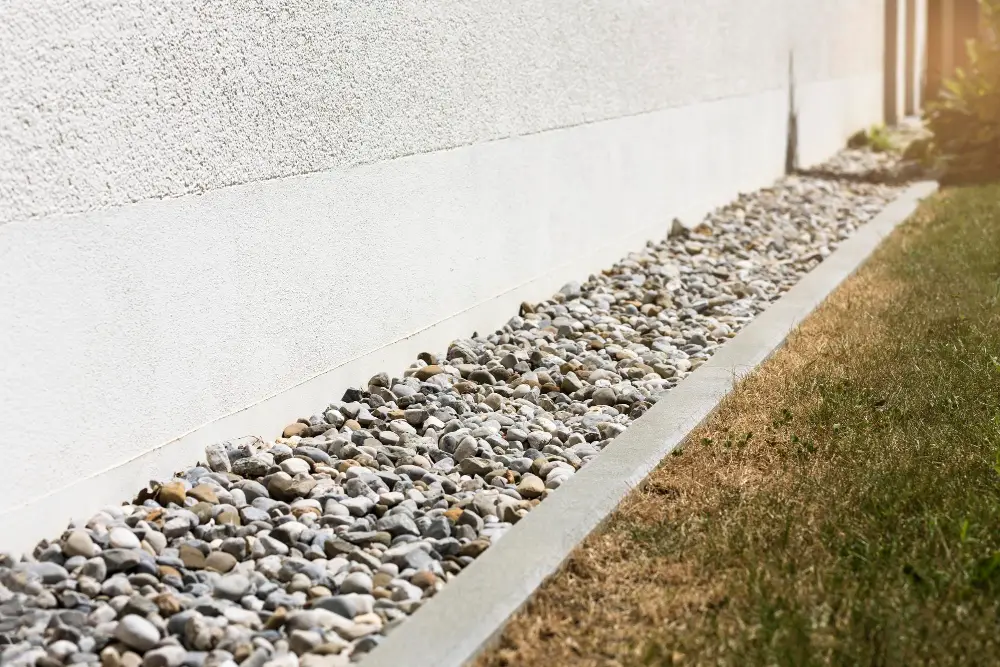
Without adequate drainage, water can accumulate and cause damage to your patio or even your home’s foundation. To prevent this from happening, it’s essential to plan for proper drainage solutions during the design phase.
There are several options available for creating effective drainage in your outdoor kitchen area. One popular solution is installing a French drain system around the perimeter of the patio area.
This involves digging a trench around the edge of your patio and filling it with gravel or crushed stone that allows water to flow away from your home.
Another option is incorporating sloped surfaces into your design that direct water towards designated areas where it can be collected and drained away safely.
It’s also important to ensure that any appliances you install have appropriate drains connected directly into plumbing systems or collection tanks designed specifically for outdoor use.
Adding Storage Solutions
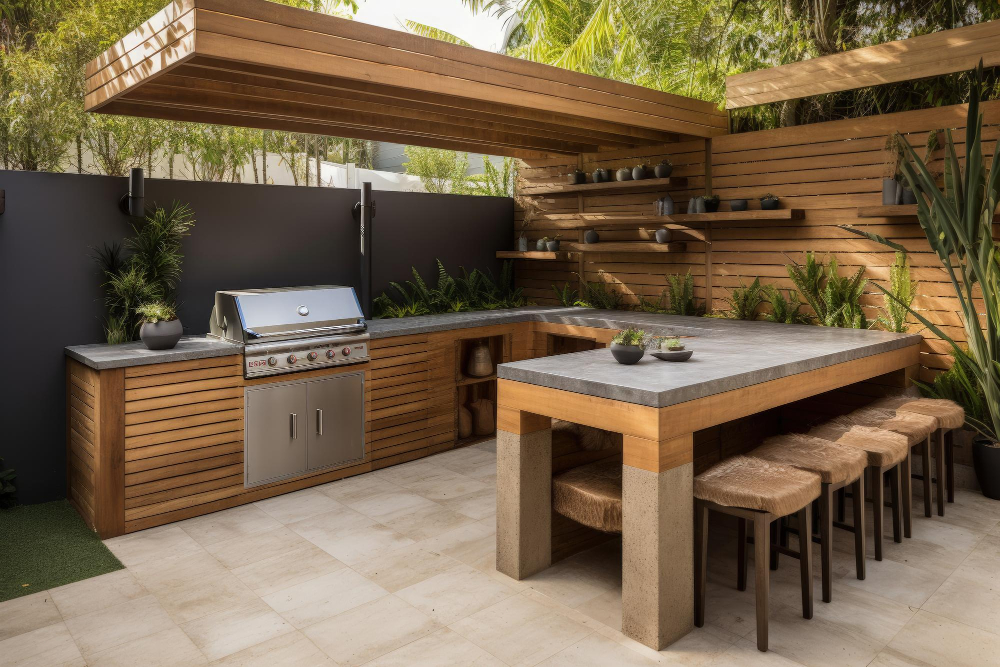
To keep everything organized and within reach while you’re cooking, consider adding cabinets or shelves to your outdoor kitchen design. You can choose from a variety of materials such as wood or metal that are weather-resistant and durable enough to withstand the elements.
When selecting storage solutions for your outdoor kitchen with pavers, it’s essential to ensure they match the style and color scheme you’ve chosen for your overall design. Cabinets can be built into structures like islands or walls while open shelving units provide easy access to frequently used items.
By incorporating smart storage solutions into your outdoor kitchen with pavers project, you’ll not only have a functional space but also one that looks great too!
Selecting Outdoor Furniture
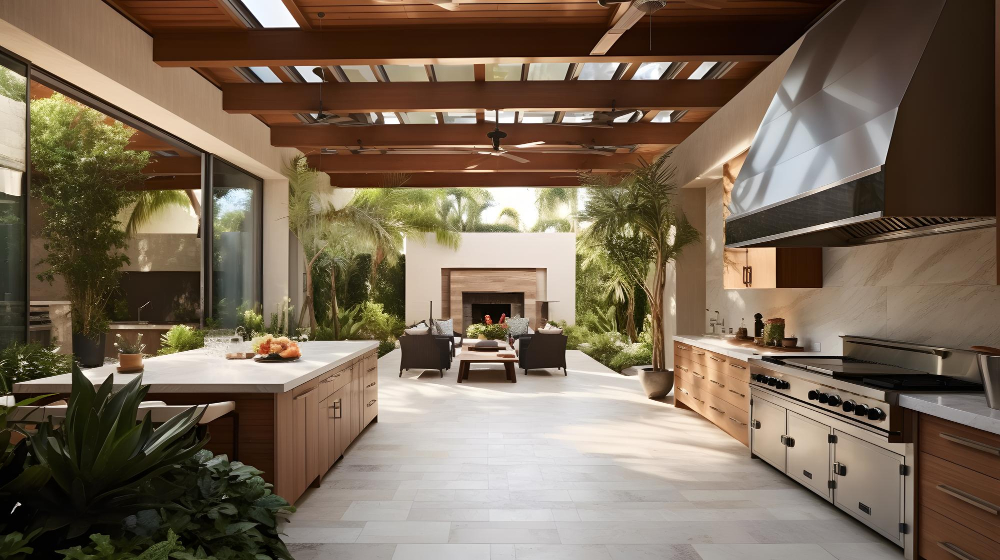
When selecting outdoor furniture, consider durability and weather resistance as top priorities. Look for materials such as teak, aluminum or wrought iron that can withstand harsh weather conditions.
Choose seating options that are both comfortable and functional. Consider adding an outdoor dining table with chairs or benches if you plan on hosting dinner parties in your new space.
If you prefer a more casual atmosphere, opt for lounge chairs or sofas where guests can relax while enjoying drinks.
Don’t forget about shade! Adding an umbrella over the dining area will provide much-needed relief from the sun during hot summer days.
When selecting cushions and pillows for your outdoor furniture, choose fabrics that are water-resistant and easy to clean. Sunbrella is a popular brand known for its durable fabric options specifically designed for use outdoors.
Lighting Options
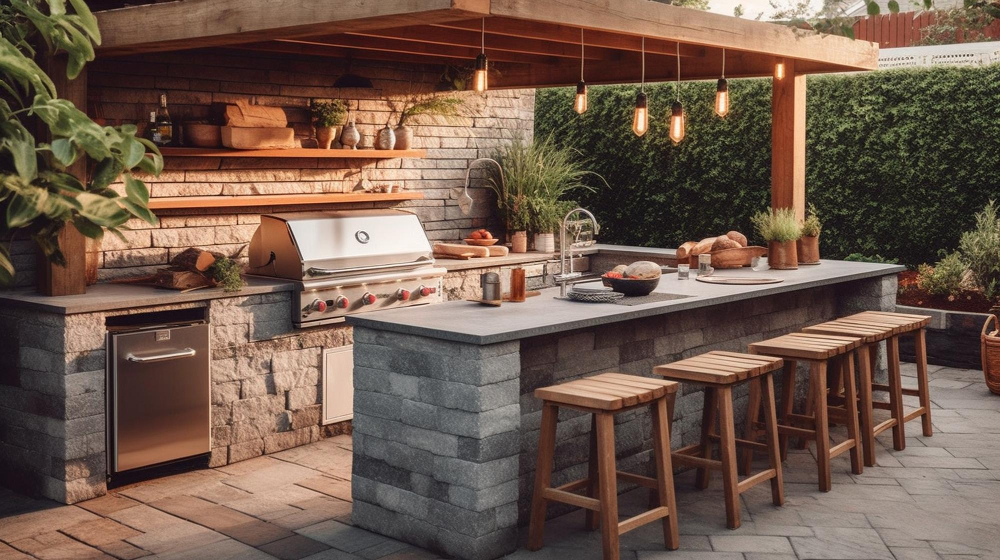
There are various lighting options to choose from, depending on your style and needs. For instance, you can install overhead lights above the cooking area or under-counter lights for task lighting.
You can also add accent lighting to highlight specific features such as a bar or grill island.
Another popular option is string lights that create a warm and inviting atmosphere while illuminating the entire space evenly. Solar-powered LED lights are eco-friendly alternatives that require no wiring or electricity bills.
When selecting your outdoor kitchen’s lighting fixtures, ensure they’re weather-resistant and durable enough to withstand harsh elements such as rain, wind, snowfall etc., so they last longer without needing frequent replacements.
Safety Measures and Fire Prevention
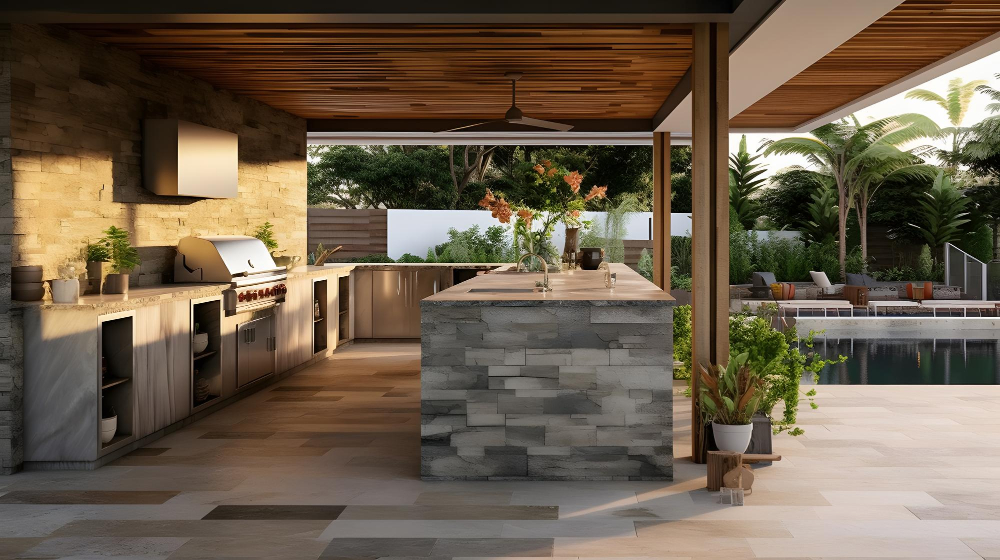
Outdoor kitchens involve the use of heat sources such as grills, smokers, or pizza ovens that can pose a risk if not handled properly. Here are some tips to ensure your outdoor kitchen is safe for you and your guests:
1. Keep flammable materials away from heat sources: Make sure any combustible materials like paper towels or napkins are kept at a safe distance from the grill.
2. Install proper ventilation: Proper ventilation will help prevent smoke buildup in enclosed spaces.
3. Use non-combustible materials: When selecting building materials for your outdoor kitchen, choose non-combustible options like stone or brick instead of wood.
4. Have fire extinguishers nearby: It’s always better to be prepared in case of an emergency by having a fire extinguisher within reach.
5. Follow manufacturer instructions carefully: Always follow the manufacturer’s instructions when using appliances such as grills or smokers.
Landscaping and Decor
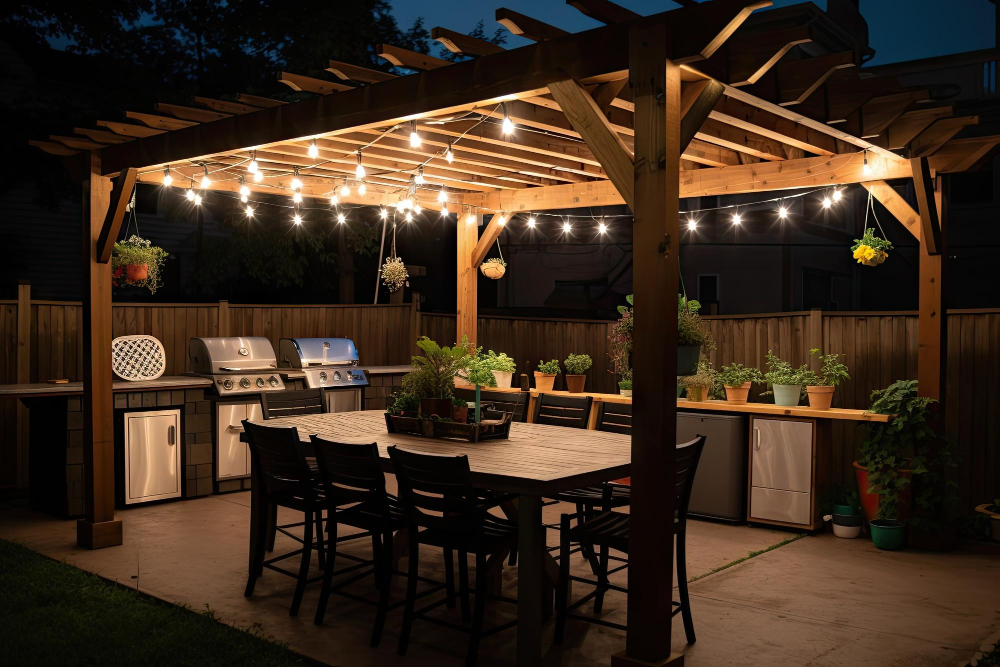
Consider adding plants, flowers, or even a small herb garden to add color and freshness to the space. You can also incorporate decorative elements such as statues, water features, or outdoor art pieces that complement your overall design aesthetic.
When selecting furniture for your outdoor kitchen area, choose durable materials like metal or teak wood that can withstand harsh weather conditions. Comfortable seating options like lounge chairs and sofas will encourage guests to relax while enjoying their meals.
Lighting is another important aspect of landscaping and decor in an outdoor kitchen setting. Install ambient lighting fixtures around the perimeter of the space for a warm glow during evening gatherings.
Task lighting above cooking areas ensures safe food preparation while creating an inviting atmosphere.
Maintenance and Upkeep
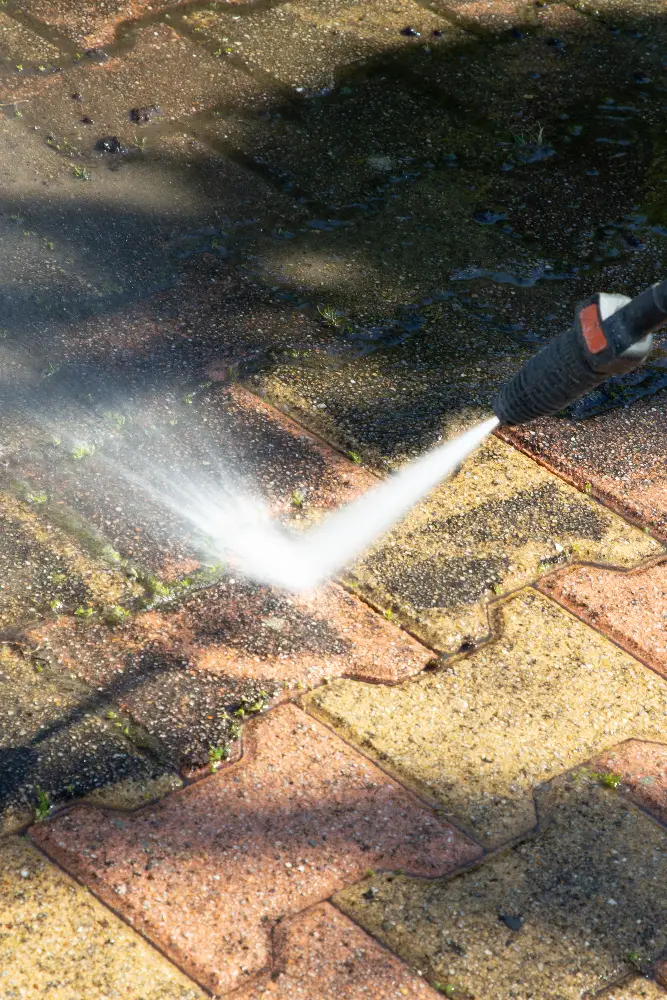
One of the most critical aspects of maintaining an outdoor kitchen is keeping it clean. Regularly sweep or hose down the area to remove any debris or dirt that may have accumulated on the pavers, countertops, and appliances.
It’s also essential to protect your investment by covering your outdoor kitchen when not in use. This will help prevent damage from weather elements such as rain, snow, and wind.
Another crucial aspect of maintenance is inspecting all components regularly for wear and tear. Check for cracks in pavers or countertops that could lead to further damage if left unaddressed.
Be sure you’re using appropriate cleaning products on each surface type within your outdoor kitchen space; some materials require specific cleaners while others can be damaged by harsh chemicals.
The Cost of Your Patio

It’s important to consider the overall cost of the project before you begin. The total cost will depend on several factors, including the size of your patio, materials used for construction, appliances and fixtures installed in your kitchen area.
To get an idea of how much you’ll need to budget for this project, start by assessing what materials you already have on hand that can be repurposed or reused in some way. This could include existing pavers or bricks that are still in good condition.
Next up is determining which type of paver material best suits both your style preferences and budget constraints. While natural stone may look beautiful but come at a higher price point than concrete options like stamped concrete or interlocking brick patterns.
Hiring a Professional Contractor

A reputable contractor will ensure that your project is completed on time and within budget while meeting all building codes and safety regulations. They can also provide valuable advice on design options, materials selection, and appliance installation.
When hiring a contractor for your outdoor kitchen project, it’s essential to do some research beforehand. Look for contractors who specialize in outdoor living spaces or have experience building similar projects to yours.
Check their credentials by verifying their license status with local authorities and asking for references from past clients.
Once you’ve narrowed down your list of potential contractors, schedule consultations with each one so that they can assess the site and provide estimates based on the scope of work involved. Be sure to ask questions about their process as well as any warranties or guarantees they offer.
Ultimately whether you decide to hire a professional contractor or tackle this DIY project yourself depends entirely upon personal preference; however keep in mind that working alongside professionals may save both money & time while ensuring quality results!
FAQ
Can outdoor kitchen be built on pavers?
Yes, an outdoor kitchen can be built on pavers.
What is the cheapest way to build an outdoor kitchen?
The cheapest way to build an outdoor kitchen is by utilizing salvaged materials such as reclaimed wood or recycled stone and brick, which are more affordable and eco-friendly.
How much does it cost to build an outdoor kitchen?
The cost to build an outdoor kitchen ranges from $5,060 to $17,280, with a national average of $13,180 or $495 per linear foot.
What are the essential components to include in a well-designed outdoor kitchen with pavers?
A well-designed outdoor kitchen with pavers requires essential components such as a cooking area, countertop, storage, plumbing, electricity, seating, shade, and proper drainage.
What type of pavers are recommended for constructing a durable and stylish outdoor kitchen?
For a durable and stylish outdoor kitchen, it is recommended to use porcelain pavers.
Are there any specific building codes or permits required for constructing an outdoor kitchen with pavers?
Yes, specific building codes and permits are required for constructing an outdoor kitchen with pavers.

