Last updated on
In this how-to guide, you’ll learn step-by-step the process of building your own custom cabinets right from cutting the wood to the final installation.
Key takeaways:
- Cabinet dimensions: Fit space, consider ergonomics, counterspace, appliances, clearance.
- Materials: Quality plywood, solid wood or MDF for visible parts.
- Assembly: Precise cuts, strong joins, sturdy back panel, adjustable shelving.
- Patience and precision: Alignments, hinges, doors, and drawers.
- Finished cabinets: Hardware, adjustments, finishing touches, installation, quality control.
What's Inside
Begin With the Right Cabinet Dimensions

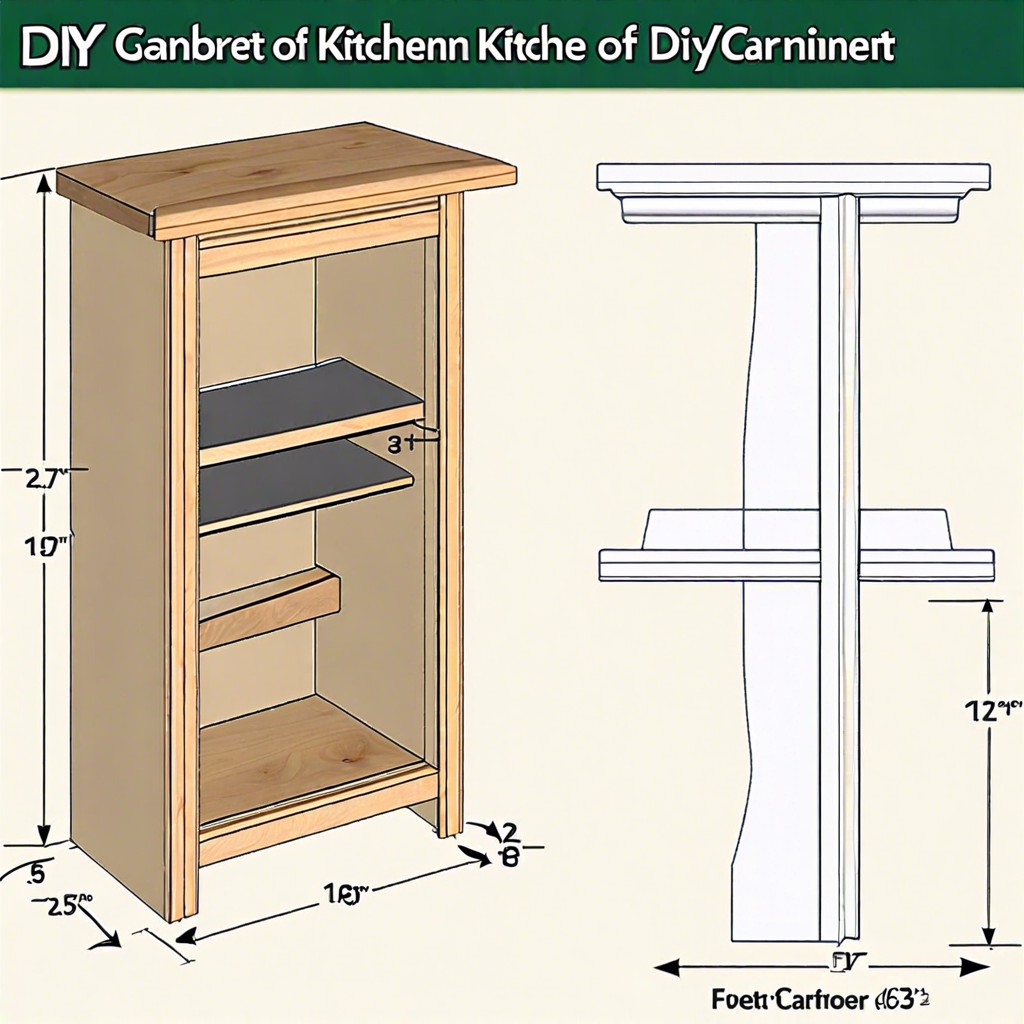
Cabinet dimensions are critical; they should correspond to the size of the space they’re intended for and the items they’ll store. Standard base cabinets typically measure 34.5 inches in height and 24 inches in depth, while wall cabinets are usually 12 inches deep. For custom projects, consider the following:
- Ergonomics: Ensure that cabinets fit the user’s height and reach for comfortable access.
- Function: Plan for deeper cabinets if storing large items, or shallower for smaller, lighter objects.
- Counterspace: Factor in enough depth for countertops, usually an additional 1 to 1.5 inches beyond the cabinet front.
- Appliances: Accommodate appliances by leaving extra space for air circulation – about an inch around the unit.
- Clearance: Include space for door and drawer clearance, particularly in high traffic areas or corners.
Always double-check measurements before cutting any materials; a fraction of an inch off can throw off the entire project. Remember, measure twice, cut once.
A Word About Materials
Choosing the right materials is vital for both the aesthetics and durability of your cabinets. High-quality plywood is a cost-effective and sturdy option for carcasses. It doesn’t warp as much as solid wood, and it can withstand the weight of heavy dishes or cookware.
For the visible parts, such as doors and drawer fronts, solid wood is a classic choice due to its beauty and strength. However, if budget or specific design considerations are a factor, Medium Density Fiberboard (MDF) can be a good alternative, especially for painted cabinets as it provides a smooth finish.
Don’t forget the hardware. Full-extension drawer slides allow for maximum space utilization and soft-close hinges prevent slamming, adding a touch of luxury and longevity.
Lastly, consider the environment where your cabinet will live. If it’s a bathroom, marine-grade plywood can resist moisture better than standard plywood, keeping your cabinets in peak condition for longer.
Choose wisely to ensure your cabinets look great and last for years.
Putting It All Together
With dimensions and materials sorted, the real magic begins. Accurately measure twice before any cuts. Use a table saw for cleaner, straighter lines or a circular saw with a guide. Always cut slightly larger; trimming excess is easier than compensating for a shortfall.
Joining the pieces requires precision. Drill pilot holes to prevent wood splitting when inserting screws. Wood glue can reinforce joints. Corner clamps ensure right angles during assembly.
Consider the back panel early – a sturdy, well-fitted back adds rigidity to your cabinet. For a frameless cabinet, dado joints offer a sleek look with strong construction.
Shelving should align with the overall design. Adjustable shelf standards let shelves move easily, while fixed shelves add strength. Decide beforehand to avoid unnecessary retrofitting.
Keep doors and drawer fronts for last. Hinges should align with the frame for smooth operation. Soft-close hinges are a touch of luxury that prevents slamming.
Throughout the process, patience is your ally. Time spent ensuring alignment and fit at each step is the difference between a DIY project and professional-grade cabinetry.
Assembly
Once your pieces are cut and materials gathered, it’s time to turn the flat wood into functioning cabinetry. Begin by laying out your pieces to confirm everything aligns properly. Use clamps to hold pieces together temporarily—it’s like having an extra pair of hands!
Employ a doweling jig or a biscuit joiner for strong, discreet joins, ensuring the cuts for these are precise; it’s the key to a seamless final product. Next, apply wood glue along the edges. It’s the real hero in creating a long-lasting bond—don’t skimp on it!
As you assemble the cabinet box, be sure everything is square. A wonky cabinet is a no-go. Employ corner clamps or a framing square to verify this. Then, attach the back panel. This provides rigidity, so handpick a sturdy piece for this role.
With the frame solid, hinge and door installation follows. Remember, your doors need to swing freely and align correctly—take your time with this step. Lastly, install shelves or drawers, using shelf pins or mounting brackets to adjust the height to your liking. This adaptability is a perk of custom work—you cater precisely to your storage needs.
Remember, patience and precision during assembly lead to the high-quality look and feel of the final product.
The Finished Cabinets
Upon completion, your cabinets should not only be functional but also visually appealing. Here are key points to consider:
Hardware Installation: Knobs, pulls, and hinges are the jewelry of cabinets. Choose hardware that complements the style and enhances usability. Ensure alignment is precise; misaligned cabinet doors or awkwardly fitted handles detract from your hard work.
Adjustments: Doors and drawers will likely need fine-tuning. Use the hinge adjustment screws to align doors properly. Drawers should slide smoothly without sticking or wobbling.
Finishing Touches: Apply finish or paint as needed. If staining, work with the wood grain for the best results. For paint, several thin coats will give a more professional look than one thick one. Always allow adequate drying time before handling.
Installation: Secure cabinetry to the wall studs, ensuring it is level and plumb. This affects the functionality of doors and drawers and the overall appearance.
Quality Control: Step back and scrutinize your work. Doors should be even, finishes consistent, and every element working as intended. Any issues found should be addressed before considering the project complete.
Remember, the attention to these final details is what transforms a mere box into a fine piece of furniture that enhances the space and your craftsmanship.

