Last updated on
Learn the step-by-step process to effectively clean your sink faucet head and restore its shine and water flow.
Key takeaways:
- Soak faucet head in white vinegar to dissolve mineral deposits.
- Use a soft cloth to polish and remove loose deposits.
- Disassemble faucet aerator and soak in vinegar to break down deposits.
- Scrub faucet head with vinegar-soaked sponge or toothbrush.
- Clean faucet handles with mild dish soap and warm water.
What's Inside
What You’ll Need

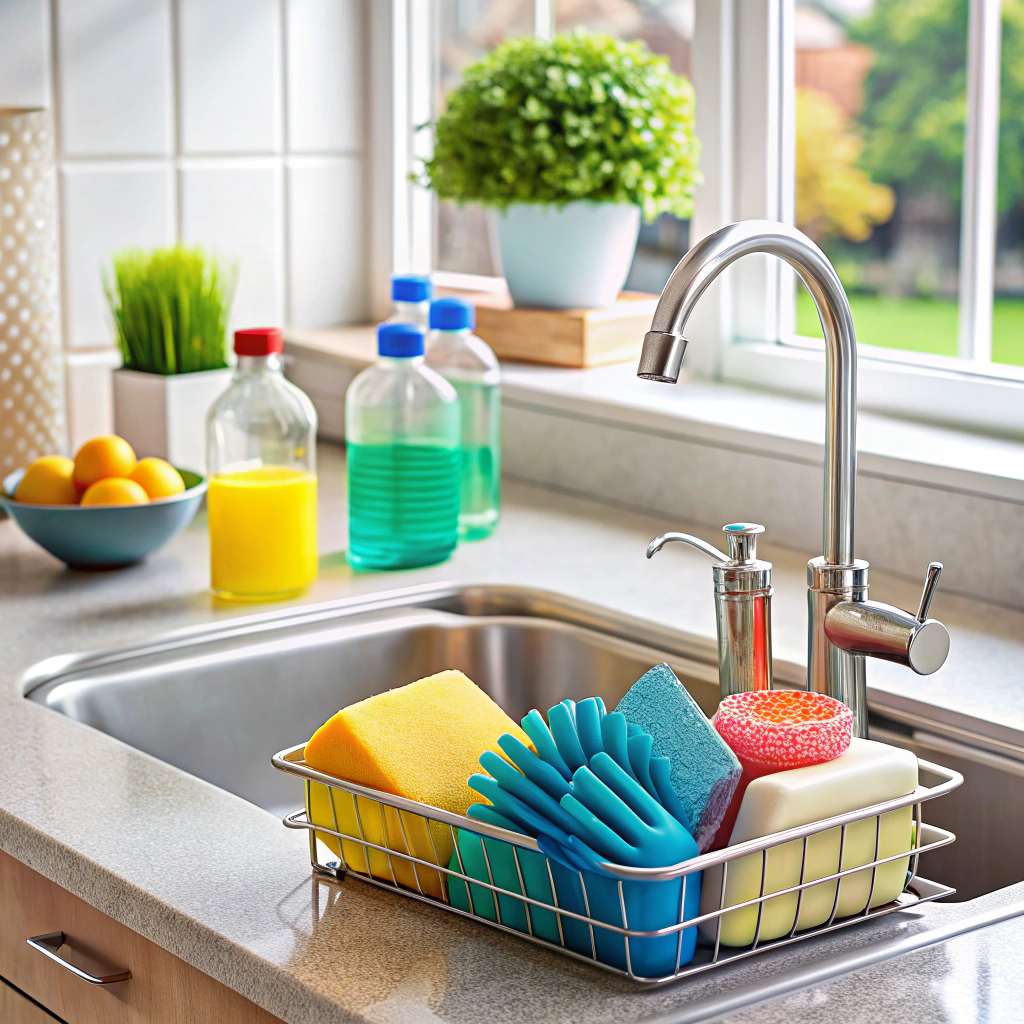
Equipping yourself with the right tools is the first step toward a gleaming faucet head. Make sure to gather the following items before diving into the task:
Distilled white vinegar, the hero for dissolving mineral deposits, is a must-have for your cleaning arsenal. It’s safe, natural, and effective, making it a preferred choice for many cleaning tasks.
A plastic bag and a rubber band or twist-tie, these will be used to create a soaking chamber for your faucet head, ensuring thorough contact with the vinegar.
An old toothbrush is perfect for scrubbing away stubborn grime. Its soft bristles can get into nooks and crannies without scratching the finish.
Baking soda acts as a mild abrasive, fantastic for tackling tough stains while being gentle on surfaces.
A pair of pliers or a wrench may be necessary if you need to remove the faucet aerator for a detailed clean. Always wrap the jaws with tape to prevent scratching the finish.
A soft cloth is the finishing touch for drying and polishing the faucet, leaving it sparkling and streak-free.
Remember, cautious use of tools and gentle scrubbing is key to avoiding damage. With these at the ready, you’re all set to restore shine and function to your faucet head.
How to Clean a Faucet Head With Vinegar
Vinegar’s acidity makes it an excellent natural cleaner for dissolving mineral deposits and bacteria. To get started, you’ll need white vinegar, a plastic bag, a rubber band, and a soft cloth.
Begin by pouring white vinegar into the plastic bag. Submerge the faucet head completely in the vinegar. Ensure the plastic bag is secure – a rubber band does the trick, holding the bag in place. Allow this setup to soak for about an hour, but for stubborn buildup, a longer soak might be necessary.
After soaking, discard the vinegar and remove the bag. Next, use the soft cloth to polish and remove loose deposits. Turn on the hot water to flush out any vinegar and debris from the faucet head. With these steps, your faucet should not only look sparkly clean but also perform better with improved water flow. Remember, the process is gentle on your fixtures and safe for regular maintenance.
How to Clean a Faucet Aerator
When it’s time to give your faucet aerator some attention, the first step is to unscrew it from the faucet head. It’s often a simple twist-off but depending on the model, you might need a wrench. Wrap the aerator with a cloth before using the wrench to prevent scratching.
Once you have the aerator off, disassemble it completely. Take note of the order of the components to make reassembly easier. Then, soak the parts in white vinegar for about an hour to break down mineral deposits. This natural solution is gentle yet effective, eliminating the need for harsh chemicals.
After soaking, use a small brush, such as an old toothbrush, to scrub away the loosened debris. Pay close attention to the mesh screens where most of the buildup occurs. Rinse everything thoroughly with water before reassembling and reattaching the aerator to the faucet.
Regular cleaning not only keeps water flowing smoothly but also helps maintain water quality. Just a few simple steps and your aerator should be as good as new, ensuring an even and aerated water flow.
How to Remove Hard Water Stains and Deposits
Tackling hard water stains and mineral deposits requires a bit more elbow grease, but it’s nothing a little patience and the right technique can’t handle. Let’s dive in.
If you’ve noticed a grimy build-up on your faucet head, it’s likely from hard water—which can be a nuisance, but one that’s easily dealt with. A simple solution is to drape a rag soaked in white vinegar over the affected area. The acidity in vinegar naturally dissolves mineral deposits. Secure the rag with a rubber band and let it sit for an hour or so.
After the soak, remove the rag and use a non-abrasive sponge to scrub the faucet head. The minerals should loosen up, making them easy to wipe away. For crevices and hard-to-reach spots, an old toothbrush dipped in vinegar will be your trusty companion. It’s perfect for targeting those small areas without causing damage to the faucet’s finish.
Lastly, for stubborn areas, you might try a paste made from equal parts vinegar and baking soda. Apply the paste, let it sit for 15 minutes, then scrub gently. Rinse with warm water, and you should see a marked improvement.
Remember, routine maintenance can help prevent heavy build-up in the future, keeping your faucet gleaming with less effort. A quick swipe with a vinegar-dampened cloth once a week can make a world of difference!
How to Clean Faucet Handles
Faucet handles are high-touch areas and can accumulate germs, so it’s crucial to clean them regularly. Daily use can result in a buildup of soap scum, grime, and bacteria that not only looks unappealing but can also compromise your health. Tackling faucet handles is less about technical prowess and more about routine care.
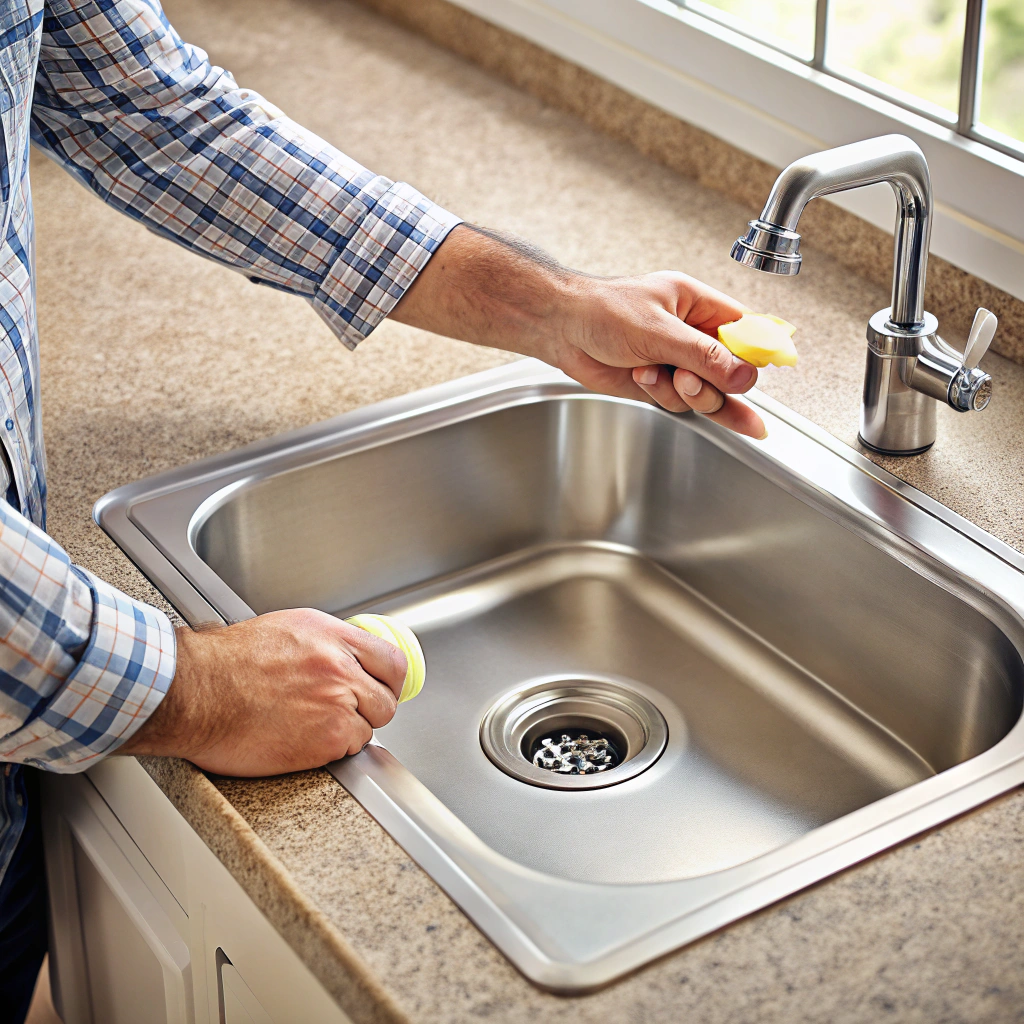
Let’s start with the simplest approach: mild dish soap and warm water. This gentle solution can remove the majority of surface dirt without damaging the finish of your handles. Simply dip a soft cloth in the soapy water, wring it out, and wipe down the handles. For those pesky crevices, use an old toothbrush dipped in the same soapy mixture to scrub them clean.
If the grime is stubborn, consider using a disinfectant or a targeted bathroom cleaner. Ensure it’s suitable for the material of your faucet handles to prevent any damage. Spray or apply the cleaner, let it sit for the prescribed amount of time, and then scrub if necessary. A gentle wipe should follow to remove any cleaner residue; this not only shines the handles but also prevents chemicals from lingering.
Sometimes you might encounter mineral deposits, especially if you have hard water. This calls for a slightly acidic approach: white vinegar. Soak a cloth in vinegar, wrap it around the faucet handles, and let it sit for a few minutes. It loosens the deposits, making them easier to scrub away with that trusty toothbrush.
Remember to dry the handles after cleaning to avert water spots and to give your faucet a polished look. Consistent care will keep the bacteria at bay and maintain the aesthetic appeal of your sink’s hardware. Regular maintenance isn’t just about cleanliness; it extends the life of your faucet handles, ensuring they function well and look great for years to come.


