Last updated on
Discover the essential steps for demolishing a kitchen safely and efficiently, as we guide you through this comprehensive process in our latest blog post.
Are you planning to renovate your kitchen and wondering where to start? Well, the first step in any kitchen renovation project is to demolish the existing one. Demolishing a kitchen may seem like a daunting task, but with proper planning and execution, it can be done smoothly.
In this article, we will guide you on how to demo a kitchen efficiently and safely. So, grab your tools and let’s get started!
Key takeaways:
- Safety Precautions: Wear protective gear, turn off utilities, use proper tools, have a first aid kit, work with a partner.
- Necessary Tools: Safety gear, demolition hammer, pry bar, screwdriver set, reciprocating saw.
- Prepare the Space: Remove items, cover furniture and appliances, turn off utilities, have a dumpster.
- Disconnect Utilities: Turn off water supply and gas lines, consult professionals if needed.
- Remove Appliances: Unplug, move carefully, empty refrigerator, turn off gas for stoves/ovens.
What's Inside
Safety Precautions
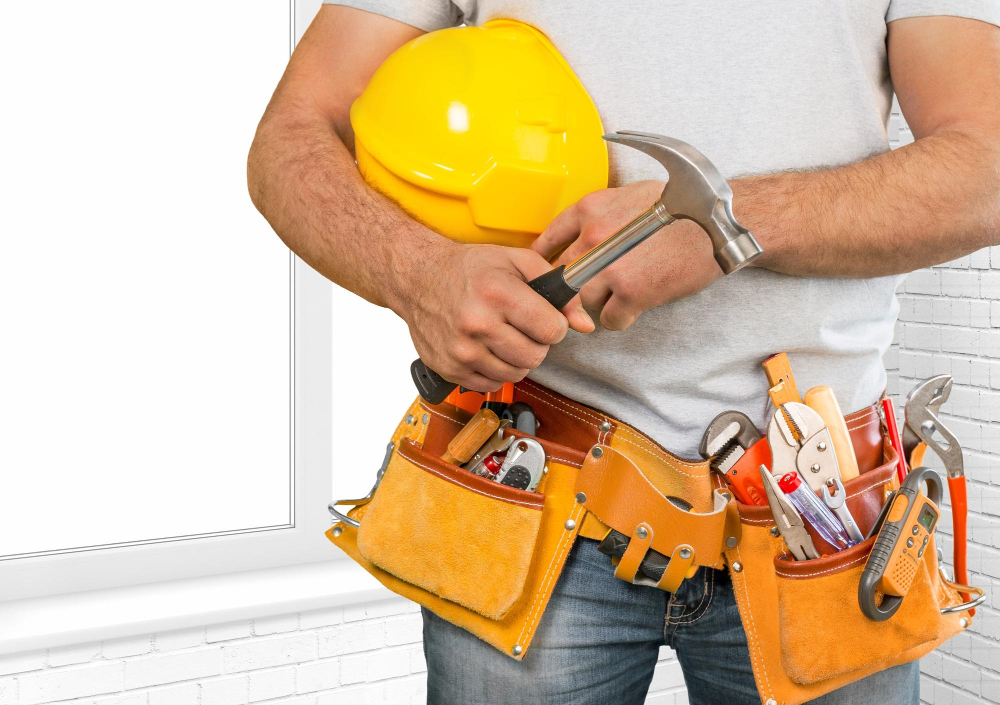
Before you start demolishing your kitchen, it’s essential to take safety precautions seriously. Demolition work can be dangerous and unpredictable, so it’s crucial to protect yourself and others around you.
Here are some safety tips that will help keep everyone safe during the demolition process:
1. Wear protective gear: Always wear personal protective equipment (PPE) such as gloves, goggles, hard hats, dust masks or respirators.
2. Turn off utilities: Before starting any demolition work in your kitchen make sure all utilities like gas lines and electrical wires are turned off.
3. Use proper tools: Make sure you have the right tools for the job at hand; using improper tools can lead to accidents.
4. Keep a first aid kit nearby: Accidents happen even when taking necessary precautions; having a first aid kit on hand is always advisable.
5. Work with a partner or team member(s): Having someone else present while working on demoing your kitchen ensures that there is someone who can assist if an accident occurs.
Necessary Tools

Having the right equipment can make your work easier and more efficient. Here are some of the necessary tools that you should have before starting your demolition project:
1. Safety Gear: Before anything else, ensure that you have safety gear such as gloves, goggles, dust masks or respirators to protect yourself from injuries and harmful substances.
2. Demolition Hammer: A demolition hammer is an essential tool for breaking down walls and removing tiles.
3. Pry Bar: A pry bar is useful in removing baseboards, molding or any other fixtures attached to the wall.
4. Screwdriver Set: You’ll need screwdrivers of different sizes to remove screws holding cabinets together or appliances in place.
5. Reciprocating Saw: This saw comes in handy when cutting through pipes behind walls or dismantling cabinetry with nails instead of screws.
6. Wrecking Ball/ Sledgehammer – For knocking down large structures like countertops.
7. Dumpster- To dispose off debris.
Preparing The Space
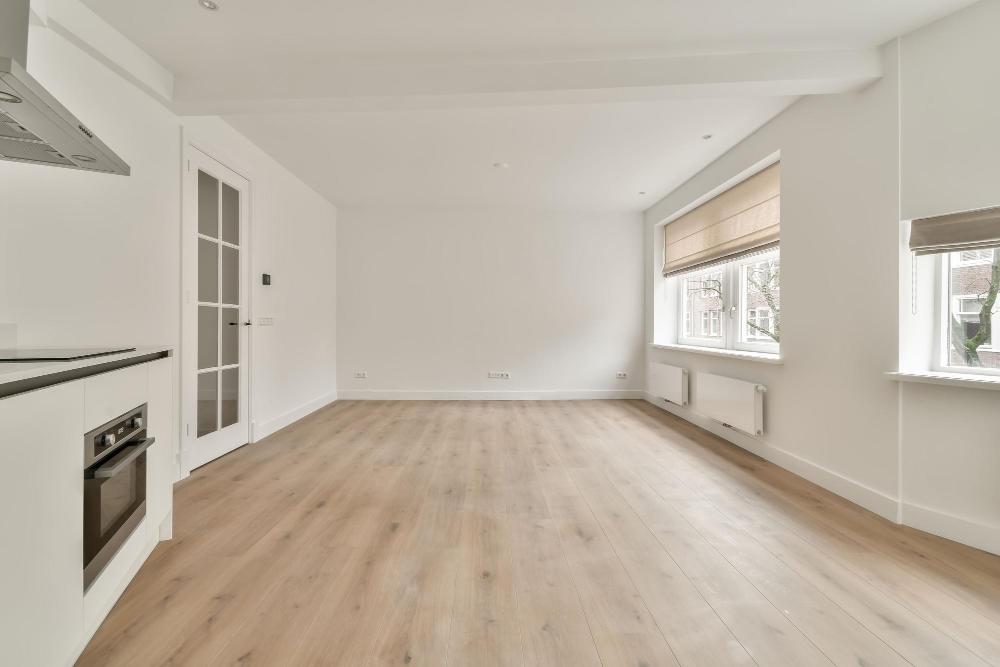
Preparing the area will help ensure that everything goes smoothly and safely during demolition. First, remove all items from your cabinets and drawers to prevent them from getting damaged or dirty during the process.
Next, cover any furniture or appliances in adjacent rooms with plastic sheets to protect them from dust and debris. You should also seal off doorways leading into other parts of your home with plastic sheeting or tarps.
It’s important to turn off all utilities before starting demolition work. Shut off electricity at the breaker box and gas at its source if applicable; this will prevent accidents such as electrocution or gas leaks while working on electrical wiring or plumbing fixtures.
Make sure you have enough space for a dumpster outside of your home where you can dispose of debris easily after completing demo work inside.
Disconnect Utilities
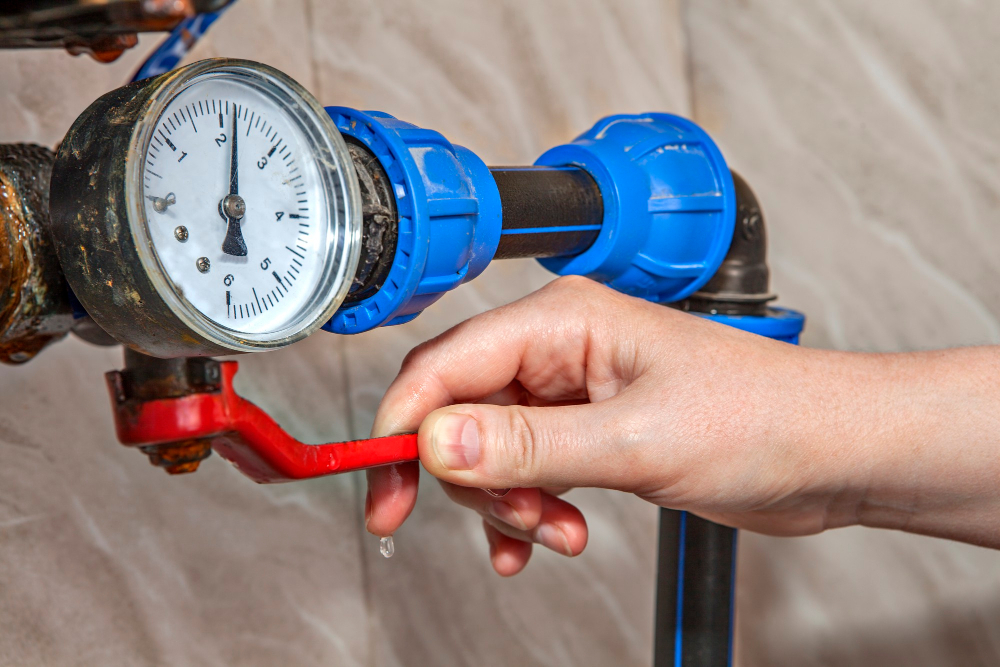
This includes turning off the water supply and gas lines if applicable. You don’t want to accidentally damage any pipes or wires during the demolition process, which could lead to costly repairs.
To turn off the water supply, locate the shut-off valve under your sink or in a nearby utility room. Turn it clockwise until it stops rotating.
If you’re unsure where your shut-off valve is located, consult with a plumber before starting.
For gas lines, turn off the main gas valve outside of your home and then close each individual appliance’s shutoff valves as well.
Remove Appliances
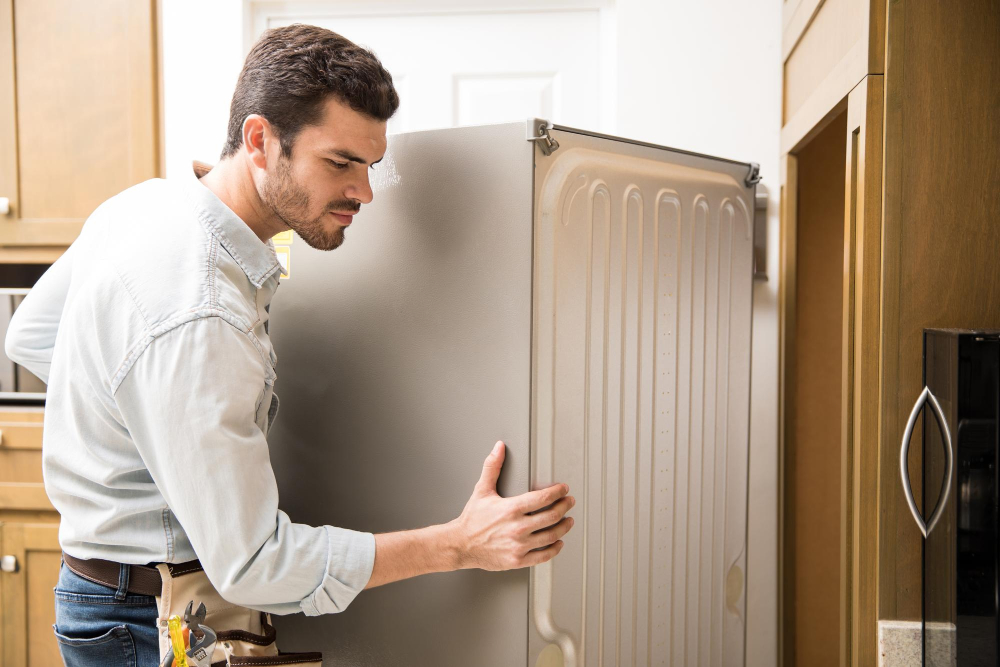
Start by unplugging them and then carefully move them out of their positions. Appliances like refrigerators, ovens, dishwashers and microwaves can be heavy and bulky so you may need an extra pair of hands or a dolly to help with moving them.
When removing your refrigerator, make sure that you empty its contents first before unplugging it from the wall socket. You should also defrost it at least 24 hours before demo day to avoid water damage during transportation.
For gas stoves or ovens, turn off the gas supply valve located behind or under each appliance before disconnecting any hoses connected to your home’s natural gas line.
Once all appliances are removed from their spots in your kitchen space safely transport them outside for disposal according to local regulations.
Dismantle Cabinetry

Before you start, make sure to remove all the items from your cabinets and drawers. You can either donate or sell them if they are still in good condition, or dispose of them if they are no longer usable.
To dismantle the cabinets, begin by removing any screws that hold them together. If there is glue holding parts of the cabinet together, use a hammer and chisel to break it apart gently.
Once you have removed all screws and broken down any glued areas on one side of each cabinet box (the back), carefully pry it away from its neighboring boxes using a crowbar or similar tool until it comes free entirely.
Repeat this process for each cabinet box until everything has been dismantled completely. Be careful not to damage walls during this process as well as other fixtures like countertops that may be attached to these cabinets.
Remove Countertops

Before you start, ensure that all appliances and cabinets are out of the way. If your countertop is made of granite or marble, it’s best to hire professionals as they can be heavy and difficult to remove without causing damage.
If you’re removing laminate countertops, use a pry bar or putty knife to loosen any adhesive holding them in place. Start at one end and work your way across until the entire countertop has been removed.
For tile countertops, use a hammer drill with a chisel bit to break up the tiles carefully. Once all tiles have been removed from their position on top of counterspace below them should be visible for further removal.
Remove Backsplash

The backsplash is usually installed above the countertop and behind the sink, stove, or any other area that may be prone to splashes. It’s important to remove it carefully so as not to damage any surrounding surfaces.
To remove a tile backsplash, start by cutting through the grout with a utility knife or grout saw. Then use a putty knife or chisel to gently pry off each tile from its adhesive backing until all tiles are removed.
If your kitchen has a laminate backsplash, you can use heat and pressure to loosen it from its adhesive backing before prying it off with a putty knife.
Take Down Ceiling Fixtures

If you’re not confident in your electrical skills, it’s best to hire a professional electrician for this task.
Once the power is turned off, remove any light bulbs and detach the fixture from its mounting bracket. Use a screwdriver or drill to loosen screws that hold it in place.
If there are any ceiling fans or chandeliers installed, they will require additional steps for removal. For instance, if you have a heavy chandelier hanging from your kitchen ceiling with chains and wires attached directly into an electrical box on top of the drywall surface; then removing such fixtures requires extra care as well as expertise.
It’s important to note that some older homes may have asbestos-containing materials used in their ceilings which can be hazardous when disturbed during demolition work. In such cases where asbestos is suspected or confirmed present within these materials (such as popcorn ceilings), homeowners should contact licensed professionals who specialize in safe removal procedures before proceeding further with their demo project.
Remove Flooring

Removing old flooring can be a challenging task that requires some elbow grease and patience. The first step is to determine what type of flooring you have in your kitchen.
If it’s tile or vinyl, use a hammer and chisel to break up the tiles into manageable pieces for removal.
If you’re dealing with hardwood floors or laminate planks, start by removing any baseboards around the perimeter of your kitchen using a pry bar or crowbar. Then begin pulling up individual boards starting from one end of the room until all are removed.
It’s important to note that if there is asbestos present in any part of your floor (commonly found in older homes), do not attempt this yourself as it can be hazardous; instead hire professionals who specialize in asbestos removal.
Kitchen Demo Timeframe

But how long will this process take? The timeframe for a kitchen demo can vary depending on the size of your space and the complexity of your project. A small kitchen with minimal cabinetry may only take a day or two to demo, while larger kitchens with more appliances and intricate designs could take up to a week.
It’s important to plan accordingly when scheduling your demolition project. Consider factors such as whether you’ll be doing it yourself or hiring professionals, how much help you have available, and any unexpected issues that may arise during the process.
Remember that rushing through a demolition can lead to mistakes or accidents that could cost even more time in repairs later on. Take things slow but steady so that everything is done correctly from start-to-finish.
DIY Kitchen Demolition Costs

However, it’s essential to have a clear understanding of the costs involved before embarking on this project. The cost of demolishing a kitchen will depend on various factors such as the size and complexity of your kitchen, disposal fees, and rental equipment costs.
If you’re planning to do everything yourself without hiring any professionals or renting specialized tools like jackhammers or saws, then you can expect to spend less than $1,000 in total. However, if you need professional help with electrical wiring or plumbing work during demolition (which we recommend), then these services will add up quickly.
Another significant factor that affects DIY demo costs is waste removal expenses. You’ll need somewhere to dispose of all your old cabinets and appliances once they’ve been removed from their original location – which means renting a dumpster may be necessary depending on how much debris there is.
Sorting and Removing Items
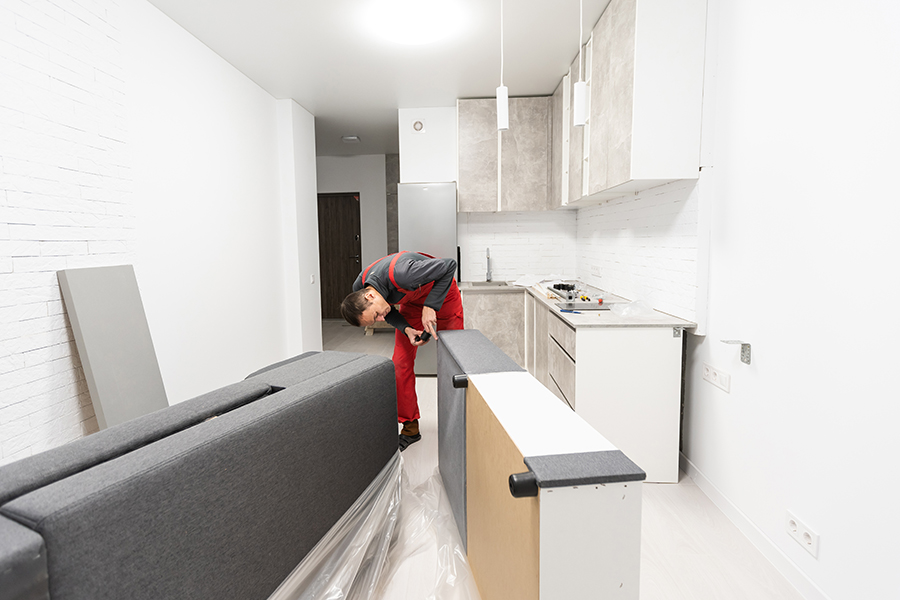
This step is crucial because it helps you identify what needs to be kept or discarded. You can donate usable items such as appliances or utensils that are still in good condition.
Once you’ve sorted out everything that needs to go, remove them from the kitchen area before starting demolition work. It will help create more space for movement during demolition while also reducing clutter.
It’s important not to underestimate how much stuff accumulates over time in a kitchen; therefore sorting through everything beforehand will make things easier when removing them from the space.
Renting a Dumpster
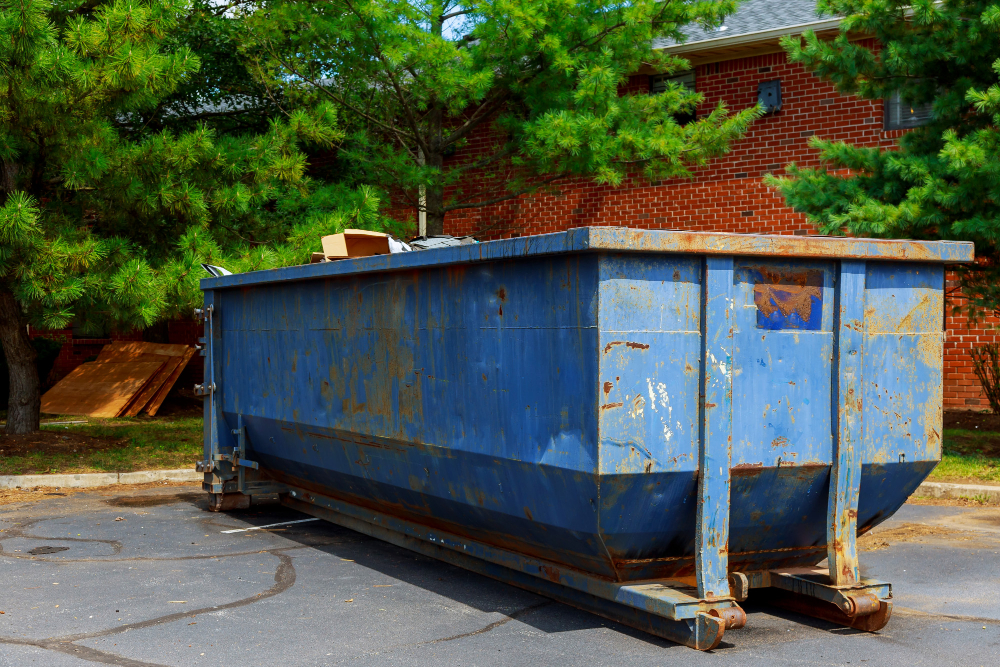
Renting a dumpster is an excellent way to dispose of all the debris and waste generated during the demolition process. A dumpster rental company can deliver the container right to your doorstep, making it easy for you to load up all the debris and have them haul it away.
Before renting a dumpster, consider its size based on how much waste you expect from your project. You don’t want one that’s too small or too big for what you need as this could affect costs significantly.
Also, check with local authorities if there are any permits required before placing dumpsters in public areas such as streets or sidewalks. Some cities may require permits before allowing dumpsters on their property.
Once everything is sorted out with regards to size and permit requirements (if applicable), schedule delivery at least one day ahead so that when demo day arrives, everything runs smoothly without delays caused by waiting for deliveries. Renting a dumpster makes disposing of demolition materials easier while keeping things organized throughout the entire process.
Protecting Floors and Surfaces
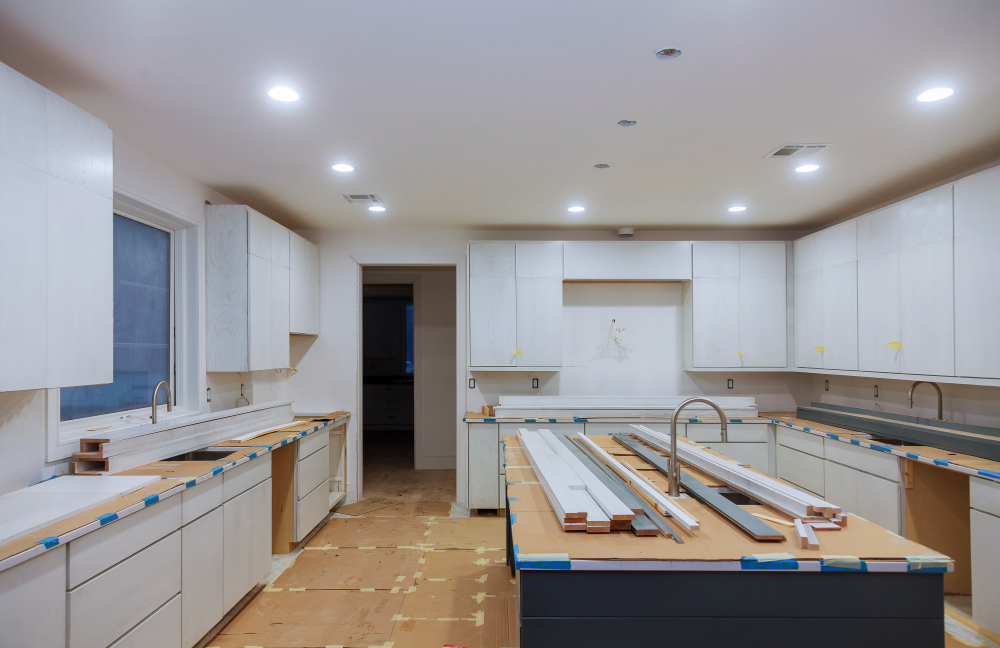
Demolition work can be messy, with debris flying everywhere. You don’t want to damage other parts of your house while trying to renovate one area.
To protect the floors, cover them with a thick layer of cardboard or rosin paper. These materials will absorb any spills or stains that may occur during demolition work.
For countertops and cabinets that are not being removed but need protection from scratches or dings, use heavy-duty plastic sheeting secured with painter’s tape.
It is also important to cover any furniture near the kitchen area as well as doorways leading into other rooms where dust could travel through.
Dealing With Dust
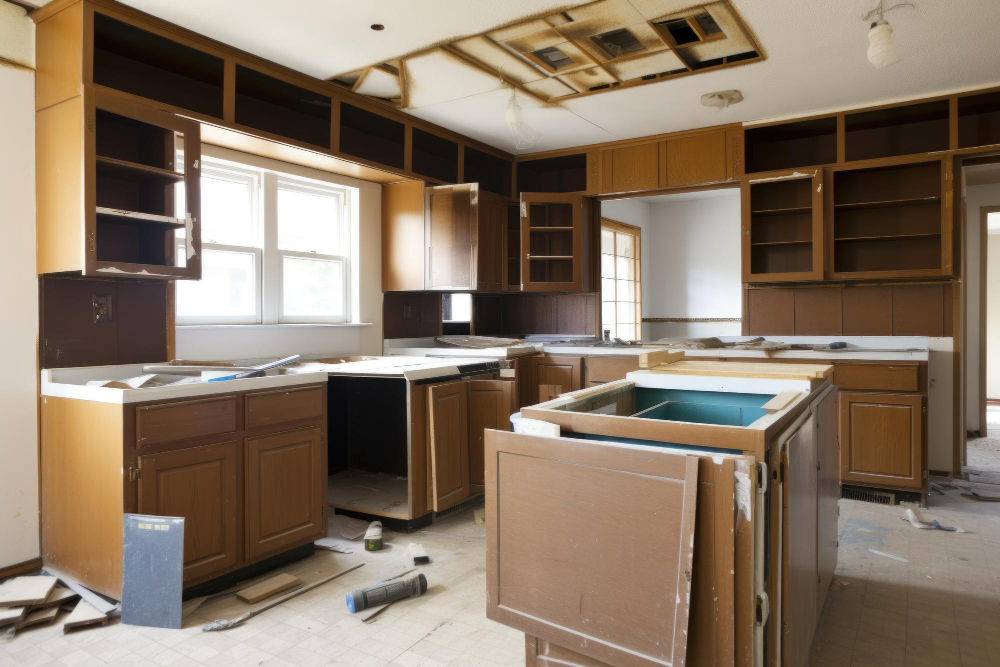
The amount of dust generated during demolition can be overwhelming, and it’s important to take steps to minimize its impact on your home.
To deal with the dust effectively, start by sealing off the area where you’ll be working. Cover doorways and vents with plastic sheeting or tape to prevent dust from spreading throughout your home.
You should also wear protective gear such as goggles, masks or respirators while working in dusty areas.
Another way to reduce the amount of airborne particles is by using water when breaking down materials like drywall or tiles that produce fine particulate matter when disturbed. Spraying water on surfaces before demolishing them helps keep debris from becoming airborne.
Invest in an air purifier for better indoor air quality during demolition work; this device filters out harmful particles that may cause respiratory problems if breathed in over time.
Creating a Garbage Plan
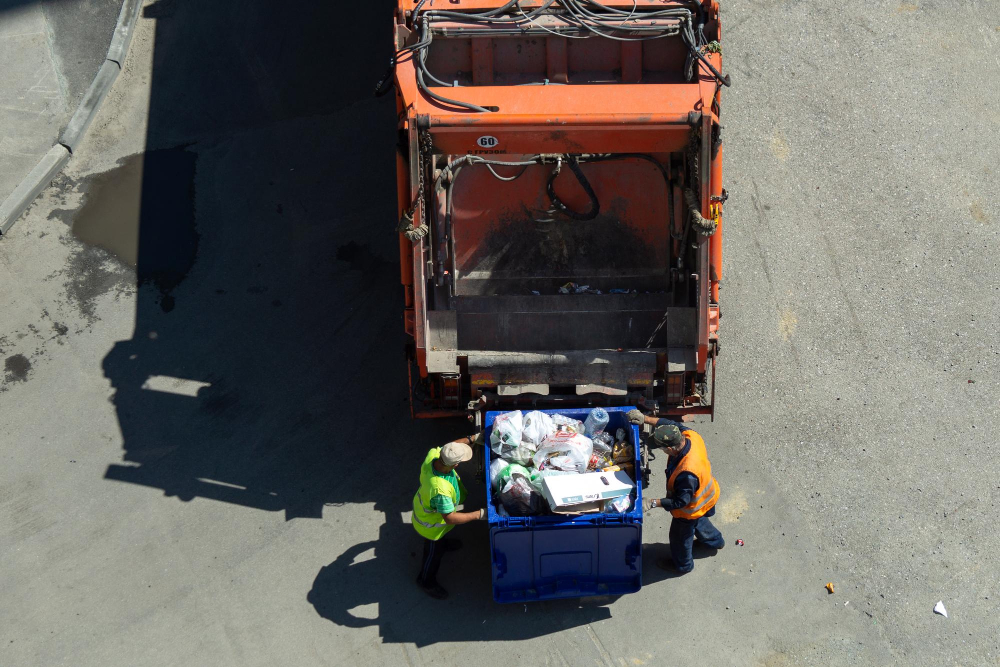
Therefore, creating an effective garbage plan is essential to ensure that the process runs smoothly and efficiently. You need to decide how you will dispose of all the debris generated during the demolition process.
One option is renting a dumpster from your local waste management company. A dumpster provides ample space for disposing of large items such as cabinets and countertops without worrying about overfilling trash cans or making multiple trips to the dump.
Another option is hiring a junk removal service that specializes in construction debris disposal. They can help haul away any unwanted materials quickly and safely while ensuring proper disposal methods are followed.
It’s important also not forget about recycling options available in your area for materials like metal, glass or plastic which can be reused instead of ending up in landfills unnecessarily.
Building a Demolition Team

Therefore, you need to build a demolition team that will help you with the process. You can ask your friends or family members who are willing to lend their time and energy for the project.
When building your demolition team, ensure that each member has specific roles assigned based on their skills and experience. For instance, someone with carpentry skills can be tasked with dismantling cabinetry while another person handles removing appliances.
It’s also essential to have clear communication among all members of the team throughout the entire process. This ensures everyone knows what they’re supposed to do at any given moment.
Lastly, make sure everyone on your demolition team wears protective gear such as gloves and safety glasses during work hours for maximum safety precautions.
Removal Order and Tips
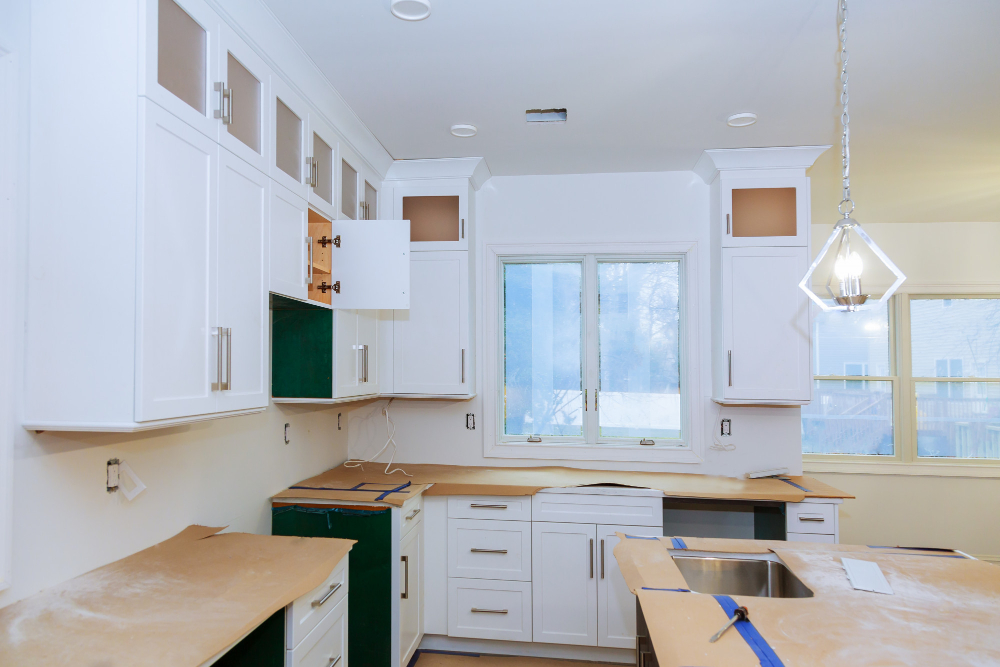
But before you begin hauling everything out of your kitchen space haphazardly, it is important to have a plan in place for removal order.
Start by sorting through the items that are still salvageable or reusable. Set aside any materials that can be donated or recycled such as cabinets in good condition or appliances that still work.
This will help reduce waste while also giving back to your community.
Next up is deciding on a removal order for the remaining debris. It’s best practice to start from top-down when demolishing a kitchen so we recommend starting with ceiling fixtures followed by upper cabinets then lower ones and finally baseboards.
When removing large pieces like countertops or backsplashes use caution not only because they’re heavy but also because they may contain sharp edges which could cause injury if mishandled during demolition.
Lastly, make sure you dispose of all materials properly according to local regulations – this includes hazardous waste like old paint cans which should be disposed of at designated facilities rather than thrown into regular trash bins.
Final Cleanup
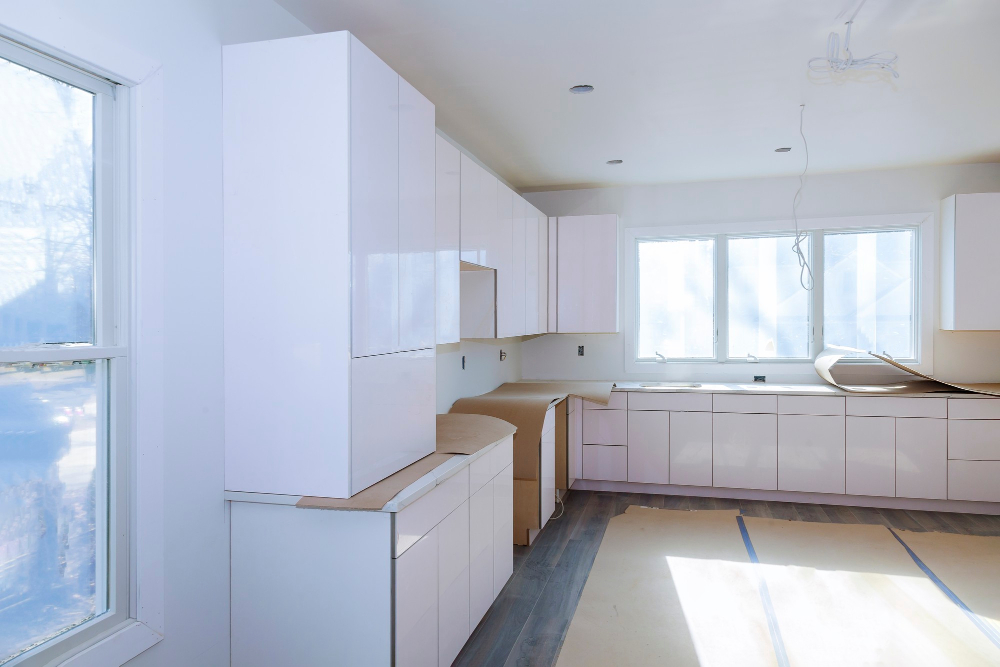
This step is crucial as it ensures that your space is ready for the next phase of renovation. Start by removing all debris and disposing of them properly in a rented dumpster or garbage bags.
Next, sweep and vacuum any remaining dust or debris from floors, walls, and ceilings. Use a damp cloth to wipe down surfaces such as countertops and cabinets thoroughly.
If you have exposed pipes or electrical wires after demoing your kitchen, make sure they are covered with protective materials like plastic wrap before cleaning up to avoid damage during construction work.
Inspect every corner of your kitchen area for any missed items that need removal before proceeding with further renovations.
Recycling Materials
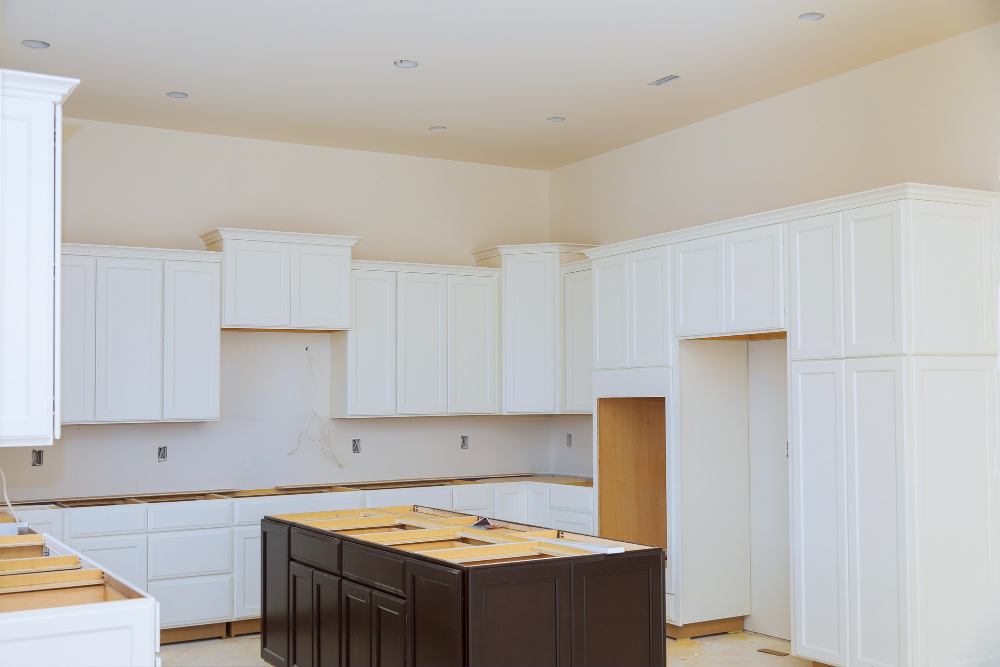
Recycling is an eco-friendly way to dispose of waste and reduce the amount of garbage in landfills. Some common recyclable materials found in kitchens include metal appliances, cabinets made from wood or particleboard, glass windows and doors, plastic containers and packaging material.
Before starting the demolition process, it’s essential to identify which items can be recycled. You may need to separate these items from other debris during the removal process so they can be taken away for recycling later on.
If you’re unsure about what materials are recyclable or how to recycle them properly in your area, contact your local recycling center for guidance. They will provide information on what types of materials they accept and how best to prepare them for collection.
By taking steps towards responsible disposal during a kitchen renovation project through recycling efforts like this one – we all contribute positively towards our environment!.
FAQ
How difficult is it to demo a kitchen?
Demolishing a kitchen is not difficult, as it does not require specialized skills and can be done by most homeowners using common household tools.
What safety precautions should be taken while demolishing a kitchen?
“Before demolishing a kitchen, ensure proper safety precautions such as shutting off utilities, wearing protective gear, and conducting a thorough inspection to avoid potential hazards.”
What are the essential tools and equipment required for a kitchen demolition?
Essential tools and equipment for a kitchen demolition include a pry bar, hammer, screwdriver, utility knife, gloves, protective eyewear, and a respirator mask.
How can one properly dispose of the debris produced during a kitchen demolition?
To properly dispose of debris produced during a kitchen demolition, rent a dumpster and separate materials for recycling, reusing, or proper disposal based on local regulations.


