Last updated on
Discover the essential steps to effectively resolve a kitchen faucet that refuses to turn off, ensuring you save water and maintain a functional home.
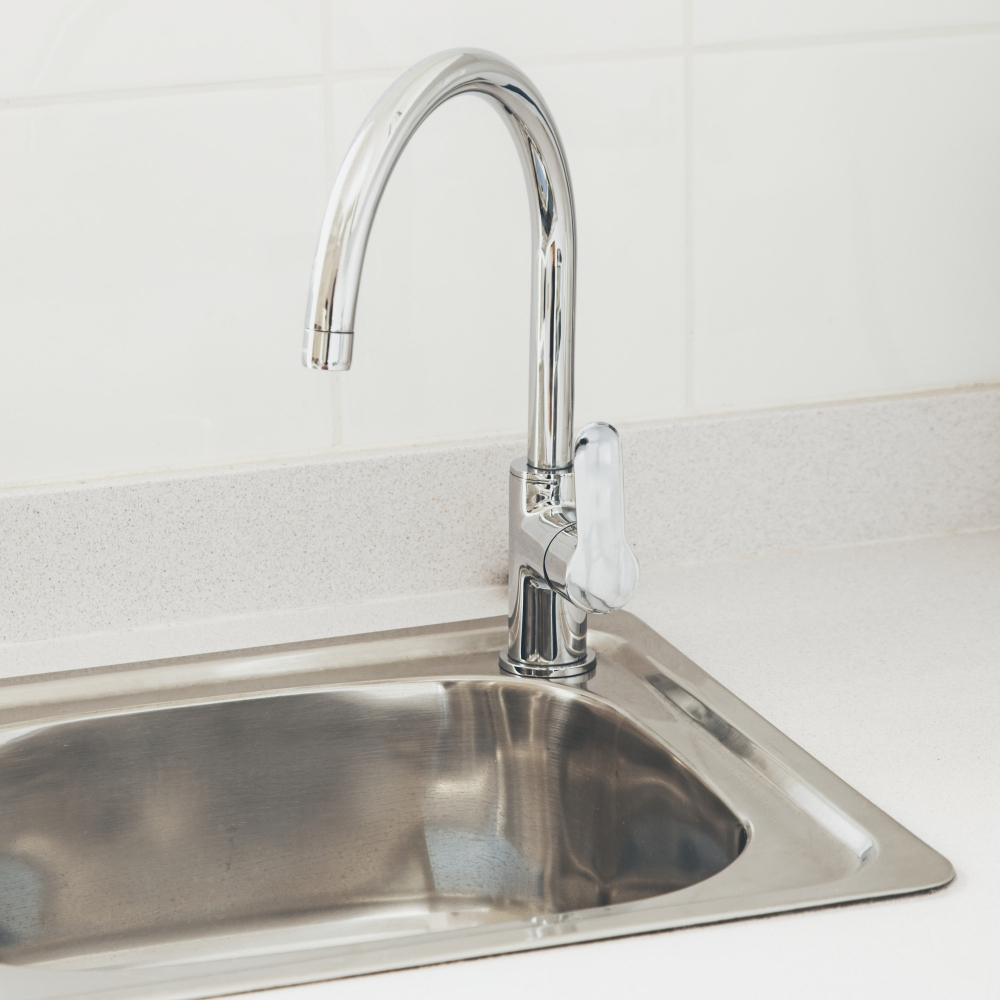
Are you tired of hearing the constant drip-drip-drip from your kitchen faucet? Does it seem like no matter how hard you twist the handle, the water just won’t turn off completely? A malfunctioning kitchen faucet can be a major annoyance, not to mention a waste of water and money. But before you call in a plumber and spend a small fortune on repairs, there are some simple steps you can take to fix the problem yourself.
In this article, we’ll walk through some common causes of faucets that won’t turn off and provide step-by-step instructions for how to fix them. So roll up your sleeves and let’s get started!
What's Inside
Identify the Faucet Type
The first step in fixing a kitchen faucet that won’t turn off is to identify the type of faucet you have. There are four main types: ball, cartridge, compression, and ceramic disk.
Each type has its own unique design and requires different repair techniques.
To determine which type of faucet you have, start by examining the handle. A ball-type faucet will have a single lever that controls both hot and cold water flow.
A cartridge-type will also typically feature a single lever but with distinct hot/cold indicators on either side of it.
A compression-style kitchen sink tap features two separate handles for controlling hot and cold water flow independently while requiring more force to turn them off completely than other types. Ceramic disk faucets usually come with one or two levers like cartridges but operate differently internally.
Identifying your specific model is crucial because each style has its own set of parts that need replacement when they fail or malfunction over time due to wear-and-tear from regular use.
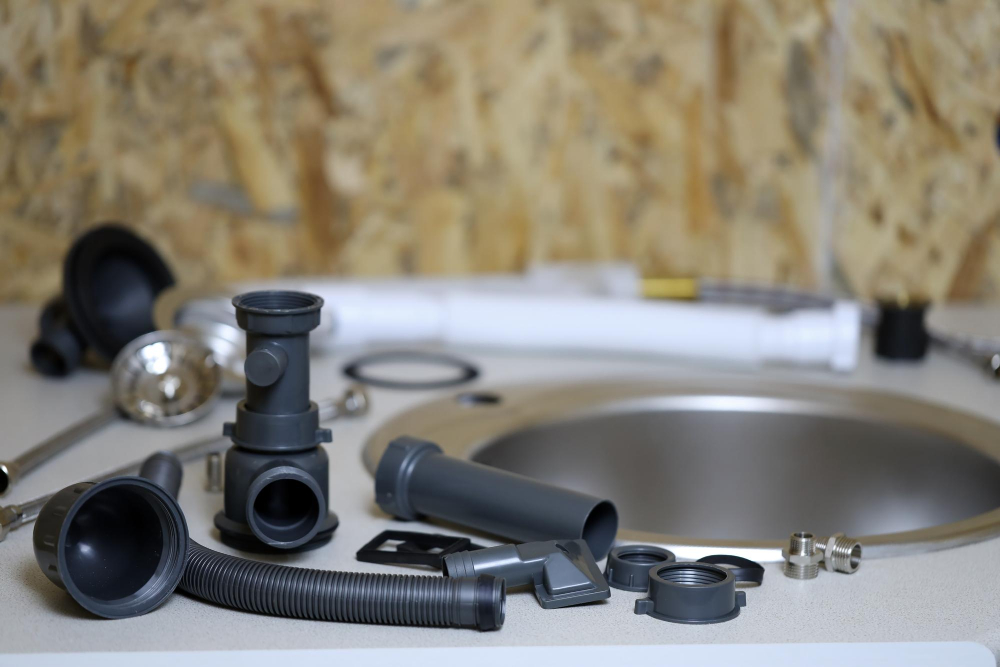
Gather Necessary Tools
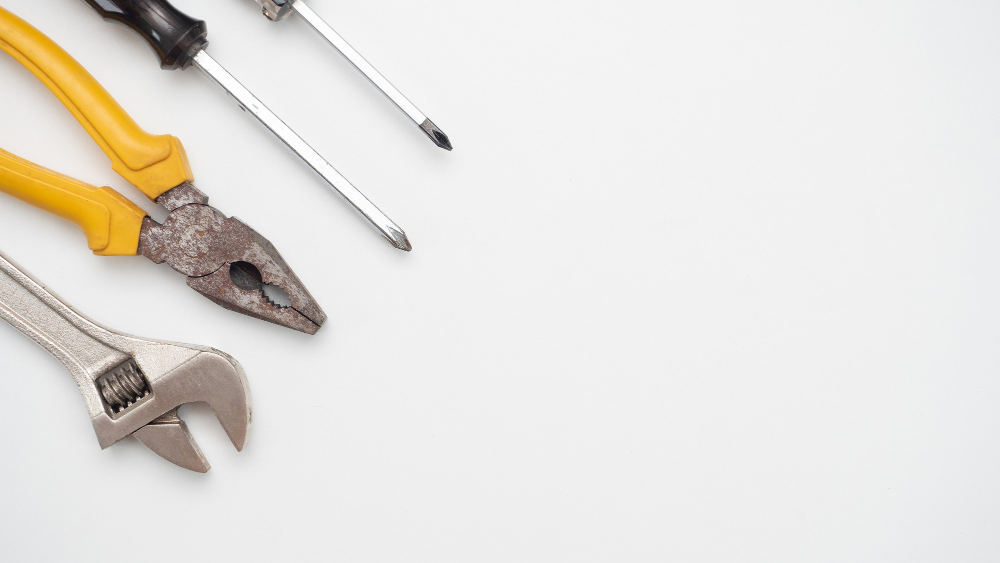
Before starting any repair work, make sure you have all the required tools at hand. This will save you from running back and forth to your toolbox while working on your faucet.
The most common tools needed for repairing a kitchen faucet include an adjustable wrench, pliers or channel locks, screwdrivers (both flathead and Phillips), Allen wrenches or hex keys (depending on the type of handle), penetrating oil such as WD-40 or PB Blaster (to loosen stuck parts) and replacement parts like washers and cartridges.
It’s important to note that not all faucets require every tool listed above. Some may only need a few basic items like pliers and screwdrivers while others may require more specialized equipment depending on their design.
By gathering all necessary tools before beginning repairs, you can ensure that everything runs smoothly without interruptions.
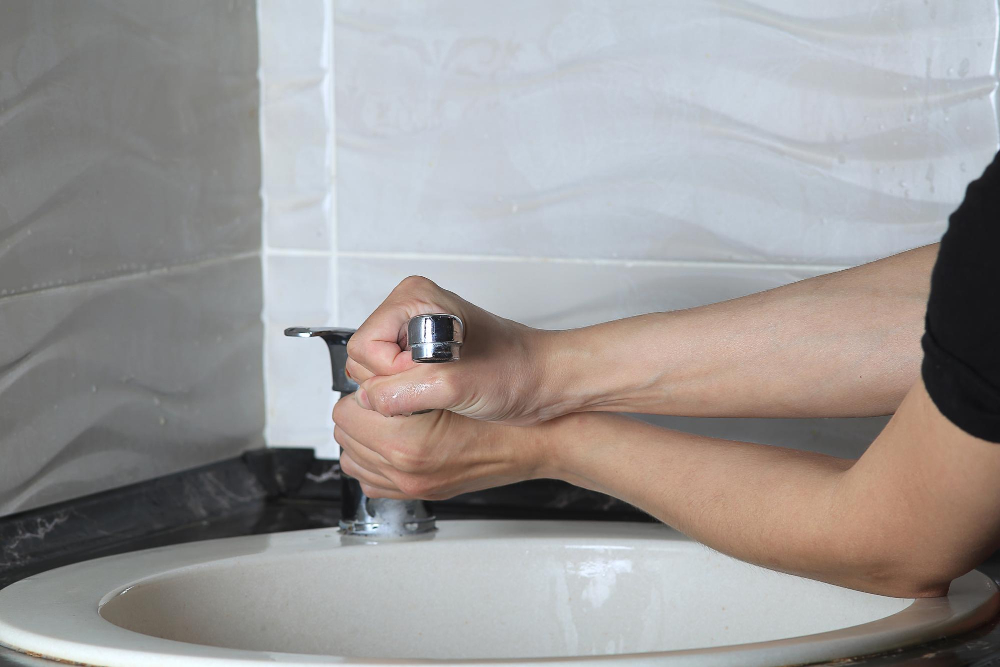
Switch Off Water Supply
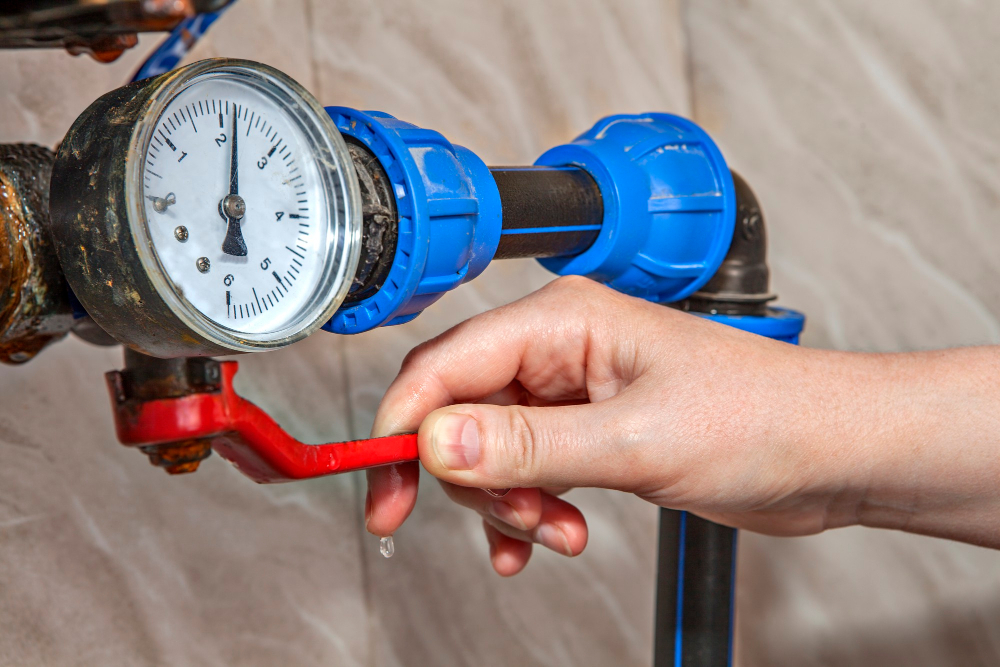
This is a crucial step that will prevent any further damage or flooding while you work on fixing your kitchen faucet.
To turn off the water supply, look for two valves under your sink – one for hot water and one for cold. Turn both valves clockwise until they are completely closed.
If there are no individual shut-off valves under your sink, then you’ll need to turn off the main valve that controls all of the water in your home.
If you’re not sure where this valve is located, check near your home’s main meter or consult with a professional plumber who can help guide you through this process.
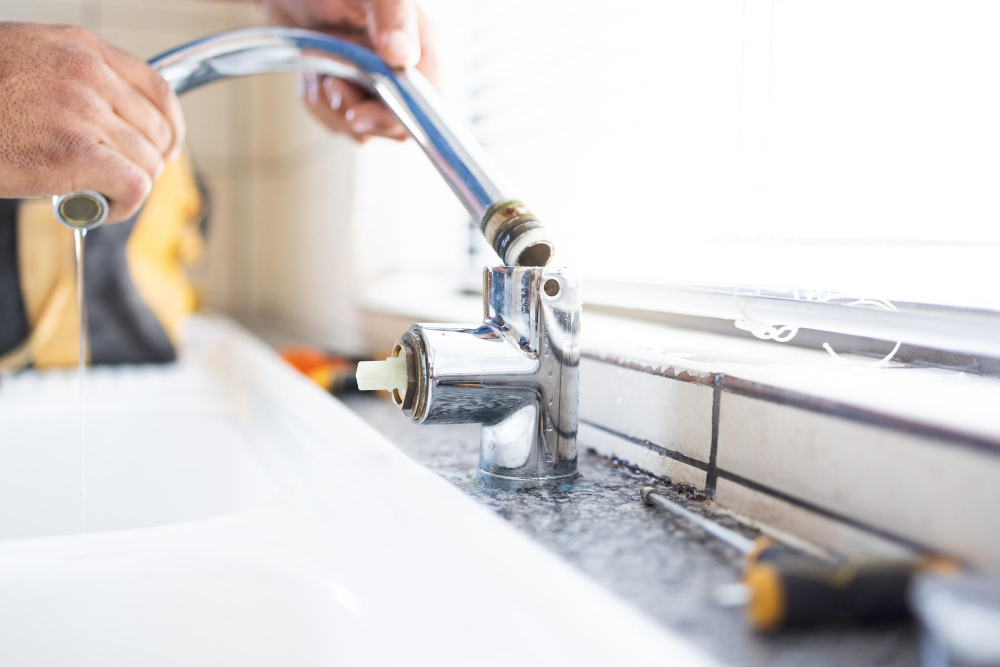
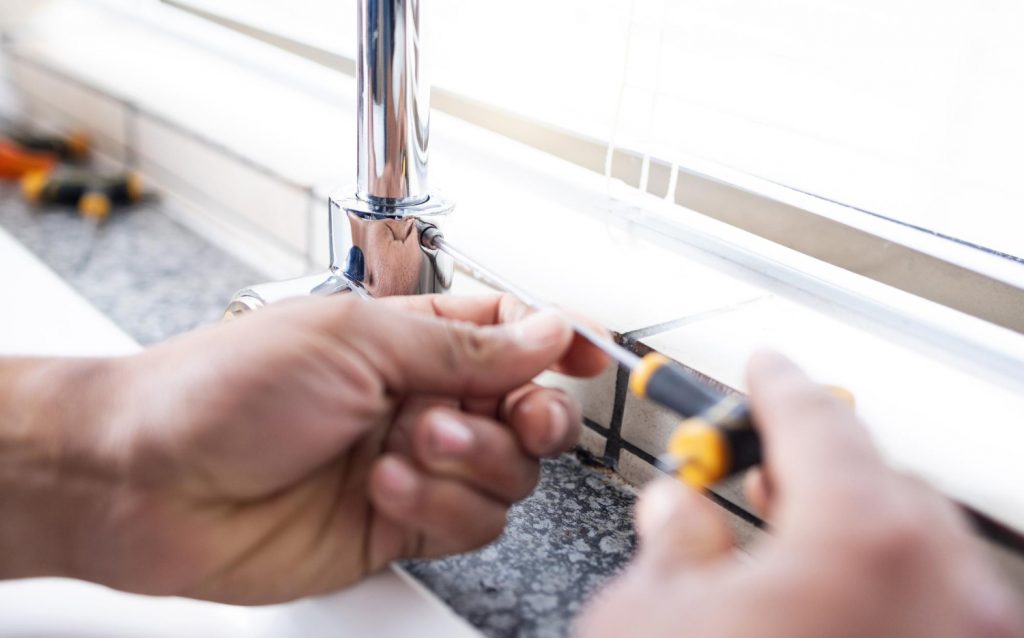
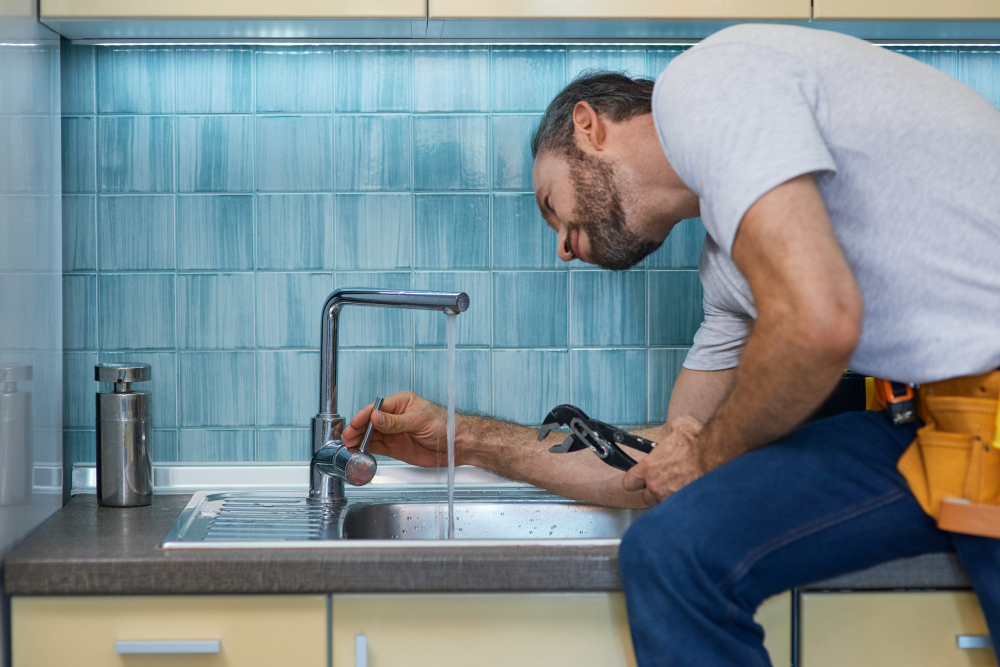
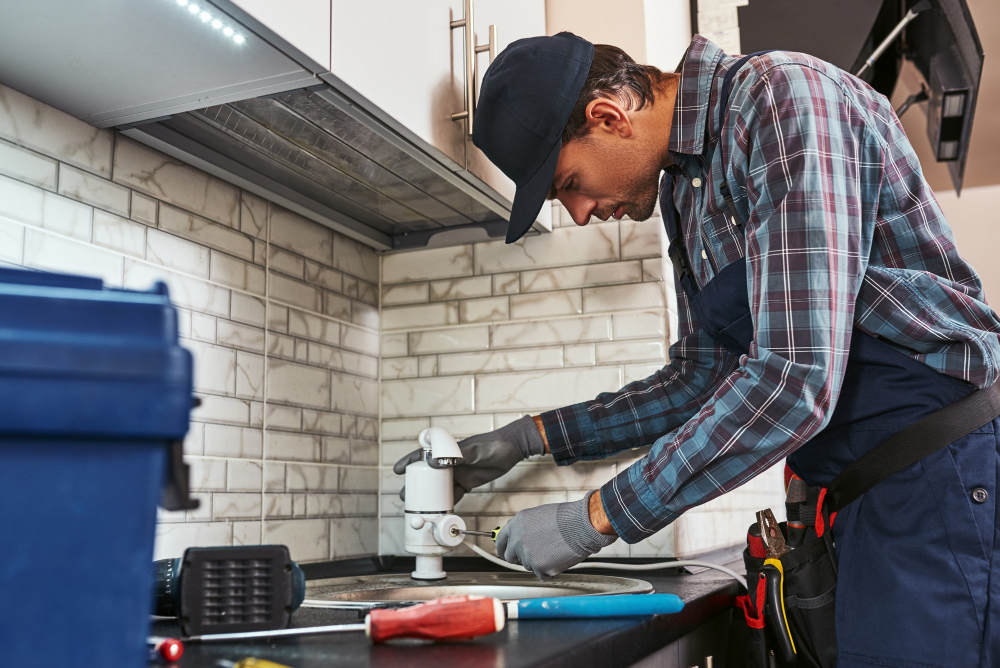
Remove Faucet Handle
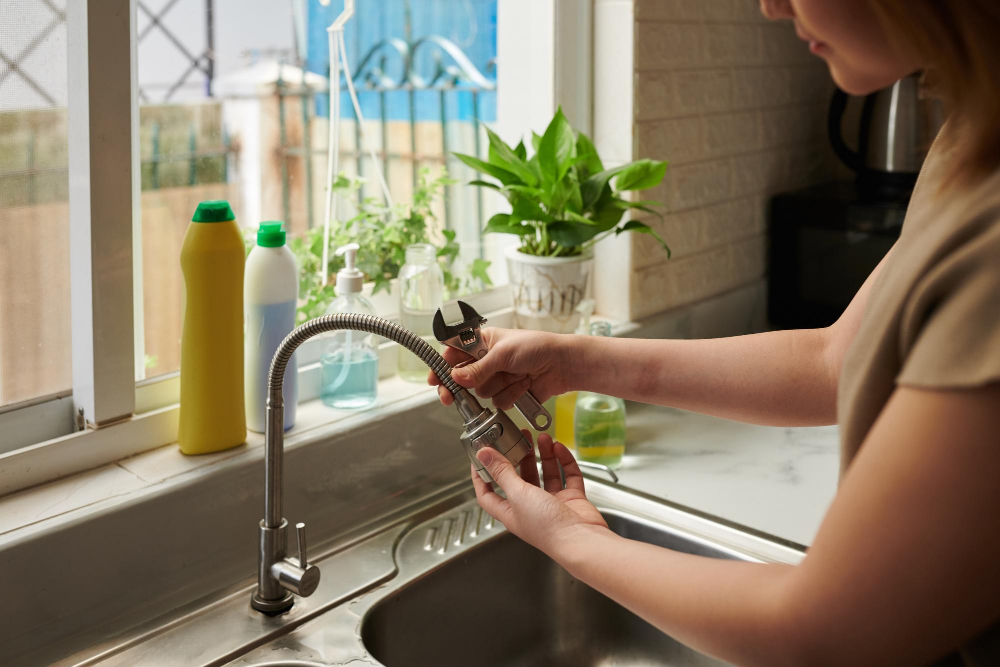
This is a crucial step in fixing your kitchen faucet that won’t turn off. Here’s how to do it:
- Locate the screw cover on top of your faucet handle.
- Use a flathead screwdriver or utility knife to pry off this cover.
- Unscrew and remove the mounting screw underneath using an Allen wrench or Phillips head screwdriver.
- Gently wiggle and pull up on the handle until it comes loose.
If you encounter any resistance during this process, double-check that you’ve removed all screws holding down other parts of your sink fixture before proceeding further.
Reasons Behind Your Faucet Won’t Turn Off
There are several reasons why your faucet may be malfunctioning, and understanding these causes can help you diagnose and fix the problem more effectively.
The most common reason for a faucet that won’t turn off is an issue with its internal components. Over time, parts like washers, cartridges or stems can become worn down or damaged due to regular use.
This wear and tear can cause leaks or make it difficult for you to shut off water flow completely.
Another possible culprit could be mineral buildup inside your pipes which restricts water flow leading to low pressure at faucets making them hard-to-turn-off. In some cases, there may also be issues with external factors such as loose screws on handles causing misalignment between handle position & valve stem position resulting in difficulty turning-off.
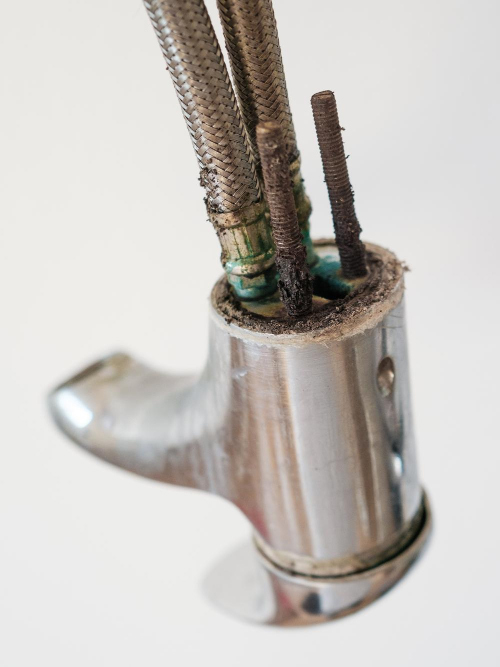
Inspect Cartridge or Stem
These are two essential components that control water flow in your kitchen faucet. If they become damaged or worn out, your faucet may not turn off properly.
To inspect these parts, first remove any decorative caps covering them and then unscrew them using pliers or a wrench. Once removed, examine both parts for signs of wear and tear such as cracks or corrosion.
If you notice any damage to either component, it’s best to replace them entirely rather than trying to repair individual pieces. This will ensure that your kitchen faucet functions correctly for years to come.
Problem #1: Your Faucet’s Handle Is Stripped

This can happen over time as you repeatedly twist and turn the handle to control water flow. When this happens, it becomes difficult for your faucet to grip onto its stem, making it impossible to shut off completely.
To fix this issue, you’ll need to remove your faucet’s handle and inspect both the stem and cartridge inside. If either of these parts appears damaged or worn down due to age or use, they will need replacing.
Before attempting any repairs on your own, make sure that you have turned off all water supply lines leading into your kitchen sink area. Once done so safely with no risk of flooding in mind then proceed with removing screws holding up handles using an Allen wrench or screwdriver depending on what type was used during installation.
Problem #2: Your Handle’s Stem Needs a New Washer
The stem is a long metal rod that connects the handle to the cartridge and controls water flow. Over time, wear and tear can cause washers on the stem to become damaged or worn out, leading to leaks.
To fix this problem, you’ll need a new washer for your faucet’s stem. Start by shutting off both hot and cold water supply valves under your sink before removing any parts of your kitchen faucet.
Next, remove all screws holding down any decorative caps covering up access points in order for you to get into where you will find another screw which holds down everything else together.
Once exposed unscrew them with an adjustable wrench or pliers until they come loose enough so that they can be removed entirely from their respective holes without damaging anything else around them like pipes etcetera – just make sure not too much force is applied as it may break something important!
After removing these screws carefully lift out old washers from each side of stems using needle-nose pliers if necessary (some models have two).
Problem #3: Your Handle’s Seat Needs to Be Replaced
The seat is a small metal piece located inside of the faucet body that helps to create a watertight seal when you turn off your faucet. Over time, this piece can become worn or corroded, preventing it from creating an effective seal and causing water to continue flowing even when you’ve turned off your tap.
To replace a faulty handle seat:
- Turn Off Water Supply: Before beginning any repairs on your kitchen sink or faucets make sure to switch off water supply valves under sink.
- Remove Faucet Handle: Use pliers or wrenches as necessary for removing screws holding handles in place.
- Locate Seat Washer Screw: Once removed unscrew stem assembly by turning counterclockwise until loose enough so that it can be lifted out easily without damaging anything else around there!
- Remove Old Seat Washer & Replace With New One
- Reassemble Faucet
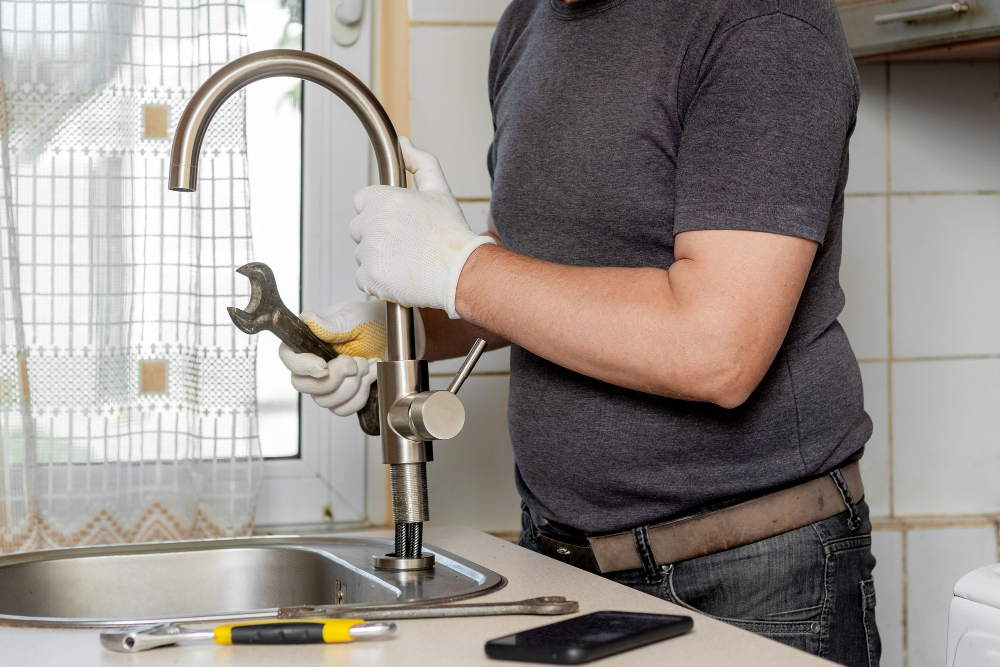
Clean or Replace Parts

Before doing so, make sure to turn off the water supply and gather all necessary tools.
Firstly, try cleaning any debris or mineral buildup from the cartridge or stem using a vinegar solution and a soft-bristled brush. If this doesn’t work, you may need to replace these parts entirely.
Next up is checking for worn-out washers in your handle’s stem assembly. These can be easily replaced by unscrewing them from their position and replacing them with new ones of similar size.
If there are no issues found in either of these areas but still experiencing problems turning off your faucet completely then inspecting other components like O-rings might help solve the issue as well.
Broken Cartridge
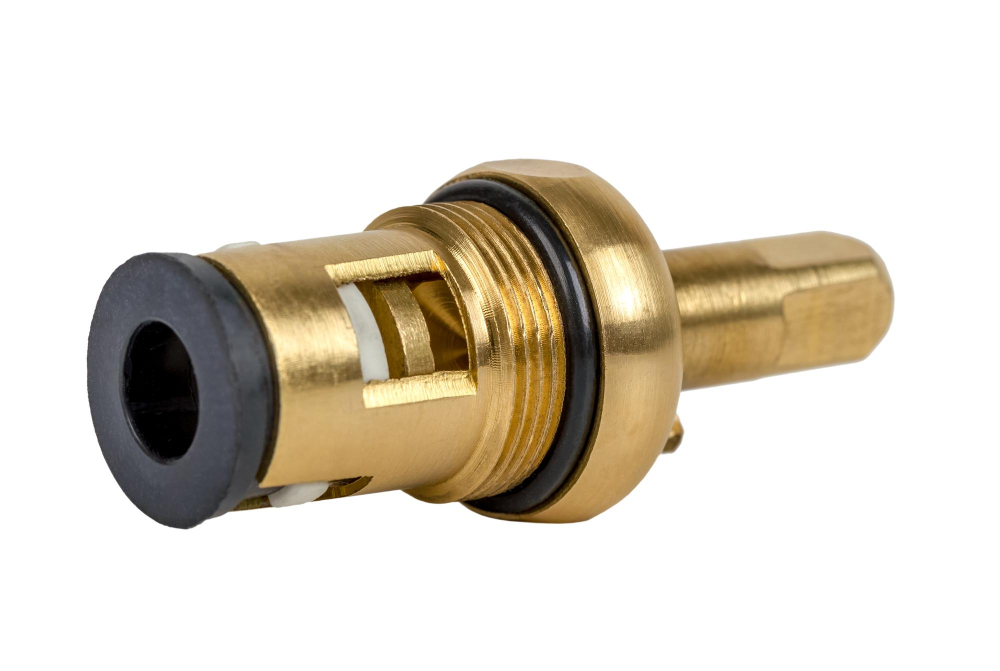
A broken cartridge can cause water to continuously flow from your faucet, even when you’ve turned it off. To fix this issue, you’ll need to replace the damaged part.
To do so, first turn off the water supply and remove any remaining parts of the handle and stem assembly. Then locate and remove any retaining clips or screws holding in place a metal plate covering up access to a rubber gasket seal around your old cartridge.
Once exposed unscrew by hand (or with pliers) both sides of an old plastic retainer nut securing its position inside housing before pulling outwards on either side until free enough for removal entirely from within valve body opening where new replacement cartridges will be installed next.
Old Handle’s Seat
The seat is a small metal piece inside the faucet body that connects to the washer and helps regulate water flow. Over time, this part can become corroded or damaged from constant use.
To replace an old handle’s seat, you’ll need to first remove any remaining parts from inside the faucet body. Then, using a specialized tool called a “seat wrench,” carefully unscrew and remove the old seat.
Once you have removed it, inspect for any signs of damage or corrosion on both sides of its surface area before installing a new one in its place. You can find replacement seats at most hardware stores or online retailers specializing in plumbing supplies.
Tighten Faucet Handle Screws
Over time, these screws can become loose and cause the handle to wobble or even fall off completely. To tighten the faucet handle screws, you’ll need a screwdriver and possibly an Allen wrench.
Firstly, locate the set screw on your faucet’s base or under its decorative cap. Use an Allen wrench if necessary to remove this set screw before pulling off the handle from its stem.
Next up is tightening of mounting nuts with pliers while holding onto valve steady with another pair of pliers so as not to damage anything else around there.
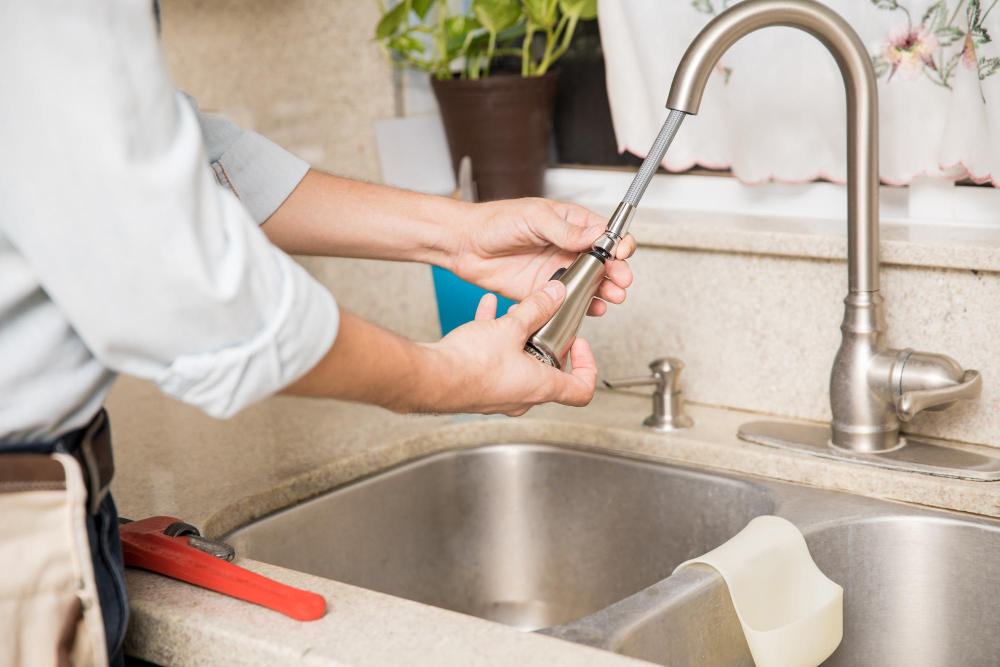
Replace the Cartridge
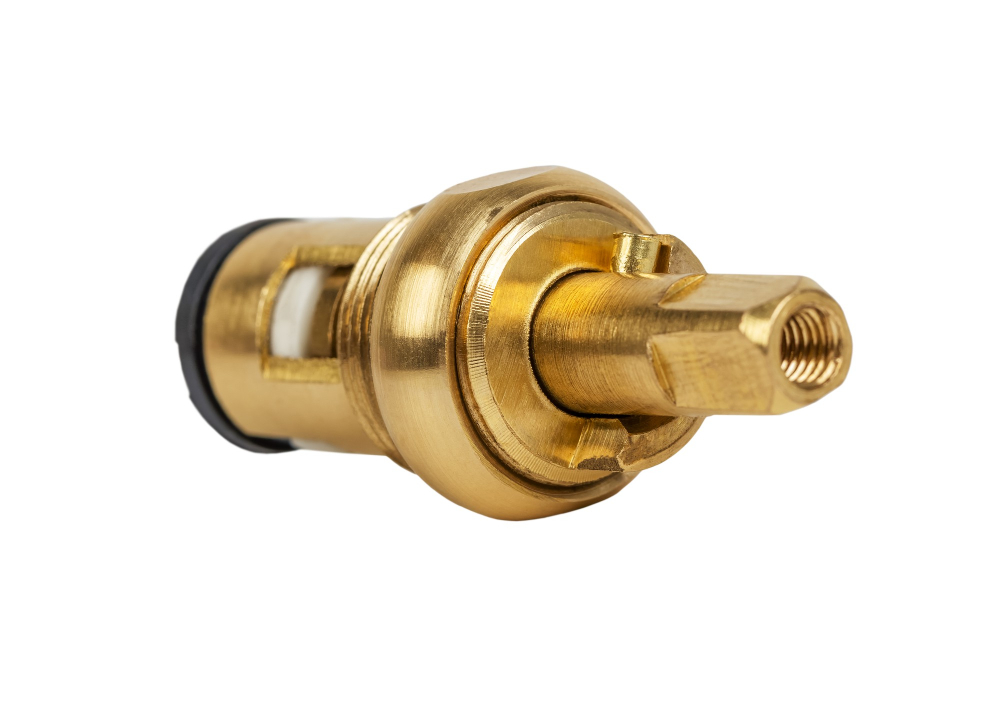
Here are the steps you need to follow:
- Remove any retaining clips or screws that hold the cartridge in place.
- Use pliers to gently pull out the old cartridge from its housing.
- Take note of how the old cartridge was positioned so you can install a new one correctly.
- Insert a new replacement part into its housing and push down firmly until it clicks into place.
Make sure that your replacement part matches your faucet model exactly; otherwise, you may encounter problems with fitment and functionality.
Once installed, turn on your water supply again and test for leaks by turning on both hot and cold handles at once for several minutes before using normally again.
Reassemble the Faucet
Begin by sliding the cartridge back into place and securing it with its retaining clip. Next, replace any washers or O-rings that were removed during disassembly.
Carefully align the faucet handle over the stem and tighten its screw until snug. If your handle has a decorative cap, snap this back into place as well.
Turn on your water supply valves slowly to allow pressure to build up gradually in your pipes before fully opening them again. Once you’ve turned on both hot and cold water supplies at their respective valves under sink area, test out your newly repaired kitchen faucet by turning it off completely then checking for leaks around all connections.
Test for Efficiency
Turn on the water supply and slowly turn the handle to see if it turns off completely without any leaks or drips. If everything seems good, let the water run for a few minutes and check again for any signs of leakage.
If there are still issues with your kitchen faucet not turning off properly, then you may need to repeat some of these steps or consider seeking professional help from a plumber.
Remember that fixing a kitchen faucet can be an easy DIY project as long as you have the right tools and follow each step carefully. By taking care of this issue yourself, not only will you save money but also conserve precious resources by preventing unnecessary wastage of water.
Should I Repair or Replace My Faucet?
After following the steps outlined above, you may find that your faucet is still not working properly. At this point, you might be wondering whether it’s worth repairing or if it’s time to replace the entire fixture.
The answer depends on a few factors. If your faucet is relatively new and in good condition aside from the current issue, then repairing it may be a cost-effective solution.
However, if your faucet is old and has had multiple issues over time, replacing it entirely could save you money in the long run.
Consider how much water and money you’re wasting with a malfunctioning faucet versus investing in a new one that will function efficiently for years to come.
Ultimately though when making such decisions always consult with an expert plumber who can advise on what would work best for your specific situation based on their experience as well as knowledge of plumbing codes and regulations.
What Are The Parts Of A Kitchen Faucet?
A typical kitchen faucet consists of several components, including the spout, handles or knobs, aerator screen and cartridge or stem. The spout is where water flows out from and can be either fixed or swivel type.
Handles are used to control hot and cold water flow by turning them clockwise (off) or counterclockwise (on). An aerator screen is located at the end of the spout which helps regulate water pressure while reducing splashing.
The cartridge or stem controls how much hot/cold water comes out when you turn on your handle/knob(s). It also regulates temperature mixing so that you get warm/hot/cold as per requirement.
If any part gets damaged due to wear-and-tear over time then it may cause leakage in your kitchen sink area.
When Do You Need Plumber’s Help?
Here are some signs that indicate you need expert help:
– Your faucet is leaking even after replacing parts: If your faucet continues to leak water even after cleaning or replacing its components, there could be an underlying issue with the plumbing system that requires specialized knowledge and tools.
– You’re not confident about handling plumbing repairs: While fixing a kitchen faucet can seem like a simple task, it’s important to remember that any mistake can lead to bigger problems down the line. If you’re not comfortable working with pipes or don’t have experience repairing faucets, it’s best to leave the job up to professionals.
– You notice other issues with your plumbing system: A malfunctioning kitchen faucet could be just one symptom of larger problems within your home’s plumbing network. Signs such as low water pressure or slow drainage should prompt you to seek out professional assistance.
Seek Professional Help
While DIY repairs can save you money, there are some situations where a plumber’s expertise is necessary.
For example, if your faucet is old or damaged beyond repair, replacing it entirely may be the best option. If you’re not comfortable working with plumbing fixtures or don’t have access to specialized tools like basin wrenches and cartridge pullers, attempting a repair on your own could lead to further damage.
A licensed plumber will have the knowledge and experience needed to diagnose any underlying issues with your kitchen faucet and provide an effective solution. They’ll also ensure that any repairs are up-to-code and meet safety standards.
While fixing a kitchen faucet that won’t turn off can seem daunting at first glance; by following these simple steps outlined above – identifying the type of fixture installed in our home; gathering necessary tools; switching off water supply before removing handle(s); inspecting cartridges/stems for wear & tear- we can easily troubleshoot most common problems ourselves without having to call in professionals every time something goes wrong!
FAQ
Why won’t my kitchen faucet turn off?
Your kitchen faucet won’t turn off due to a stripped handle, a worn-out washer in the handle’s stem, or a damaged handle’s seat, which all require replacement.
Why is the water still running when the faucet is turned off?
The water is still running when the faucet is turned off because there is likely an issue with the seal inside the faucet head, allowing water to run through or drip.
What are the common reasons for a kitchen faucet’s inability to shut off completely?
Common reasons for a kitchen faucet’s inability to shut off completely include worn-out rubber washers, damaged cartridge or valve seat, and debris accumulation.
How can one diagnose the issue behind a constantly running kitchen faucet?
One can diagnose the issue behind a constantly running kitchen faucet by inspecting and identifying problems in the faucet components such as a damaged cartridge, worn-out O-rings, or corroded valve seats.
Which specific parts of a kitchen faucet should be checked if it fails to turn off the water flow?
If a kitchen faucet fails to turn off the water flow, check the handle, cartridge, and O-rings.


