Last updated on
Learn the straightforward steps to swiftly stop a leaky kitchen faucet and prevent wasted water and annoyance.
Key takeaways:
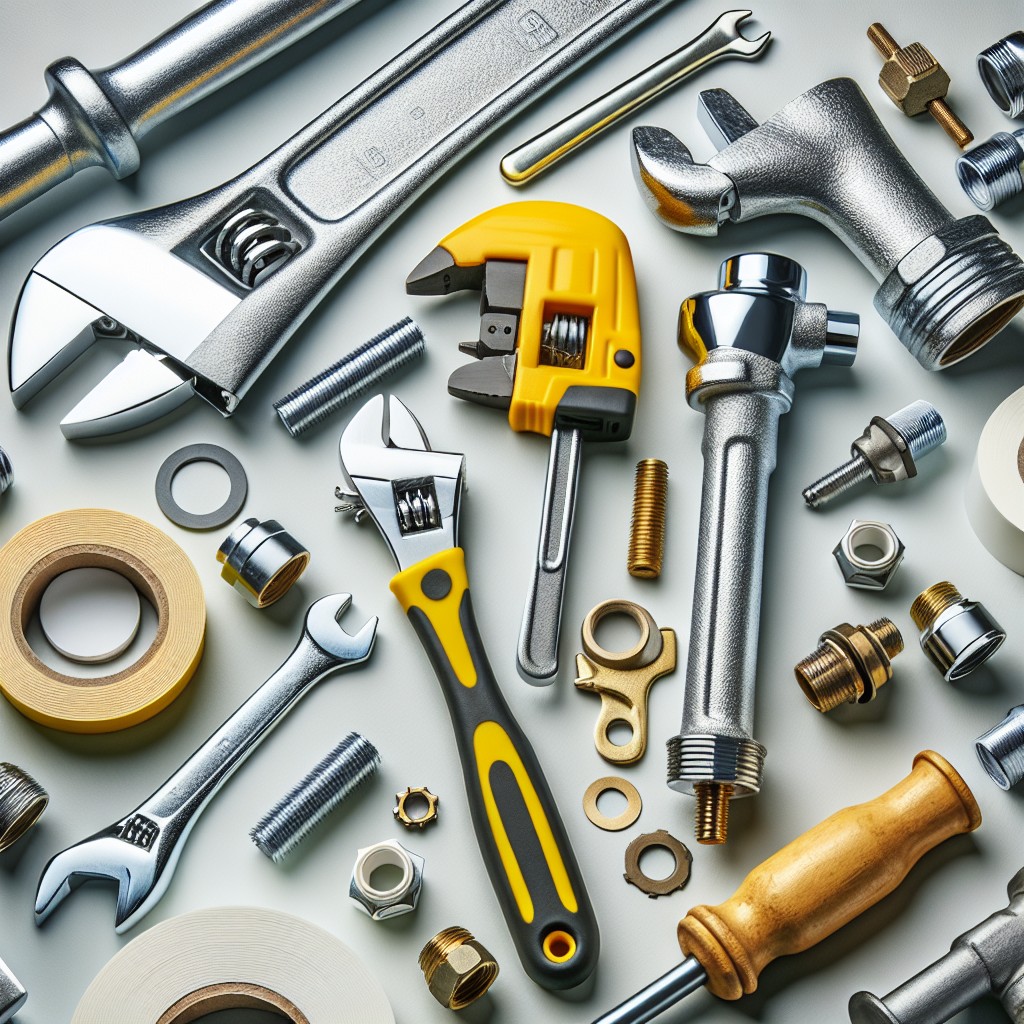
- Gather necessary tools: adjustable wrench, Allen wrench set, screwdrivers, slip-joint pliers, plumber’s tape.
- Have materials ready: O-rings, washers, valve seats, springs, replacement cartridge, ceramic disc cartridge, plumber’s grease, Teflon tape.
- Understand your faucet type: rotary ball, cartridge-style, ceramic disc.
- Remove and replace the necessary components: seats and springs, cartridge, disc cartridge.
- Reassemble the faucet carefully for smooth operation and no leaks.
What's Inside
Tools Required
Before diving into your repair project, gather the following tools:
- Adjustable wrench: This is the superhero of the toolbox, providing the leverage and grip needed for loosening nuts and fittings.
- Allen wrench set: Tiny yet mighty, these hexagonal tools often come in handy for disassembling faucet handles.
- Screwdrivers: A must-have for removing screws, so make sure to have both Phillips and flat-head varieties.
- Slip-joint pliers: Versatile for gripping and turning, they’re especially useful if you encounter larger fittings or stubborn components.
- Plumber’s tape: This helps create watertight seals at threaded joints, ensuring your fix stands the test of time.
With these tools at your side, you’ll be well-equipped to tackle that leaky faucet.
Materials Required
Before you dive into the repair, ensure you have all necessary materials at hand to avoid mid-process runs to the hardware store. Your shopping list should include:
- O-rings and washers: These small but crucial components are often the culprits behind leaks. Match their size and shape with the old ones to ensure a perfect fit.
- Valve seats and springs (if applicable): If you’re working on a rotary ball faucet, these parts may need replacement to create a tight seal.
- Replacement cartridge: For cartridge-style faucets, a new cartridge is key to stopping leaks. Double-check the model number for compatibility.
- Ceramic disc cartridge: For faucets with ceramic discs, a complete cartridge replacement is typically the solution for persistent drips.
- Plumber’s grease: This helps lubricate O-rings and valve components during reassembly, ensuring smooth operation.
- Teflon tape: Wrapping this around the threads of your faucet’s valve stem can help prevent future leaks.
By getting each of these materials ready upfront, you’ll be poised for a smooth repair process. Remember that using the correct materials is vital to not only fix the leak but also to maintain the longevity and proper functioning of your kitchen faucet.
Rotary Ball Faucet, Cartridge-Style Faucet, or Ceramic Disc Faucet Anatomy
Understanding the inner workings of your faucet is key to successfully addressing leaks. Let’s dissect the anatomy:
1. Rotary Ball Faucet: This type incorporates a ball bearing that controls water flow and temperature. It typically includes O-rings, springs, valve seats, and a rotating metal or plastic ball.
2. Cartridge-Style Faucet: Characterized by a cartridge that moves up and down or side to side to regulate flow. It’s often sealed by O-rings and may have one or two handles.
3. Ceramic Disc Faucet: The most durable, featuring two ceramic discs at the bottom of the chamber. One disc is stationary while the other moves with the handle. The alignment of these discs controls water flow.
Each type demands a tailored approach when tackling leaks—knowing which one you have streamlines the repair process.
Remove and Replace the Seats and Springs or Cartridge or Disc Cartridge
Once you’ve exposed the inner mechanisms of your faucet, you’re at a crossroads. Depending on your faucet type, you’ll encounter different components:
For a rotary ball faucet, you’ll find a cap and an adjustable ring. Seats and springs lie beneath these. Sometimes the fix is as simple as tightening the adjustable ring. If that doesn’t stop the drip, it’s time to replace the rubber seats and springs. To do so, carefully lift them out with a screwdriver or a special tool provided with the repair kit. When inserting the new set, press them firmly into place to ensure a snug fit and water-tight seal.
In a cartridge-style faucet, you’ll find a cartridge that controls water flow. Pull this straight up to remove it, sometimes a gentle wiggle is needed to free it from decades of service. Compare your old cartridge with the new one to ensure they match. Slide the new cartridge into position, being mindful to align it exactly as the old one sat. Remember, an improper alignment can lead to more leaks or a malfunctioning faucet.
For those with ceramic disc faucets, the process involves unscrewing the disc cartridge. Inside, you’ll see seals and O-rings. If the faucet is leaking, these components may need replacing only, not necessarily the entire disc cartridge. But if the disc cartridge itself is worn out, swapping it out for a new one is the key to achieving a watertight seal. Remember to gently place the new cartridge in the slot; this is a precision task.
In all scenarios, replacing these components can renew your faucet’s performance almost magically, turning a constant drip into a distant memory. Make sure you have a snug fit at every step to prevent future leaks. Your faucet should now be in tiptop condition, ready to serve without a single drop wasted.
Reassemble the Faucet
With the internal components refreshed, the reassembly process is your victory lap. Begin by carefully aligning the new seats and springs or the replacement cartridge/disc back into the faucet housing. Assurance of a snug fit without overtightening prevents future leaks and ensures smooth operation.
Next, for rotary ball faucets, position the ball valve precisely as it aligns with the faucet handle to control water flow and temperature accurately. In the case of cartridge-style faucets, slide the cartridge in, ensuring it’s seated correctly — many have tabs and slots to guide you.
Secure the retaining clip or nut that holds these internal parts in place. Don’t force it; firm pressure and a gentle turn should be enough. Over-tightening hardware is a common pitfall that can lead to damaged components or more leaks.
Now, reconnect the faucet handle. If it’s a screw-on type, remember to position any decorative caps or buttons that cover the screw after tightening. For snap-on handles, a careful but firm push until you hear a click will do the job.
Turn the water supply back on gradually. Rushing this step might cause water to hammer through the pipes, potentially dislodging your handiwork. Inspect your newly assembled faucet, testing for smooth handle movement and watching for leaks. A smooth, drip-free faucet operation confirms your success.


