Last updated on
In this post, you’ll learn the straightforward steps to fix a leaky kitchen faucet and regain peace of mind with a drip-free sink.
Key takeaways:
- Properly identify the source of the leak in your kitchen faucet.
- Gather the necessary tools, such as wrenches, pliers, and screwdrivers.
- Carefully disassemble the faucet, taking note of the order of the parts.
- Replace any worn or damaged O-rings, washers, or seals.
- Reassemble the faucet, ensuring all connections are tight but not over-tightened.
What's Inside
Tools Required
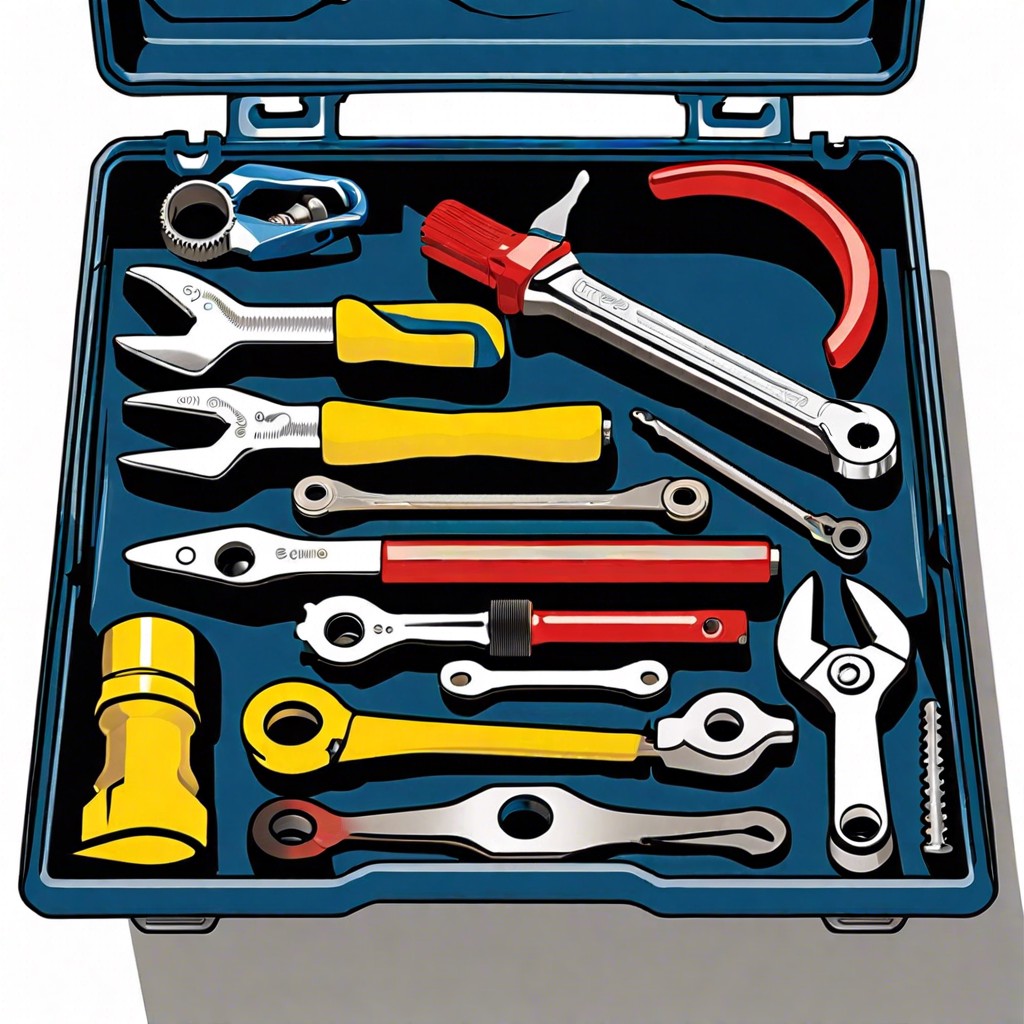
Embarking on a faucet repair, it’s crucial to arm yourself with the right tools to ensure a smooth process. The essentials include adjustable wrenches, which will aid in loosening and tightening nuts that secure faucet parts. A set of Allen wrenches is also invaluable for handling screws that are often hiding underneath decorative caps.
For components held in place by mineral deposits, a pair of pliers paired with a cloth can be the gentle force needed; the cloth prevents the plier’s teeth from damaging the faucet’s finish. A flat-head screwdriver becomes your ally in prying off caps, and if you discover a faulty O-ring or washer, it’s wise to have replacements ready based on your faucet’s model.
Don’t forget plumber’s tape, commonly known as Teflon tape, which can help re-establish a water-tight seal on threaded connections once you reassemble everything. Lastly, a small bucket or bowl is a good precaution to catch any water remaining in the pipes.
This toolkit is a solid foundation for tackling most kitchen faucet leaks and will help avoid unnecessary interruptions. With these tools at hand, you’re set to dive into the repair with confidence.
Locate the Faucet Leak
Identifying the source of the drip is crucial before taking apart your kitchen faucet. Is it oozing from the spout itself or at the base where the faucet meets the sink? For spout leaks, the culprit is often a worn O-ring or deteriorated valve seat. If water accumulates around the base, the issue could be related to worn gaskets or O-rings at the connection points of the handle.
To check if the cause is the aerator, unscrew it from the spout’s tip. If the dripping stops after removing it, it might just be a clogged aerator that needs cleaning or replacing.
Should the leak persist post-aerator testing, proceed to turn off the water supply lines beneath the sink to avoid a mini flood when you start disassembling the faucet. Look for hot and cold water valves and turn them clockwise until they’re tightly closed.
Once the water is safely off, open the faucet to release any pressure and drain remaining water in the lines. This precautionary step ensures a dry work area when you delve into the faucet’s interior, making for a smoother repair process.
Disassemble the Kitchen Faucet
Before diving into the heart of the task, ensure the water supply is shut off to avoid an unexpected indoor fountain display. With your adjustable wrench, gently turn the valves under the sink clockwise until they resist further turning. Confirm the water is off by testing the faucet.
Next, plug the sink drain or simply place a towel over it. This little precaution saves you from the headache of retrieving small parts from the drain. Now, with your screwdriver, look for the hidden set screw under the faucet handle’s decorative cap. This might require a bit of detective work. After finding and removing the screw, set the parts aside carefully, noting their order for a smoother reassembly process later on.
With the handle removed, most faucets will reveal a nut or retaining clip at the stem’s top, securing the cartridge or valve. Depending on the faucet, use your wrench or needle-nose pliers to remove this piece. As you go, keep these removed parts in order and maybe snap a quick photo with your phone for an easy-to-follow visual reference during reassembly.
Underneath this newly revealed inner sanctum of faucet parts, the O-rings, washers, or seals, archaic as they may seem, are possibly the culprits behind that annoying drip. Carefully lifting out the valve or cartridge should expose them. If they look worn or damaged, replacing them will likely solve your leaky woes.
Remember, finesse is key; muscling these parts can cause damage. Treat the disassembly like a game of Operation—steady hands and patience are your best tools.
Replace Worn Parts and Reassemble the Faucet
Identifying the culprit is key to a successful repair. Commonly, a degraded O-ring or a worn-out valve seat is the reason behind that pesky drip. You’ll often find replacement kits at hardware stores tailored to your specific faucet brand and model. These ensure you get the right parts without the guesswork.
Once you’ve got your replacements, it’s time for the reverse process of disassembly. Coat the O-rings with plumber’s grease to make future repairs easier and to provide a better seal. As you position the new parts, remember that gentle is the go-to approach; these components are usually made of materials like rubber or silicone and can be compromised if handled too roughly.
While reassembling, align everything as it was initially. This is a bit like putting together a puzzle – each piece has its place, and when fitted correctly, they create a watertight seal that stops leaks in their tracks.
Give all the connections a final snug with your wrench, but don’t over-tighten. Too much torque can cause new leaks and damage the faucet. Your goal is firm and secure, not Herculean.
Testing is essential. Once everything is back in place, gradually turn the water back on and observe. No water seeping through means you’ve effectively fixed the leak, and the only thing left is to clean up your work area and enjoy the satisfying sound of… silence.
Turn On the Water Supply
With the faucet components securely back in place, the moment of truth arrives. Carefully turn the main water supply valve counterclockwise, resuming the flow of water. Keep an eye out for any immediate signs of leakage from your newly assembled joints. If you glimpse any droplets or a minor stream, shut off the water supply once more and re-examine the connections — they may require further tightening.
Monitor the faucet as it runs for a few minutes. You’re watching for consistent flow and a lack of drops that would suggest a successful repair job. It’s not uncommon for minor adjustments to be needed after the water is back on, so a wrench should be kept handy for any quick tweaks. Remember, the goal is a steady stream with a watertight seal.
Lastly, take note of the faucet handle’s operation. If it feels unusually stiff or loose, you may need to remove the handle again to adjust the tightness of the packing nut or to correctly seat the handle components. Precision here ensures ease of use and extends the life of your repair work. If no further issues arise, congratulate yourself on a job well done. Your kitchen comrades, the sink and the dishes, will thank you for a dry and functional workspace.


