Last updated on
Installing a backsplash can give your kitchen a facelift, and this guide offers step-by-step instructions to help you get a job well done.
Key takeaways:
- Choose high-quality materials for a professional-looking backsplash.
- Prepare walls by removing grease, repairing cracks, and sanding.
- Plan your tile layout carefully, considering focal points and obstacles.
- Install tiles using adhesive and spacers for a symmetrical look.
- Seal grout to protect against moisture and staining.
What's Inside
Materials Needed
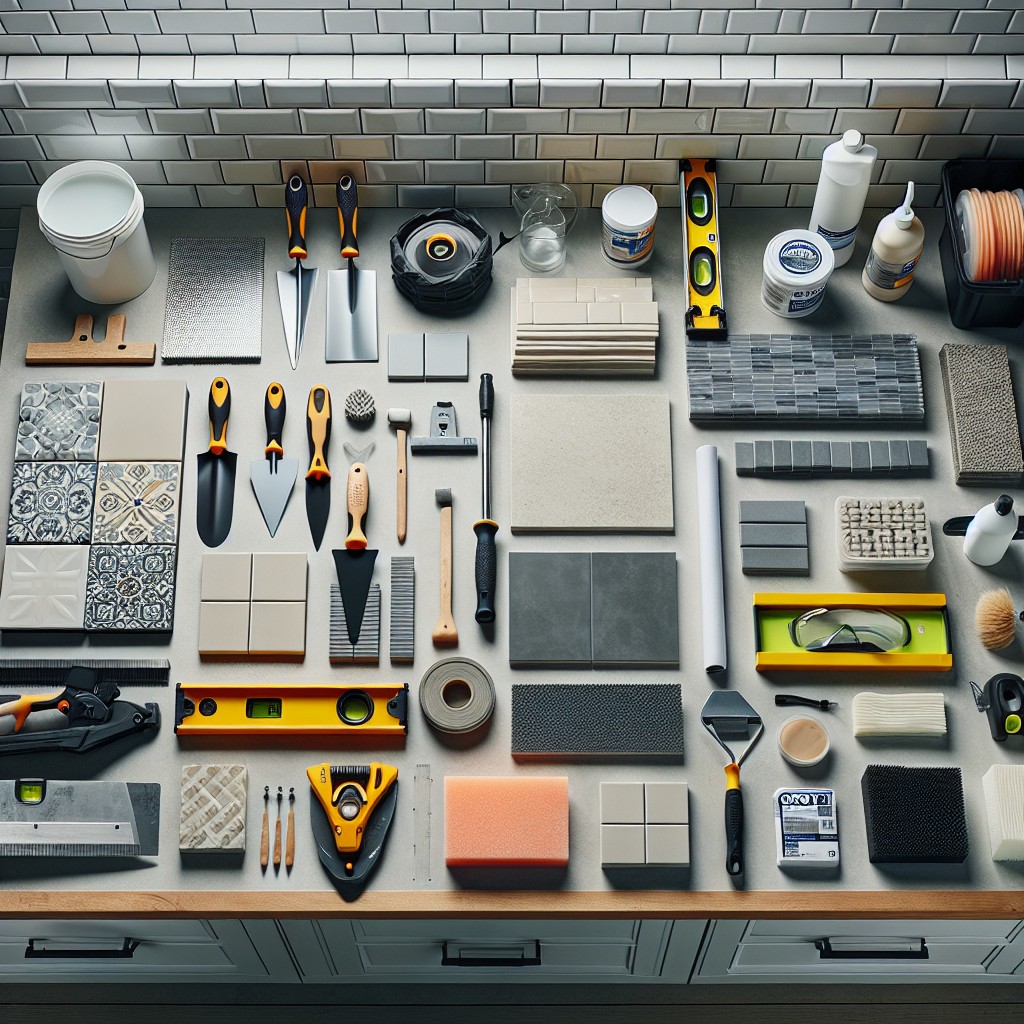
Before you embark on your backsplash adventure, gathering the right materials is crucial to ensure a seamless installation process. Here’s a rundown of essentials you’ll need:
- Tiles: Choose a style that complements your kitchen or bathroom decor.
- Tile adhesive or thin-set mortar: Select one that’s recommended for your tile type.
- Notched trowel: This tool will help you spread adhesive evenly.
- Spacers: These small plastic pieces keep your tile lines uniform.
- Grout: Decide between sanded or unsanded varieties based on the tile spacing.
- Grout float: A rubber tool to press grout between the tiles.
- Tile cutter or saw: Depending on the material of your tiles, ensure you have the appropriate cutting tool.
- Level: For a perfectly straight installation.
- Tape measure and pencil: Essential for accurate tile placement.
- Mixing paddle and bucket: If you’re using mortar, you’ll need these for preparation.
- Sponge and clean cloths: For wiping away excess grout and cleaning as you go.
Remember, the quality of your materials will directly influence the end result. Opt for durable tools and high-grade materials to achieve a professional-looking backsplash that lasts.
Prepare the Walls for Tile
Ensuring a clean, smooth, and dry surface is crucial for a successful tile installation. Any grease, dust, or old wallpaper should be efficiently removed. Repair any cracks or holes with spackling compound to create a uniform wall condition—this helps prevent future cracking or buckling of your new tiles.
It’s also essential to sand the walls lightly after they’re repaired—this increases the adhesion for the tile mastic or thin-set mortar. Wipe the walls with a damp cloth to remove any sanding dust. Lastly, if you’re working in a kitchen or bathroom, make sure to turn off the power and remove outlet covers and switch plates to create an unobstructed workspace. These preparatory steps are all about creating the ideal canvas for your tile work, directly influencing the durability and aesthetic of your backsplash.
Plan the Tile Layout
Starting at the focal point, typically above the range or sink, ensures your pattern is centered and symmetrical. It’s like giving your tiles a roadmap—where to start, and where to end.
Lay out the tiles beforehand; a dry run reveals how the end pieces look. If they’re too small, shift tiles slightly to avoid slivers of tile edges. This method is especially helpful for intricate patterns or mosaic tiles.
Placement of outlets and switches is crucial; measure their distances carefully and cut tiles to accommodate them. It’s far more efficient to cut for obstacles before you spread adhesive.
Adjust tile layout for end walls. If the last tile is too thin, cutting it wider improves the look, minimizing odd, skinny tiles. Use spacers to ensure even gaps, creating clean lines throughout. Remember, an evenly spaced layout is the secret to a professional finish.
Install the Tile Backsplash
Once your wall is prepped and your layout is planned, affixing the tiles is next on your DIY journey. Spread tile adhesive on the wall using a notched trowel, working in small sections to prevent it from drying out. Press each tile firmly into place, maintaining uniform spacing with spacers to ensure a symmetrical look.
For edge tiles, measure and cut them to fit using a tile cutter or wet saw. After placing the tiles, allow the adhesive to cure based on the manufacturer’s recommendation. Then, remove the spacers and marvel at the mosaic taking shape. This phase is where your kitchen or bathroom begins to transform, as each tile brings you one step closer to a fresh, new backsplash.
Seal Tile Grout
Once the grout has cured, which typically takes about 24 to 48 hours, sealing it is the next step. This is crucial to prevent moisture penetration and staining, as well as to extend the life of your grout. Choose a sealer appropriate for your type of grout, whether it is non-sanded, sanded, or epoxy.
Start by thoroughly cleaning the surface with a damp cloth to remove any dust or debris. Then, gently apply the sealer using a foam brush or a sealer applicator bottle to target the grout lines without spilling over onto the tiles. It’s beneficial to work in small sections to maintain control over the application and ensure even coverage.
Some sealers may require a second coat for optimal protection; make sure to refer to the manufacturer’s recommendations for specific reapplication timelines. After sealing, allow the grout to dry for the amount of time suggested on the product label, which can range from a few hours to a full day, before exposing the backsplash to any moisture or using the area normally.
Remember, a well-sealed backsplash is the final safeguard that keeps your kitchen or bathroom looking fresh and makes maintenance a breeze. Regular checks for reapplication are desirable to continually shield your handiwork from everyday wear and tear.


