Last updated on
Learn the steps to install a tile backsplash efficiently to transform your kitchen or bathroom with a fresh look.
Key takeaways:
- Gather materials and tools for efficient installation.
- Prepare the walls with thorough cleaning and priming.
- Plan the tile layout for symmetry and visual harmony.
- Install tiles with precision and attention to detail.
- Apply and seal grout to complete the aesthetic look.
What's Inside
Materials and Tools Required
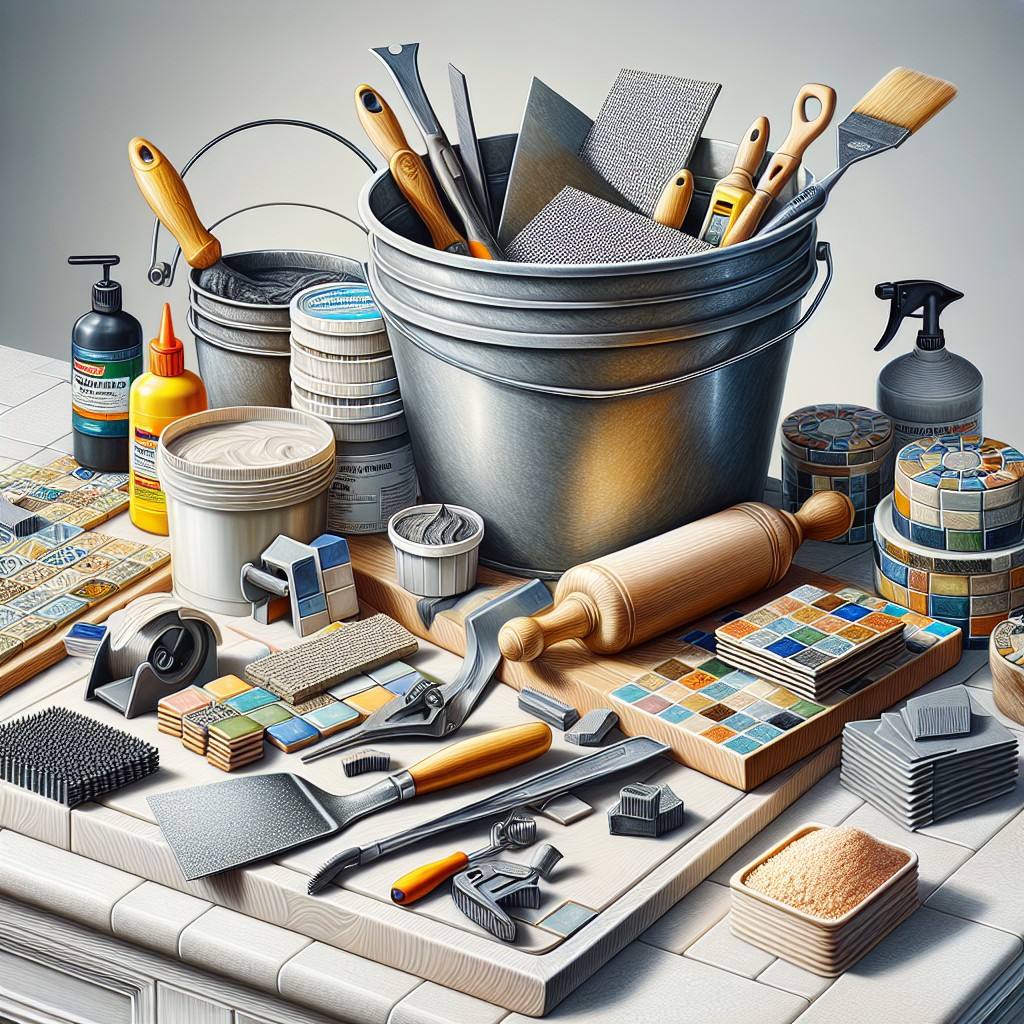
Embarking on a DIY tile backsplash project begins with gathering the proper materials and tools. This ensures a smooth workflow, equipped to handle each phase of installation with precision.
Essential materials include:
- Tiles: Choose a style that complements your kitchen decor.
- Thin-set mortar or tile adhesive: This acts as the glue bonding the tiles to the wall.
- Grout: Select a color that highlights your tiles, considering sanded or unsanded options based on tile spacing.
Don’t overlook the tools:
- Notched trowel: Critical for evenly spreading the adhesive.
- Tile cutter: A snap cutter for straight cuts and tile nippers for curves.
- Level: Ensures your tiles align perfectly horizontal and vertical.
- Spacers: Maintain consistent gaps between tiles for uniform grout lines.
- Mixing paddle: For a homogenous mix of the mortar, if you’re using a powder form.
- Sponge and bucket: Essential for wiping excess grout from the tiles’ surface.
Remember, the right materials and tools simplify the task, promote efficiency, and contribute to a professional-looking finish.
Prepare the Walls for Tile
Before diving into tile installation, it’s crucial to ensure a flawless wall surface. Clean the walls thoroughly; this means wiping away grease, sanding down rough spots, and filling in holes or cracks with spackling paste.
Once dry, sand again for a smooth, even texture. Apply a waterproofing primer or sealer, especially in moisture-prone areas like kitchens and bathrooms, to create an adhesive-friendly surface and protect your walls.
Moreover, remove outlet covers and switch plates for a neat, professional finish. It’s also smart to locate the studs and mark them, as they can provide additional support for heavy tiles.
Remember, a well-prepared wall is key for a successful tile installation that will look great and stand the test of time.
Plan Tile Layout
Mapping out your design before adhering tiles is crucial for a polished look. Start by finding the center point of the wall. This approach ensures symmetry, given that partial tiles at one end will be matched by partial tiles at the other. To minimize tile cuts and wastage, adjust your starting point slightly if you anticipate numerous cut tiles in highly visible areas.
Dry-lay tiles on a countertop to visualize the placement. This step reveals potential adjustments, especially around electrical outlets and at the corners where walls meet. Use spacers for an accurate sense of tile spacing and to ensure even grout lines.
Highlight the importance of considering the tile’s pattern, if applicable. For example, a herringbone or chevron design may require additional planning and precision compared to a straightforward stacked or staggered arrangement. Remember, this is not just about functional coverage; it’s crafting an aesthetic feature in your room. Visual harmony is equally as important as technical application.
Install the Tile Backsplash
With your wall prepped and layout determined, it’s time to dive into the main event.
- Spread Thinset: Apply a thin layer of thinset mortar to the wall using a notched trowel. Work in small sections to prevent the mortar from drying out before the tile is placed.
- Position Tiles: Press your tiles firmly into the mortar in the desired pattern, following your layout guides. Use spacers to ensure even gaps for grout between each tile.
- Make Cuts: For tiles that need to fit around outlets or at the edges of your backsplash, use a tile cutter or wet saw to make precision cuts. Always measure twice before cutting.
- Check for Level: Throughout the installation, use a level to make sure tiles are straight and even. Adjust as needed before the mortar sets.
- Allow to Set: After all tiles are installed, leave the mortar to cure as recommended by the manufacturer’s instructions, usually about 24 hours.
Remember patience, precision, and attention to detail are key in this step to achieving a professional-looking backsplash.
Apply and Seal Tile Grout
Once your adhesive has set, and tiles are firmly in place, grouting becomes your next task—the step that truly brings the aesthetic of your backsplash together. Grout not only fills the gaps but also strengthens the installation and prevents moisture and debris from getting behind the tiles.
Selecting the right grout color can complement or contrast your tiles, enhancing the overall look of your backsplash. A sanded grout is typically used for larger joints, while unsanded grout is suitable for narrower spaces.
Before starting, ensure your tiles are clean and spacer-free. Mix the grout following the manufacturer’s instructions to achieve a smooth, peanut butter-like consistency.
Using a rubber float, apply the grout at a 45-degree angle, pressing firmly to pack the joints fully. Work in small sections to maintain control over the application and to ensure the grout doesn’t start to set prematurely.
After filling the joints, drag the float diagonally across the tiles to remove excess grout. This is also the perfect time to tidy the lines and create a uniform depth.
Allow the grout to settle for about 10 minutes, then begin the cleanup process. With a damp sponge, gently wipe the surface in a circular motion to clear the haze. Rinse the sponge frequently to avoid re-depositing grout on the tiles.
Give the grout adequate time to cure—typically 24 to 48 hours—before applying a sealant. This step is crucial for moisture-prone areas such as kitchens and bathrooms. Sealant protects grout from staining and extends its life.
Remember, proper technique and patience during the grouting process will yield a professional-looking finish, enhancing your durable and stylish new backsplash.


