Last updated on
This how-to article simplifies the process of installing cabinets, providing clear step-by-step instructions that anyone can follow.
Key takeaways:
- Accurate measurements are crucial for selecting the right size cabinets.
- Clear the workspace and inspect the walls before installing cabinets.
- Start with upper cabinets, ensuring they are level and aligned.
- Shim and secure base cabinets, keeping them level and aligned with each other.
- Adjust cabinet hinges and install hardware for a polished finish.
What's Inside
Measure the Space
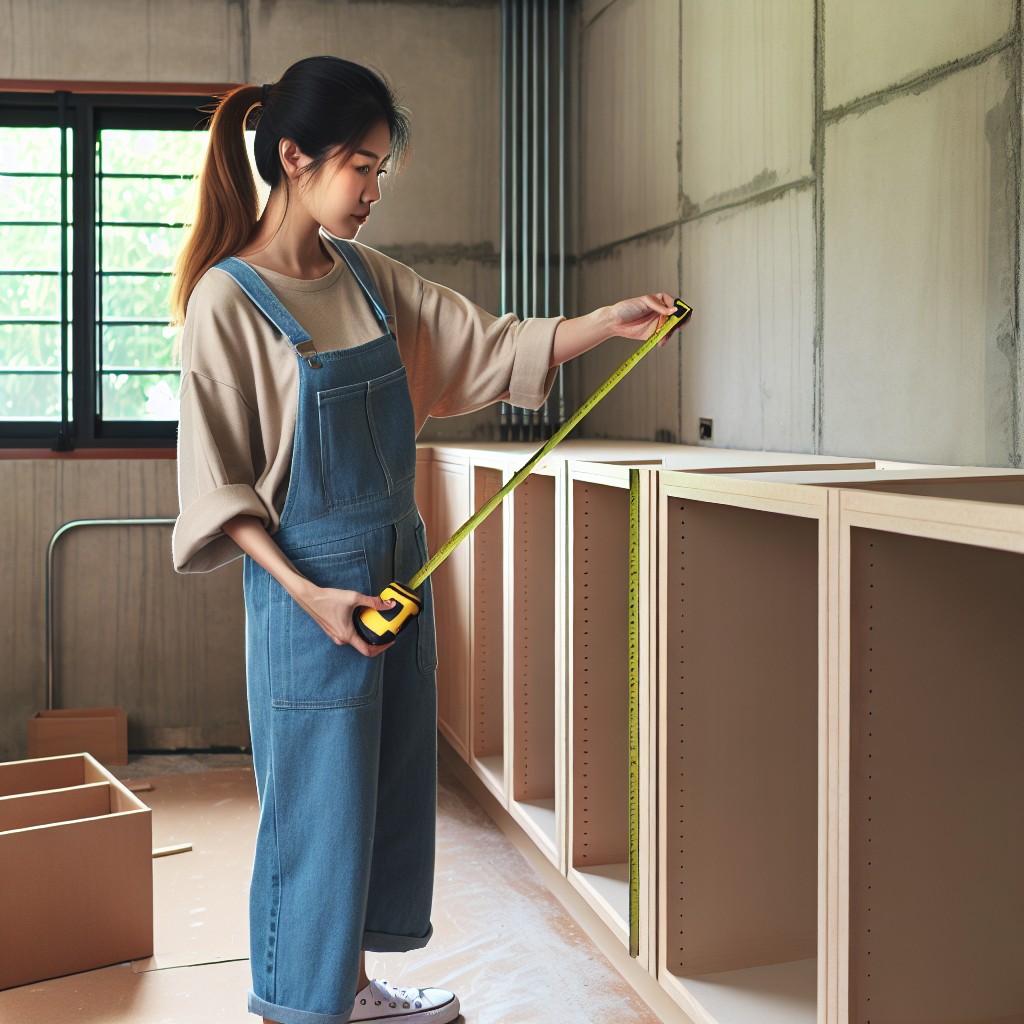
Accuracy is key when starting your cabinetry project, so having precise measurements of your space can save you from headaches down the line. Grab your tape measure and note the width, height, and depth of the area where you intend to install your cabinets—it’s crucial for selecting the right size units.
Don’t forget to account for appliances or fixtures that need to integrate with your cabinetry. Leave enough room for doors and windows to open without obstruction, and consider any electrical outlets or plumbing that might affect the placement or dimensions of the cabinets. Also, be aware of the standard height between counters and upper cabinets—typically 18 inches—to ensure a functional workspace.
If your walls aren’t perfectly straight or your floors aren’t level—and often, they’re not—use a level and a pencil to mark reference lines. It’s a simple yet effective step that provides a visual guide for alignment during installation and can make all the difference in the end result.
Jot down these numbers and reference lines on a simple sketch or blueprint of your kitchen layout to visualize where everything will fit, and help others understand your plan. This step effectively sets the stage for a smooth installation process.
Prepare for New Cabinetry
Before diving into the installation process, a solid foundation for your cabinets is vital. Clear the workspace to have unimpeded access to the walls and floors. This means removing existing cabinetry, if present, and ensuring appliances are out of the way.
Take the time to inspect the walls for any damage. Look for cracks, damp areas, or anything that could undermine the structural integrity where you will mount the cabinets. Issues found should be addressed before moving forward. Your wall needs to be as flat and smooth as possible to ensure your cabinets hang properly.
Next, locate and mark the studs. Using a stud finder, glide over the walls to pinpoint the studs; these will be your anchors for securely attaching the cabinetry. Once found, mark their positions with a pencil. This will guide where you’ll drill when it comes time to mount your cabinets.
Check for level and plumb. It’s not just about the cabinets looking straight; uneven cabinets can cause doors and drawers to malfunction. Therefore, using a level, confirm both the horizontal and vertical alignment of your space. If there are discrepancies, shims can be used during installation to achieve the proper alignment.
Finally, draw a layout. Having a diagram of what goes where streamlines the process and minimizes errors. Sketch out where each cabinet will be placed in relation to windows, appliances, and other fixtures. This roadmap will act as your guide throughout the installation process.
Armed with these preparatory steps, setting up your new cabinetry should proceed smoothly and efficiently, ensuring a professional finish.
Install Upper Wall Cabinets First
Starting with the upper cabinets is a strategic choice, as it prevents the base cabinets from getting in the way during installation. This approach allows for easier maneuvering and avoids damage to the base units.
To effectively install upper cabinets:
- Locate and mark the wall studs using a stud finder.
- Draw a horizontal line where the bottom of the cabinets will align to ensure they are level.
- Attach a temporary support rail along the line to support the cabinets during installation.
- Begin with a corner cabinet or if there isn’t one, start from the highest point in the floor and work your way out.
- Lift the cabinet into place, set it on the support rail, and check for level.
- Once in the correct position, secure the cabinet to the wall studs with screws.
- Ensure cabinets are plumb and aligned with each other by adjusting as necessary before finalizing the installation.
- Continue the process cabinet by cabinet, clamping and screwing adjacent cabinets together to create a single unit.
- Use shims behind cabinets or at the base to address any wall irregularities and achieve a uniform appearance.
- After all upper cabinets are installed, remove the support rail and fill any visible screw holes with wood filler if desired.
By adhering to these steps, the installation will be both efficient and yield professional results.
Install Base Cabinets
Once your upper cabinets are in place, it’s time to focus on the base units. Start by checking your floor for levelness using a long spirit level. Floors are seldom perfectly level, so adjustments may be necessary to ensure cabinets sit level.
Shim beneath the cabinets if the floor is uneven, starting at the highest point in the floor and working your way out. Place the base cabinet against the wall and fasten it into the studs with screws, ensuring that it’s plumbed and level.
Maintain a consistent countertop height by aligning the top of the base cabinets. This is crucial for kitchen functionality and aesthetics. If you’re installing multiple base units, join them together before securing them to the wall, making sure the faces are flush. Check the alignment after each additional cabinet is attached.
Lastly, do not forget to leave appropriate openings for appliances. Accurate measurements are crucial here to prevent gaps or appliances that won’t fit. Remember, patience is key; precise installs are integral to the longevity and appearance of your cabinetry.
Adjust the Cabinet Hinges and Install Hardware
Fine-tuning your cabinet doors ensures they open and close smoothly and align perfectly with each other. Start by loosening the screws on the hinge plates attached to the cabinet frame to adjust the doors’ height. To shift the doors sideways or to manage the gap between doors, manipulate the screw connecting the door to the hinge. Lastly, for the door’s depth, tweak the screw furthest from the cabinet door. Remember, adjustments should be gradual and sparing—over-adjusting can lead to misalignment.
Once the doors are flawlessly aligned, it’s time to add the finishing touches—hardware. Whether you choose knobs or pulls, they should complement your cabinet style. Mark the spot for your hardware with a pencil, and confirm the placement with a template tool for consistent alignment. Pre-drill holes to prevent wood splitting and attach your hardware using a screwdriver, ensuring each piece is snug but not over-tightened. This small detail adds functionality and aesthetic appeal to your newly installed cabinets.
Read More
 How to Choose Kitchen Cabinets: Your Ultimate Buying Guide
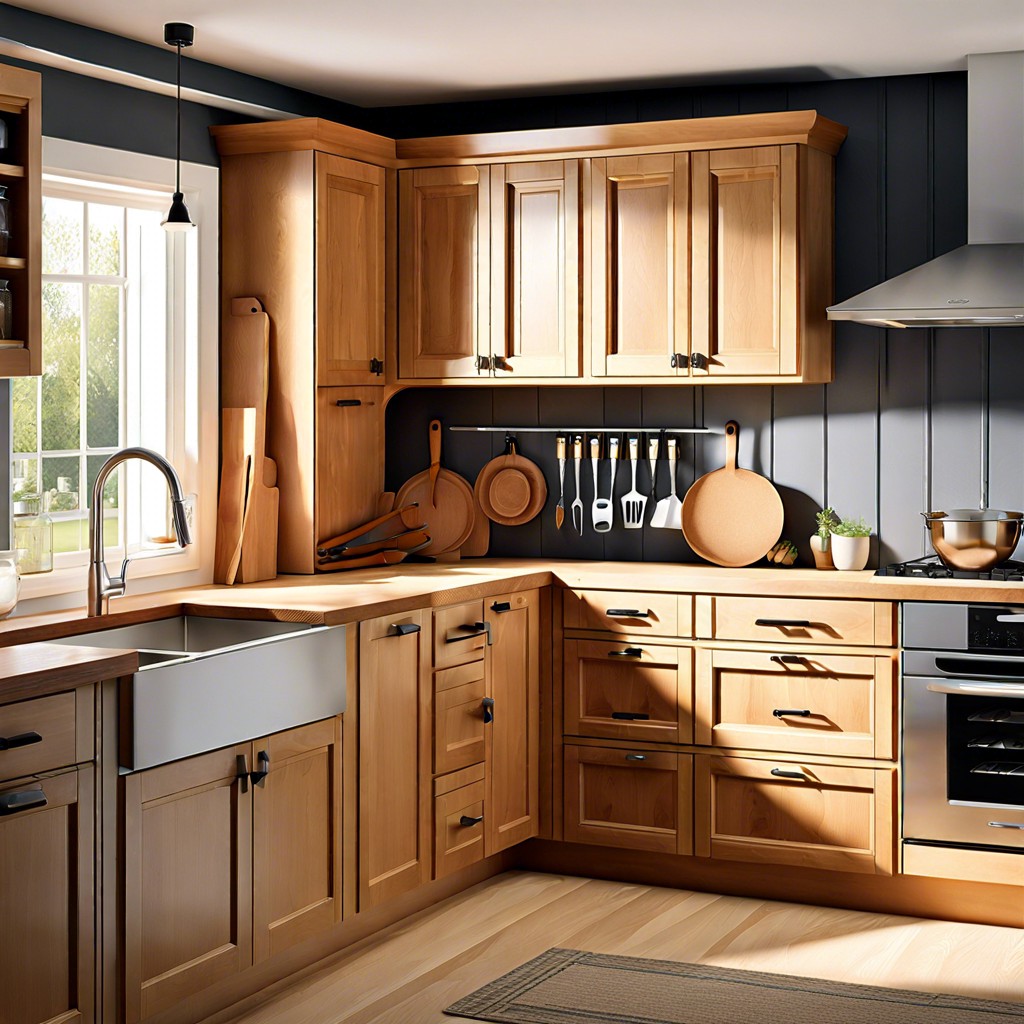 Staining Cabinets: A Step-by-Step Guide to a Fresh Look
 How Long Does It Take to Paint Kitchen Cabinets: A Time-Saving Guide
 Cost to Refinish Cabinets: A Cheaper Revival
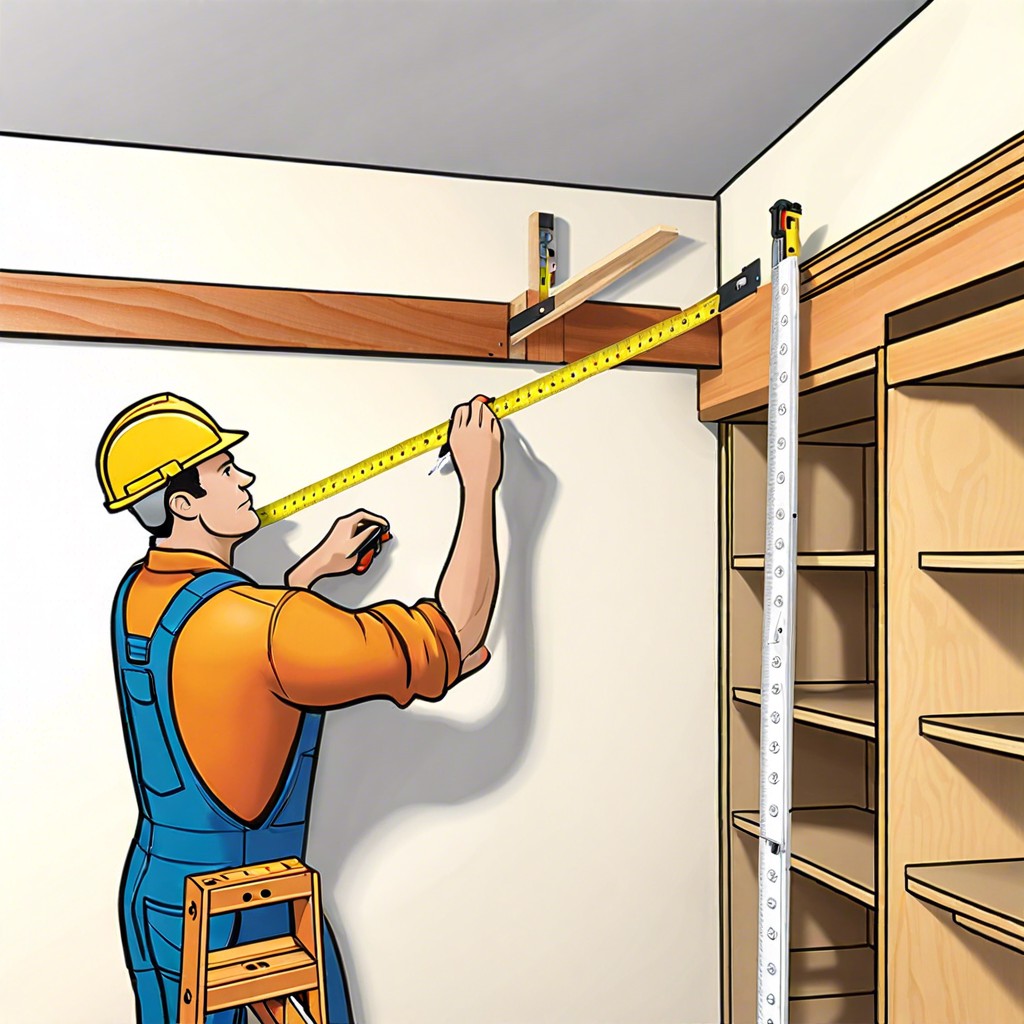 How to Install Upper Cabinets: Tips for a Perfect Kitchen Makeover