Last updated on
Discover the simple steps to accurately measure for a new kitchen sink, ensuring a perfect fit and seamless installation in your home’s cooking space.
The kitchen sink is one of the most essential fixtures in any home. It’s where we wash our dishes, prepare food, and even give our pets a bath.
But before you can install a new sink, you need to make sure it fits properly in your kitchen. Measuring for a kitchen sink may seem like a simple task, but there are many factors to consider such as the size of your countertop and the type of sink you want.
In this article, we’ll guide you through the process of measuring for a kitchen sink so that you can choose the perfect one for your space without any hassle!
Key takeaways:
- Measure the width and depth of your existing countertop or cabinet base.
- Consider the type of sink and its unique features and benefits.
- Choose the appropriate mounting style: drop-in, undermount, or flush mount.
- Take into account the desired depth of the sink and its compatibility with the countertop material.
- Measure the countertop space and the cabinet space to ensure a proper fit.
What's Inside
Introduction

Before you start shopping for a new kitchen sink, it’s important to measure your existing space accurately. A poorly measured sink can lead to an ill-fitting installation that will cause problems down the line.
In this article, we’ll guide you through the process of measuring for a kitchen sink so that you can choose the perfect one for your space without any hassle! We’ll cover everything from determining size and depth considerations to choosing mounting styles and accounting for accessories like faucets. Whether you’re replacing an old sink or installing one in a brand-new countertop, our step-by-step guide will ensure that your measurements are accurate and precise every time.
So let’s get started!
Types of Kitchen Sinks

The most common types include drop-in, undermount, farmhouse or apron-front sink and integrated sinks. Drop-in sinks sit on top of the countertop with a lip that overlaps the edge of the counter while undermounts are installed underneath countertops for a seamless look.
Farmhouse or apron-front sink is an exposed front basin that protrudes slightly beyond cabinets and counters while integrated models blend seamlessly into your countertop surface.
Each type has its own unique features and benefits depending on your needs and preferences. For example, if you’re looking for easy installation without having to modify your existing countertops then drop-ins may be best suited for you whereas if you want a sleek modern look with no visible seams then an under-mount would be ideal.
Determining Sink Size

The size of your kitchen sink will depend on various factors such as how much counter space you have available, how many people use the kitchen regularly, and what kind of tasks are performed in this area.
To get started with determining sink size, measure the width and depth of your existing countertop cutout or cabinet base. This measurement will give you an idea about what sizes are compatible with your current setup.
If you’re starting from scratch or planning a complete renovation project for a new home build or remodel job then consider measuring out different sizes using tape measures to visualize which one would work best for both functionality and aesthetics.
It is important to note that larger sinks may not always be better since they can take up valuable counter space while smaller ones might not provide enough room for washing large pots or pans comfortably.
Choose Mounting Style
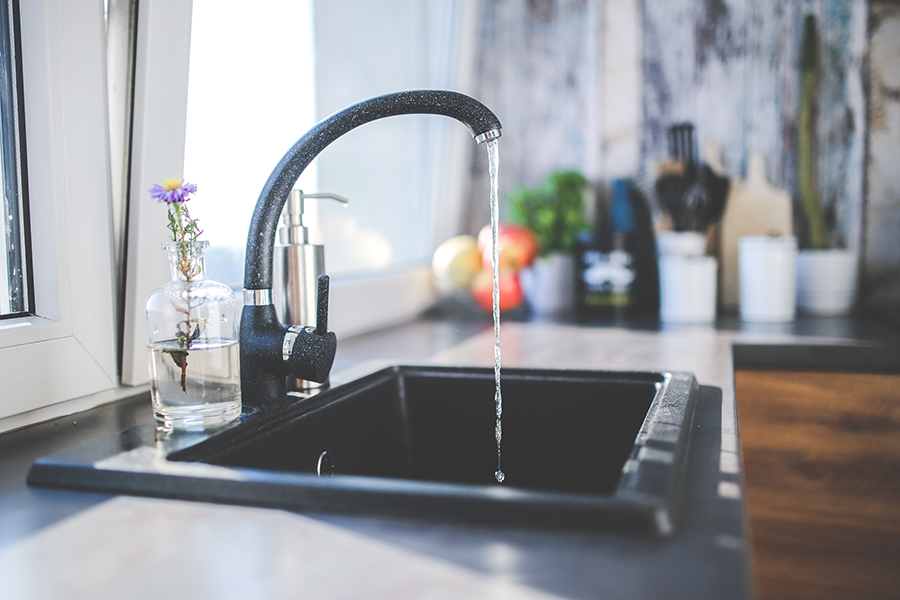
There are three main types of sink mounts: drop-in, undermount, and flush mount. Each has its own advantages and disadvantages.
Drop-in sinks are the most common type of sink found in kitchens. They sit on top of the countertop with their edges resting on it.
Drop-ins are easy to install because they don’t require any special tools or skills.
Undermount sinks attach underneath the countertop for a seamless look between counter and basin; this makes cleaning easier as there is no lip where dirt can accumulate but installation requires more work than drop-ins since they need support from below.
Flush mount sinks sit level with your countertops creating an even surface across all areas which is great for food prep but may not be suitable if you want water to drain away quickly without pooling around corners or edges like other styles might do.
Depth Considerations

The depth of the sink will determine how much space you have to work with and can affect your overall comfort while using it. If you’re someone who frequently washes large pots or pans, then a deeper sink may be more suitable for your needs.
On the other hand, if you have lower cabinets or are shorter in height, then a shallower sink might be more comfortable to use. It’s also essential to consider the type of countertop material that will surround your new kitchen sink as some materials require specific depths.
Gathering Materials and Tools

You’ll need a tape measure, pencil or marker, level, drill with hole saw attachment (if required), jigsaw or reciprocating saw (if required), silicone caulk and gun for sealing around the sink edges. Make sure to read any manufacturer instructions before purchasing additional materials.
It’s also important to ensure that you have all of the necessary tools on hand before beginning installation. This will save you time in case there are any unexpected issues during installation.
Prepare the Sink and Cabinet
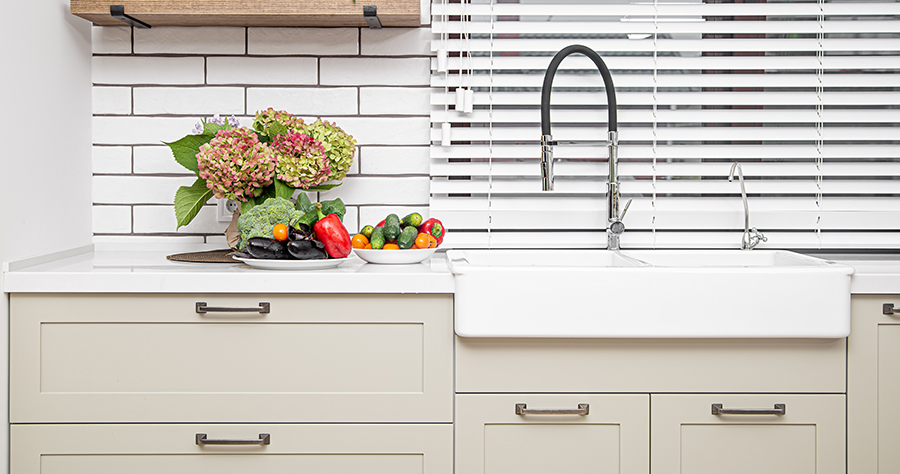
This means removing any old sinks or fixtures and cleaning out the cabinet underneath. Make sure that there are no obstructions in the way of where your new sink will go, such as pipes or electrical wires.
Once you have cleared out the space, take a moment to inspect your cabinet for any damage or wear and tear. If there are any issues with stability or structural integrity, now is a good time to address them before installing a new sink.
It’s also important to ensure that your chosen sink style is compatible with your existing cabinetry. Some sinks require specific types of cabinets while others may need additional support brackets installed underneath.
Measuring the Countertop Space

Measuring the countertop space is crucial as it will determine how well your new sink fits into your kitchen. To begin measuring, use a tape measure to find out the length and width of the area where you want to install your new sink.
Start by measuring from one end of the counter to another along its length. Then do this again for its width, making sure that you take measurements at different points along each side since countertops are not always perfectly square or rectangular.
Measure the Cabinet Space

This step is crucial because it ensures that your sink fits perfectly into the cabinet and aligns with your countertop. To begin, open up the cabinet doors under your current sink and remove any items stored inside.
Next, use a tape measure to determine both the width and depth of this area. Measure from left to right for width and front to back for depth.
Be sure to take note of any obstructions such as pipes or garbage disposals that may affect how much room you have available.
It’s important not only to consider measurements but also clearance requirements when measuring for a kitchen sink in a base cabinet unit; most sinks require at least 3 inches of clearance on all sides between them and other objects like walls or cabinets.
Measure the Cutout

The cutout is where your sink will be placed in your countertop. To do this, place a piece of cardboard or paper over the hole where you want to install your sink and trace around it with a pencil.
Next, remove any existing sinks or fixtures from the area so that you can get an accurate measurement of the cutout. Measure from edge to edge across both sides of each corner as well as diagonally across each corner for rounded corners.
It’s important to note that some sinks come with templates for measuring out their exact dimensions on countertops before cutting them out. If this is not available, use measurements taken directly from your new sink instead.
Templates and Cut-outs
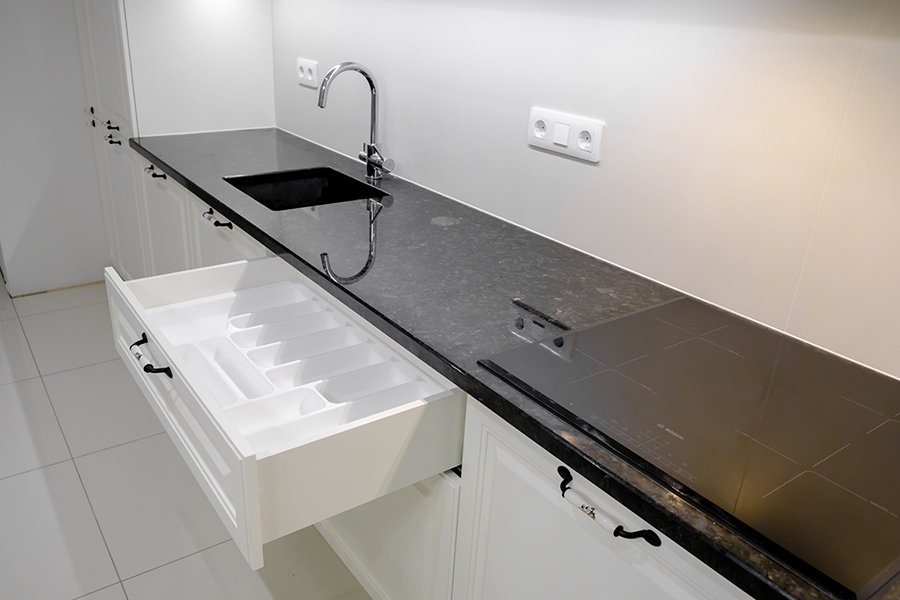
A template is a paper or cardboard pattern that matches the shape and size of your sink. It can be used to trace an outline onto your countertop for cutting out the hole where the sink will sit.
Some sinks come with pre-made templates, while others require you to make one yourself.
If you need to make a template yourself, start by placing a large piece of paper over your existing countertop and tracing around its perimeter using a pencil or marker. Then place the new sink upside down on top of this traced area so that its edges align with those drawn lines.
Next, use another pencil/marker (or even better – masking tape) to trace around all four sides of each mounting point on both sides (if applicable). This will ensure accurate placement when installing later on!
Measuring Corners and Radius

This is especially crucial if you’re planning on installing an undermount sink, which requires precise measurements to ensure a snug fit.
To measure the corners of your countertop, use a flexible tape measure or string to determine the distance from each corner to where you want the center of your sink basin. Make sure that these measurements are accurate and consistent before moving on.
Next, consider any radius or curved edges in your countertop design. To do this accurately, use a contour gauge tool that can be pressed against curved surfaces and then transferred onto paper for reference later.
Measuring a New Sink When Installing New Countertops

This will ensure that your sink fits perfectly and is properly aligned with your plumbing. To do this, follow the same steps as measuring for an existing countertop but take into account any changes in size or shape of the new countertop.
When measuring a new sink for installation with a new countertop, make sure to provide accurate measurements to avoid any issues during installation. You may need to adjust the cutout size based on manufacturer recommendations or personal preference.
It’s also essential to consider how much space you want between your faucet and backsplash when choosing where exactly on the counter you want it placed. By taking these factors into consideration early in planning stages, you can save yourself time and money by avoiding costly mistakes later on down-the-line.
Account for Faucet and Accessories
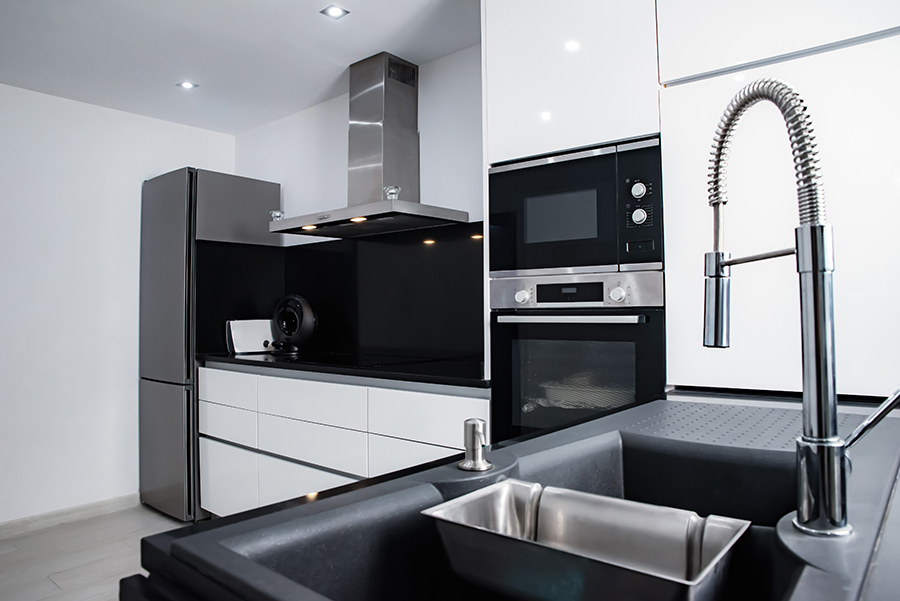
One of the most common accessories is a faucet, which can come in various sizes and styles. Make sure to measure the distance between your current faucet holes or plan where you want them if installing new countertops.
Other accessories such as soap dispensers or sprayers should also be considered when measuring for your new sink. Take note of their placement and ensure they fit comfortably within your countertop space without interfering with other fixtures.
Confirm Accuracy

Double-checking your measurements can save you time and money in the long run by avoiding any mistakes during installation. One way to do this is by comparing your sink’s dimensions with those of the countertop cutout.
If they match up perfectly, then congratulations! You’re ready for installation.
However, if there are any discrepancies between your sink and countertop measurements, it may be best to remeasure or seek professional help before proceeding with installation. Remember that even small measurement errors can cause big problems down the line.
Confirming accuracy also means ensuring that all other factors such as faucet holes and accessories align correctly with both sink and counter cutouts before making a final purchase decision.
Save Measurements

This will come in handy when you’re ready to purchase your new sink or if any issues arise during installation. We recommend writing down the measurements on a piece of paper or saving them digitally on your phone or computer.
It’s also essential to double-check that all of the measurements are accurate before making any purchases. Even small discrepancies can cause significant problems during installation, so it’s better to be safe than sorry.
Remove the Old Sink and Measure the Cutout

This step is crucial because it allows you to measure the cutout accurately. Before removing your old sink, turn off the water supply and disconnect any plumbing connections.
Next, use a utility knife or putty knife to loosen any caulking around the edges of your current sink. Once all caulk has been removed, carefully lift out the old sink from its position in order not to damage surrounding countertops or cabinets.
With an open hole where your previous kitchen fixture used to be located now visible on top of counter surface; take measurements for length (from left edge), width (from front edge) as well as depth (distance between top surface down into opening). These dimensions will help determine what size replacement unit is needed when shopping for new sinks that fit within this existing space without requiring additional modifications such as cutting away more material than necessary.
Purchase Recommendations

When shopping for a new sink, consider the material of the sink as well as its durability and ease of maintenance. Stainless steel is a popular choice due to its affordability and resistance to stains, while porcelain sinks offer an elegant look but require more care in cleaning.
Another important factor is choosing a reputable brand with good customer reviews. This ensures you are investing in quality materials that will last long-term without any issues or defects.
Keep in mind any accessories or features you may want such as built-in drainboards or garbage disposals. These can make daily tasks easier and more efficient.
Before You Begin

First and foremost, make sure that the sink you choose fits your needs and style preferences. Consider factors such as the size of your family, how often you cook at home, and what type of cooking activities take place in your kitchen.
It’s important to have all necessary tools on hand before starting the measurement process. This includes measuring tape or ruler (preferably one with both imperial and metric measurements), pencil or marker for marking measurements on surfaces like countertops or cabinets where they won’t be easily erased by accident during installation; level tool if needed; drill bits if required by mounting style chosen.
Expert Q&A

Here are some of their responses to frequently asked questions.
Q: What is the most common mistake people make when measuring for a new kitchen sink? A: The most common mistake people make is not accounting for the faucet and accessories. It’s important to measure where your faucet will be installed and how much space it will take up on your countertop.
Q: How do I know if my cabinet can support the weight of my new sink? A: You should always check with your manufacturer or installer before purchasing a new sink. They can advise you on whether or not your cabinet can support its weight.
Q: Can I install an undermount sink myself, or should I hire a professional? A: Installing an undermount sink requires precision cutting and careful placement, so it’s best left to professionals who have experience working with this type of installation.
References

If you’re still unsure about any of the steps involved in measuring for your new sink, there are plenty of resources available online that can help. You may also want to consult with an expert at your local home improvement store or hire a professional installer if you’re not confident in your abilities.
With these tips and references at hand, you’ll be able to measure accurately and choose the perfect kitchen sink for your space!
Final Thoughts
Remember to double-check all of your measurements before making any cuts or purchases. It’s always better to be safe than sorry when it comes to home improvement projects.
When choosing a new kitchen sink, consider not only its size and style but also its functionality and durability. A good quality sink can last for many years with proper care and maintenance.
We hope that this guide has been helpful in simplifying the process of measuring for a kitchen sink installation. With these tips, you’ll be able to confidently choose the perfect fit for your cooking space without any hassle!
FAQ
What are standard kitchen sink sizes?
Standard kitchen sink sizes typically range from 22 inches long to 30 inches wide, with proper measurements taken from the outer lip for drop-in sinks or the edge meeting the counter for undermount sinks.
How do you measure the length and width of a sink?
To measure the length and width of a sink, take measurements from the outer sink lip to the opposite side for most sinks, from edge to edge of the counter for undermount sinks, and measure the diameter for round and oval sinks.
What is the process for measuring the depth of a kitchen sink?
To measure the depth of a kitchen sink, use a measuring tape to determine the distance from the top edge to the bottom of the sink in a straight line.
How can one determine the ideal kitchen sink size for their specific countertop space?
One can determine the ideal kitchen sink size for their specific countertop space by measuring the width and depth of the available area and choosing a sink that fits comfortably within those dimensions without exceeding them.
Are there any special considerations to take into account when measuring for an undermount or top-mount kitchen sink?
When measuring for an undermount or top-mount kitchen sink, it is important to consider the size and configuration of the countertop, as well as the existing cutout and mounting hardware.


