Last updated on
Discover the simple steps to accurately measure your kitchen backsplash area, ensuring a perfect fit and stunning appearance for your home improvement project.
The kitchen is the heart of every home, and it’s no surprise that homeowners want to make it look as beautiful and functional as possible. One way to add style and protection to your kitchen is by installing a backsplash.
A backsplash not only protects your walls from spills and splatters but also adds a decorative touch to your kitchen. However, before you can install a backsplash, you need to measure the area accurately.
In this article, we’ll guide you through the process of measuring for a kitchen backsplash so that you can achieve a perfect fit for your space. So grab your measuring tape and let’s get started!
Key takeaways:
- Accurate measurements ensure a perfect fit and appearance.
- Necessary tools: measuring tape, pencil, level, tile spacers, safety equipment.
- Prepare workspace: clear area, cover countertop, clean surfaces.
- Measure wall dimensions: length, height, and obstacles.
- Calculate total tile quantity: consider cuts, wastage, and material overlap.
What's Inside
Importance of Accurate Measurements
A poorly measured backsplash can result in an uneven and unattractive appearance, which can ruin the overall look of your kitchen. Inaccurate measurements may lead to purchasing too much or too little tile material, resulting in unnecessary expenses or delays.
Moreover, precise measurements ensure that you have enough tiles for the entire project without running out midway through installation. It also helps you avoid having leftover materials that cannot be used elsewhere.
Necessary Tools
These include:
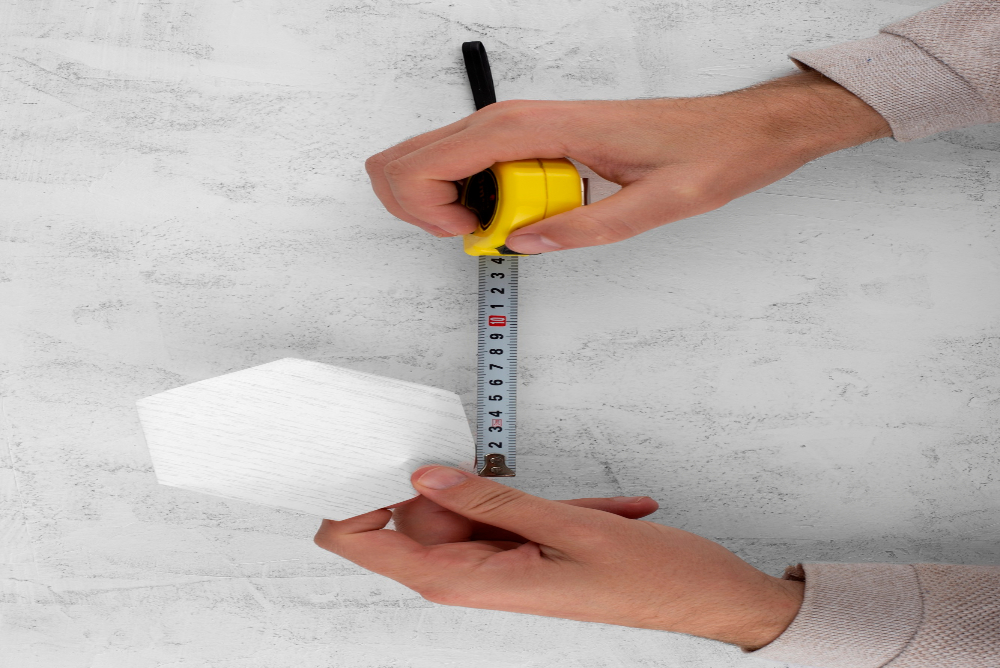
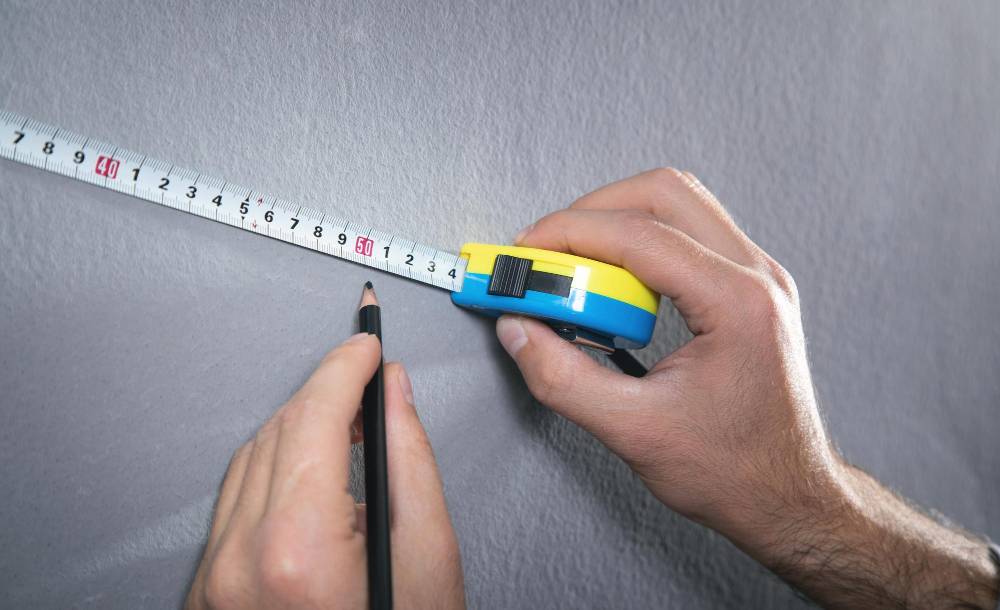
1. Measuring tape: A measuring tape is the most important tool for this project as it helps you take precise measurements of the area.
2. Pencil and paper: You’ll need to jot down all your measurements on paper so that you can refer to them later when purchasing materials or installing tiles.
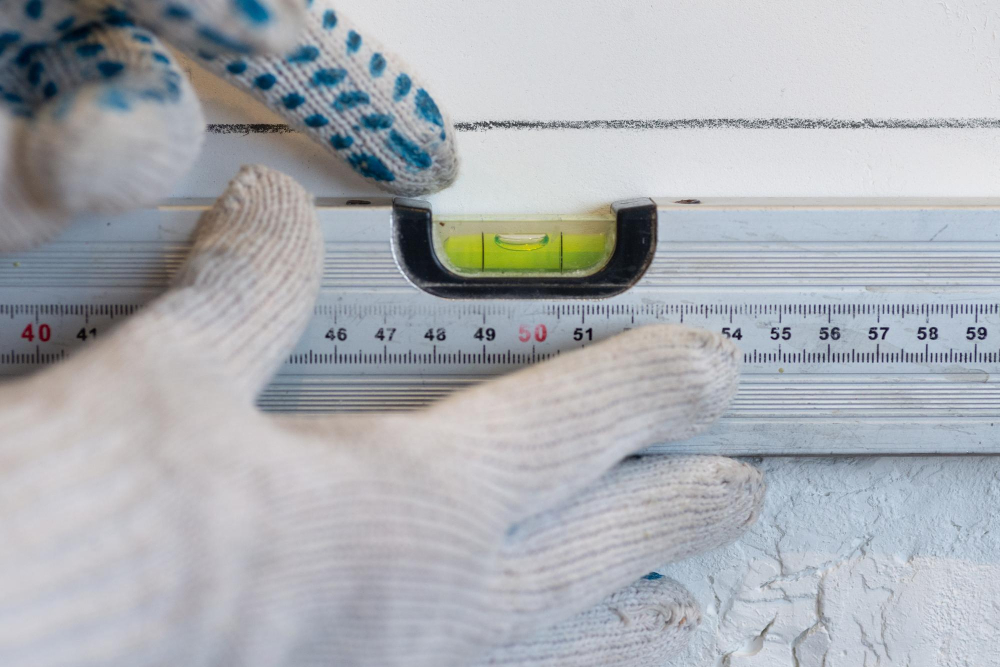
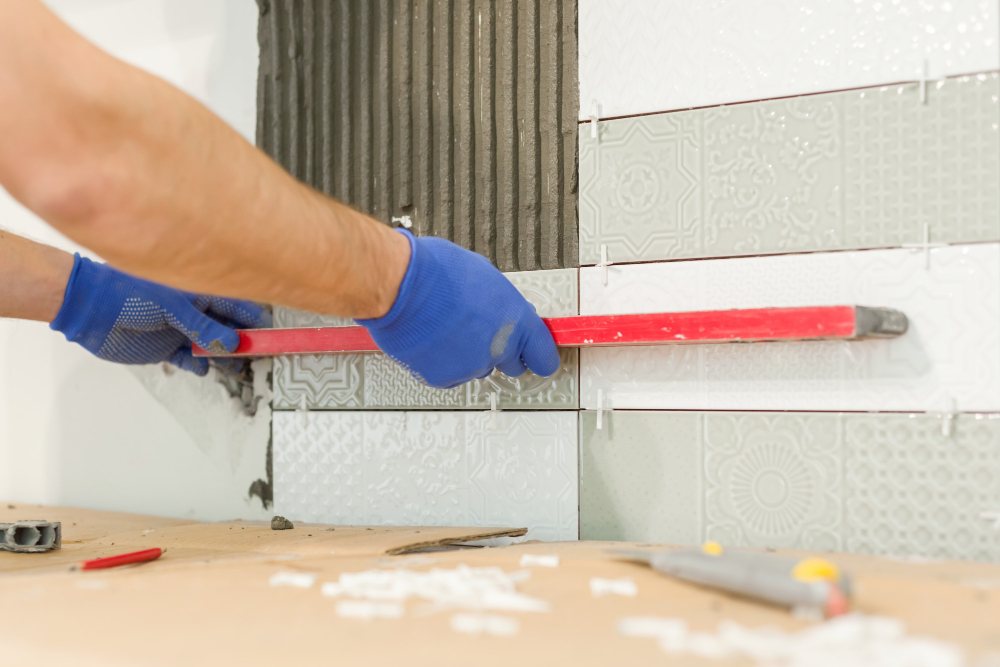
3. Level: A level will help ensure that your backsplash is straight and even, giving it a professional look.
4. Tile spacers: If you’re planning on using tile for your backsplash, tile spacers are necessary to keep an equal distance between each tile while installing them.
5. Safety equipment: It’s always best practice to wear safety glasses and gloves when working with any tools or materials in case of accidents.
Preparing the Workspace
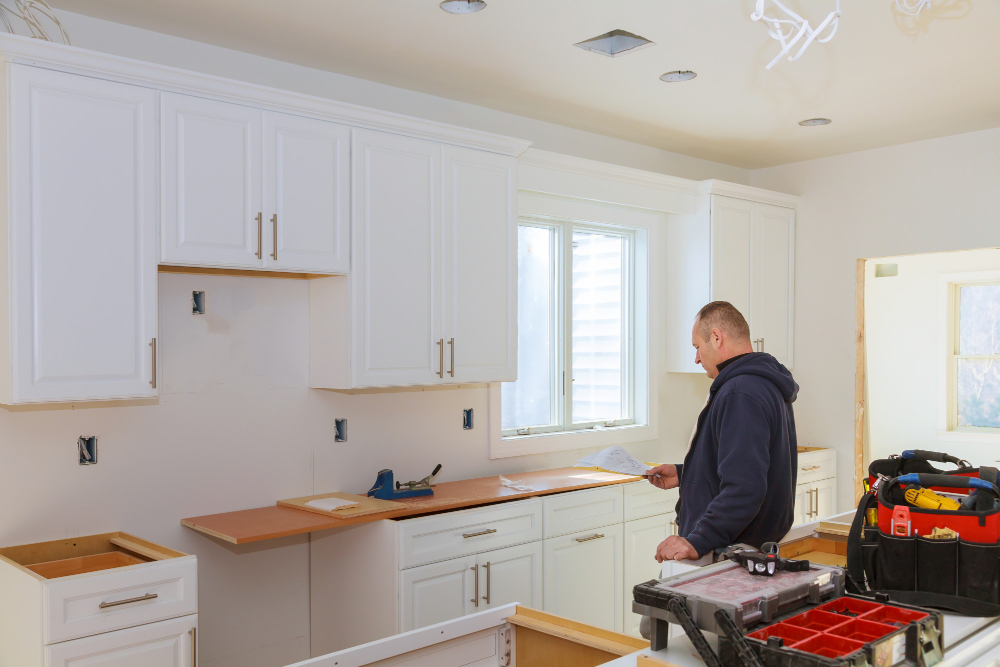
This will ensure that you have a clear and unobstructed view of the area, making it easier to take accurate measurements. Begin by removing any items from your countertops and clearing out cabinets or shelves near the wall where you’ll be installing the backsplash.
Next, cover your countertop with a protective layer such as cardboard or an old sheet to prevent damage from tools or materials during installation. If there are any electrical outlets on the wall where you’re installing tile, turn off power at circuit breaker box before starting work.
It’s also important to make sure that all surfaces are clean and free of debris before taking measurements. Use soap and water or a mild cleaning solution if necessary.
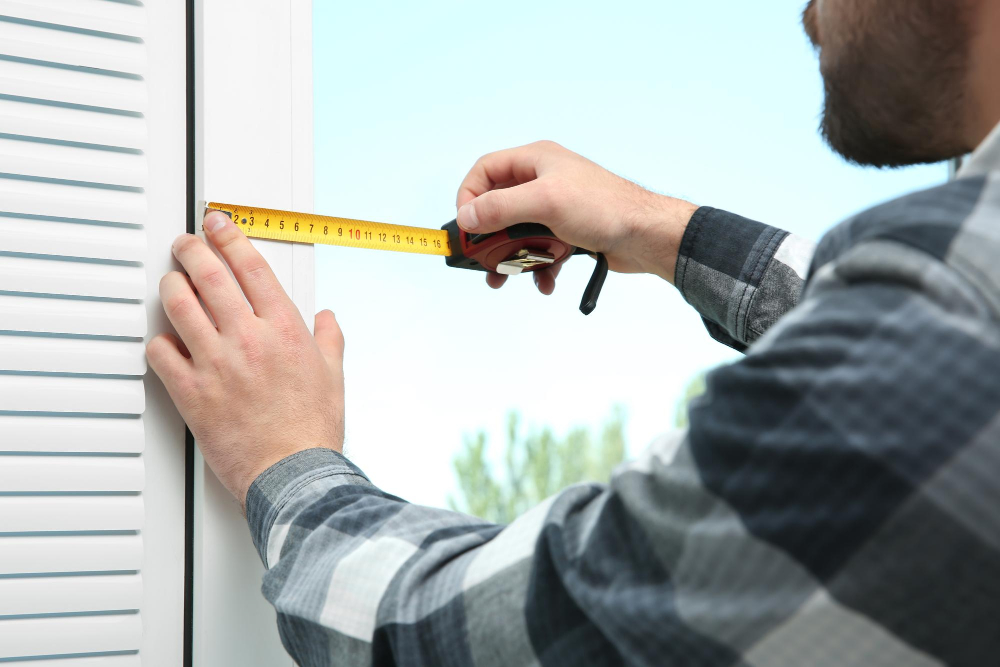
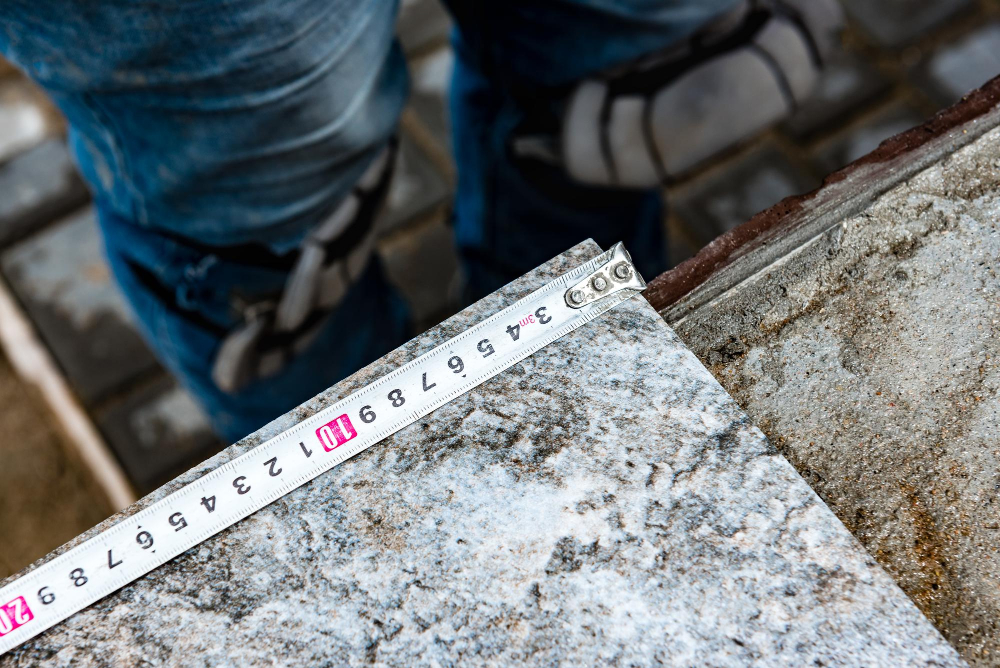
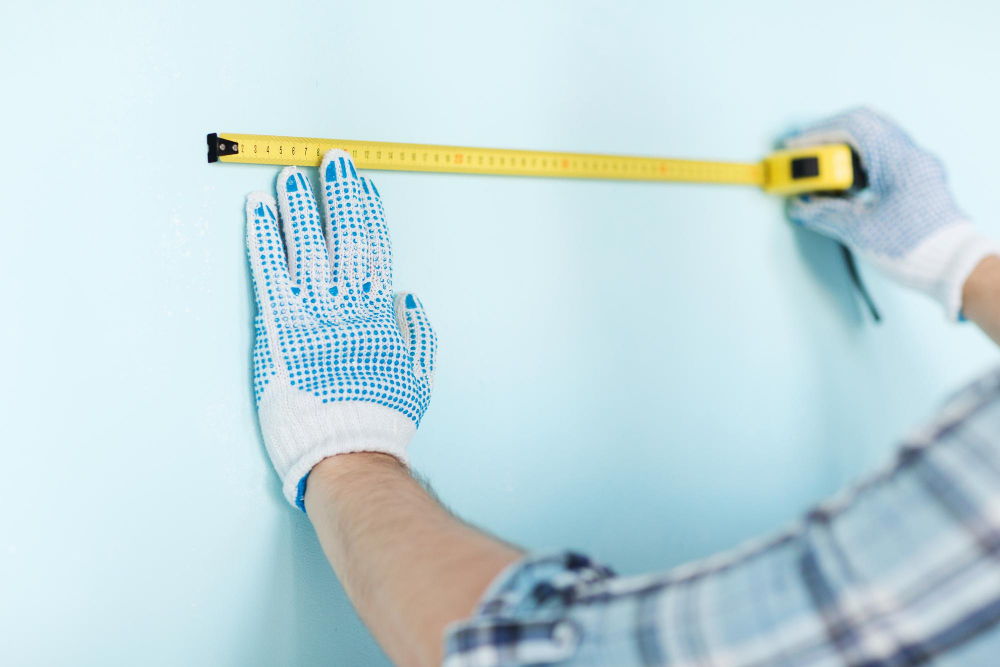
Measuring Wall Dimensions
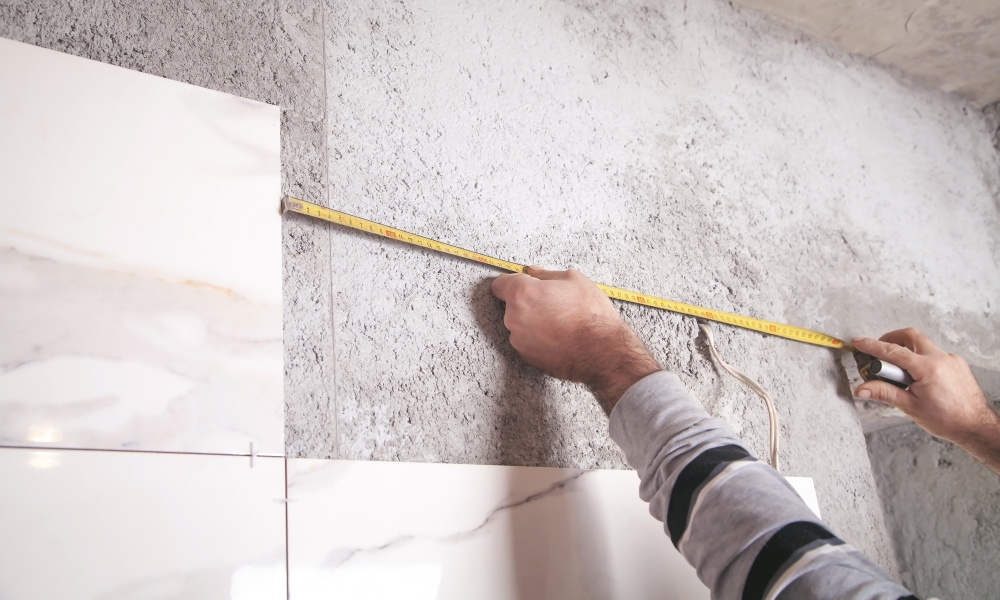
To do this, use a tape measure and start by measuring the length of each wall from end to end. Be sure to take into account any corners or angles that may affect your measurements.
Next, measure the height of each wall from top to bottom. If there are any cabinets or other obstacles on your walls, be sure to measure around them as accurately as possible.
Once you have measured all walls’ lengths and heights, record these numbers on paper or in an app so that you can refer back later when calculating tile quantity and material needed for installation.
It’s essential always double-checking your measurements before purchasing materials or starting installation work because even small errors can lead to significant problems down the line.
Measuring the Length
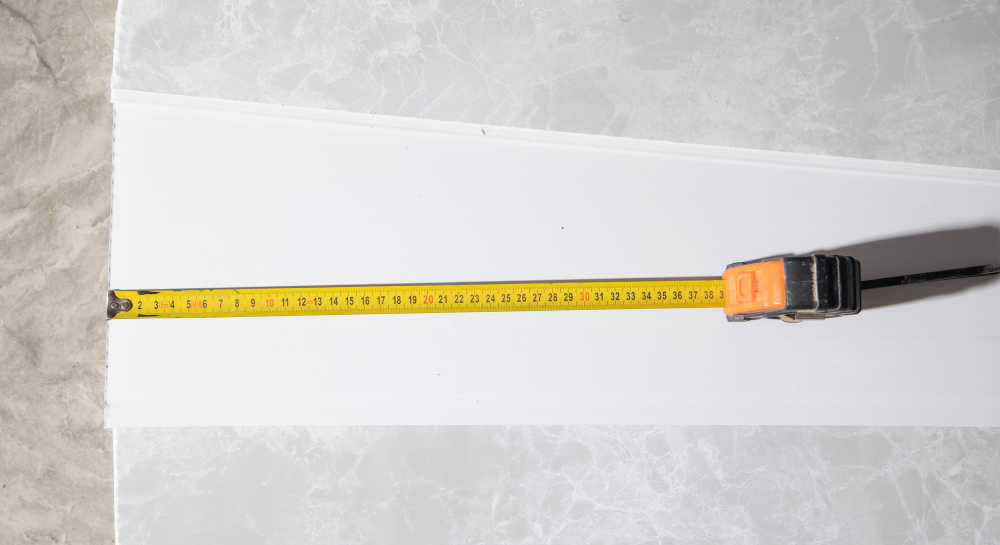
To do this, start by placing your measuring tape at one end of the wall and extend it to the other end. Make sure that you hold your measuring tape straight and level against the wall for an accurate measurement.
If there are any obstacles such as cabinets or appliances in between, measure up to them separately and then continue with another measurement from where they left off until reaching a corner or edge.
Note down each individual length on paper so that you can add them together later when calculating how much tile material is needed for installation. It’s important not to round up measurements as even small differences can affect how many tiles are required.
Measuring the Height
The height measurement is crucial because it determines how many tiles you’ll need for each row and helps ensure that your backsplash looks even from top to bottom.
To measure the height, start at one end of your backsplash area and use a measuring tape or ruler to determine its vertical distance from countertop level up to where you want the tile installation to stop. Be sure not just take into account any baseboards or molding that may be present along this edge.
Repeat this process at various points along your wall until you reach the other end of your kitchen backsplash area. Make sure all measurements are taken in inches (or centimeters) for accuracy.
It’s important also consider any obstacles such as electrical outlets, light switches or windows when taking these measurements so that they can be factored in later on during planning stage.
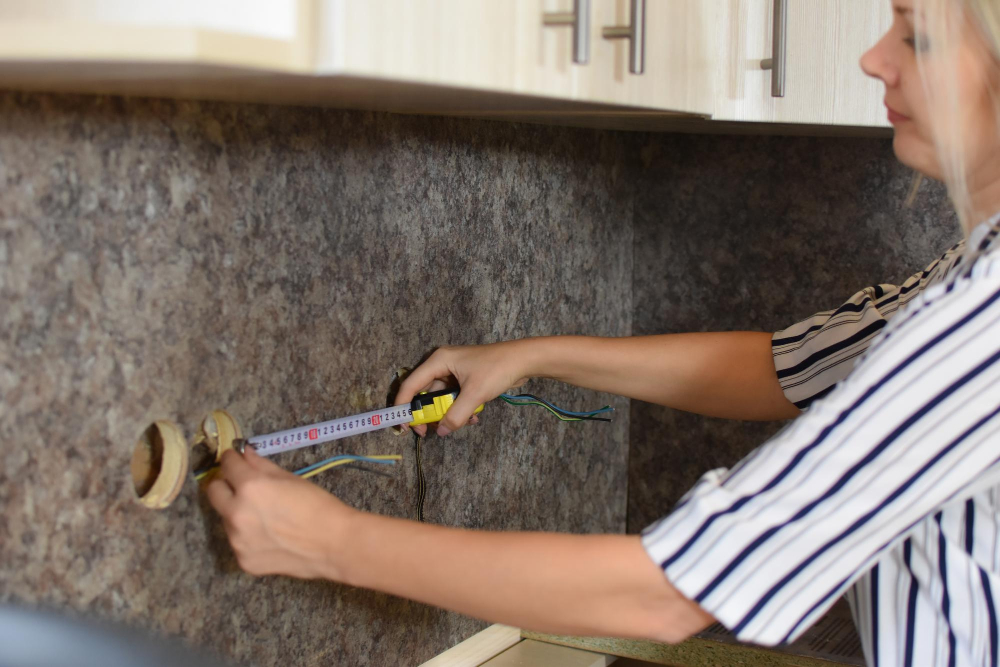
Factoring in Outlet Locations
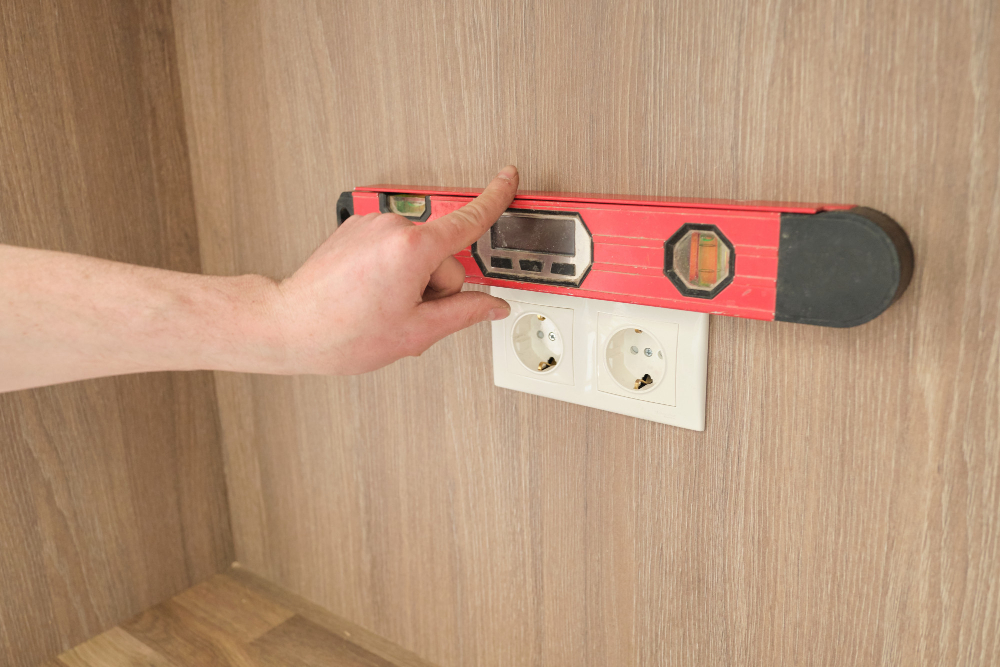
Outlets can be found on most kitchen walls and are used to power appliances such as blenders, microwaves, and coffee makers. To ensure that your backsplash fits perfectly around these outlets without any awkward gaps or cuts, you need to measure their exact position accurately.
To do this, start by locating all the electrical outlets on your wall. Then use a tape measure to determine their distance from both the floor and adjacent walls.
Measure both horizontally and vertically from each outlet box so that you have an accurate measurement of its position relative to other features in your kitchen.
Once you have measured all outlet locations accurately, transfer those measurements onto your tile layout plan or directly onto tiles if necessary using a pencil or marker pen. This will help guide where cuts should be made when installing tiles around them.
Considering Window Areas
Windows can add an extra level of complexity to the measurement process, but with careful planning and attention to detail, you can ensure that your backsplash fits perfectly around them.
To measure for a window area, start by measuring the width and height of the window itself. Then measure from each side of the window frame outwards until you reach where your tile will end.
This will give you an accurate measurement for how much space is needed on either side of the window.
It’s also important to factor in any trim or molding around your windows when taking measurements. Be sure to account for these additional dimensions so that your tiles fit snugly against them without leaving gaps or overlaps.
Calculating Total Tile Quantity
This step is crucial as it helps you determine how many tiles you need to purchase and ensures that there are no delays or interruptions during installation.
To calculate the total tile quantity, multiply the length and height measurements of your backsplash area. For example, if your kitchen backsplash measures 10 feet in length and 2 feet in height, then multiplying these two numbers will give a total square footage of 20 sq.ft.
It’s important to note that when purchasing tiles for a kitchen backsplash project, always buy extra material than what is needed. This accounts for any cuts or wastage during installation and ensures that there are enough tiles available if replacements are necessary later on.
Planning for Tile Cuts and Wastage
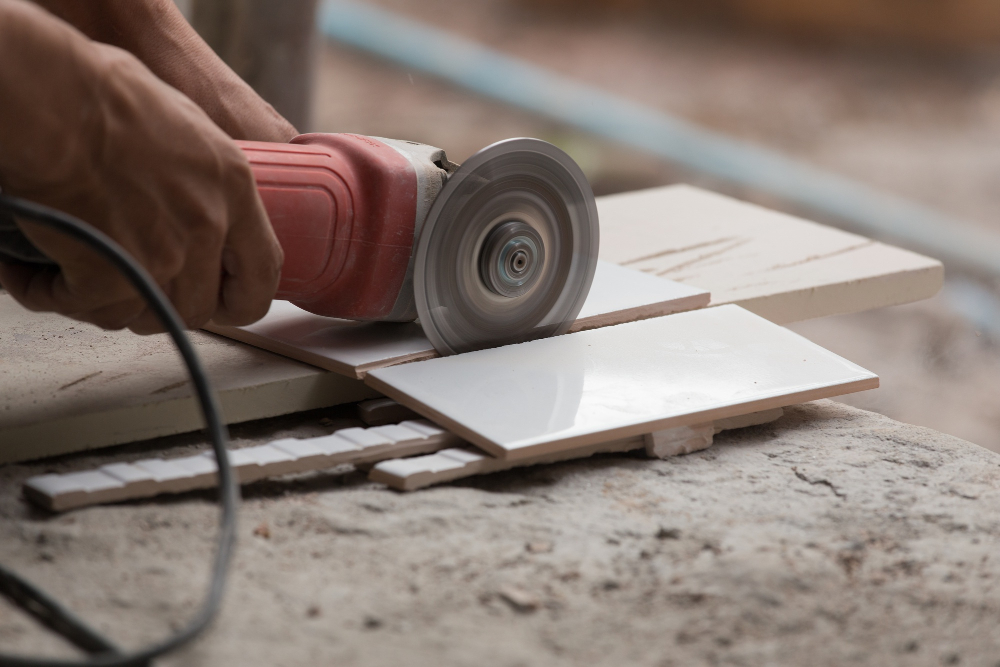
Tiles come in different sizes and shapes, so you may need to cut some tiles to fit around outlets or windows. There is always the possibility of breaking a few tiles during installation.
Therefore, it’s crucial to purchase extra tiles than what you think you’ll need.
To determine how many additional tiles are required for your project, add 10% more than the total number of square feet needed based on your measurements. This will account for any cuts that must be made or broken pieces that cannot be used.
It’s also important to consider the pattern when planning tile cuts as this can affect how much waste is produced from each cut piece. For example, if using subway-style rectangular tiles with staggered joints (brick pattern), then cutting them diagonally would produce less waste compared with straight-line cutting.
Choosing the Right Material
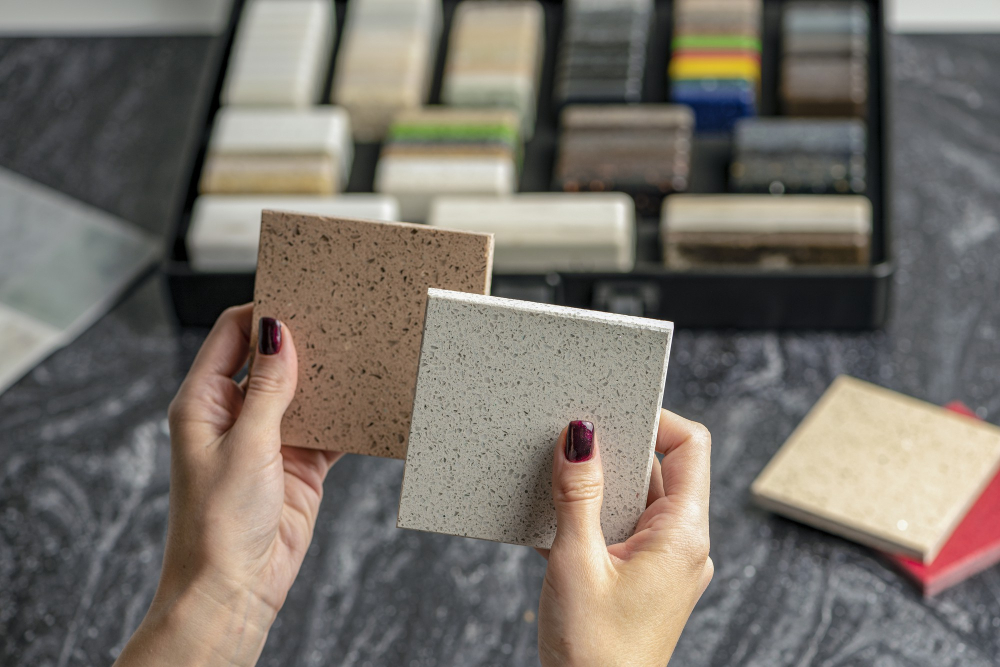
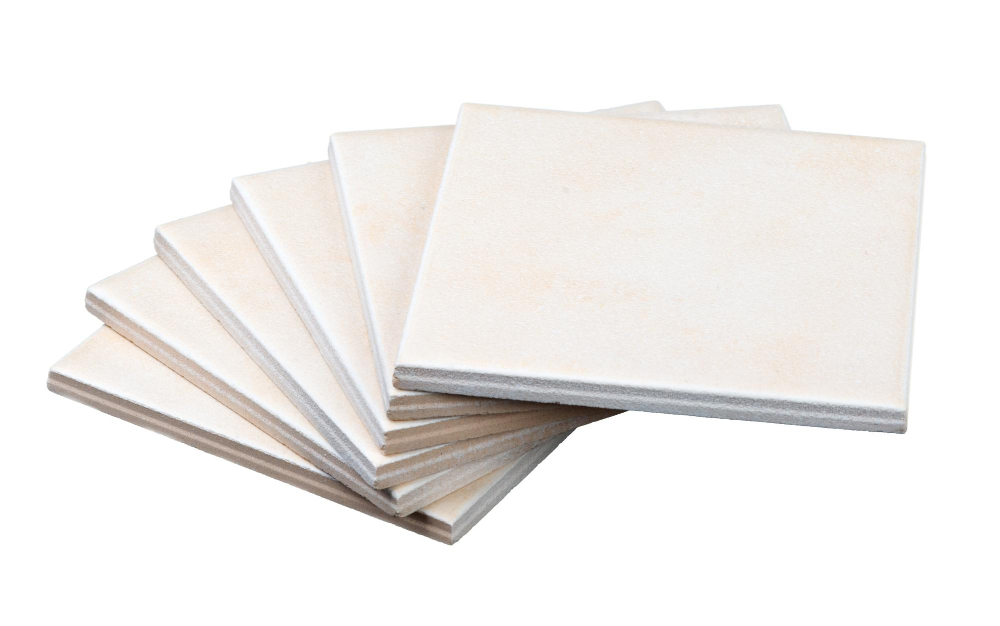
The most popular materials include ceramic tiles, glass tiles, natural stone tiles, and metal tiles. Each of these materials has its unique advantages and disadvantages.
Ceramic tile is a classic choice that offers durability and versatility in design. It’s easy to clean but can be prone to cracking if not installed correctly.
Glass tile is an excellent option for those who want a modern look with vibrant colors or patterns. However, it can be more expensive than other materials.
Natural stone tile provides a timeless look that adds warmth and texture to any kitchen space. However, it requires regular maintenance as it’s porous and susceptible to staining.
Metallic finishes like stainless steel or copper offer an industrial-chic vibe that complements modern kitchens well but may require special cleaning products due to their susceptibility towards scratches or fingerprints.
Consider the style of your kitchen when selecting the material for your backsplash; you want something that will complement rather than clash with existing elements such as countertops or cabinets.
Accounting for Material Overlap
This means that you need to measure the area where the tiles will be installed and add a little extra space to ensure that each tile overlaps with its neighboring tile. The amount of overlap required depends on the type of material you’re using and how large your tiles are.
For example, if you’re using small mosaic tiles, then a 1/8 inch overlap may be sufficient. However, if you’re installing larger subway tiles or natural stone slabs, then a 3/16 inch or even 1/4 inch overlap may be necessary.
To calculate how much extra space is needed for material overlap in square footage (sq ft), multiply the length by height of each wall section being tiled and add an additional percentage based on your chosen materials’ recommended overlapping requirements.
By accounting for this crucial factor when measuring your kitchen backsplash area accurately ensures that there won’t be any gaps between adjacent pieces after installation is complete.
Factoring in Grout Lines
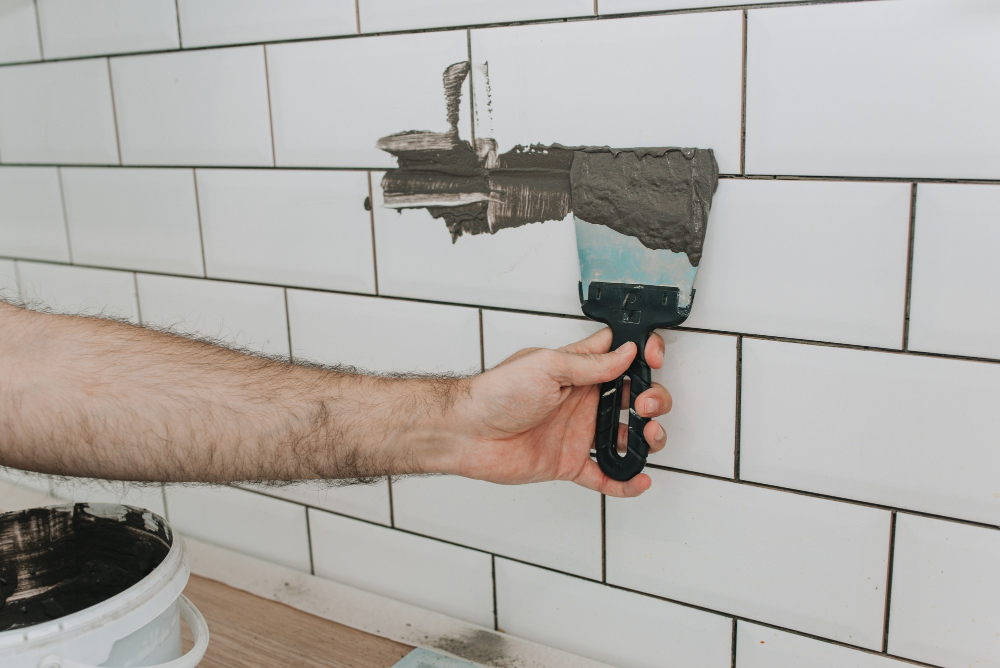
Grout is the material used to fill gaps between tiles and helps keep them in place. The size of your grout line will depend on personal preference and tile size, but typically ranges from 1/16 inch to 3/8 inch.
To account for grout lines when measuring your backsplash area, add the width of one or two rows (depending on how many you plan to use) of tiles plus an additional amount equaling half the width of a single row. For example, if you’re using 4-inch square tiles with a 1/8-inch grout line, measure out five inches horizontally (four inches for tile + one inch for half-width).
Factoring in these measurements ensures that you have enough space between each tile while also preventing any awkward cuts or small pieces at either end. It’s important not only aesthetically but also functionally as larger gaps can lead to water seeping behind your backsplash causing damage over time.
Adjustments for Unusual Wall Shapes
For example, if your kitchen has an archway or curved walls, you’ll need to take additional measurements and make some calculations before ordering tiles.
To measure the area of a curved wall accurately, use a flexible tape measure and follow the curve of the wall as closely as possible. Take multiple measurements at different points along the curve to ensure accuracy.
Once you have measured all areas affected by unusual shapes in your kitchen backsplash project, calculate their total square footage separately from standard rectangular areas. Then add up all square footage values together for an accurate estimate of how much tile material is needed.
Tips for DIY Installation
First and foremost, ensure that you have all the necessary tools and materials before starting. This includes tile cutters, adhesive, grout mixers, spacers and more.
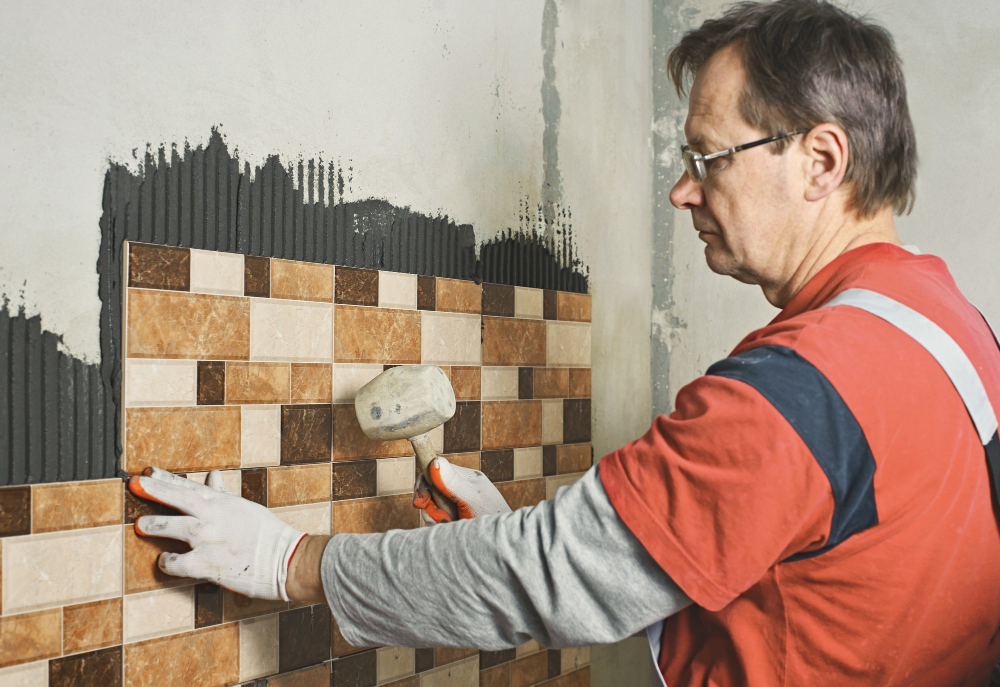
It’s also important to take your time during installation. Rushing through the process can lead to mistakes or uneven tiles which will affect the overall appearance of your backsplash.
Another tip is to start from one end of the wall and work towards another in small sections rather than trying to cover an entire area at once. This way you’ll be able to adjust any issues as they arise without having already installed too many tiles.
Don’t forget about maintenance after installation! Regular cleaning with mild soap solution will keep it looking great for years ahead while avoiding harsh chemicals or abrasive scrubbers which could damage its surface over time.
Hiring Professional Installers
Professional tile setters have the experience and tools necessary to ensure that your backsplash is installed correctly and looks great. They can also help you choose the right materials for your project, provide advice on design options, and offer tips on maintenance.
When looking for a professional installer, it’s essential to do some research beforehand. Ask friends or family members if they know of any reputable contractors in your area or check online reviews from previous customers.
Once you’ve found potential candidates, ask them about their experience with installing kitchen backsplashes specifically.
It’s also important to get quotes from multiple contractors before making a final decision so that you can compare prices and services offered. Make sure that each quote includes all costs associated with installation so there are no surprises later on.
Verifying Measurements
Double-checking your measurements can save you time and money in the long run by avoiding costly mistakes.
To verify your measurements, take a step back and look at the overall picture of what you’ve measured. Check that all dimensions are accurate and consistent with each other.
Ensure that there are no discrepancies between different areas of measurement.
It’s also helpful to use a level tool to check if walls are straight or uneven as this will affect how tiles fit together during installation. If there is an issue with wall alignment, adjustments may need to be made before proceeding further.
Consider having someone else review your work for accuracy as another set of eyes can catch errors that may have been overlooked initially.
Final Checklist for Measurements
Here is a final checklist to ensure that you have accurate measurements:
- Verify all wall dimensions and calculate the total square footage of the backsplash area.
- Check for any unusual shapes or angles in the walls and make necessary adjustments.
- Account for outlet locations, window areas, and other obstacles on your walls.
- Calculate tile quantity needed based on square footage plus extra tiles for cuts and wastage.
- Choose appropriate material considering durability, maintenance requirements, style preference etc
- Factor in grout lines while calculating tile quantity
- Check if there are enough tiles available with required overlap
- Ensure that all tools are ready before beginning installation.
Maintaining Your Kitchen Backsplash

Regular cleaning is essential for keeping the tiles and grout lines free of dirt, grease, and stains. Use a mild detergent or specialized tile cleaner with warm water to clean the surface regularly.
Avoid using abrasive cleaners or scrubbers that can scratch the surface of your backsplash. If you notice any cracks or chips in your tiles, repair them as soon as possible before they become bigger problems.
It’s also important to seal your grout lines periodically (usually every six months) with a high-quality sealer designed specifically for this purpose. This will help prevent moisture from penetrating into the grout and causing damage over time.
By following these simple maintenance tips, you can ensure that your kitchen backsplash remains beautiful and functional for years to come!
FAQ
What is the rule of thumb for kitchen backsplash?
The rule of thumb for kitchen backsplash is to install it at a height of four inches from the countertop surface, using a material and color that compliments the cabinets and countertops.
How do I know what size tile to use for my backsplash?
To determine the size of tile for your backsplash, consider using larger tiles (12×24 or 24×24) for easier installation or smaller tiles (3×6, 2×10, 2.5×8) for more customization options.
How do you measure square inches for a backsplash?
To measure square inches for a backsplash, multiply the height and width of each section and sum the resulting areas for the final number.
What is the standard size for kitchen backsplash?
The standard size for a kitchen backsplash varies depending on individual preferences and the home, with a typical height of 15 inches, but it can be shorter or taller as well.
What are the essential tools needed for measuring and installing a kitchen backsplash accurately?
Essential tools for measuring and installing a kitchen backsplash accurately include a tape measure, level, utility knife, trowel, tile cutter, tile spacers, and grout float.
How can I determine the appropriate grout line width for my kitchen backsplash tiles?
To determine the appropriate grout line width for your kitchen backsplash tiles, consider the tile size and manufacturer’s recommendations, typically ranging between 1/16 inch and 1/8 inch.
Are there any specific guidelines to follow when choosing the material and color for a kitchen backsplash?
When choosing the material and color for a kitchen backsplash, consider the overall kitchen design, match or complement countertops and cabinets, and maintain a balance between aesthetics and functionality.


