Last updated on
Mastering the art of measuring a kitchen sink could be incredibly useful, and this how-to guide is here to provide clear, simple steps to get the job done accurately.

Key takeaways:
- Gather your tools: tape measure, straightedge, notepad, pencil, smartphone.
- Measure the sink: length, depth, sink bowl depth, countertop distance.
- Determine sink type: top-mount, undermount, farmhouse, integrated.
- Confirm accuracy: double-check, consult specs, use a level, get a second opinion.
- Accurate measurements matter: seamless fit, plumbing compatibility, functionality, accessory choices.
What's Inside
Gather Your Tools
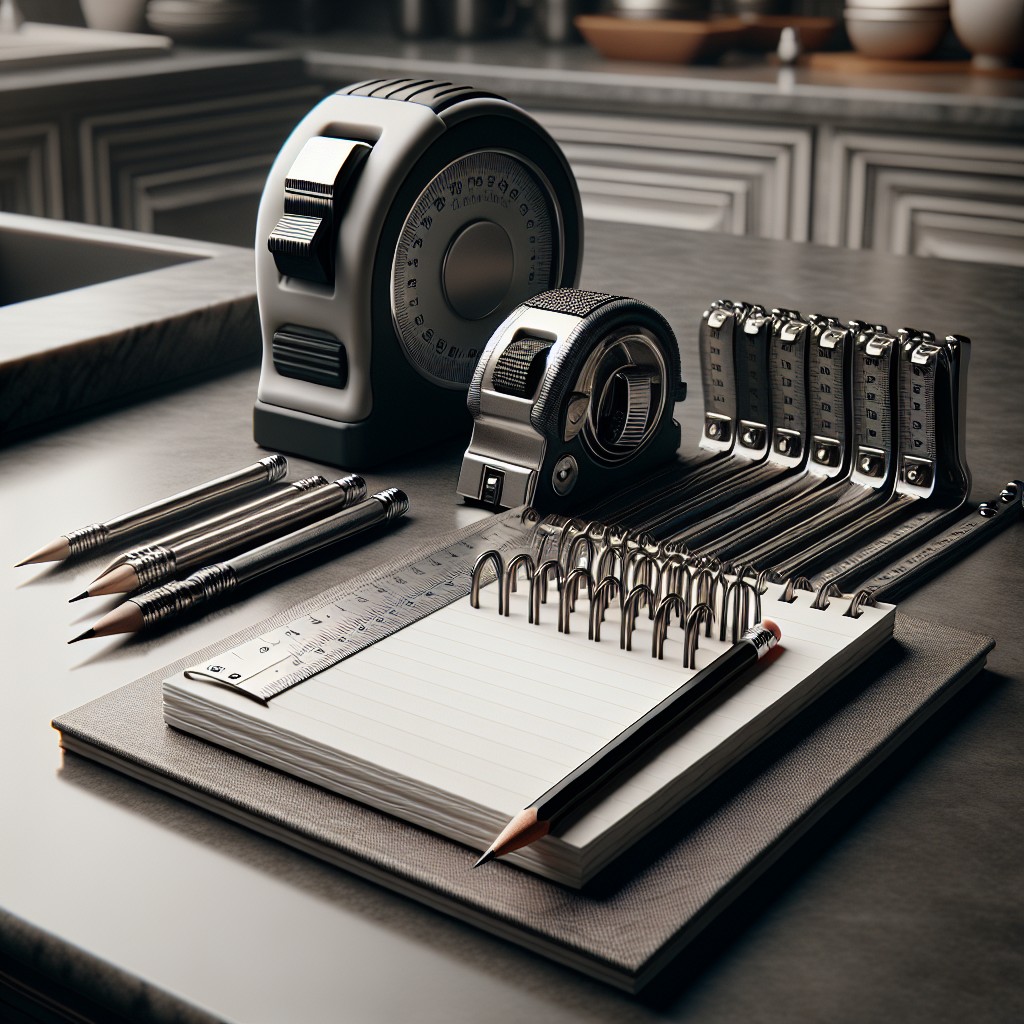
Equipping yourself with the right tools before you embark on measuring your kitchen sink is crucial. You’ll need a tape measure for precision. Opt for one that’s flexible, allowing you to navigate corners with ease.
Keep a straightedge or level handy if you’re checking for evenness across the countertop. Jot down measurements with a notepad and pencil, sure to be at arm’s reach during the process. For digital enthusiasts, a smartphone or tablet with a note-taking app could also serve this purpose efficiently.
Jot down measurements with a notepad and pencil, sure to be at arm’s reach during the process. For digital enthusiasts, a smartphone or tablet with a note-taking app could also serve this purpose efficiently. Remember, accuracy begins with preparation, so ensure these items are gathered before diving into the task.
Measure the Sink
Equipped with the right tools, such as a measuring tape, notepad, and pencil, you’re ready to size up your kitchen sink. Begin by measuring from left to right to get the length, ensuring the tape is straight and parallel to the edge of the sink. Record this figure as it corresponds to the width of the cabinet where the sink will fit.
Next, determine the front-to-back measurement, known as the depth. Start from the edge closest to you, stretching your tape to the back where the sink meets the wall or backsplash. Be mindful not to confuse depth with the actual basin depth; the latter refers to how deep the sink bowl is, which is an entirely different measurement.
For the sink bowl depth, place your measuring tape at the bottom of the sink’s interior and extend it straight up to the top edge. This figure will guide you on how much room you’ll have for washing dishes or filling pots.
Don’t forget the countertop! Measure the distance from the back of the sink to the wall, not just for determining available space but also to help in the selection of faucets and ensure there’s enough clearance for installation.
Take note: rounding off is a no-go. Precision is key here, so keep to the closest 1/16th of an inch to avoid the pitfalls of a mismatched sink and cabinet cutout. Jot down your numbers carefully, double-checking them to safeguard your kitchen from potential measurement missteps.
Determine What Type of Sink You Have
Understanding the variety of sink types is crucial before you dive into the task of measuring. Here’s a quick primer on the common configurations:
- Top-mount, or drop-in sinks, have a visible rim that rests on the countertop. When measuring these, include the rim to ensure your new sink fits in the existing space.
- Undermount sinks are attached beneath the countertop. The border isn’t visible, creating a sleek look. Measurements for this type should be from edge to edge of the sink basin, not the countertop opening.
- Farmhouse, or apron-front sinks, have a front that juts out slightly from the cabinetry. Take note of this protrusion; it can affect installation and requires precise width measurements.
- Integrated sinks are part of the countertop itself, usually made of the same material. For these, you measure the basin as well as the countertop’s dimensions if you’re considering a replacement.
Keep in mind, each type might necessitate specific dimensions like depth, which plays a crucial role in under-sink cabinet space. Recognize your sink type to tailor your measurement approach accordingly.
Confirm Accuracy
Cross-checking your numbers is crucial to avoid the costly mistake of purchasing an incorrectly sized sink. Here’s how to ensure precision in your measurements:
- Double-check: After your initial measurement, repeat the process to confirm your figures align. This is especially important for the width and depth to ensure the sink fits within the cabinet space.
- Consult manufacturer specifications: If you’re replacing an existing sink, the manufacturer’s specifications can serve as a guide. Compare these with your measurements to verify consistency.
- Use a level: To ensure your measurements account for any discrepancies in the installation area, placing a level across the top of the sink can identify any tilts or unevenness.
- Enlist a second set of eyes: Sometimes, a fresh perspective can catch errors you may overlook. Have someone else review your measurements for peace of mind.
Remember, precise measurements are the foundation for a flawless kitchen sink installation. Taking the time to confirm accuracy can save you time, money, and assure a perfect fit.
Why Accurate Sink Measurements Matter
Ensuring your sink’s measurements are spot-on is crucial for several reasons. First, it guarantees a seamless fit into your countertop’s cutout, avoiding the headache of gaps or overlaps. Imagine a sink that’s too large being forced into a space, leading to potential damage to both the countertop and the sink – a scenario that underlines the importance of precision.
Second, it affects the compatibility with existing plumbing. An inch off can mean the difference between a straightforward installation and one that requires costly plumbing adjustments. For a faucet that needs to align perfectly with the sink bowl, precision is non-negotiable.
Moreover, precise measurements have implications for storage and waste disposal units. Inadequate space for these components because of mismeasurements can disrupt the functionality and convenience of your kitchen workflow.
Lastly, accurate measurements influence your choice in accessories and future upgrades. From custom cutting boards to basin racks, the right dimensions are the cornerstone of ensuring these add-ons fit appropriately, enhancing your kitchen’s utility and aesthetic.


