Last updated on
Discover the essential steps to securely pack your kitchen appliances for a smooth, stress-free moving experience.
Moving to a new house can be exciting, but the thought of packing up all your belongings can be daunting. And when it comes to packing your kitchen appliances, things can get even more complicated.
From bulky mixers to fragile glassware, there are many items that require special attention and care during the moving process. But don’t worry – with a little bit of planning and organization, you can pack up your kitchen appliances like a pro and ensure they arrive at your new home in one piece.
In this article, we’ll share some helpful tips on how to pack kitchen appliances for moving so you can tackle this task with confidence.
What's Inside
Preparing for Packing

Before you start packing your kitchen appliances, it’s important to prepare for the task ahead. Begin by creating a checklist of all the items that need to be packed and make sure you have enough time set aside for this process.
It’s also helpful to declutter your kitchen before packing so that you only take what is necessary with you.
Another crucial step in preparing for packing is ensuring that all appliances are completely dry and free from any food residue or moisture. This will prevent mold growth during transit and ensure they arrive at their destination in good condition.
Lastly, consider disassembling larger appliances into smaller parts as this can make them easier to pack and transport safely. Keep screws, bolts, cords or other small parts together by storing them in labeled plastic bags taped onto the appliance itself or placed inside a box designated specifically for these items.
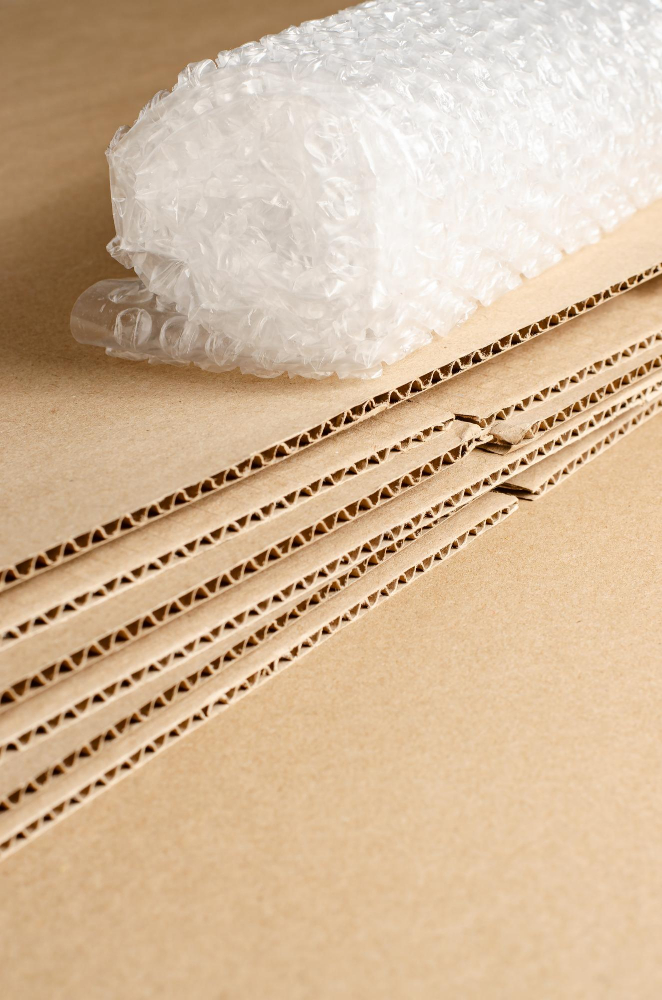
Gather Packing Materials
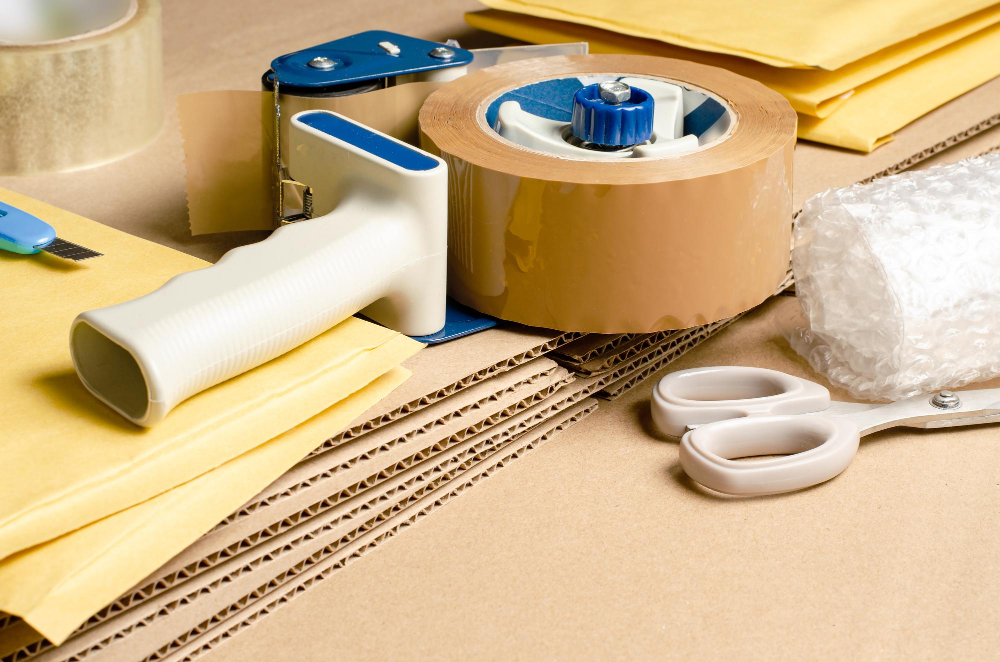
Having everything on hand before you start packing will save you time and ensure that your appliances are packed securely. Here are some essential items to have:
- Sturdy boxes in various sizes
- Packing paper or bubble wrap
- Packing tape and dispenser
- Scissors or box cutter
- Labels and markers
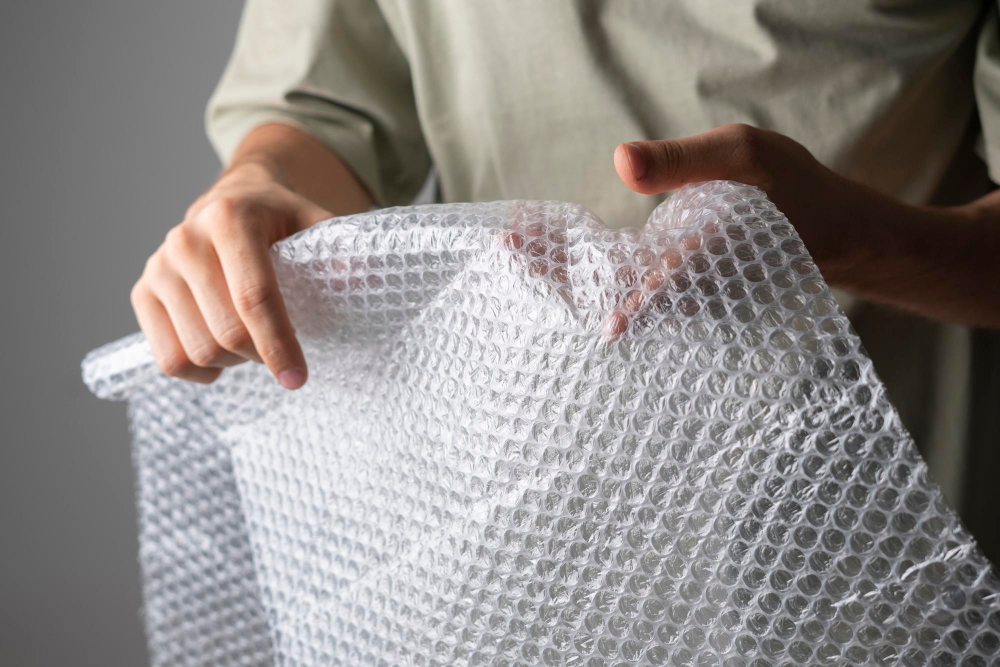
It’s important to use high-quality materials when packing fragile items like glassware, so don’t skimp on the bubble wrap or padding. You can also use towels, blankets, or clothing as extra cushioning for larger appliances.
Pro tip: If possible, try to get boxes specifically designed for moving kitchen appliances – they often come with built-in dividers and foam inserts that provide extra protection during transit.
Sort Kitchen Appliances

This will help you determine which items need special attention and how much packing material you’ll need. Start by separating small appliances from large ones, and then group similar items together, such as blenders or coffee makers.
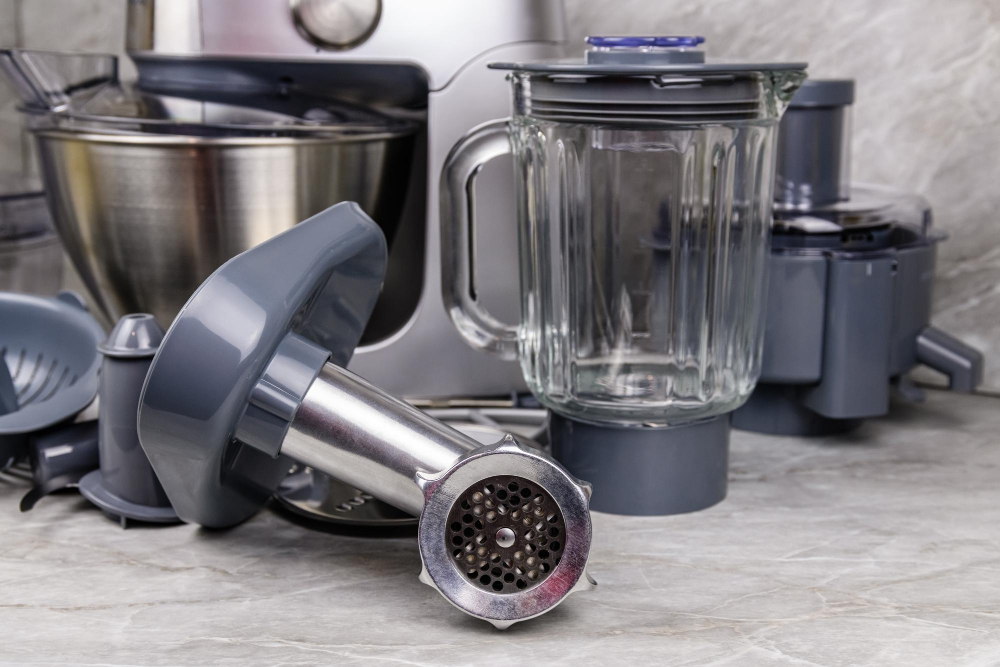
Once you have everything sorted out, take a closer look at each appliance to see if there are any loose parts that need to be removed before packing. For example, detachable blades or mixing bowls should be stored separately so they don’t get damaged during the move.
Sorting your kitchen appliances may seem like a tedious task but it’s an essential part of the process that can save time and prevent damage later on.
Clean and Dry Appliances
This will not only help prevent any mold or mildew from forming during transit but also make unpacking a lot easier when you arrive at your new home.
Start by unplugging the appliance and removing any detachable parts such as trays, racks, or shelves. Wash these items with warm soapy water and let them air dry completely before packing them separately in bubble wrap or wrapping paper.
Next, use a damp cloth to wipe down the exterior of the appliance thoroughly. Pay special attention to areas that tend to accumulate dirt such as crevices around knobs or buttons.
For stubborn stains on stainless steel surfaces, use a specialized cleaner recommended by the manufacturer.
Once you’ve cleaned all visible surfaces of an appliance inside out using appropriate cleaning agents for each type of material used in its construction (e.g., plastic vs metal), leave it open for some time until it dries completely before proceeding with disassembling if necessary.
Disassembling and Storing Parts
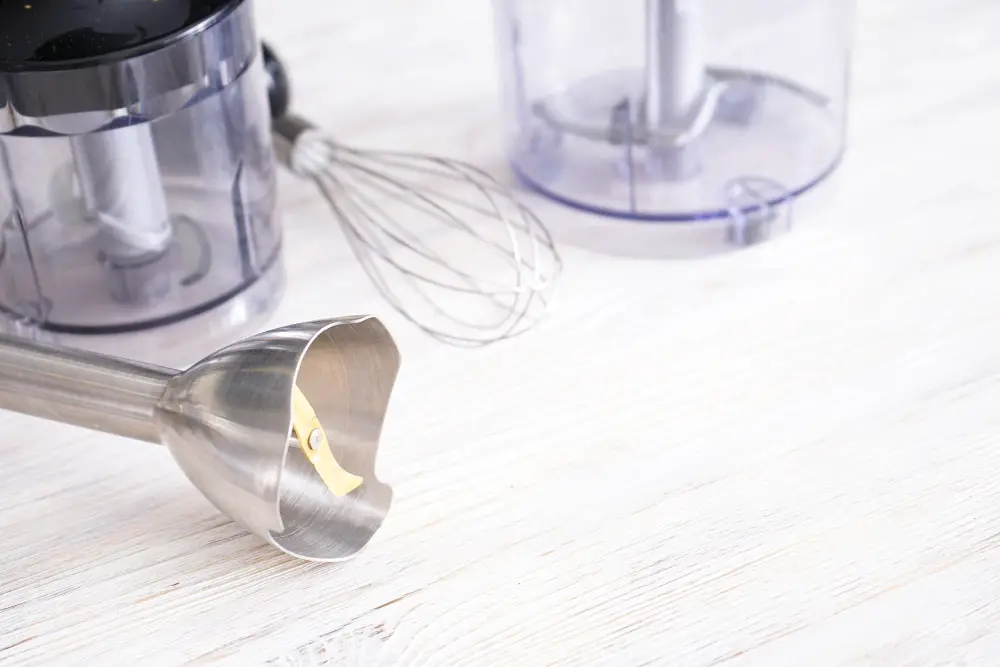
This will help prevent damage during the move and make it easier to pack everything securely. For example, if you’re moving a blender or food processor, remove the blades and store them in a separate container with padding around them.
If you have an electric mixer with detachable beaters or bowls, wrap each piece individually in bubble wrap before placing them together in a box.
For larger appliances like refrigerators or ovens that cannot be disassembled easily, consider removing any loose shelves or racks inside for safekeeping during transport. Be sure to label all of these smaller pieces clearly so they can be reassembled correctly at your new home.
Remove Loose Parts
This includes detachable blades, mixing bowls, and other accessories that can be easily removed from the appliance. Make sure to wrap each part separately in packing paper or bubble wrap and label them accordingly so you know which appliance they belong to when it comes time for unpacking.
For example, if you’re moving a blender with a detachable blade assembly, unscrew the blade from the base of the blender and pack it separately in its own box or container. Similarly, if you have a stand mixer with multiple attachments like dough hooks or beaters, take them off before packing.
Securing and Wrapping Cords
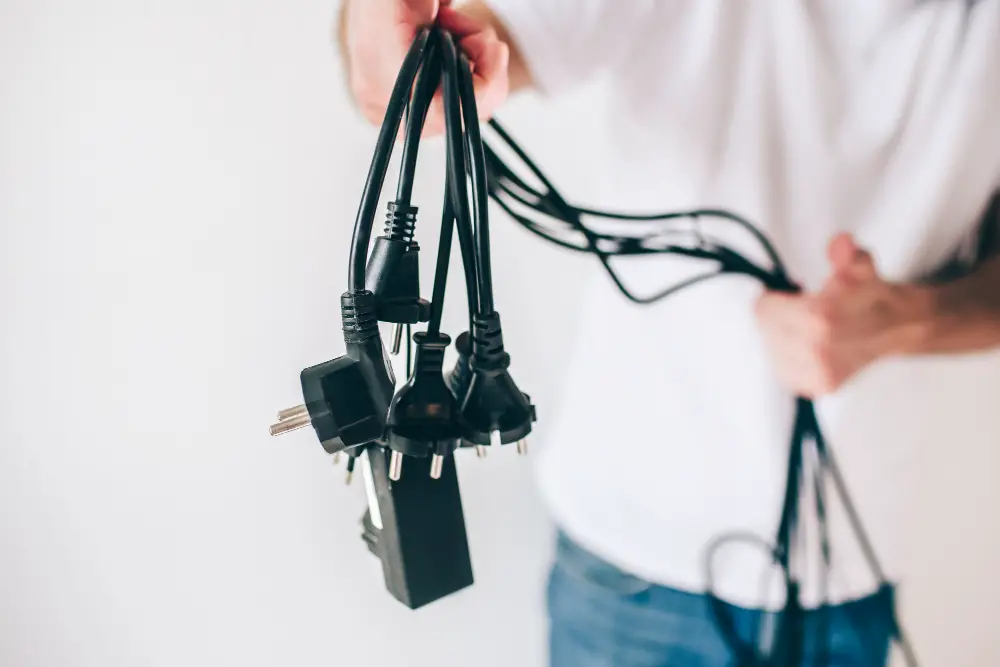
This is an important step in the packing process as tangled cords can cause damage to both the appliance itself and other items during transit.
To start, unplug all appliances from their power source. Then, gently gather up any loose cords or wires and use twist ties or rubber bands to keep them organized.
Be sure not to tie them too tightly as this could damage the cord.
Next, wrap each cord with bubble wrap or foam padding for added protection against bumps and scratches during transport. You can also use masking tape or painter’s tape (avoid duct tape) to hold the padding in place.
For larger appliances such as refrigerators or ovens that have longer cords attached directly into them, make sure they are wrapped securely around the appliance before taping down any excess length of wire with masking tape.
Protecting Fragile Components
Glassware, ceramic plates, and other delicate items require special attention during the moving process. To protect these fragile components from damage during transit, wrap them in bubble wrap or packing paper before placing them in a box.
Make sure that there is enough padding around each item so they don’t move around inside the box.
For glassware such as wine glasses or champagne flutes with stems, use cardboard dividers to keep them separated and prevent breakage. You can also stuff crumpled paper inside each glass for added protection.
If you’re transporting your appliances over long distances or through bumpy roads, consider using foam inserts for additional cushioning against impact.
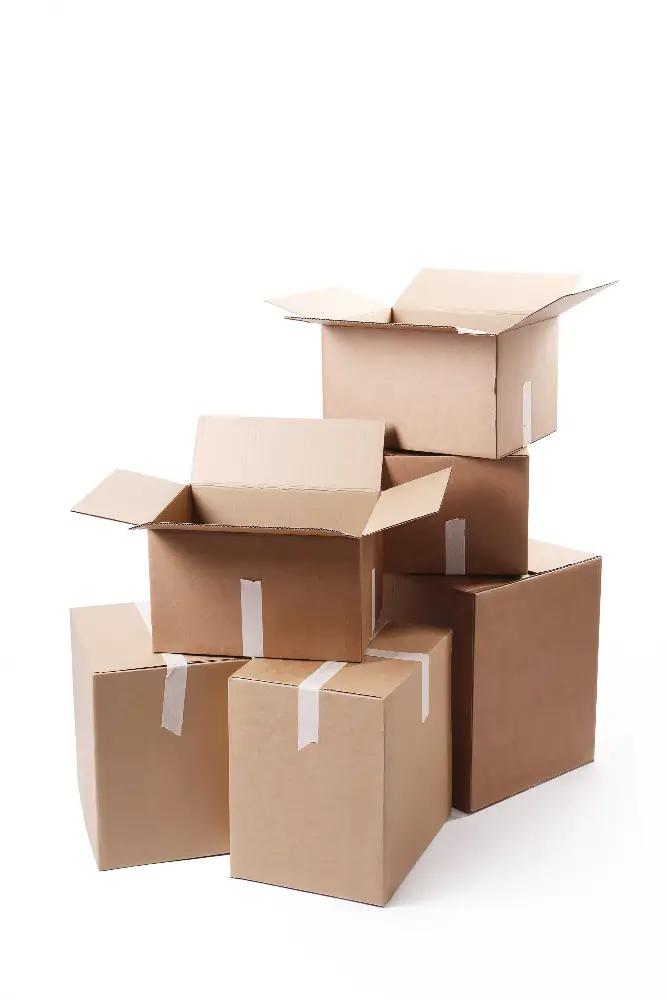
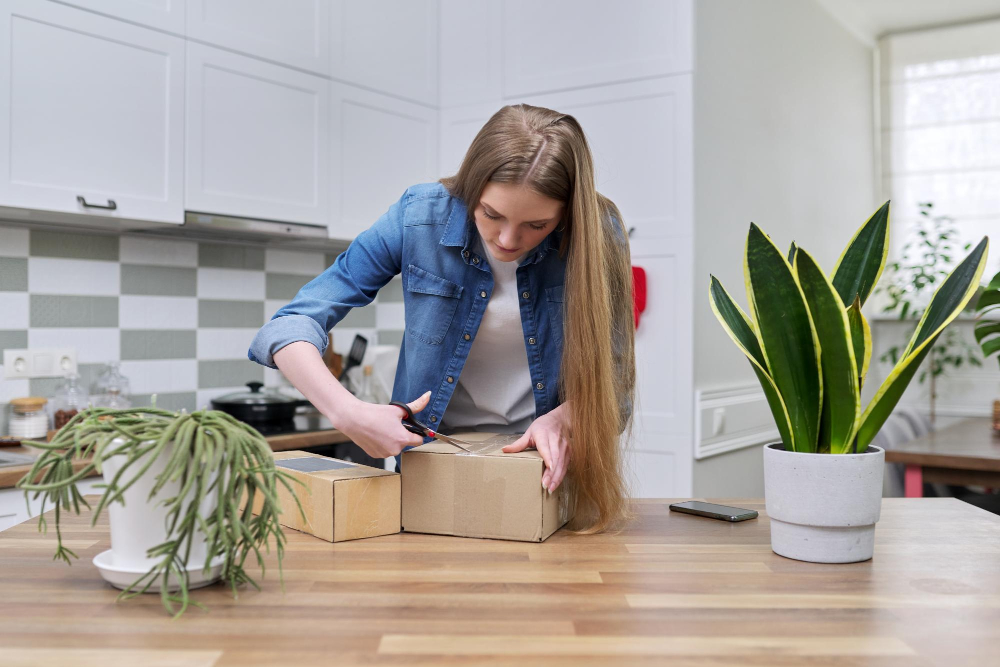
Choose Appropriate Box

The size and strength of the box are crucial factors in ensuring that your appliances arrive safely at their destination. For small appliances such as blenders or coffee makers, use a sturdy medium-sized box with enough room for padding around each item.
For larger items like microwaves or slow cookers, opt for a heavy-duty double-walled cardboard box that can withstand their weight.
It’s also important to consider the shape of your appliance when choosing a box – round objects should be packed in circular boxes while rectangular items fit better in square-shaped boxes.
Avoid using old or damaged boxes as they may not provide adequate protection during transit. Instead, purchase new moving boxes from reputable suppliers who offer various sizes suitable for different types of kitchen equipment.
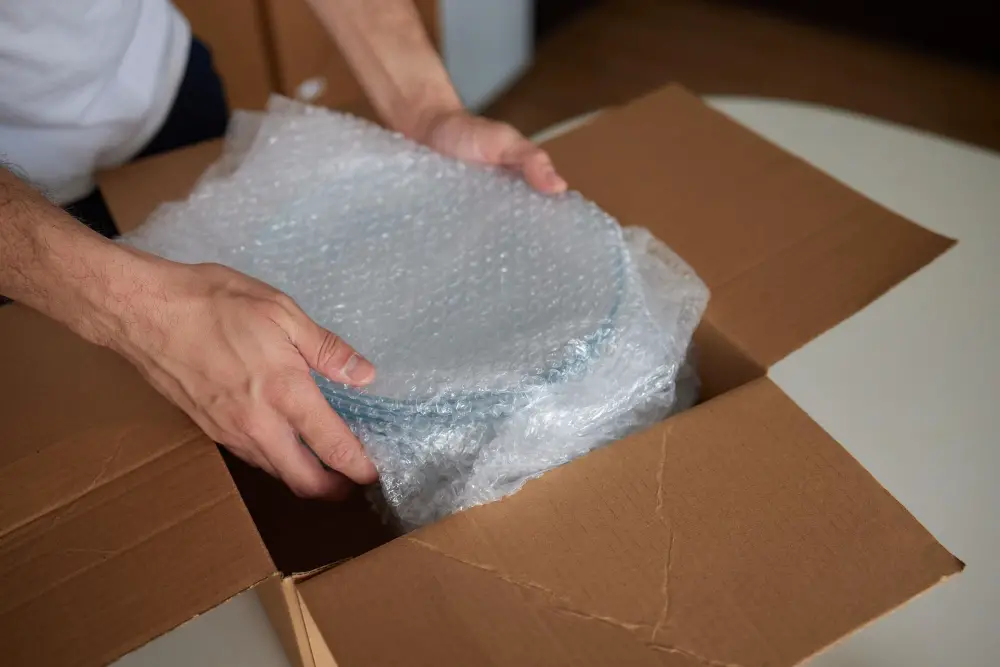
Line Box With Packing Paper
This will provide an extra layer of protection and prevent any scratches or damages during transportation. Start by crumpling up a few sheets of packing paper and placing them at the bottom of the box.
Then, carefully place your wrapped appliances on top, making sure there is enough space between each item to avoid any collisions.
For smaller items like blenders or coffee makers, you can use additional crumpled paper to fill in any gaps and keep them from moving around inside the box. For larger items like mixers or slow cookers, consider using bubble wrap for added cushioning.
Remember not to overpack boxes as this can make them too heavy and difficult to move around safely. Once all your kitchen appliances are securely packed in their respective boxes lined with packing paper or bubble wrap if necessary, seal each one tightly with tape before labeling it clearly according to its contents.
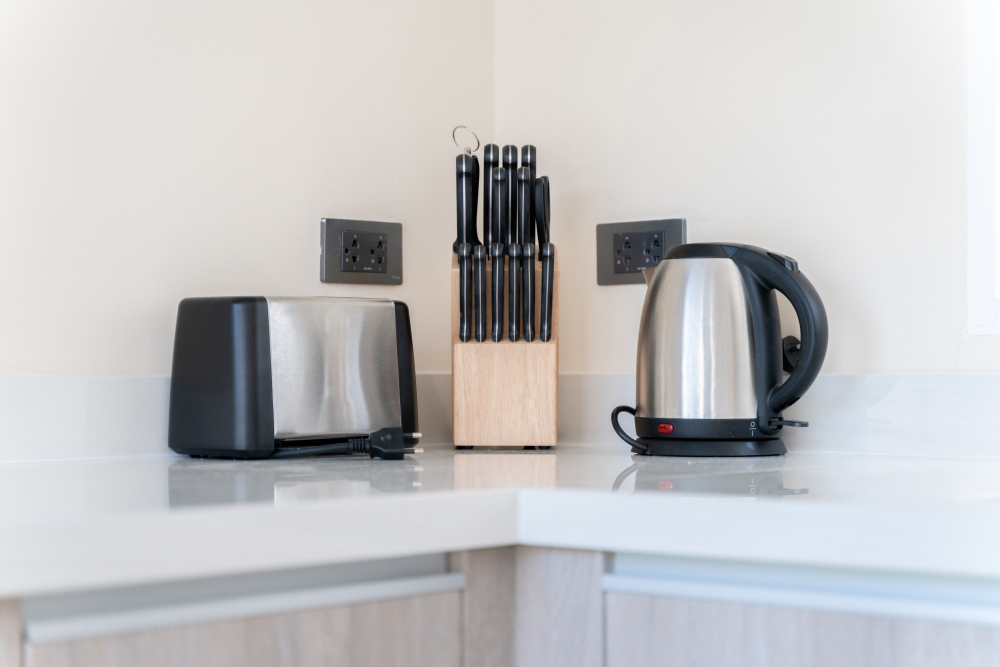
Packing Small Appliances
Start by wrapping each appliance in bubble wrap or packing paper and secure it with tape. For items with detachable parts like blender blades or toaster trays, remove them and pack them separately.
Place smaller appliances in a sturdy box that is appropriately sized for the item. Make sure there is enough space between each appliance so they don’t bump into one another during transport.
Fill any gaps with crumpled paper for extra cushioning.
Label the box clearly on all sides indicating its contents and which side should be facing up when moving it around.
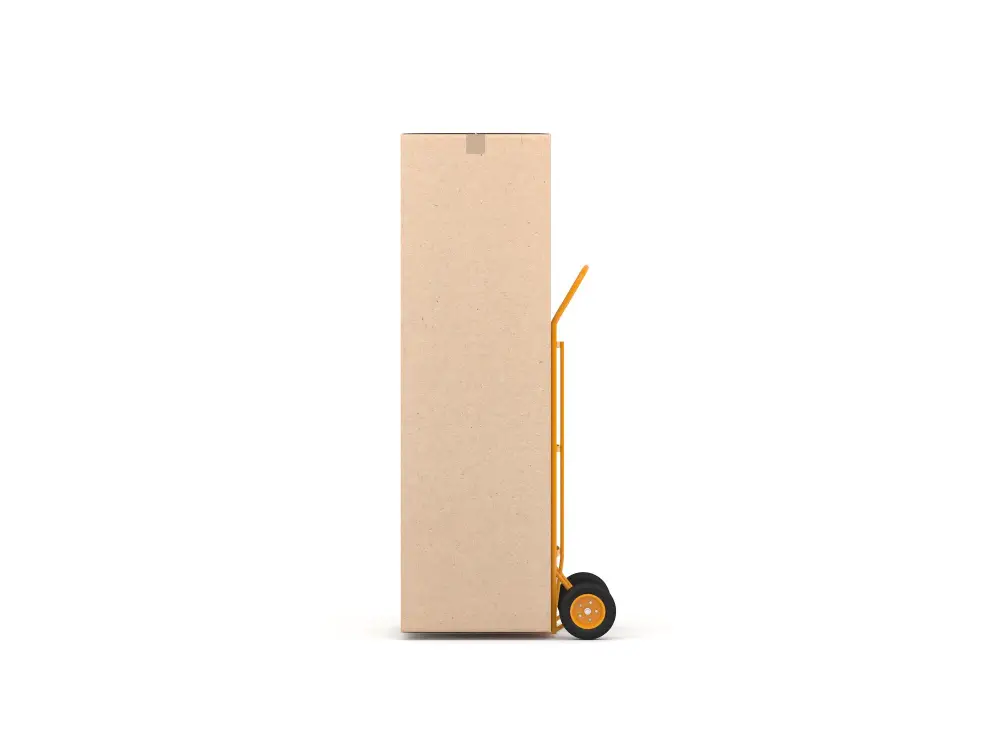
Packing Large Appliances
First and foremost, make sure that the appliance is completely empty and defrosted before moving day. This will prevent any leaks or spills during transportation.
Next, unplug the appliance from the wall and secure all loose parts with tape or zip ties. For example, if your refrigerator has shelves that can be removed easily – take them out and wrap them separately in bubble wrap.
To protect your large appliances during transit use furniture pads or blankets for added cushioning around each item before placing it into its designated box. Make sure you have enough manpower on hand when loading these items onto a dolly so they can be safely transported without causing damage to either themselves nor other items being moved at once.
Wrap Appliances for Packing
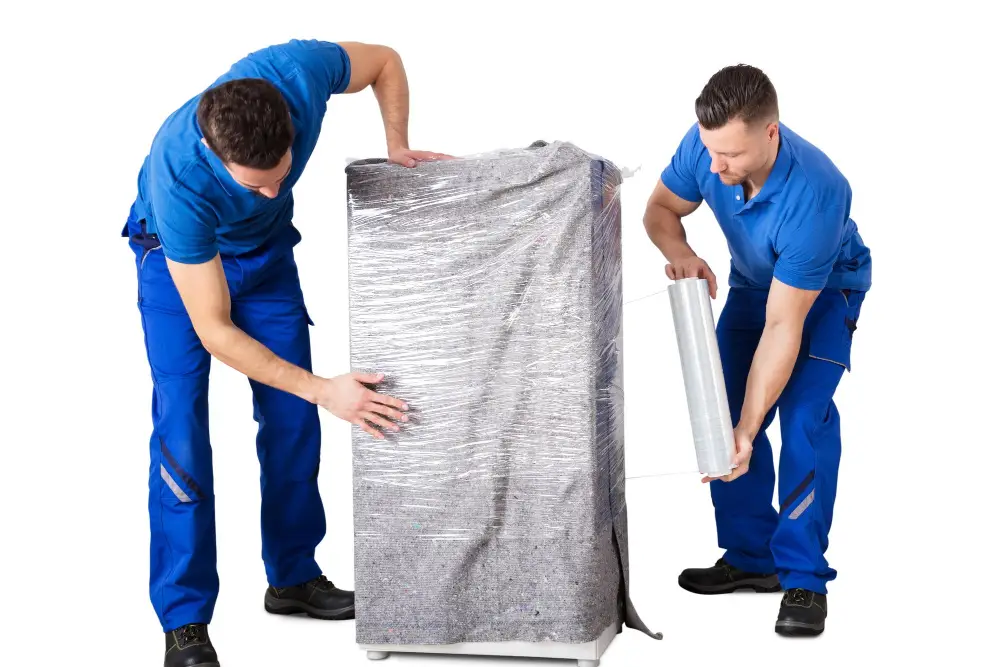
Wrapping your appliances properly is crucial to prevent any damage during the move. Start by wrapping each appliance with a layer of bubble wrap or packing paper, securing it in place with tape.
For larger items like mixers or blenders, consider using moving blankets for extra protection.
For small appliances like coffee makers or toaster ovens, you can use their original boxes if available. If not, choose a box that fits the appliance snugly and fill any gaps with crumpled paper to prevent shifting during transport.
When wrapping cords and cables around an appliance such as a blender or food processor make sure they are secured tightly so they don’t get tangled up in transit.
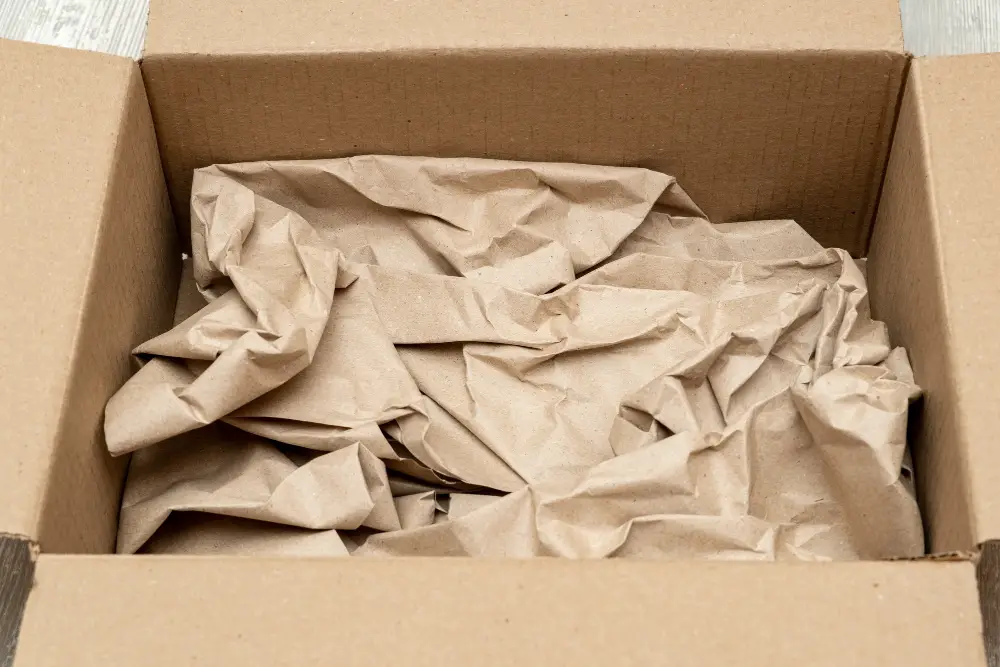
Fill Gaps With Crumpled Paper
This will prevent items from shifting during transit and reduce the risk of damage. Simply take some packing paper or newspaper and scrunch it up into balls, then place them around your appliances until there are no empty spaces left in the box.
Be sure not to overpack the box as this can cause damage too. If you need more padding, use bubble wrap or foam sheets instead of adding more crumpled paper.
Remember that proper packing is key when moving delicate kitchen appliances like glassware and electronics.
Seal and Label Boxes
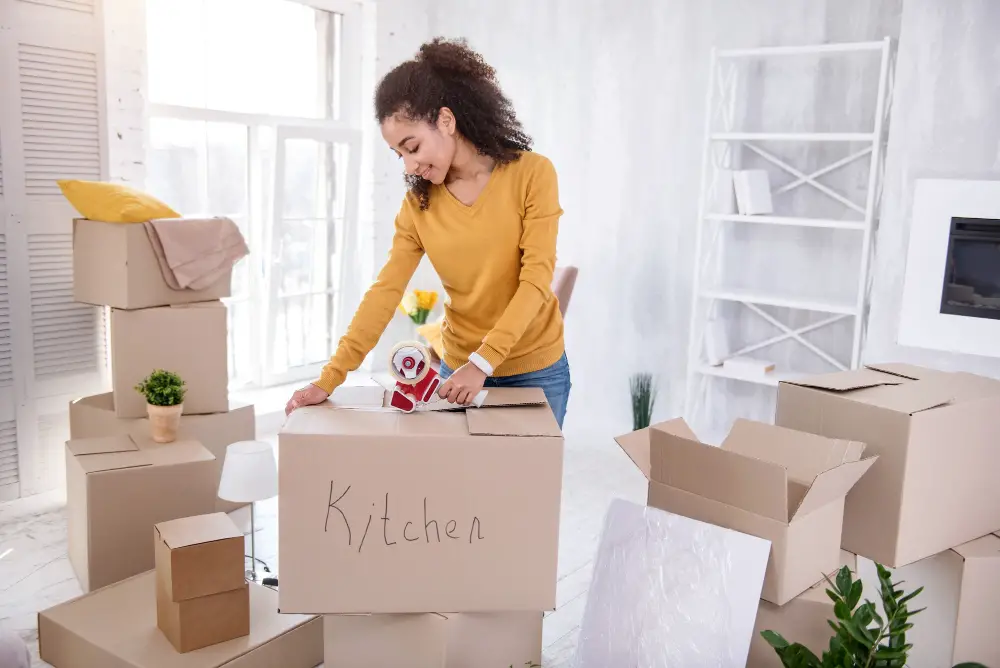
This will help ensure that your items are organized and easy to find when you arrive at your new home. Use high-quality packing tape to secure the top of each box, making sure there are no gaps or openings where items could fall out during transit.
Next, label each box with a description of its contents and which room it belongs in. Be specific when labeling so that movers can easily identify what is inside without having to open every single box.
For example, instead of simply writing “kitchen,” write “small appliances” or “glassware.” You may also want to use color-coded labels for different rooms in your new home.
Tips for Packing Knives
You don’t want to risk injuring yourself or damaging your other belongings during the move. Here are some tips for safely packing your kitchen knives:
Firstly, wrap each knife individually in bubble wrap or a thick cloth and secure with tape. This will protect the blade from getting damaged and prevent any accidental cuts.
Next, place the wrapped knives in a sturdy box that’s just big enough to hold them snugly without too much movement inside.
To keep them from shifting around during transit, fill any gaps between the blades with crumpled paper or foam peanuts.
Seal up the box tightly with strong tape and label it clearly as “Sharp Knives” so that anyone handling it knows what’s inside.
Safely Packing Glassware
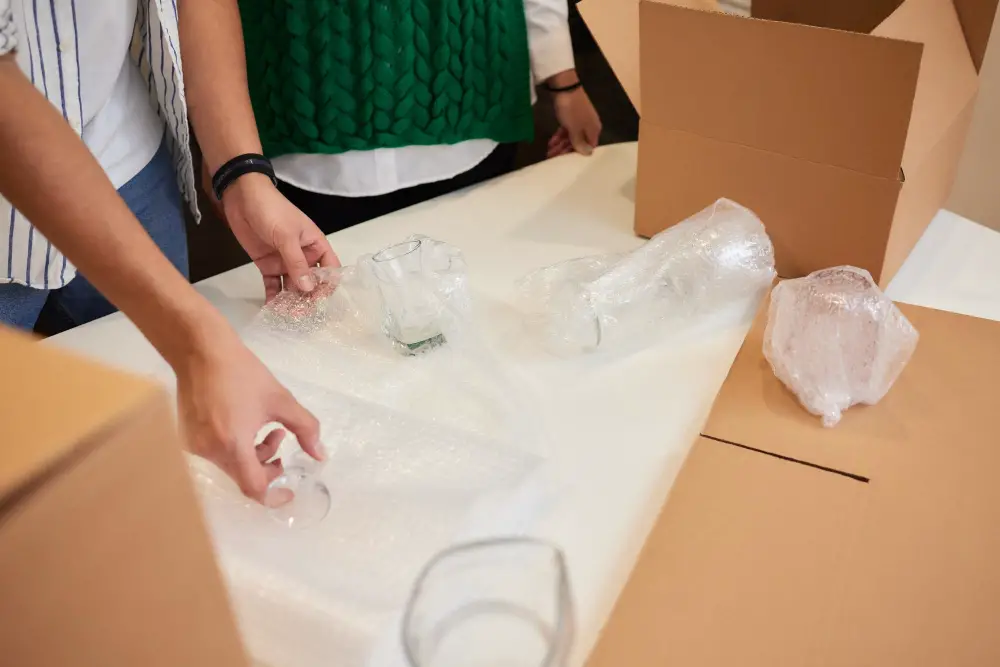
Start by wrapping each piece of glassware individually with packing paper or bubble wrap. Make sure that the entire surface area of the item is covered and secure it in place with tape.
For stemware, stuff some crumpled paper inside the bowl and wrap around its base before wrapping it entirely.
Next, choose a sturdy box that can accommodate your glasses without leaving too much empty space for them to move around during transit. Line the bottom of your box with crumpled paper or foam peanuts for added cushioning.
Arrange your wrapped glasses vertically in rows within a single layer so they don’t touch one another; this will help avoid any potential damage from rubbing against each other while on-the-go.
Storing Pots and Pans
First, make sure to clean them thoroughly before packing. Grease and food residue can attract pests or cause damage during transit.
Next, consider the size of your pots and pans when choosing a box for storage – larger items may require their own separate boxes.
To protect your cookware from scratches or dents during transport, wrap each item individually with bubble wrap or packing paper before placing them in the box. You can also use dish towels or oven mitts as extra padding between items.
If you have lids that go with specific pots and pans, be sure to pack them together so they don’t get separated during the move. And if you’re short on space in your moving truck, consider using some of your smaller kitchen appliances (like mixing bowls) as makeshift containers for storing utensils inside large pots.
Loading Appliances in Moving Truck
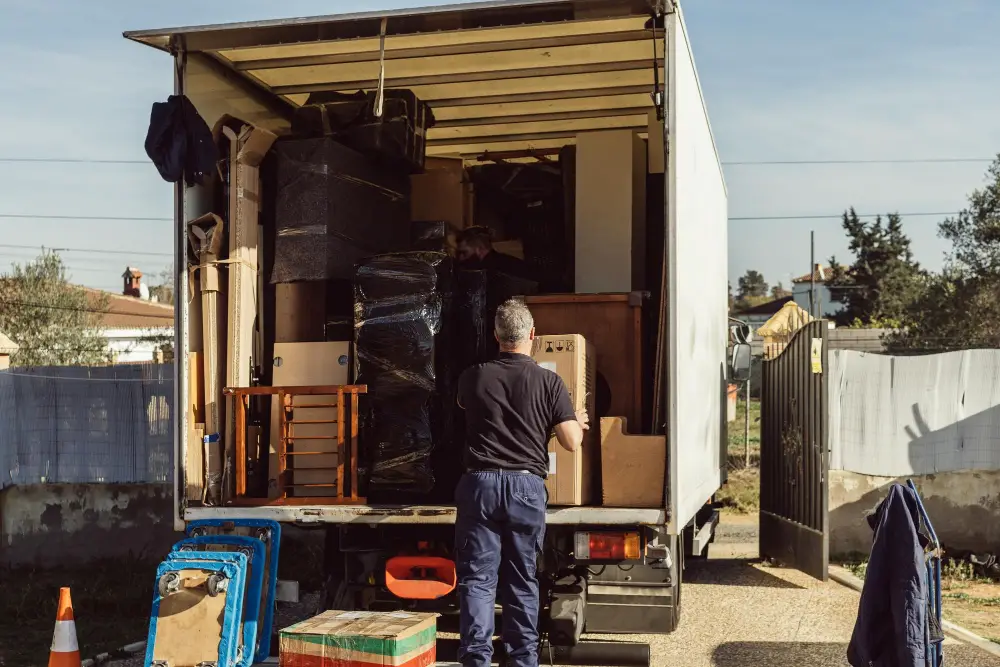
This is a crucial step that requires careful planning and execution to avoid any damage during transit. When loading large appliances like refrigerators or ovens, make sure they are secured with straps or bungee cords to prevent them from shifting during transport.
It’s also important to position heavy items at the bottom of the truck and lighter items on top. This will help distribute weight evenly and prevent any crushing or damage caused by stacking heavier boxes on top of fragile ones.
When loading smaller appliances like blenders or coffee makers, consider placing them in a separate box labeled “kitchen essentials” for easy access when unpacking at your new home.
Remember that proper handling of your kitchen appliances can save you money in repairs or replacements down the line.
Setting Up Kitchen in New Home
Start by unloading the boxes containing your kitchen items and placing them in their designated areas. If possible, try to arrange the layout of your new kitchen before unpacking so that you can easily visualize where everything should go.
Next, begin unwrapping each appliance carefully and inspecting them for any damage that may have occurred during transit. Once all appliances are accounted for and undamaged, start plugging in small appliances such as coffee makers or blenders first.
For larger appliances like refrigerators or ovens, make sure they are properly installed according to manufacturer instructions before turning them on. It’s also important to check if there is a gas leak if you’re using a gas stove or oven.
Take some time to organize cabinets with dishes and utensils while keeping frequently used items within easy reach. With these steps completed successfully – congratulations! You’ve now safely packed up all of your valuable kitchen equipment for moving into a brand-new home!
FAQ
Can I pack kitchen appliances?
Yes, you can pack kitchen appliances in boxes close to their actual size, preferably the original boxes, or standard moving boxes.
How many boxes do I need to pack a kitchen?
For a family-sized kitchen, you will need approximately 5 small boxes, 10 medium boxes, 5 large boxes, 3 extra-large boxes, and 3 rolls of packing paper.
What is the best way to protect fragile kitchen appliances during a move?
The best way to protect fragile kitchen appliances during a move is by using bubble wrap or packing paper, placing them securely in sturdy boxes, and labeling the boxes as “fragile” or “handle with care.
Are there specific packing materials recommended for packing kitchen appliances?
Yes, bubble wrap, packing paper, and sturdy boxes are recommended for packing kitchen appliances.
How can I efficiently pack and label kitchen appliances to ensure easy unpacking at my new home?
To efficiently pack and label kitchen appliances for easy unpacking, disassemble, clean, and wrap them with protective materials, then place them in labeled boxes indicating their contents and intended location in your new home.


