Last updated on
Installing shelves in your cabinet can dramatically increase your storage space, and because it’s such a straightforward process, you’ll be maximizing your organization possibilities in no time.
Key takeaways:
- Prioritize solid construction and stability when selecting the right cabinet.
- Gather all necessary materials before starting the installation process.
- Choose between fixed and adjustable shelves based on storage needs.
- Measure accurately and plan shelf placement before cutting shelves to size.
- Use appropriate methods for securing shelves, such as brackets, pins, or standards.
What's Inside
Selecting the Right Cabinet

When scouting for an ideal cabinet to add shelves to, prioritize solid construction and stability; shelves need a strong base to support weight.
Consider the cabinet’s purpose—will it store hefty items like kitchen appliances or lighter goods like linens?
This decision impacts material choice for the shelves.
Depth is another determining factor; deep cabinets may require extra supports in the middle to prevent sagging.
Factor in accessibility, too.
If the plan involves high cabinets, ensure the shelves are reachable, or consider a step stool as a necessary companion.
Finally, review the cabinet’s interior—complex designs or non-removable elements might complicate shelf installation or limit placement options.
Materials Required
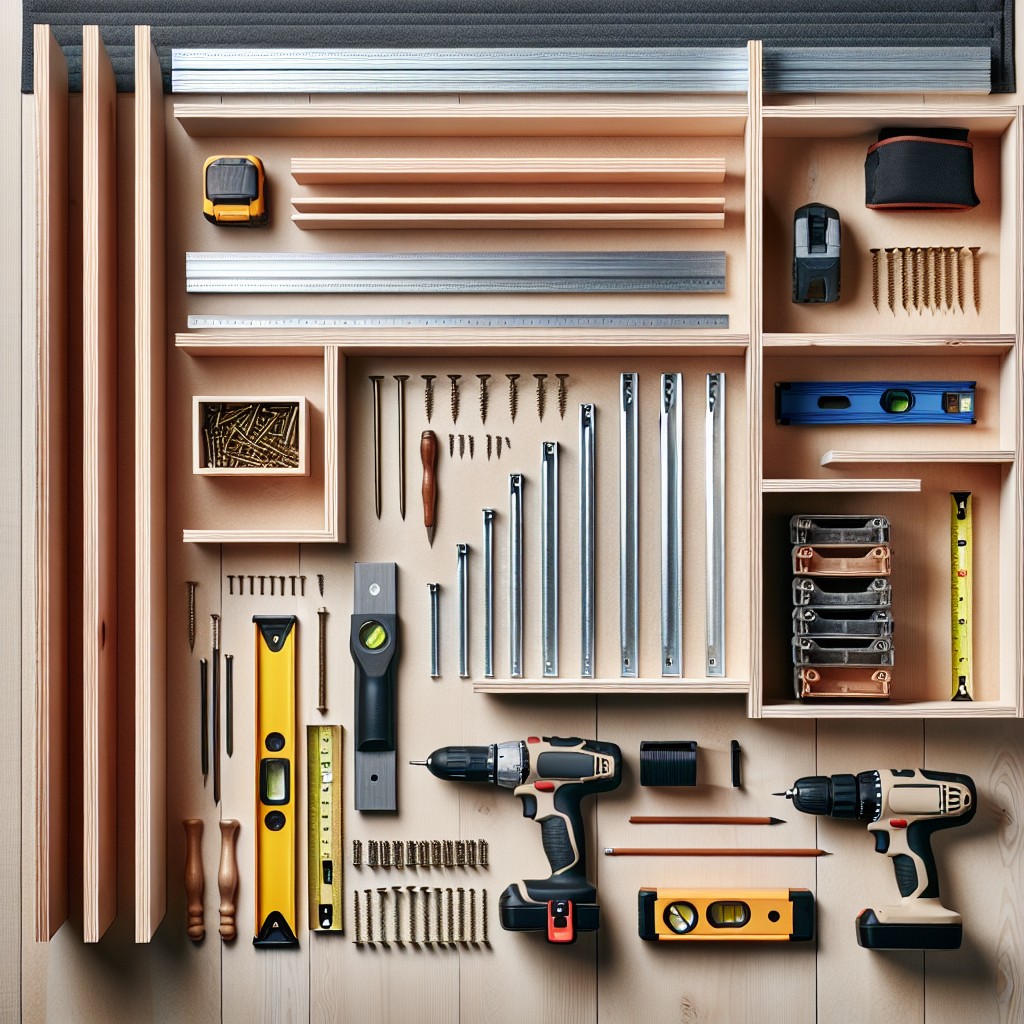
Before you delve into the installation process, gather everything you’ll need to avoid any mid-project hiccups. Ensure you have:
- Shelves: Choose materials that suit your cabinet’s function and aesthetic—common options include wood, MDF, or glass.
- Measuring tape: Essential for accurate spacing and fitting.
- Level: To ensure your shelves sit perfectly horizontal.
- Saw: If custom-sized shelves are required, a saw will be necessary to cut them to length.
- Sandpaper or a sander: Smoothen edges post-cutting to prevent snags or splinters.
- Drill and drill bits: For making pilot holes for supports or brackets.
- Screwdriver or power drill with a screwdriver bit: For securing hardware.
- Shelf supports: Select brackets, pins, or adjustable standards based on whether the shelves will be fixed or adjustable.
- Safety gear: Always have gloves and protective eyewear for safe handling of tools and materials.
Align these on your workspace, and you’re all set for the next step in personalizing your cabinet storage.
Types of Shelves: Fixed Vs. Adjustable
Choosing between fixed and adjustable shelves boils down to your storage needs.
Fixed shelves offer structural stability and are permanently positioned.
Once installed, they stay in place, creating a consistent look and evenly distributed support for heavy items.
Ideal for areas with uniform storage requirements, they’re often simpler to install since you won’t need to add hardware for adjustability.
On the flip side, adjustable shelves provide flexibility to change spacing based on what you intend to store.
With supports like pegs, clips, or tracks, you can reconfigure shelf heights easily.
This adaptability is especially useful for cabinets storing items of varying sizes or when your organizational needs evolve over time.
While they require more hardware and a bit more planning to install, their versatility might be a perfect match for dynamic storage spaces.
Preparing Your Tools
Gathering the proper tools beforehand streamlines the installation process and ensures a smooth workflow. You’ll need a tape measure for accurate spacing, a level to guarantee even placement, and a pencil for marking positions.
Depending on your shelf type, a drill might be necessary for mounting brackets or pilot holes. A saw will come in handy if custom-sized shelves are required. Lastly, don’t forget protective equipment such as safety glasses and gloves to safeguard against potential mishaps.
Having these items at your disposal aids in executing a flawless installation.
Measuring for Shelf Placement
First, determine the desired height for your first shelf, taking into account the size of the items you plan to store. Use a tape measure to find the exact height from the bottom of the cabinet and make a light pencil mark on both sides of the cabinet’s interior.
Next, use a level to draw a horizontal line across the width of the cabinet, ensuring your shelf will sit perfectly straight. If your cabinet doesn’t have a back panel, extend these lines to the back edges to align both ends of the shelf accurately.
Repeat this process for each shelf, spacing them according to your storage needs. Remember to leave enough clearance between shelves for easy access and visibility of items.
For adjustable shelves, you might want to sketch out the positions of shelf-pin holes ahead of time. Evenly space these holes to offer flexibility in shelf height adjustment.
Double-check your measurements before any cutting or drilling to ensure a proper fit – accurate measurements are crucial for a polished final product. Remember, measure twice, cut once!
Cutting Shelves to Size
Once you’ve determined the dimensions for your new shelves, it’s time to make precise cuts. Always use a straight edge or carpenter’s square to mark your cut lines on the shelf material. A circular saw will give you a straight cut quickly, but a handsaw works just as well if you prefer manual tools. For those using a handsaw, a mitre box can ensure accuracy.
If you’re working with laminated or veneered shelving, apply a piece of painter’s tape along the cut line to prevent chipping. When using a power saw, set the blade depth to just slightly more than the thickness of the shelf to achieve a clean cut without damaging your work surface. Remember, measure twice and cut once to avoid any mistakes that could lead to wasted materials. Keep your workspace clear and stable, and wear safety goggles to protect your eyes from dust and debris.
Marking Shelf Positions Inside the Cabinet
Begin by determining the desired spacing between shelves, taking into account the items you plan to store. Use a tape measure for accurate distance measurements from the cabinet’s base or an existing shelf. With a pencil, lightly mark where the bottom of each shelf will rest. Ensure the marks are level by using a spirit level; this is crucial for stable, even shelves.
If you’re using shelf pins or standards, measure and mark their placement as well. Remember, precision is key—double-check measurements before proceeding. For those who prefer a visual guide, consider using painter’s tape to outline the full width of shelf placements. This temporary guide provides a clear visual path and helps prevent mistakes during the installation process.
Methods for Securing Shelves: Brackets, Pins, and Standards
Securing shelves in a cabinet can be achieved using various methods depending on your preference and the shelf type.
Brackets: These are L-shaped supports that mount onto the cabinet walls. They come in different sizes and are ideal for heavy loads. Install brackets below the shelf, and ensure they’re evenly spaced for proper weight distribution.
Pins: Also known as shelf pegs, these are suited for adjustable shelving systems. Insert pins into pre-drilled holes at your desired height. Drop the shelf onto the four supports, creating a stable, level surface that’s easily movable.
Standards and Clips: A standard is a vertical metal strip with pre-punched slots. Secure this to the cabinet’s sides and snap the clips into the slots at the appropriate height. Place the shelf on top of the clips for a clean, adjustable shelving solution.
Each method provides a different balance of stability, weight capacity, and flexibility. Consider the items you’re storing when choosing your shelving method to ensure a reliable fit.
Drilling Holes for Shelf Supports
With your shelf positions clearly marked, it’s time to drill the holes for your supports. For precise drilling, tape a piece of masking tape over your mark, which prevents the drill bit from wandering. Choose a drill bit that matches the size of your shelf pins or supports to ensure a snug fit.
When drilling, keep the drill perpendicular to the surface to avoid angled holes that could make your shelves wobble. To prevent splintering on the exit side, place a scrap piece of wood behind your drilling point. Drill slowly and stop frequently to clear away sawdust.
Repeat this process for the remaining supports, maintaining a steady hand and even pressure. Remember, accuracy is key for a level shelf.
Attaching Shelf Supports
With shelf positions marked, you’re ready to secure the supports. For brackets, align them with the lines drawn on the cabinet sides, ensuring they’re straight using a level. Screw tightly to the side walls.
Shelf pins are simpler; just pop them into pre-drilled holes at your marked points.
For adjustable shelves, clip in the standards, and insert the corresponding brackets at even heights.
Whatever method you choose, double-check that all supports are firm and level before placing the shelves. If a support doesn’t feel secure, it’s often just a matter of tightening a screw or tapping a pin into place.
Ensuring Level and Even Shelf Installation
Achieving a level shelf is crucial to both the appearance and the functionality of your new storage space. Start by using a level to mark a straight horizontal line where the shelf will rest. It’s best to make these marks starting from the highest point of the cabinet’s interior to account for any unevenness in its construction.
When positioning the supports or brackets, double-check that they align perfectly with the marked line. Any slight deviation might cause the shelf to tilt, making items prone to sliding off. Cross-reference the positioning using a level on adjacent sides as you work to ensure the shelf will lie flat.
Should your cabinet have a slightly uneven back or sides, you may need to make small adjustments. In this case, insert shims beneath the shelf brackets to compensate for any discrepancies, verifying the shelf’s evenness with your level after each adjustment.
Remember, patience is key. Taking the time to measure and adjust during the installation process will pay off with stable, visually pleasing shelves that stand the test of time.
Tips for Maximizing Space in Kitchen Cabinets
To maximize kitchen cabinet space effectively, consider adding vertical dividers for baking sheets and cutting boards, which keeps them organized and easily accessible. Use under-shelf baskets to exploit unused space below the existing shelf. Employ clear bins or lazy Susans for spices and condiments, providing visibility and easy reach. Install pull-out shelves or drawers for deeper cabinets to improve access to items at the back.
Arrange items according to frequency of use, placing everyday items at eye level and lesser-used items higher up or further back. Lastly, adjustable shelves offer flexibility to adapt to changing storage needs, allowing you to customize the space as your collection of kitchenware evolves.
Safety Precautions When Installing Shelves
Prioritize using protective gear such as safety goggles and gloves to shield against splinters and debris. Ensure the area is well-lit to avoid inaccuracies and mishaps. For stability, use a sturdy ladder or step stool rather than furniture when reaching high places.
Confirm that the cabinet can support the weight of the shelves and the items you plan to store. Overloading can cause structural damage or injury.
Always drill pilot holes to prevent splitting the cabinet material, especially when working with wood. If you’re attaching shelves to a wall cabinet, locate and securely anchor them into studs, not just drywall, to prevent the shelves from collapsing.
Keep your workspace neat to avoid tripping over scattered tools and materials. If using power tools, check cords for damage and keep them away from the path of the saw to prevent accidental cuts. Disconnect tools when not in use, especially if children are present.
Remember, taking your time is key. Rushed installation increases the risk of mistakes and injuries. Double-check measurements and fitting to ensure a safe, secure, and efficient shelving installation.
Troubleshooting Common Shelving Issues
If your shelf is wobbly, first check if all shelf pins are firmly in place and not damaged. Tighten any loose brackets or wall mounts as needed.
Uneven shelves often result from imprecise measuring or drilling. Use a level to confirm the issue and adjust the position of the supports accordingly. For persistent unevenness, consider adding shims under the shelf supports for a quick fix.
For shelves that sag under weight, you may need to reduce the span between supports or replace the current shelf with a thicker material. Remember, the thicker the shelf, the more weight it can support.
In cases where the shelf doesn’t sit flush against the back of the cabinet, ensure that the cabinet is square. If it’s an old cabinet that has warped over time, you might need to scribe the shelf to match the contour of the cabinet’s interior.
Lastly, if your shelves are scratching or scraping the interior of your cabinet during installation or removal, lightly sand the edges of the shelves, or install plastic shelf edge protectors to prevent damage.
Enhancing Cabinet Functionality With Additional Shelving Accessories
Maximize your cabinet’s versatility with clever shelving accessories designed to keep items organized and accessible.
Drawer inserts or slide-out baskets bring ease to sorting smaller items.
Use under-shelf baskets to make use of empty vertical space, ideal for holding linens or kitchen wraps.
For those with a plethora of spices or small jars, add a pull-down shelf that brings contents to eye level.
Tiered shelf organizers allow for stacking dishes without hindering easy retrieval, while door-mounted racks can store cleaning supplies or pantry goods.
Lastly, consider installing Lazy Susans in corner cabinets to rotate items out from the back, ensuring everything is within easy reach.
By incorporating these specialized solutions, your shelves become more efficient, reducing clutter and enhancing your cabinet’s overall functionality.
FAQ
What to use for shelves in kitchen cabinets?
The ideal material for kitchen cabinet shelves is 3/4″ cabinet-grade plywood due to its durability, and it can be protected with non-stick shelf paper that also allows the shelf to be flipped over if it begins to sag under heavy loads.
What is the optimal spacing for shelves within kitchen cabinets?
The optimal spacing for shelves within kitchen cabinets is between 10 to 12 inches to accommodate average-sized dishware and non-perishable food items.
How can one install roll-out shelves in existing kitchen cabinets?
To install roll-out shelves in existing kitchen cabinets, you need to measure the cabinet space, buy the appropriate roll-out shelf, empty the cabinet, remove the doors if necessary, attach the mounting brackets to the cabinet walls, install the slides and rollers, and finally attach the shelf to the hardware.
Which materials provide the best durability and strength for kitchen cabinet shelves?
Hardwood and plywood are generally considered the best materials for kitchen cabinet shelves due to their high durability and strength.
Read More
 How to Choose Kitchen Cabinets: Your Ultimate Buying Guide
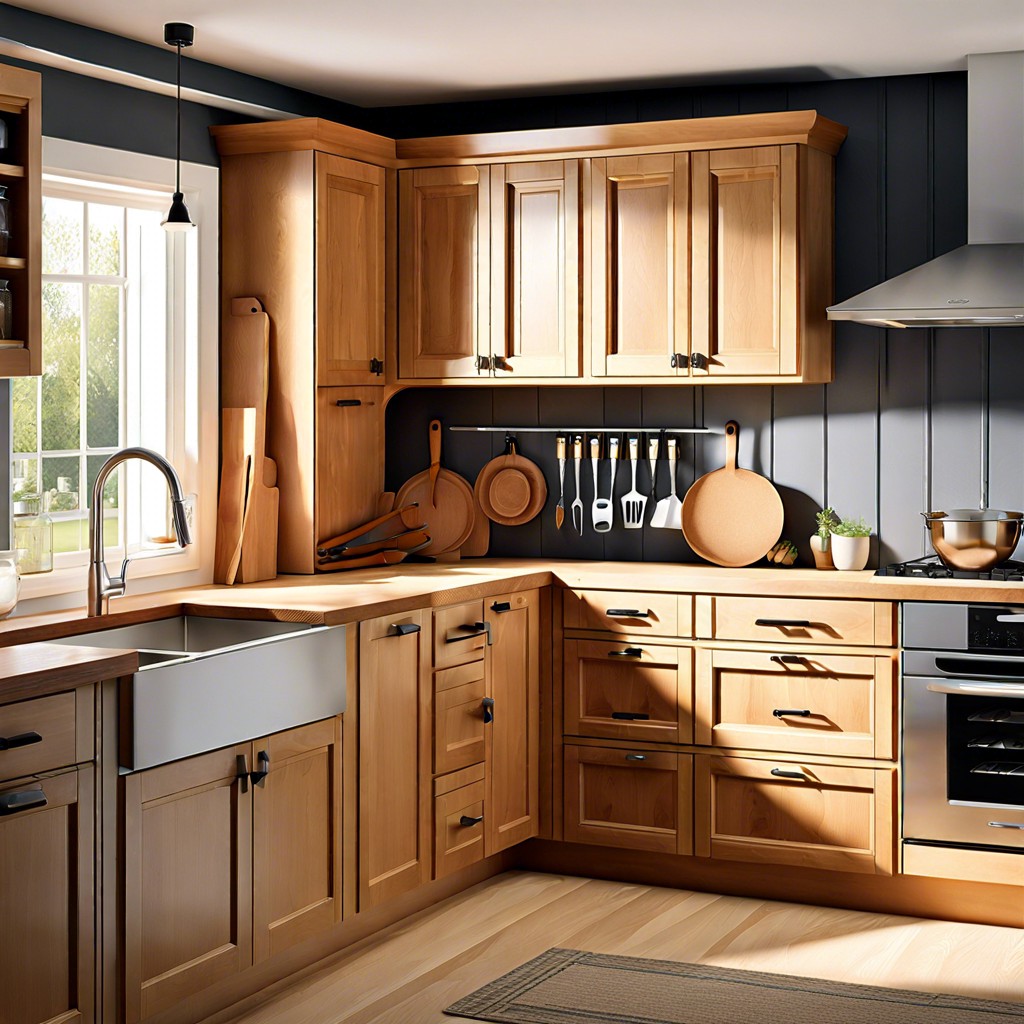 Staining Cabinets: A Step-by-Step Guide to a Fresh Look
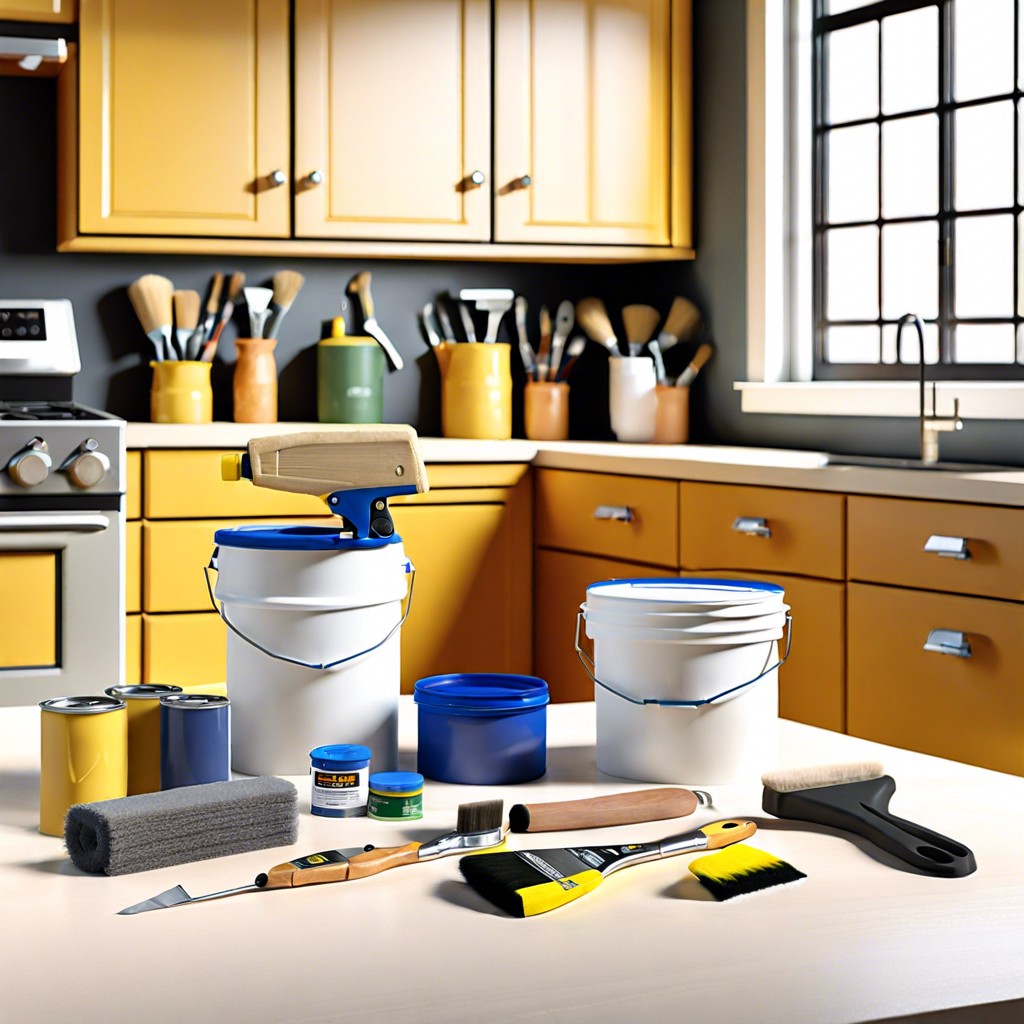 How Long Does It Take to Paint Kitchen Cabinets: A Time-Saving Guide
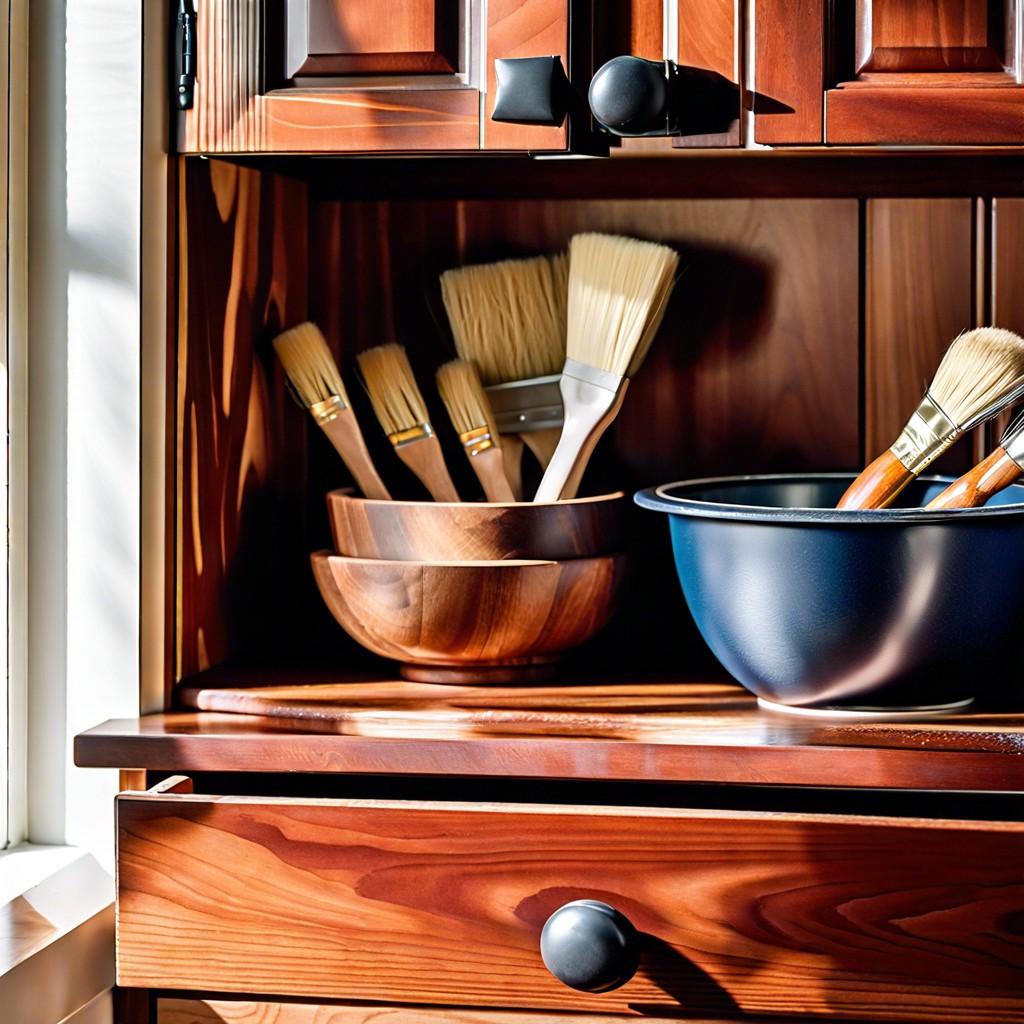 Cost to Refinish Cabinets: A Cheaper Revival
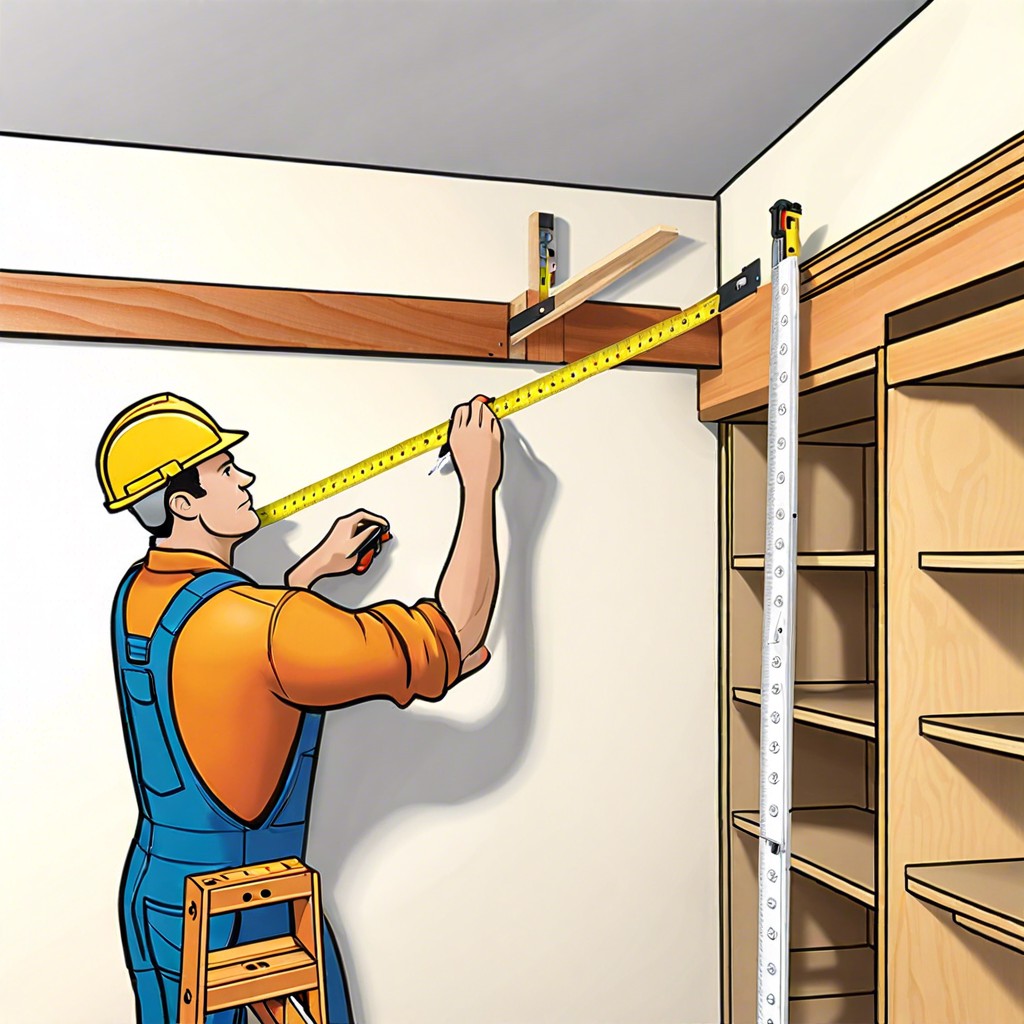 How to Install Upper Cabinets: Tips for a Perfect Kitchen Makeover