Last updated on
Attaching cabinets together might seem daunting, but it’s simpler than you think because this guide breaks down each step for robust, safe and visually appealing results.
Key takeaways:
- Gather essential tools and materials for cabinet assembly.
- Prioritize safety measures to prevent accidents during installation.
- Mark the wall and locate studs for precise cabinet placement.
- Start with the first cabinet and ensure it is level and plumb.
- Clamp, drill, and fasten cabinets together securely.
What's Inside
Tools and Materials Needed

Before diving into your cabinet assembly project, gather these essentials: a drill, suitable drill bits, screws (cabinet installation and wood screws), clamps (at least two, to hold the cabinets together firmly), a spirit level, a tape measure, a pencil for marking, a stud finder, and potentially shims for any uneven surfaces. Optionally, you might need a saw for cutting filler pieces. Ensuring you have all tools and materials at hand will streamline the installation process, allowing for precision and efficiency as you attach each cabinet securely.
Safety Considerations

Before diving into the task, ensure a safe work environment. Always wear protective gear like safety goggles and gloves to prevent injuries from flying debris or mishandling tools.
Keep your work area well-lit and free of clutter to avoid tripping hazards or interference while moving cabinets. Make sure your ladder or step stool is sturdy and positioned securely to prevent falls while handling higher cabinet placements.
Lastly, don’t forget to unplug and properly store power tools when not in use to minimize the risk of accidental starts. Following these safety measures helps ensure a smooth and injury-free installation.
Mark Up the Wall First
Before diving into the physical work, take a moment to visualize where your cabinets will live. Use a pencil and a level to draw a horizontal line on the wall where the bottom of the upper cabinets will align. This ensures that all your cabinets hang at the same height and prevents a lopsided installation.
Similarly, mark a vertical line to define the edge of your end cabinets, guaranteeing a straight alignment with the rest of the cabinetry.
Locate and mark the wall studs since they’re the anchor points that will bear the weight of your cabinets. A stud finder is an invaluable tool for this step. It’s crucial to connect the cabinets to studs for a secure installation. Don’t skip this step—anchoring the cabinets into drywall alone is a recipe for disaster.
These preliminary marks provide a blueprint, streamlining the entire installation process. They act as a visual guide, eliminating guesswork and minimizing the potential for errors as you move forward with attaching the cabinets together.
Position the First Cabinet
Begin by locating the high point of the floor along the wall where cabinets will be installed. Use a level to draw a horizontal baseline across the wall from this point; this will be the guide for the bottom edge of the upper cabinets.
For base cabinets, find the low point of the floor and use that to establish a level line for the top edge.
Set the first cabinet in place, lining it up with your baseline. Take your time to ensure it is perfectly level; adjusting the legs or shims may be necessary. This is crucial as the first cabinet sets the precedent for all subsequent cabinetry—any error in alignment here cascades through to the others.
Verify that the cabinet is plumb as well, adjusting accordingly. You may need to loosen the cabinet from the wall to insert shims behind or under it for a proper fit. Once satisfied, temporarily secure the cabinet with screws so it doesn’t shift as you move on to attaching additional cabinets.
Remove Cabinet Doors and Drawers
Before diving into the actual attachment process, it’s crucial to lighten your workload and reduce the risk of damage by taking off the doors and removing the drawers. This step ensures you have clear access to the cabinet frames and makes it easier to maneuver and clamp the units together without obstructions.
Keep track of hardware such as screws and hinges in labeled bags to avoid confusion during reassembly. Plus, with the bulk out of the way, you can hold and position the cabinets with greater precision—a small effort upfront that streamlines the installation journey.
Start With the Upper Cabinets
Beginning the installation process with the upper cabinets is a strategic move that prevents the base cabinets from obstructing your workspace. This approach allows for clearer access and reduces the risk of damaging the lower units as you work above.
- Ensure the wall is level and mark the height line for the bottom of the upper cabinets.
- Confirm the stud locations and transfer these marks to the cabinets for pre-drilling.
- Hoist the first cabinet into place, align it with your marks and temporarily secure it with screws.
- Use a level to adjust this cabinet perfectly; future units will align to this initial module.
- Continue to install adjoining cabinets using the same method, checking for level and plumb after each addition.
By following these steps systematically, you create a seamless and sturdy run of cabinetry before moving on to the base units.
Clamp, Drill and Fasten
With cabinets side by side, align their faces flush with each other using bar clamps, gently tightening to hold them in place. Care should be taken to avoid over-tightening which can damage the cabinet surfaces.
Next, identify predrilled holes or choose appropriate points (usually the stiles) to join the cabinet boxes. If necessary, drill pilot holes to ensure a clean screw insertion. These should be slightly smaller in diameter than the screw’s core to provide a secure fit without splitting the wood.
Using a cordless drill, fasten the cabinets with screws long enough to penetrate through the frame of one cabinet and well into the stile of the adjacent cabinet—typically 1 1/4 to 1 1/2 inches in length. Ensure screws are inserted straight to prevent damage to the cabinets or hardware.
After fastening, check alignment once again before fully tightening the screws. This secures the cabinets together, ensuring a stable and flush installation. Release the clamps when the assembly is firm and fully aligned.
Secure Cabinets to Each Other
After properly aligning your cabinets, the next step is to firmly join them together to ensure a seamless and stable installation. Start by clamping adjacent cabinets together using quick-release bar clamps or C-clamps, making sure the faces are flush. Pre-drill holes through the cabinet stiles (the vertical framework) to avoid splitting the wood. It’s essential to drill straight so the screws fully enter the adjoining cabinet.
Use a quality wood glue on the stiles for extra adherence before inserting screws. Apply it sparingly to avoid any oozing out that would be difficult to clean after tightening the screws. Select screws of the correct length, typically 1 1/4″ to 1 1/2″ cabinet screws, to ensure they penetrate and hold without protruding through the opposite side.
Tighten the screws carefully to bring the cabinets together without any gaps. Be mindful not to over-tighten to prevent stripping the screw holes or damaging cabinet surfaces. Once secured, remove the clamps and verify that all the cabinets are perfectly aligned and that the faces are even both vertically and horizontally before proceeding.
Measure the Gap
To ensure a seamless appearance amongst your cabinets, paying close attention to the spaces between them is crucial. As walls are rarely perfectly straight, measure the gap at the top and bottom where cabinets meet. Use a tape measure for precision, stretching it from one cabinet frame to the next. Record the widest point of the gap; this will be the guide for cutting any necessary filler strips. Remember, while a tight fit is ideal, leave a slight allowance for expansion and material irregularity to avoid buckling and ensure a professional finish.
Cut the Filler Strip
Measure the width of the gap between the last cabinet and the wall precisely, then subtract 1/16 inch to ensure a snug fit without forcing the strip into place.
Transfer this measurement onto the filler wood, marking the cut line with a straight edge. Use a table saw or circular saw to make a clean and straight cut.
If needed, sand the edges lightly to remove any splinters or roughness. Your strip is now ready to be installed, providing a custom finish to your cabinetry layout.
Fit and Install the Filler
Before fastening the filler strip, ensure it’s perfectly aligned with the front of the cabinet for a seamless look. Use wood glue on the back of the strip for a firm hold, and then reinforce with finishing nails, making sure they’re small enough to not split the wood.
Wipe away any excess glue immediately with a damp cloth to avoid residue. If the edge of the filler doesn’t sit flush with the cabinet, use a belt sander to carefully trim down any excess.
After the strip is attached and the glue is dry, you can then paint or stain the filler to match your cabinets. For a polished finish, consider adding a thin bead of caulk along the seam between the filler and the wall to hide any gaps and create a smooth transition.
Raise the Cabinets for Flooring
To accommodate flooring, especially if it will be installed after the cabinets, suspending your base units is essential. Here’s a quick guide on how to proceed:
1. Measure Flooring Thickness: Start by measuring the thickness of your new flooring plus underlayment. This will determine how high you need to raise your cabinets.
2. Adjust the Leg Levelers: If your cabinets come with leg levelers, simply twist these adjustable feet to the appropriate height.
3. Use Plywood Build-Up Strips: Alternatively, cut strips of plywood to match the height of your flooring and place them under the cabinet base. This method provides a stable and level platform.
4. Check Levelness: After adjustment, use a level to ensure that your cabinets are even. An uneven base may cause issues with countertop installation and door operation.
5. Secure in Position: Once leveled, attach the cabinets to the wall and to each other. This prevents any movement that can misalign the doors or cause operational difficulties.
By raising your cabinets for flooring, you ensure a seamless transition between cabinetry and floor, avoiding potential toe-kicks or gaps underneath your cabinets.
Cut Oversize Holes for Plumbing/Electrical
When tackling the areas where plumbing or electrical lines need to pass through your cabinets, a bit of foresight can save you a headache later on. Here are some points to keep in mind:
- Measure Twice, Cut Once: Double-check the location of pipes and wires before drilling to prevent any costly mistakes.
- Oversize is Optimal: Cutting holes slightly larger than the pipe or wire diameter allows for easy adjustments and movement during installation.
- Protect with Grommets: To safeguard against wear and tear, consider inserting grommets into the holes. This helps protect your pipes and wires from sharp cabinet edges.
- Leave Room for Error: Allowing extra space around utilities accommodates potential shifts in the cabinet position as you continue the installation process.
- Access and Repair: Oversized holes provide easier access for future repairs and maintenance, ensuring that the back of your cabinets won’t need to be cut into later.
Remember, precision and precautions during this step will streamline the final stages of your cabinet assembly.
Install Cabinet Doors and Drawers
After securing the cabinets and ensuring everything is aligned and level, it’s time to give them their functionality back. Reattaching doors and inserting drawers is relatively straightforward, but requires attention to detail to maintain the aesthetic and operational integrity of the cabinetry.
– Begin by aligning the hinges with the pre-drilled holes on the cabinet frame. This will ensure the doors fit as they originally did.
– Use a screwdriver or power drill with the appropriate bit to attach the hinges to the frame. Be cautious not to overtighten, as this can strip the holes or damage the wood.
– For doors with adjustable hinges, slight adjustments can be made to align the doors perfectly parallel to one another and ensure they open and close smoothly.
– When inserting drawers, tilt them slightly at the front to fit the drawer slides into the corresponding tracks inside the cabinet. Gently push the drawer back into place, making sure it slides in evenly.
– Check the motion of each drawer and door to ensure there are no obstructions and that they move freely.
– If you notice any sticking or misalignment, remove the door or drawer to investigate and adjust as needed. Sometimes, minor tweaks to the position of hinges or tracks can resolve these issues.
– Once everything operates smoothly, step back and appreciate the cohesion of your freshly installed cabinets, now ready for use.
Final Check and Adjustments
Once all cabinets are anchored properly, it’s crucial to ensure alignment and functionality. Open and close every door and drawer to check for smooth operation—any sticking or misalignment requires attention. Hinges usually have adjustment screws; a slight turn can correct gaps or misalignment.
Inspect the alignment at the top and bottom of each cabinet—use a level to verify horizontal lines and make any necessary tweaks with shims. Drawer slides may also need minor adjustments for perfect glides. Finally, step back and look at the overall installation to ensure that all cabinets are flush and even. This attention to detail ensures a professional finish, and your beautifully installed cabinets are ready for use.
FAQ
What kind of screws do you use to attach cabinets together?
To join cabinets, employ a No. 8 2¼-inch-long trim-head screw with a fine thread appropriate for hardwood, boasting an unobtrusive small-diameter head that doesn’t require covering with a cap or wood plug.
Do you attach base cabinets to each other?
Yes, base cabinets are attached to each other using at least four drywall screws.
How can you ensure cabinets are properly aligned whilst attaching them together?
Ensure cabinets are properly aligned while attaching them together by using a level to check alignment, clamping them together, then drilling and securing with screws.
What tools are essential when attaching base cabinets to one another?
The essential tools when attaching base cabinets to one another include a cordless drill, clamps, screws, a level, and a carpenter’s square.
What step-by-step process can you follow to successfully attach wall cabinets together?
To successfully attach wall cabinets together, you need to line them up, clamp them, pre-drill holes, and then use screws to fasten them together.
Read More
 How to Choose Kitchen Cabinets: Your Ultimate Buying Guide
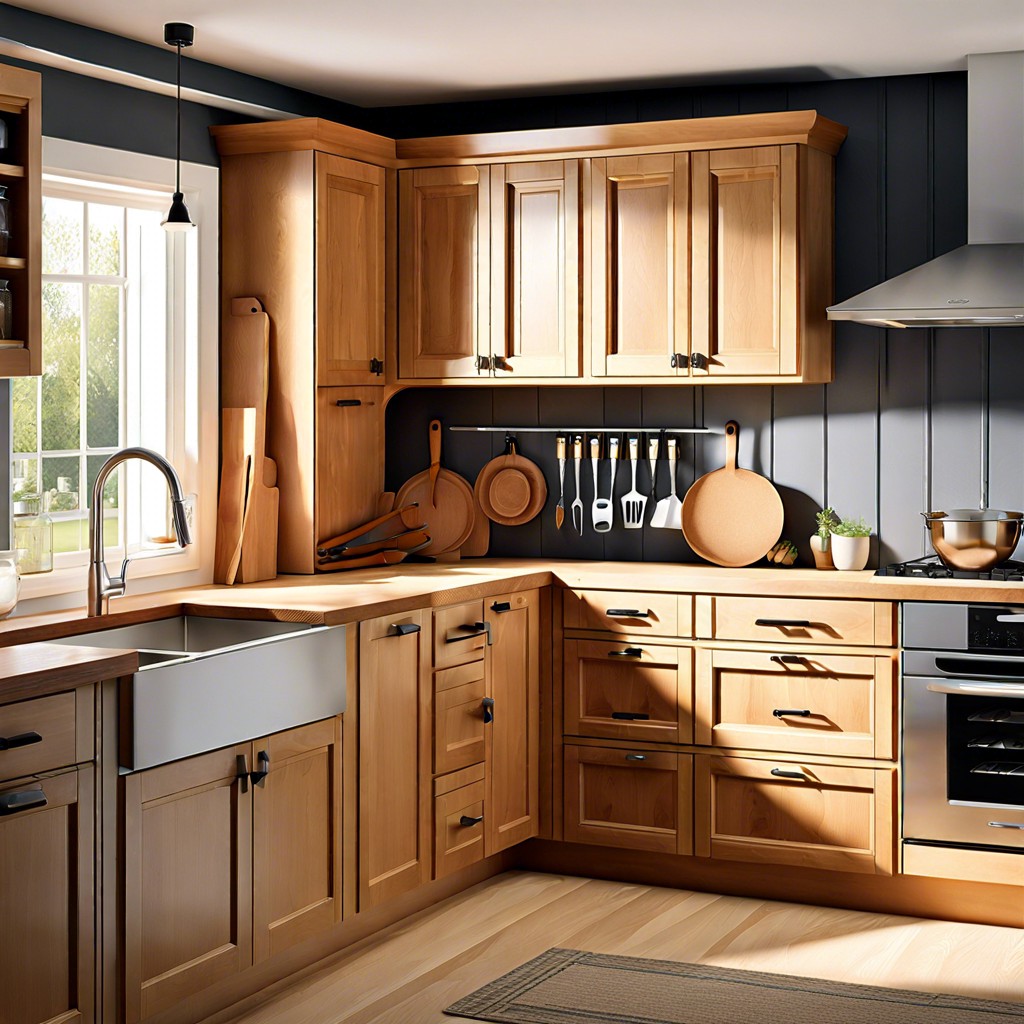 Staining Cabinets: A Step-by-Step Guide to a Fresh Look
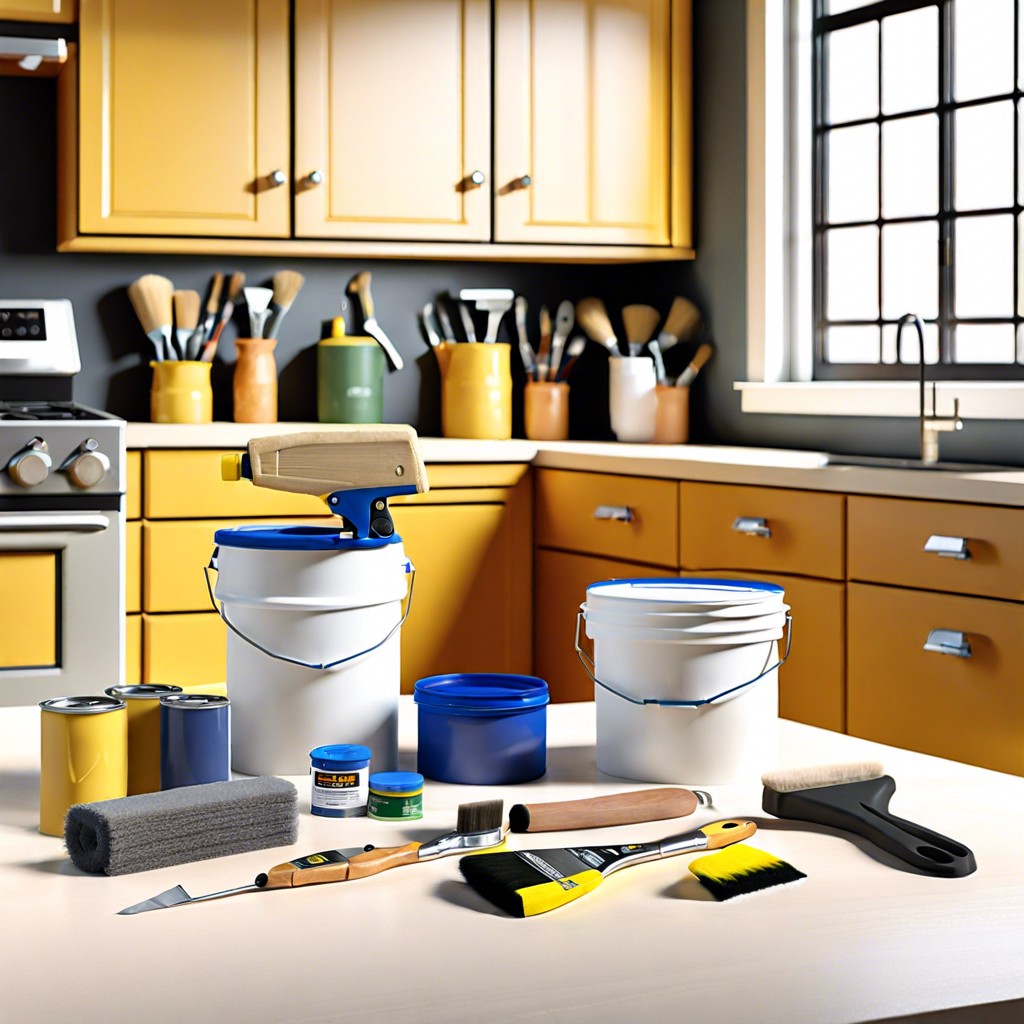 How Long Does It Take to Paint Kitchen Cabinets: A Time-Saving Guide
 Cost to Refinish Cabinets: A Cheaper Revival
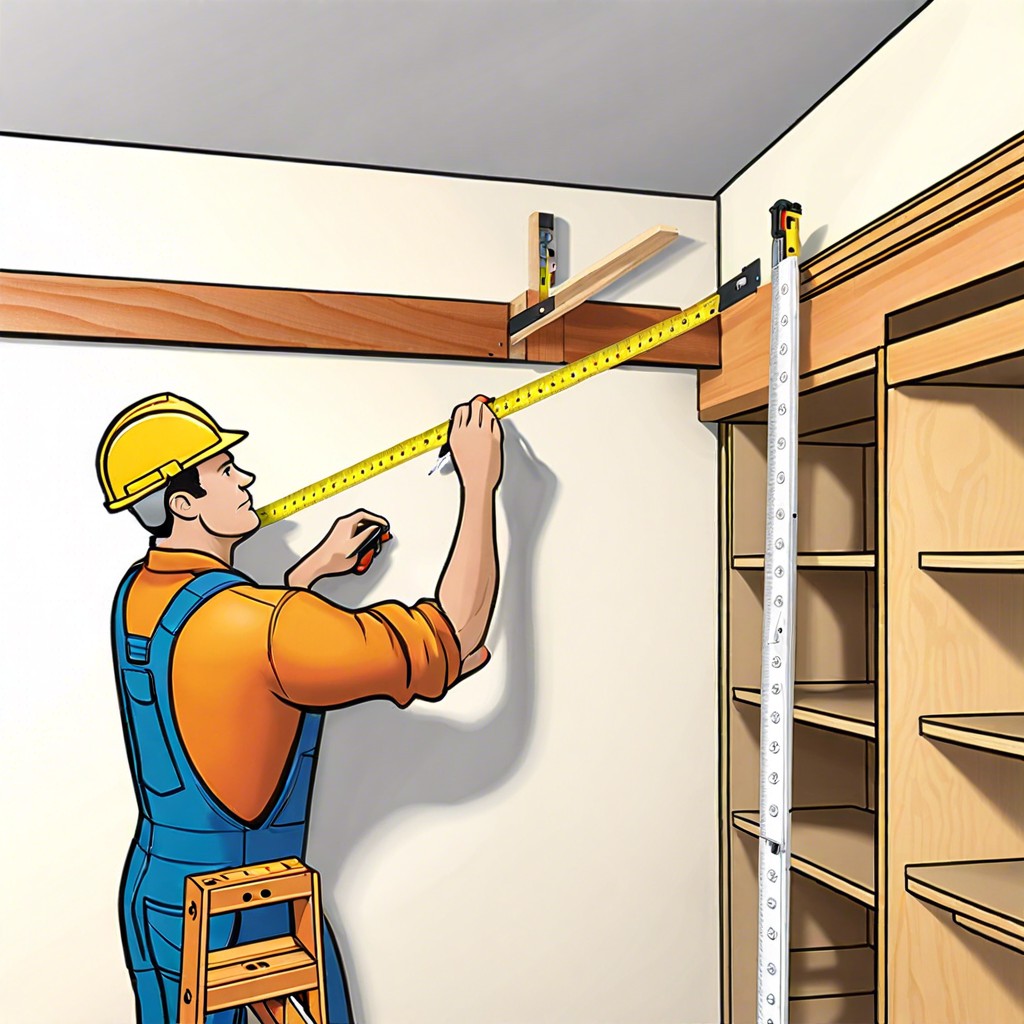 How to Install Upper Cabinets: Tips for a Perfect Kitchen Makeover