Last updated on
Learn the practical steps to refresh your kitchen by redoing your countertops, including material selection and installation techniques.
Key takeaways:
- Assess the current countertop condition before starting the process.
- Choose the right refinishing method based on material, budget, and desired outcome.
- Gather necessary materials and tools specific to your chosen method.
- Repair any damage before refinishing for a seamless finish.
- Seal and finish the countertop properly for longevity and appeal.
What's Inside
Assess the Current Countertop Condition
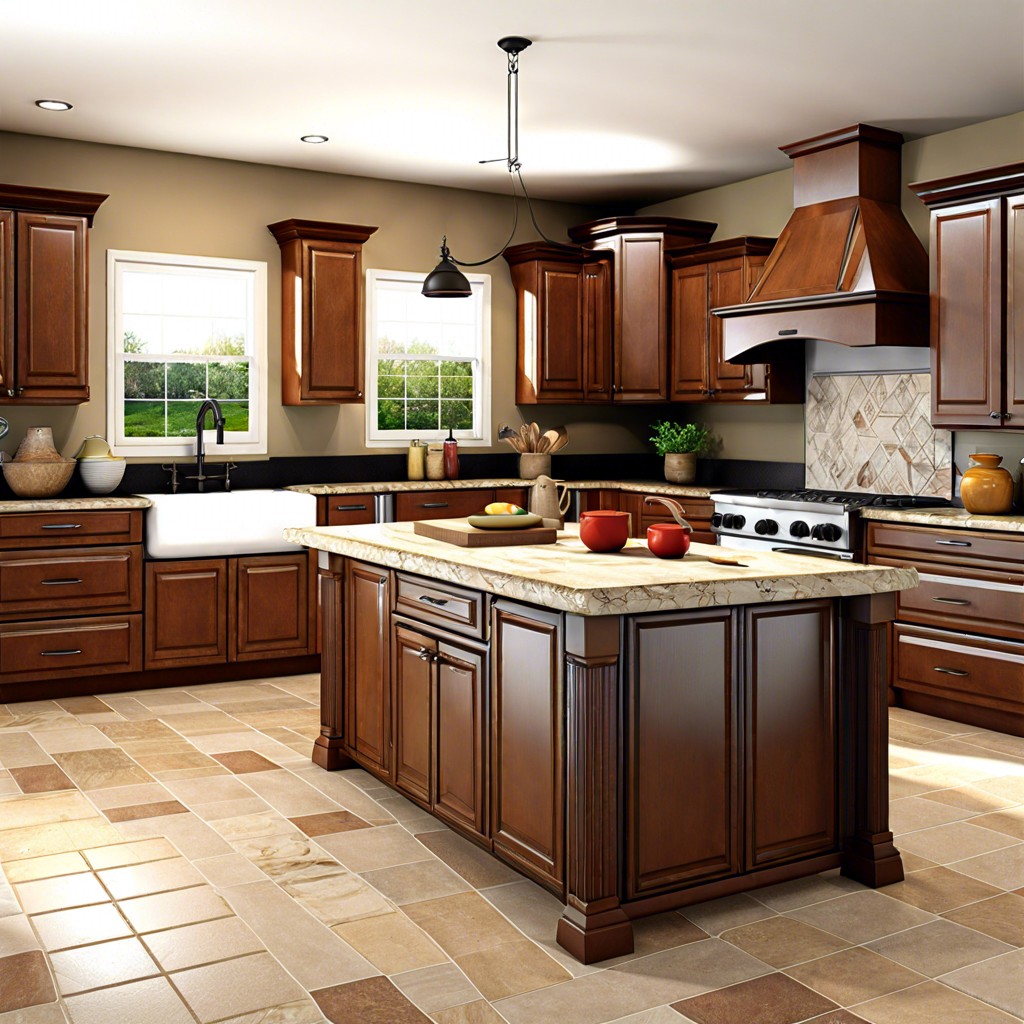
Evaluating the condition of your countertop is a pivotal first step in the redo process. Look for tell-tale signs of wear and tear such as scratches, burns, stains, or chips. These imperfections will influence the level of work required and help determine if a simple resurface or a complete overhaul is needed.
Consider structural integrity as well. Any issues with the foundation of your countertop might necessitate a more extensive approach. It’s essential to ensure that your existing setup can support a new surface, especially if you’re considering heavier materials.
The age of your countertop also matters. Older countertops may have outdated or hazardous materials that need special handling. If your countertop is particularly old, be prepared for potential surprises that could alter the scope of your project.
Lastly, think about the countertop material. The type of material – be it laminate, granite, or something else – will not only affect the method you’ll use to redo it but also the cost and the longevity of your refinished countertop. Each material has its unique set of considerations for refinishing, so identifying what you’re working with is crucial.
Choose a Refinishing Method
Selecting the right refinishing method for your countertops hinges on several factors, such as material, budget, and desired outcome.
Laminate counters often fair well with specialized countertop paint or a new laminate overlay. This is a budget-friendly option and comes in an array of colors and patterns. It’s important to remember that proper surface preparation is key to ensuring longevity.
For solid surface materials like granite or marble, a polishing kit can breathe new life into the stone. These kits are designed to buff out minor scratches and restore the countertop’s original shine. For deeper scratches or chips, a professional may be required.
If a dramatic change is desired, epoxy resin provides a creative solution. It’s a more hands-on approach, where you can incorporate unique colors or even objects into the finish. Patience and precision are crucial here, as the resin needs to be mixed and applied carefully to avoid bubbles and ensure an even coat.
Concrete overlay presents an industrial-chic look and works well over existing laminate or solid surfaces. Customization is a highlight, from the choice of pigment to embedding decorative elements into the concrete.
Finally, tile can cover up an unsightly countertop and withstand heat and sharp objects better than other surfaces. Selecting the right type of tile and grout will be imperative to managing stains and ensuring durability.
Each method requires a careful consideration of pros and cons, and sometimes mixing techniques for corners, edges, or backsplashes can offer the best of both durability and aesthetics. Remember, taking the time to explore your options will lead to a more satisfying and lasting result.
Gather Necessary Materials and Tools
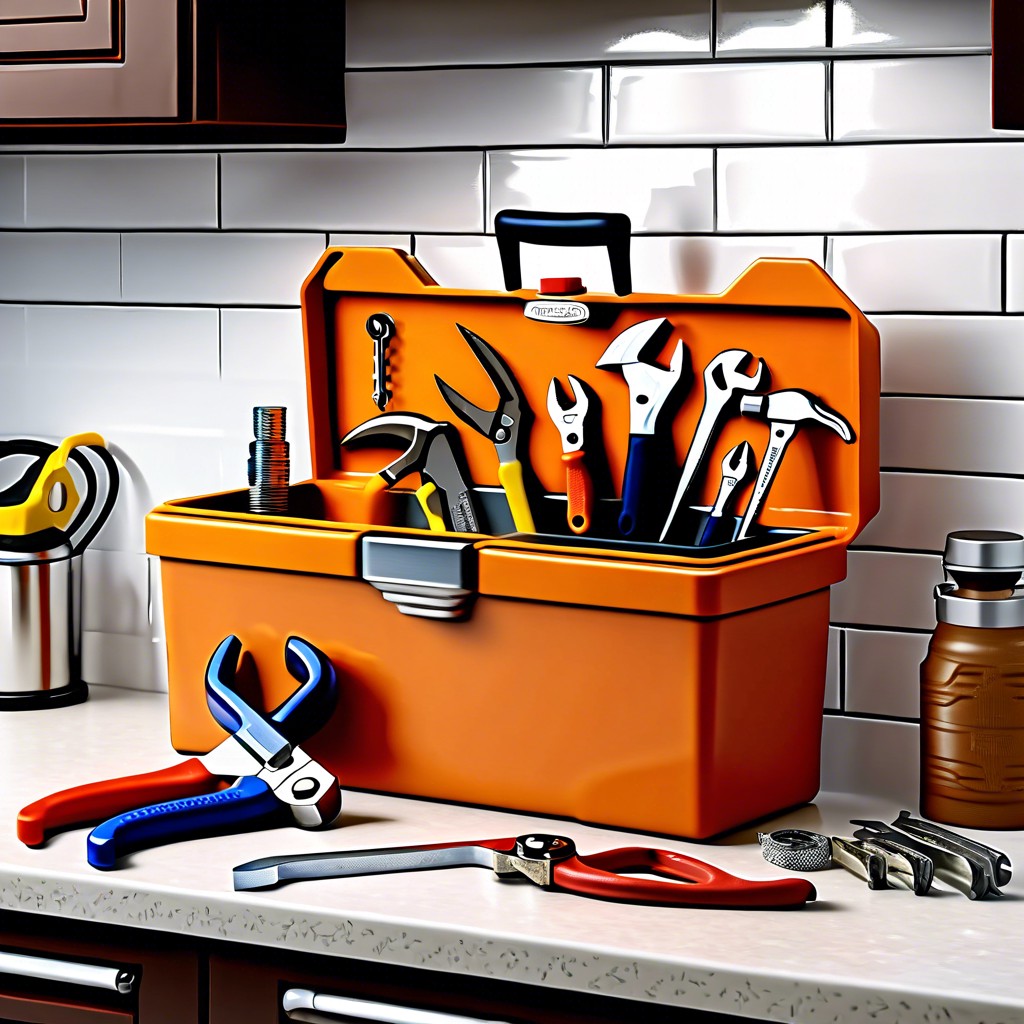
Equipping yourself with the right materials and tools is the backbone of a successful countertop redo. Depending on your chosen refinishing method, your shopping list may vary. For painting, for example, you’ll need sandpaper, a primer, acrylic or epoxy paint, and a clear coat sealer. If you’re going for a tiled look, you should have tiles, adhesive, grout, and a grout float on hand.
Investing in high-quality brushes and rollers will also impact the finish and durability of your countertop makeover. Additionally, don’t forget the painters’ tape for clean lines and drop cloths to protect your kitchen from spills and drips.
Safety shouldn’t be an afterthought. Ensure you have gloves to protect your hands and a mask, especially if you’re working with materials that have strong fumes or could generate dust.
Lastly, keep a spirit level and measuring tape handy to guarantee everything aligns perfectly, and nothing throws off the balance of your kitchen aesthetic. Remember, precision is key to transforming an outdated countertop into an eye-catching surface.
By having these items at the ready, you’ll navigate the redo with confidence and efficiency, setting the stage for a smooth transformation of your work surface.
Repair Any Damage Before Refinishing
Before diving into the refinishing process, addressing any damage is critical for a seamless finish. Think of it as prepping a canvas before painting; any imperfections will only be magnified if not dealt with properly.
Begin with a thorough cleaning to expose any cracks, chips, or burns. Filling these with a suitable compound, such as epoxy for laminate or an acrylic-based filler for solid surfaces, provides a level foundation for your new finish. Sand down the repair sites once dry to ensure an even texture across the surface.
If you encounter larger gouges or damaged edges, consider using a countertop repair kit specifically designed for these types of issues. These kits usually come with color-coded materials to match your countertop’s look, ensuring the repair blends in well after refinishing.
Moisture damage near sinks is another common issue. If the core material has swollen or disintegrated, this may require cutting out the damaged section and gluing in a new piece before proceeding with the refinishing.
Remember, patience is key during the repair stage. Rushing can lead to noticeable repair marks once you’ve finished refinishing, detracting from the beauty and reducing the longevity of your newly redone countertops.
Seal and Finish the Countertop Properly
Once your countertop has been sanded, repaired, and is fully prepped, the next crucial step is sealing and finishing. This process is the guardian angel of your countertop’s longevity and aesthetic appeal.
Choose the right sealant based on your material. For example, butcher block countertops thrive with food-safe oils or varnishes, while natural stone calls for a sealant that prevents staining and etching. Epoxy resin is a popular choice for a high-gloss finish that also serves as an effective sealant.
Apply the sealant evenly, using smooth strokes with a clean brush or applicator. Work in sections and blend the edges to avoid overlaps that can leave visible lines. Always follow the manufacturer’s instructions on drying times between coats. For some products, it may be necessary to lightly sand between layers to ensure a smooth finish.
Environmental conditions play a pivotal role in the curing process. Aim for a well-ventilated space at a moderate temperature to facilitate even drying without the interference of dust or debris.
Once sealed, maintaining your countertops becomes simpler. Most sealed surfaces will be resistant to common kitchen spills, though acidic substances should still be wiped up promptly to prevent damage. The finish will determine the cleaning regime; for instance, harsh chemicals can dull the shine on certain sealants, while others may require specific cleaners to maintain their integrity.
By sealing and finishing your countertops correctly, you ensure that your hard work stands the test of time, providing a durable and attractive surface that functions just as beautifully as it looks.

