Last updated on
Learn the practical steps to efficiently remove a sink drain with ease and confidence.
Key takeaways:
- Disconnect power sources, wear protective gear, and keep the area dry.
- Have a first aid kit nearby and clear the workspace.
- Use the right tools for the job.
- Shut off the water supply before starting.
- Remove the sink strainer and test for leaks.
What's Inside
Safety Precautions

Before diving into the task of removing a sink drain, prioritize your safety with these simple yet crucial steps:
– **Disconnect Any Power Sources**: If you have a garbage disposal or any electrical component under the sink, unplug it or turn off the circuit breaker to avoid electrical shock. – **Wear Protective Gear**: Donning gloves protects your hands from sharp edges and potential grime. Safety glasses are also recommended to shield your eyes from debris that might dislodge during the process. – **Keep the Area Dry**: Ensure the area under the sink is dry to prevent slipping or electric hazards. Wiping down surfaces before beginning creates a safer workspace. – **Have a First Aid Kit Nearby**: In case of minor cuts or injuries, having a first aid kit within reach allows for prompt treatment, helping prevent infections or more serious complications. – **Clear the Workspace**: Remove cleaning products, buckets, and other items from under the sink to have ample room to maneuver and reduce tripping hazards.Remember, taking a moment to ensure your safety can prevent accidents and make the task at hand proceed more smoothly.
Tools Required
Before diving into the task at hand, assembling the right tools ensures efficiency and prevents unnecessary hurdles. You’ll need:
- Pipe Wrench or Channel-lock Pliers: These provide the grip and leverage needed to loosen and tighten plumbing fittings.
- Basin Wrench: Its long shaft and swiveling jaw head can reach into the tight space behind the sink basin to remove the nuts securing the drain.
- Putty Knife: For scraping off old plumber’s putty from the sink and the drain fitting.
- Plumber’s Putty or Silicone Sealant: Essential for creating a watertight seal around the new drain.
- Towels and Bucket: Keep these nearby to manage any water that escapes while removing the drain.
- Flashlight or Work Light: Adequate lighting is vital for visibility in the dark confines under the sink.
With these tools at the ready, the process becomes straightforward, reducing the risk of damage to your sink and ensuring a smooth removal of the drain.
Shutting Off the Water Supply
Before diving into the task, ensure the water supply is turned off to prevent any unexpected geysers or spills. Typically, valves are located beneath the sink. Turn these clockwise until they’re tightly closed.
Check the faucet to confirm that no water comes out when you turn it on. If your sink lacks individual valves, you’ll have to shut off the main water supply to your home. This might be overkill for a small job, but when it comes to preventing water damage, it’s better to be safe than sorry.
Remember, water has a sneaky way of making its presence known, so placing a bucket underneath the sink to catch any remaining droplets once you start loosening parts is a smart move. This simple act can save a lot of mopping up later!
Removing the Sink Strainer
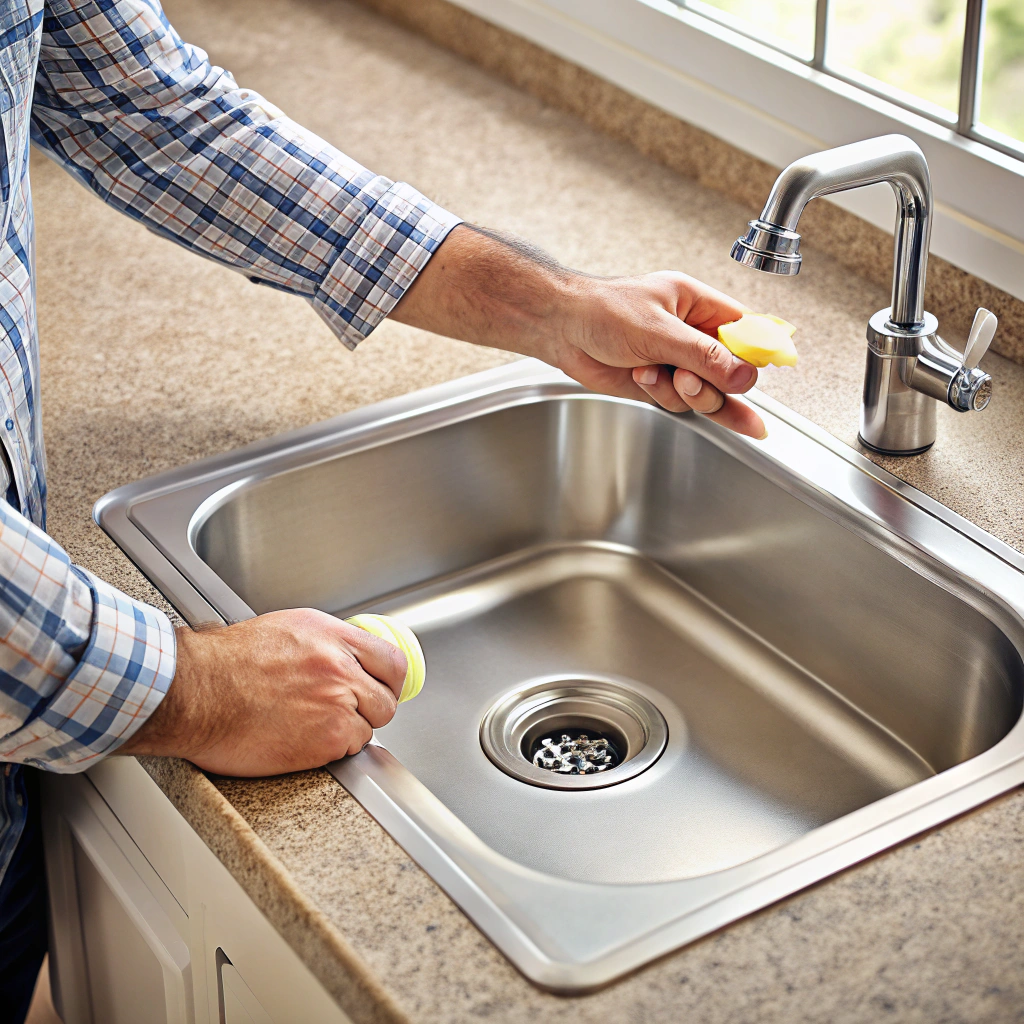
With the water supply safely off, let’s tackle that sink strainer. It typically has a lock nut and washer that secure it beneath the sink. You’ll need a pair of pliers or a wrench to loosen these fixtures. Once that’s done, remove the lock nut and washer to free the strainer.
From above the sink, push the strainer up and out of the drain hole. Sometimes, it might be a bit stubborn due to plumber’s putty or sealant. If so, a gentle tap from below or a slight twist should help break the seal. Remember, If yours is connected to a garbage disposal, you’ll need to detach it first.
If residue is left behind, scrape off the old putty or sealant with a putty knife, taking care not to scratch the sink’s surface. This clears the way for a fresh seal when installing your new strainer or refitting the old one after a thorough clean.
Testing for Leaks
Checking for leaks is crucial before you consider the job done. After reassembling your sink drain, run water through the system to ensure everything holds tight. Keep an eye on the connections for any signs of water escape.
A good tip is to place a piece of dry paper towel under the pipes; any dripping water will leave a visible wet spot. It’s also wise to examine the drain from different angles using a flashlight. If any leak is detected, gently tighten the connections, making sure not to overtighten as that can damage the seals.
Remember, leaks can be small and slow, so give it some time and observe if there are any changes on the towel. If it stays dry after several tests, you can rest assured that your sink drain is leak-free.


