Last updated on
In this detailed guide, learn how to confidently remove your kitchen faucet using straightforward, step-by-step instructions, saving time and money on calling in a professional.
Key takeaways:
- Gather necessary tools: adjustable wrench, pliers, bucket, penetrating oil, flashlight.
- Shut off water valves and confirm they’re closed to prevent leaks.
- Disconnect water supply lines using adjustable wrench and penetrating oil.
- Remove faucet mounting nuts with basin wrench and steady hand.
- Lift out faucet, clean surface, remove old sealant, address mineral deposits.
What's Inside
What You’ll Need

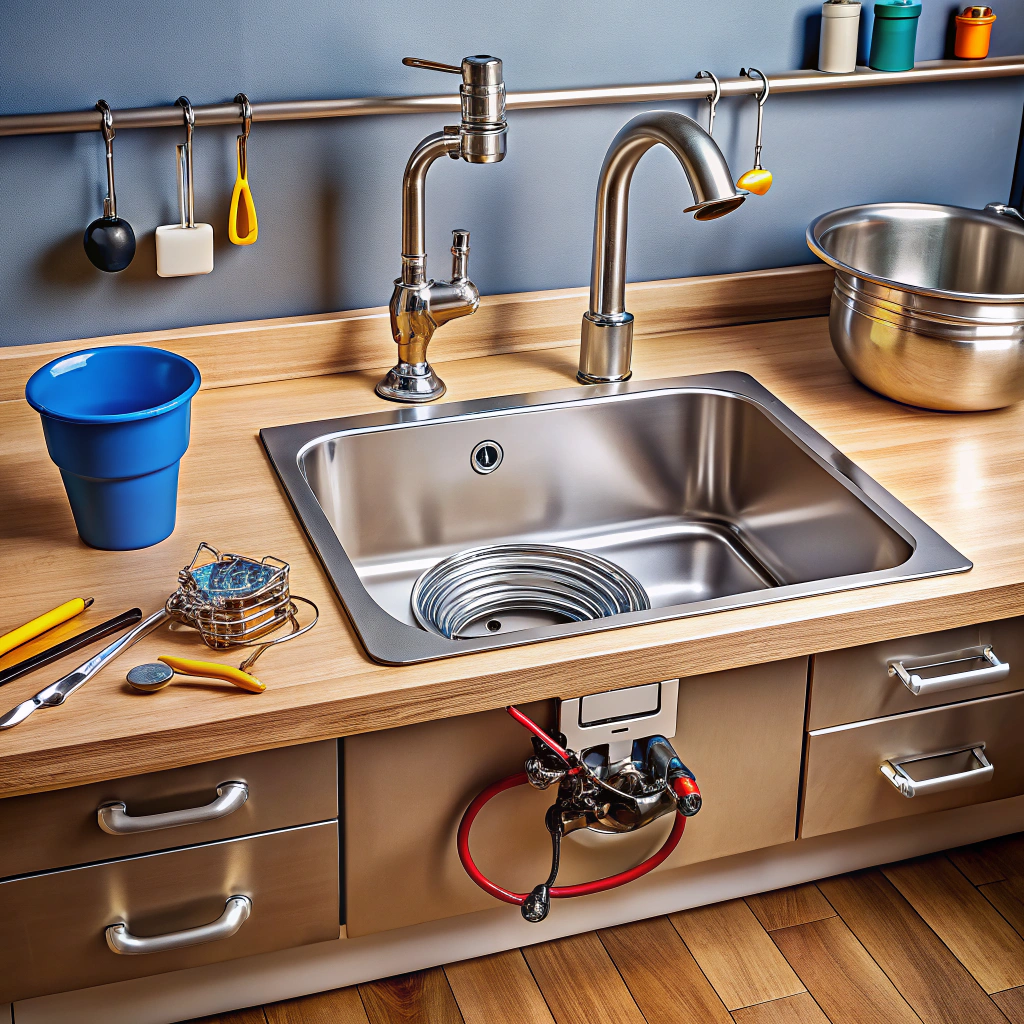
Embarking on removing a kitchen faucet, gather these essentials to ensure a smooth operation:
- Adjustable wrench or basin wrench: These tools assist in loosening the connections that secure the faucet in place.
- Channel-lock pliers: Useful for gripping and turning nuts, bolts, and pipes that may be tough to reach or handle.
- Bucket or towel: Keep these handy to catch any water remaining in the lines after shutting off the supply.
- Penetrating oil: In case you come across rusted or stuck components, this can help loosen them without causing damage.
- Flashlight or work light: Adequate lighting is crucial to spot and access the faucet’s components beneath the sink.
- Allen wrench or screwdriver: These are often needed to remove any handles or attachments on the faucet.
- A helper: At times, you may need an extra set of hands to hold the faucet in place while you work underneath the sink.
Equipped with these tools, you’re ready to tackle the faucet removal with confidence. Remember, the right tool for the right task will not only save time but also prevent any unnecessary damage to your kitchen fixtures.
Step 1: Shut Off Water and Confirm Its Off
Before diving into the thick of things, a precautionary step to prevent a fountain in your kitchen is a must. Under your sink, you’ll typically find two valves – one for hot and one for cold water. Give these a clockwise turn until they firmly stop; this is your ‘off’ position.
Now for confirmation – no one likes unexpected showers, especially not kitchen ones. Turn on the faucet to release any leftover pressure and ensure no water trickles through. If all is dry, celebrate the small victory; this is your green light to proceed without the threat of an impromptu indoor pool party.
It’s worth noting that in some homes, these valves may have seen better days. If you’re dealing with a particularly stubborn valve, a gentle persuasion with a pair of pliers should do the trick – apply gradual pressure to avoid breaking it. With the water now securely off, your path is clear for the next phase of your kitchen transformation.
Step 2: Disconnect Water Supply Lines
Before starting, position a basin or a towel under the sink to catch any residual water. To begin disconnecting the water supply lines, look for two valves underneath the sink – one for hot water and one for cold. Turn these valves clockwise to turn off the water flow. After they’re firmly closed, open the kitchen faucet to release any pressure and to ensure that the water supply is indeed cut off.
Now, with an adjustable wrench, gently loosen the nuts that connect the water supply lines to the faucet tailpieces. Keep a firm hold on the wrench to prevent slip-offs that could damage your plumbing. Once loose, you can finish unscrewing them by hand. If the nuts won’t budge, apply some penetrating oil and wait a few minutes before trying again.
Remember, as you remove the lines, you may encounter a little water spillage—that’s normal. Those towels or basin will take care of it. With a steady hand and patience, the lines should be disconnected, paving the way for a smooth faucet removal process.
Step 3: Remove Faucet Mounting Nuts
Having now disconnected your water supply lines, you’re ready to tackle those mounting nuts—which can be quite the adversaries due to their often tight space confines and potential corrosion. These nuts are what’s anchoring the faucet to your sink, so removing them is a critical step.
– First things first: Equip yourself with a basin wrench. This particular tool has a swiveling jaw and a long handle, which is perfect for reaching up behind the sink bowl where standard wrenches can’t easily go.
– Slide the basin wrench to one of the nuts and tighten the jaw around it. Then with a firm grip, turn it counterclockwise. Be patient; these might resist a bit, especially if they haven’t been moved in a while.
– While loosening the nuts, hold the faucet in place from above to prevent it from moving and potentially causing damage or making the job harder.
– If you encounter a particularly stubborn nut, apply a penetrating oil, give it a few moments to work its magic, and then try again.
– Repeat the process for all nuts. Typically, you’ll find one to three mounting nuts, depending on the design of your kitchen faucet.
This part of the process can be a bit of an arm workout, but removing the mounting nuts is essential. Without clear access and the right tools, it can easily become the most challenging part of the faucet removal, but using leverage and determination, you’ll get there!
Step 4: Remove Faucet and Clean Surface
With the mounting nuts removed, the faucet should lift out easily. If it resists, gently wiggle it to loosen any sealant or plumber’s putty. Now, let’s focus on preparing the area for a fresh installation:
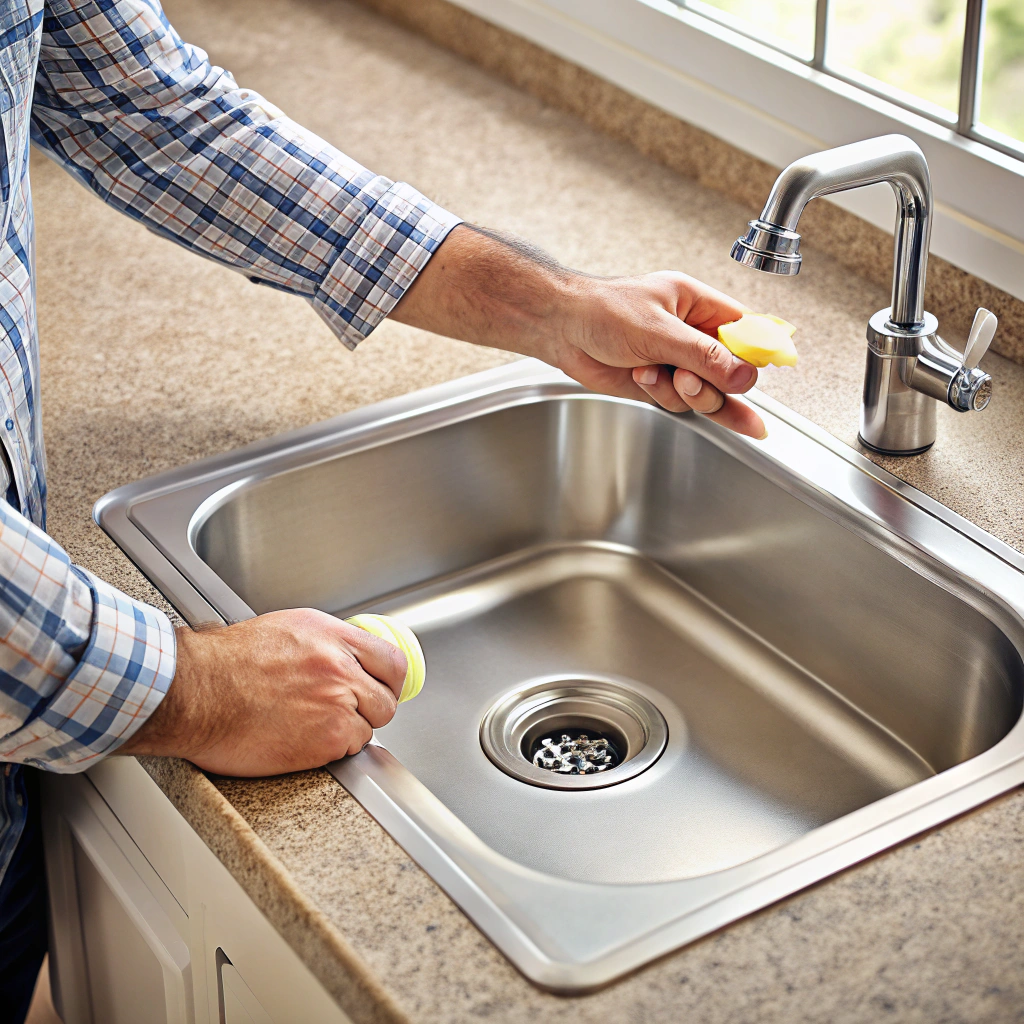
- Clear away old sealant: Scrape off any remaining sealant or putty from the sink’s surface with a plastic putty knife to avoid scratching your sink.
- Address mineral deposits: If you spot mineral buildup, apply white vinegar with a cloth and let it sit for a few minutes before scrubbing it off.
- Wipe down the surface: Using a rag, clean around the sink holes to remove grime and ensure a clean bonding surface for the new faucet.
- Check for damage: Inspect the sink for any damage or wear that could affect the new installation. If necessary, make repairs before proceeding.
By ensuring the surface is pristine, you’ll set the stage for a successful installation of your new kitchen faucet.
