Last updated on
Discover the straightforward process of repairing your vinyl wrap kitchen doors and restoring their pristine appearance with our comprehensive guide.
Vinyl wrap kitchen doors are a popular choice for homeowners due to their durability and low maintenance. However, over time, even the toughest materials can suffer wear and tear.
If your vinyl wrap kitchen doors have started to peel or show signs of damage, don’t panic! Repairing them is easier than you think. In this article, we’ll walk you through the steps to repair your vinyl wrap kitchen doors so that they look as good as new.
Whether you’re a seasoned DIYer or a novice home decorator, our tips will help you restore your kitchen’s aesthetic appeal without breaking the bank. So let’s get started!
Key takeaways:
- Identify damaged vinyl wrap kitchen doors.
- Assess the extent of the damage.
- Gather necessary tools and materials.
- Prepare the kitchen door for repair.
- Remove the damaged wrap and apply the new vinyl wrap.
What's Inside
Identifying Damaged Vinyl Wrap Kitchen Doors
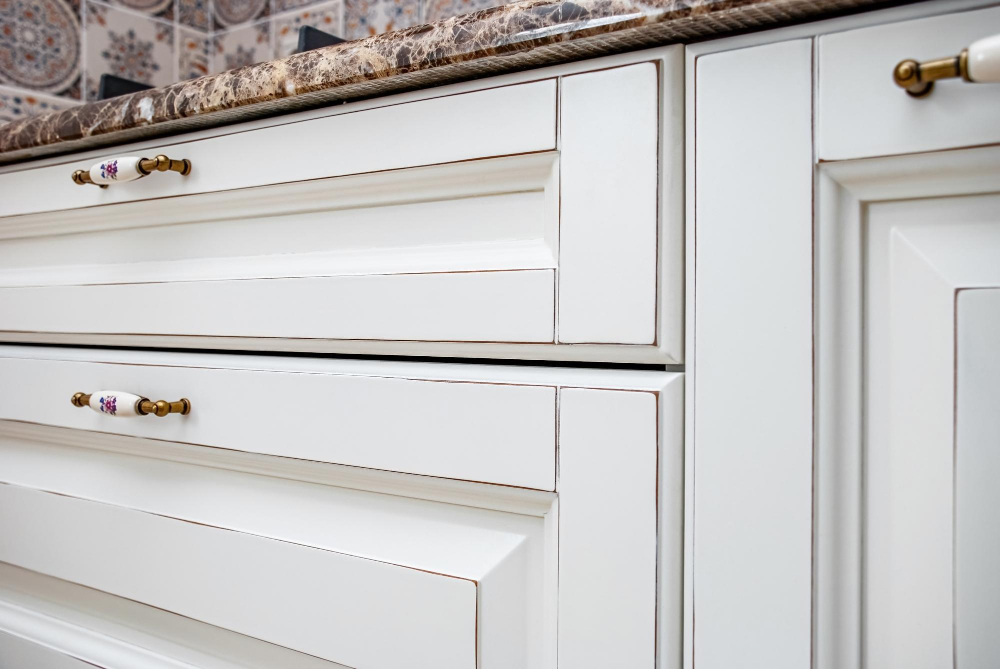
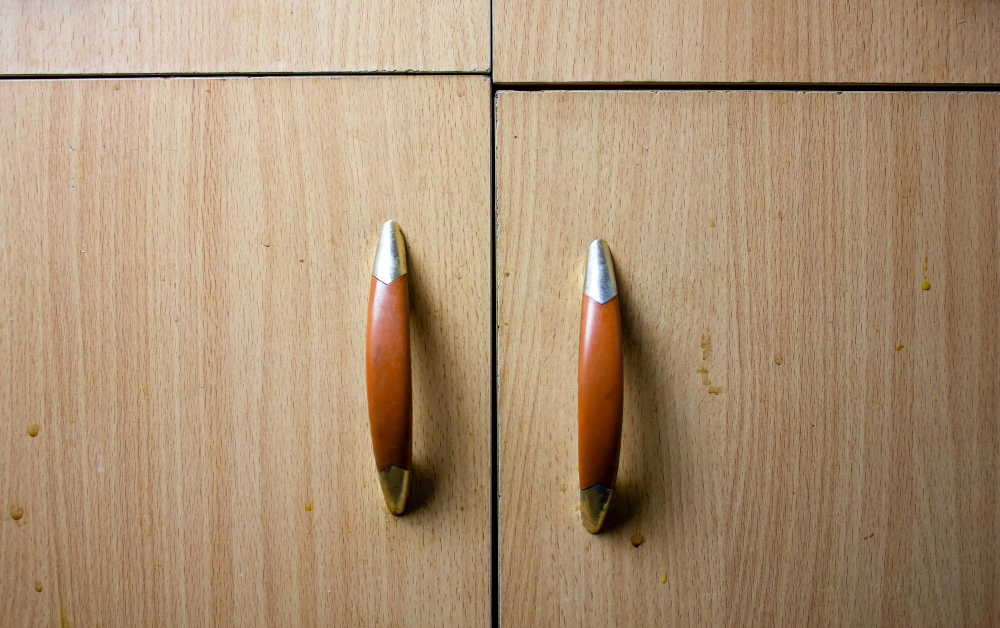
Vinyl wrap can become damaged due to a variety of reasons, including exposure to heat and moisture, accidental scratches or dents, or simply wear and tear over time. Some common signs of damage include peeling edges, cracks on the surface of the vinyl wrap, bubbles forming under the surface of the material or discoloration.
To determine if your kitchen door has suffered any damage that requires repair work you should inspect it closely for any visible signs such as those mentioned above. If you notice any issues with your vinyl wrapped doors it’s important not to ignore them as they will only get worse over time if left untreated.
Assessing the Damage
This step will help you determine whether the door needs a simple fix or if it requires more extensive repairs. Start by examining the damaged area and identifying any peeling, cracking, or bubbling of the vinyl wrap.
If there are only minor damages such as small bubbles or wrinkles in your vinyl wrap kitchen doors, then these can be easily fixed with some heat and pressure. However, if there is significant damage like large tears in the material that expose underlying layers of wood or MDF board beneath them – then replacing just one section may not suffice; instead consider replacing all panels on affected cabinets for uniformity.
Assessing how much repair work is needed will also help you decide whether to tackle this project yourself or hire a professional contractor who specializes in repairing vinyl wraps on kitchen cabinet doors. Remember that while DIY projects can save money upfront but they require time and effort which might not be feasible for everyone especially those with busy schedules.
Gathering Necessary Tools and Materials
This will ensure that you have everything on hand when you need it, making the repair process smoother and more efficient.
To repair your vinyl wrap kitchen doors, here are some of the tools and materials that you’ll need:
- Heat gun or hairdryer
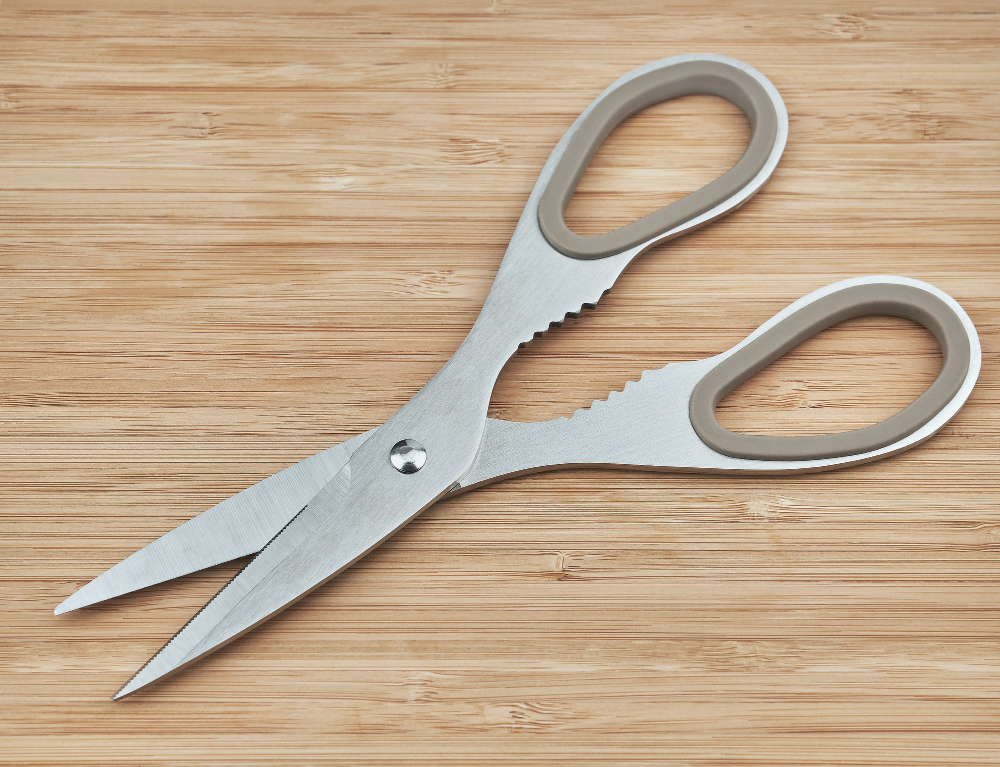
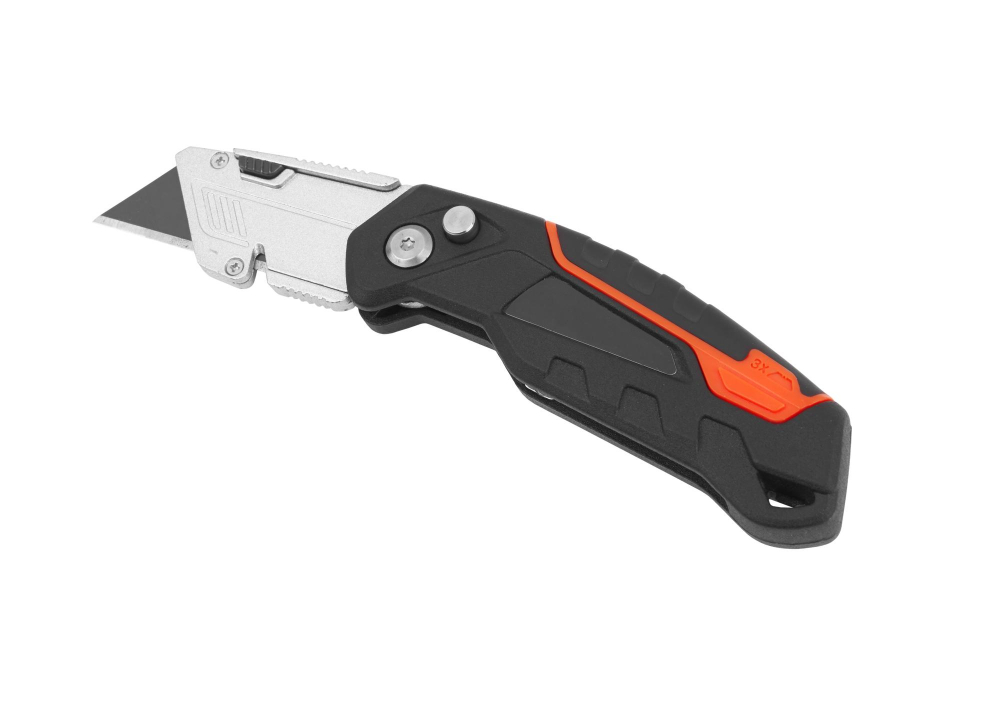
- Utility knife or scissors
- Sandpaper (220 grit)
- Cleaning solution (such as rubbing alcohol)
- Vinyl wrap adhesive
- Squeegee
You can find most of these items at a hardware store or online. When purchasing vinyl wrap adhesive, make sure to choose one that is compatible with your specific type of vinyl.
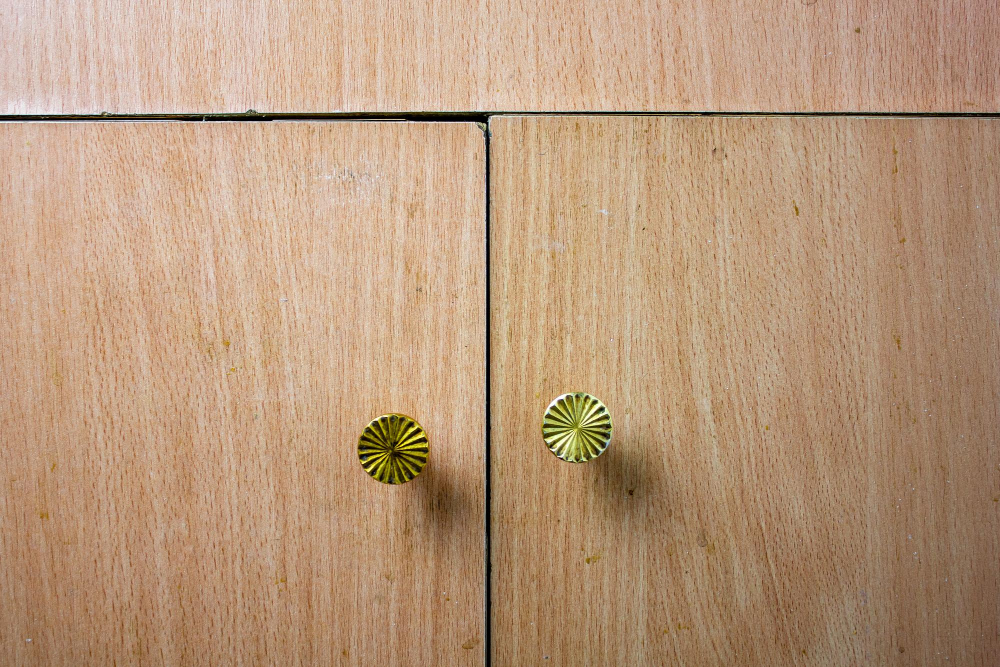
Preparing the Kitchen Door for Repair
This step is crucial as it ensures that the new vinyl wrap adheres correctly and lasts longer. To begin with, remove any hardware or handles from the door using a screwdriver.
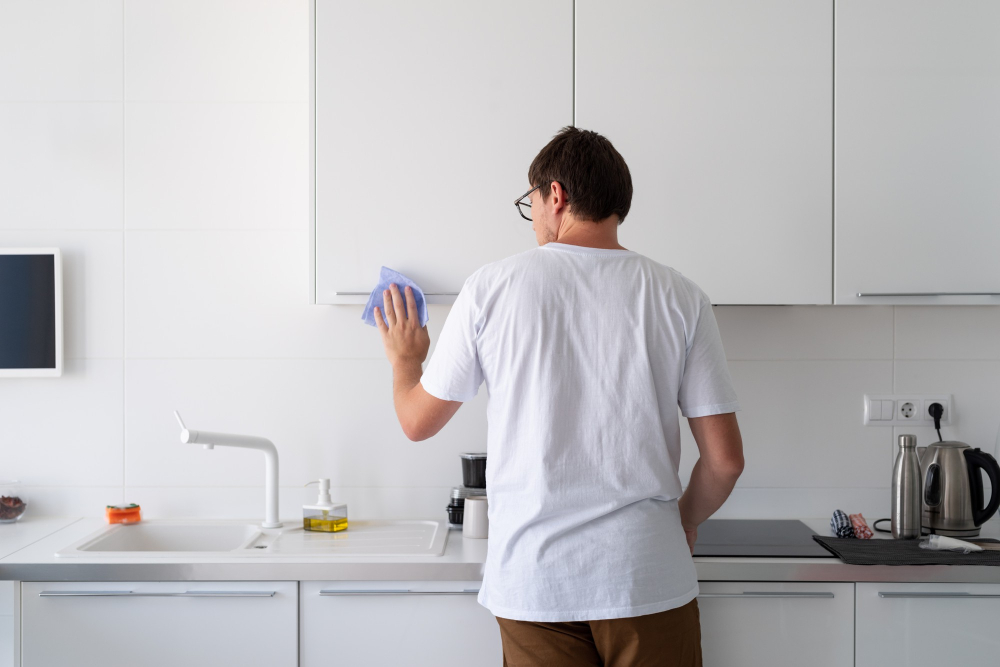
Next, clean the surface of your kitchen door thoroughly with soap and water to remove any dirt or grease buildup.
Once you’ve cleaned off all visible debris, use a degreaser solution to eliminate any remaining residue on your kitchen doors’ surfaces. You can purchase an appropriate degreaser at most home improvement stores or online retailers.
After cleaning and degreasing your kitchen doors’ surfaces, rinse them thoroughly with clean water before drying them completely using a soft cloth or paper towel.
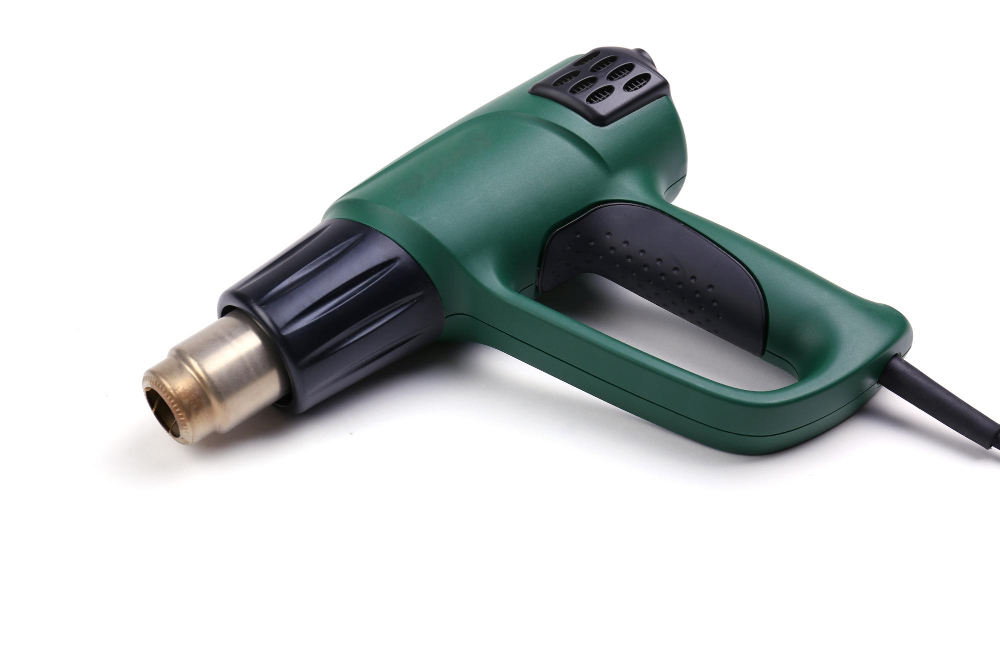
Removing the Damaged Wrap

This step is crucial as it ensures that the new vinyl adheres correctly and looks seamless. To remove the damaged wrap, use a heat gun or hairdryer on high heat setting and apply heat directly onto the affected area for about 30 seconds until you can lift up an edge of the vinyl with a plastic scraper or putty knife.
Be careful not to overheat any one spot as this could cause damage to your kitchen door surface underneath. Once you’ve lifted up an edge of vinyl, continue heating while pulling gently in a slow motion at around 45-degree angle until all of it comes off.
Cleaning and Prepping the Door Surface
This step is crucial as any dirt or debris left on the surface can affect how well the new vinyl adheres to it.
Start by cleaning the door with a mild detergent and warm water. Use a soft cloth or sponge to gently scrub away any grime or grease that has accumulated on its surface.
Be sure not to use abrasive cleaners, as they can scratch or damage your kitchen doors.
Next, rinse off all soap residue with clean water and dry thoroughly using a lint-free cloth. Make sure there is no moisture left on your kitchen doors before proceeding further.
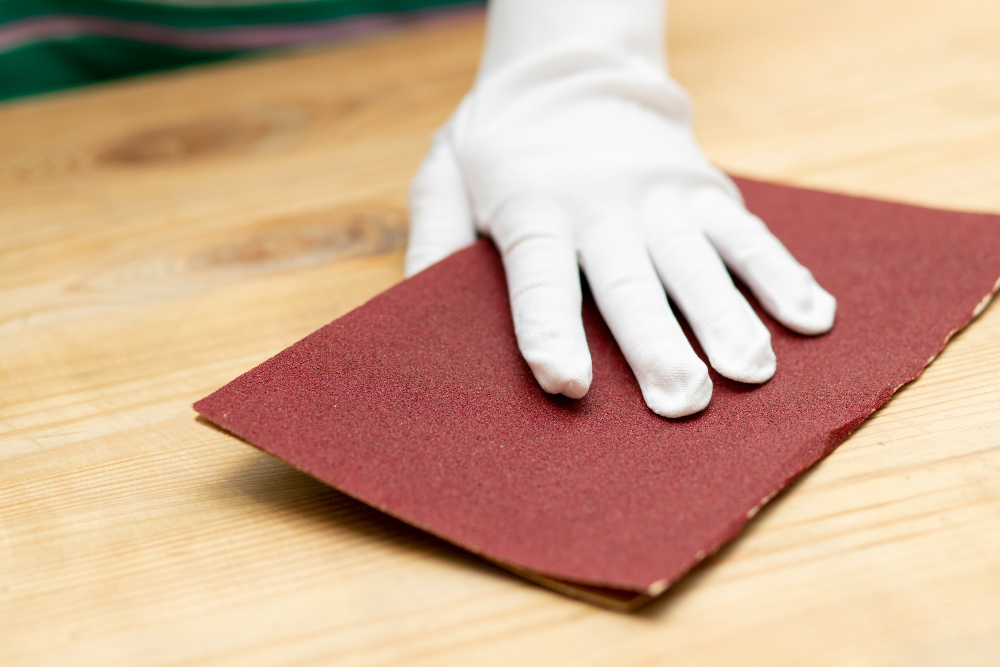
If there are any rough spots or imperfections in your door’s finish after cleaning, sand them down lightly until smooth using fine-grit sandpaper (220 grit). Wipe away dust particles created during this process with a tack cloth before moving onto applying new vinyl wrap material.
Choosing the Right Vinyl Wrap
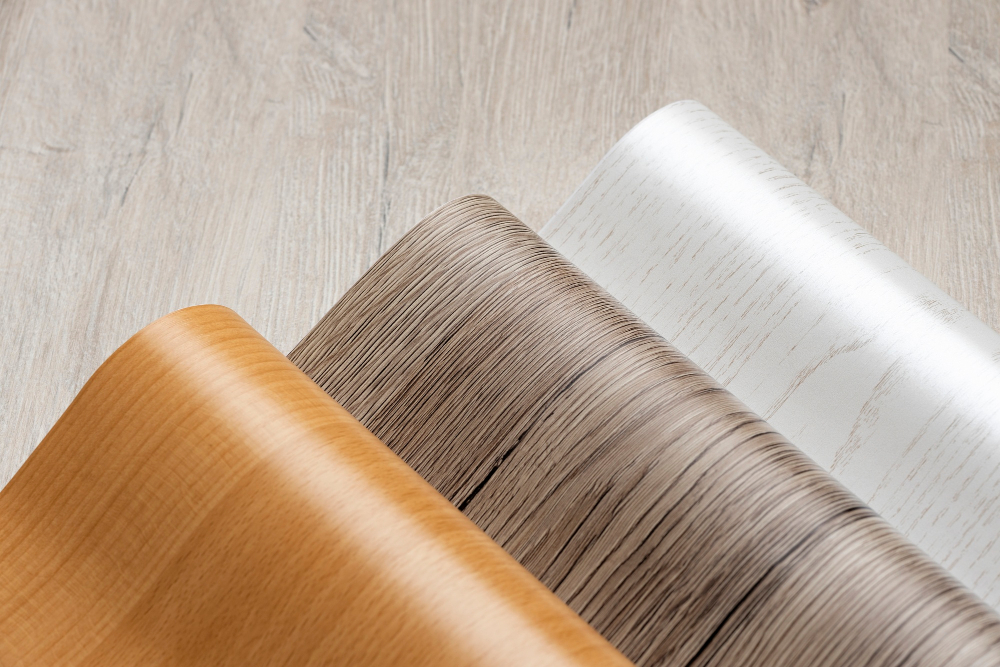
Not all vinyl wraps are created equal, and selecting the wrong one can lead to further damage or a less-than-perfect repair job.
To choose the right vinyl wrap for your kitchen door repair project, start by considering its color and texture. You want a wrap that matches as closely as possible with your existing doors so that there’s no noticeable difference between them.
Next, consider durability and quality. Look for high-quality materials that will stand up well over time without peeling or cracking easily.
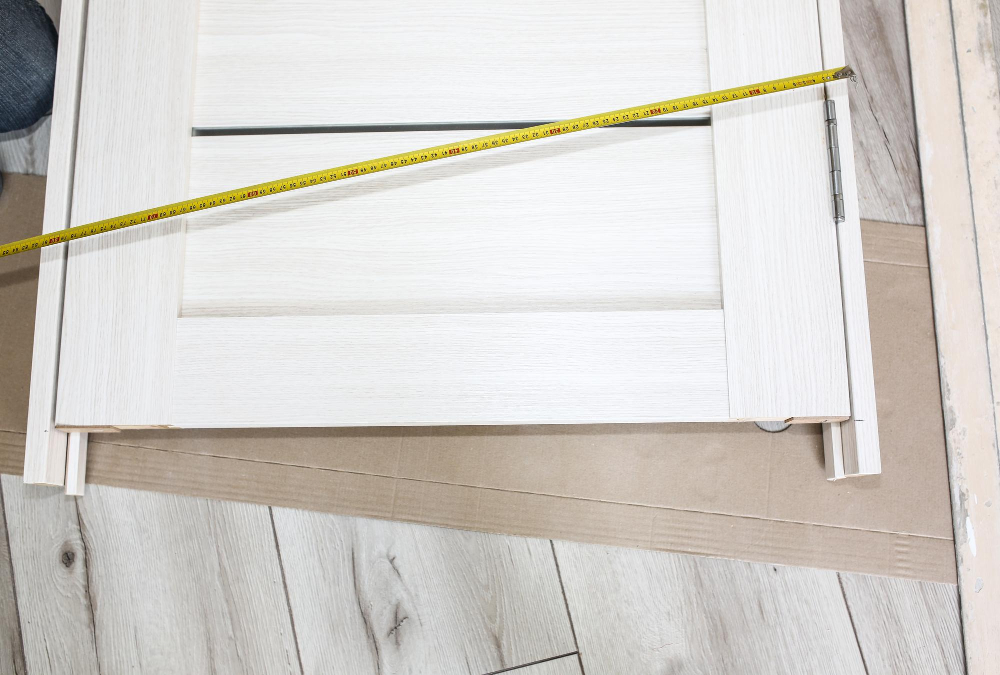
Make sure you measure accurately before purchasing any new material to ensure you have enough coverage for each door panel.
Applying the New Vinyl Wrap
This step requires patience and precision, but with a steady hand and attention to detail, you can achieve professional-looking results.
Firstly, measure your kitchen door accurately so that you know how much vinyl wrap is required. Then cut out a piece of new vinyl slightly larger than needed for coverage.
Next up is peeling off one side of the backing paper from your new sheet while leaving another attached.
Carefully align this exposed edge with one end or corner of your kitchen door before pressing down firmly on it using a squeegee or credit card-like tool to remove any air bubbles as well as wrinkles in between each pass until all sides are covered evenly without any creases showing through underneath.
Repeat this process for each section until all areas are covered completely by overlapping edges where necessary before trimming away excess material using sharp scissors or utility knife blade along edges carefully not cutting into surrounding surfaces such as countertops etc., which could cause damage if done incorrectly.
Fixing Peeled Vinyl
This is a common issue that can be easily fixed with the right tools and materials. To fix peeled vinyl, you’ll need to remove the damaged section of the wrap and replace it with a new piece.
Start by using a utility knife or razor blade to carefully cut away any loose or peeling sections of vinyl. Be sure not to damage the underlying surface of your kitchen door while doing this.
Next, measure out a piece of replacement vinyl that’s slightly larger than the area you just removed. Peel off its backing paper and align it over where you’ve cut away from old one so that there are no bubbles or wrinkles in between them.
Using heat from either an iron set on low heat (with no steam) or hair dryer on medium setting will help activate adhesive properties in new material making sure everything sticks together nicely without leaving any air pockets behind which could cause further issues down line if left unattended for too long!
Use your fingers (or squeegee tool) gently press down along edges until they’re firmly attached again before trimming excess material around edges using sharp scissors.
Repairing Cracked Vinyl
Repairing them is a simple process that can be done in just a few steps. First, you’ll need to remove the damaged section of the vinyl wrap using a utility knife or scissors.
Be sure to cut along the crack and remove any loose pieces of vinyl.
Next, clean and prep the door surface as outlined in our previous section on “Cleaning and Prepping.” Once you’ve prepared your door surface for repair, it’s time to apply new vinyl wrap.
Measure out enough new vinyl wrap so that it covers both sides of the crack with an additional inch on each side for trimming later. Peel off one side of its backing paper from your new piece of Vinyl Wrap then align this edge with one end at least 1 inch beyond where it will cover over onto undamaged areas before pressing down firmly into place across all surfaces until there are no bubbles left behind under pressure applied by hand or roller tool if available (recommended).
Repeat this process for another piece but now peel off both sides’ backing papers before placing over top first patch ensuring they overlap slightly without leaving gaps between them which could allow moisture penetration leading back again towards cracking issues further down line after some time has passed since repairs were made.
Once you’ve applied all necessary patches, use a sharp blade or scissors to trim away any excess material around edges carefully.
Reattaching Vinyl Wrap to Kitchen Door
This step is crucial in ensuring that the repair job looks seamless and professional. To do this, you’ll need a strong adhesive that can hold up against daily wear and tear.
Start by applying a thin layer of contact cement or spray adhesive onto both the back of the vinyl wrap and the surface of your kitchen door. Be sure to follow manufacturer instructions for application as different adhesives may have varying drying times.
Once both surfaces are tacky, carefully align them together starting from one end and working towards another while smoothing out any bubbles or wrinkles with a squeegee tool or credit card.
Press down firmly on all areas of the vinyl wrap until it adheres completely to your kitchen door surface. Use clamps if necessary for extra pressure while allowing enough time for proper bonding before removing them.
Trim off any excess material using a sharp utility knife along with an edge guide such as masking tape so that you get clean edges without damaging surrounding areas.
Smoothing Out Bubbles and Wrinkles
Don’t worry; this is a common issue that can be easily fixed. To smooth out any imperfections, use a heat gun or hairdryer on low heat and gently apply it to the affected area.
This will soften the adhesive and allow you to press down on the bubble or wrinkle with your fingers until it disappears.
Be careful not to overheat the vinyl wrap as this could cause damage. If there are still stubborn bubbles after using heat, try using a pin or needle to puncture them before smoothing them out.
Trimming Excess Vinyl Wrap
Trimming is an essential step in achieving a professional-looking finish. To do this, use a sharp utility knife or scissors and carefully cut along the edges of the door frame.
Be sure to hold your cutting tool at a slight angle so that you don’t accidentally cut into the surface of your newly repaired vinyl wrap. Take care not to leave any jagged edges or uneven cuts as they can be unsightly and detract from all your hard work.
If there are areas where trimming is difficult due to tight corners or curves, consider using sandpaper instead of cutting tools for more precise results. Sanding will help smooth out rough edges without damaging surrounding surfaces.
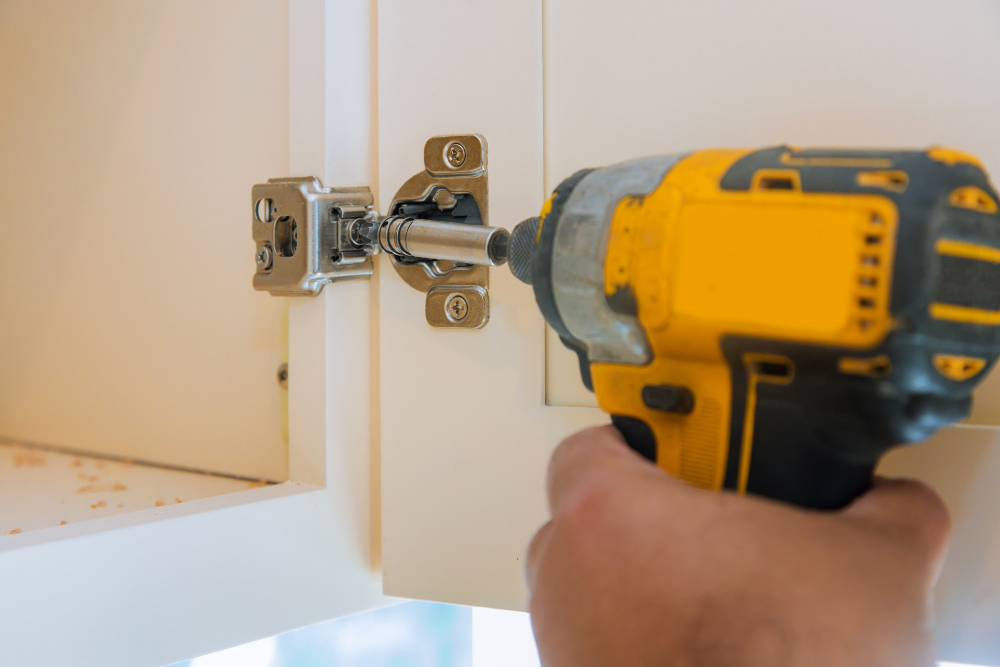
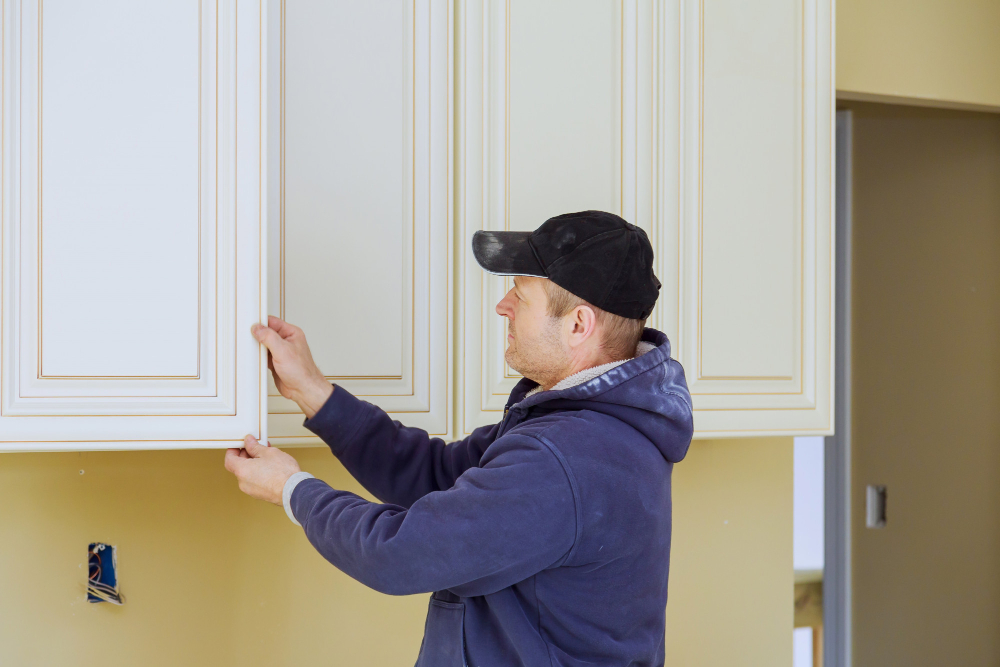
Reattaching the Kitchen Door
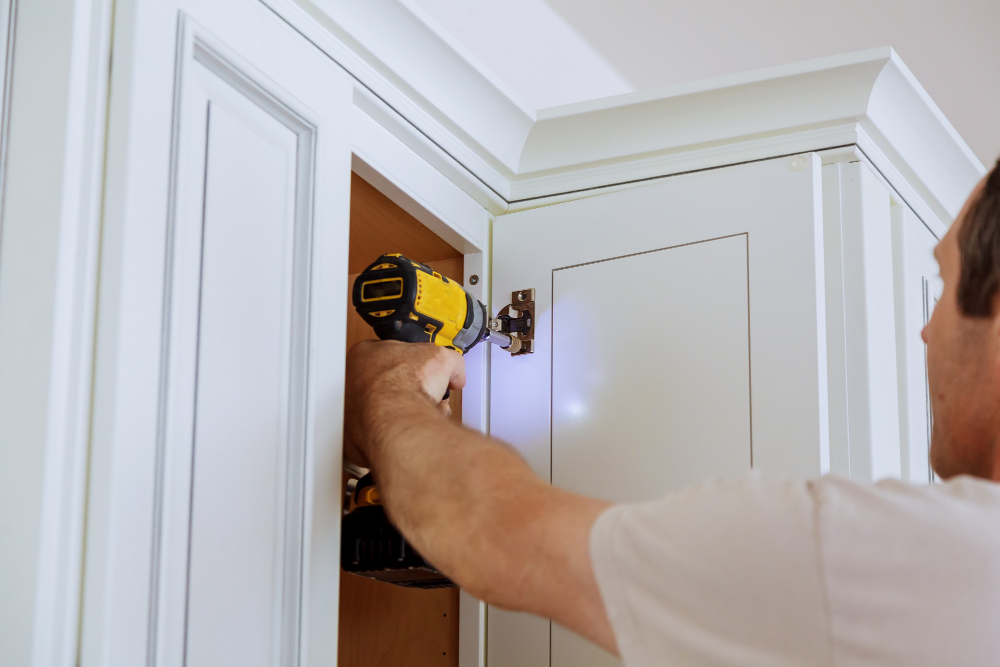
Start by aligning the door with its hinges and carefully screwing them back in place. Make sure that the screws are tight enough but not too tight as they can damage or warp the door.
Next, check if there are any gaps between the frame and your newly wrapped kitchen doors. If there is a gap, use a caulking gun filled with silicone caulk to fill in any spaces around where you removed hardware or trim pieces.
Let everything dry for at least 24 hours before using your newly repaired vinyl wrap kitchen doors again. This will ensure that all of your hard work stays intact and looks great for years to come!
Maintaining Your Vinyl Wrap Doors
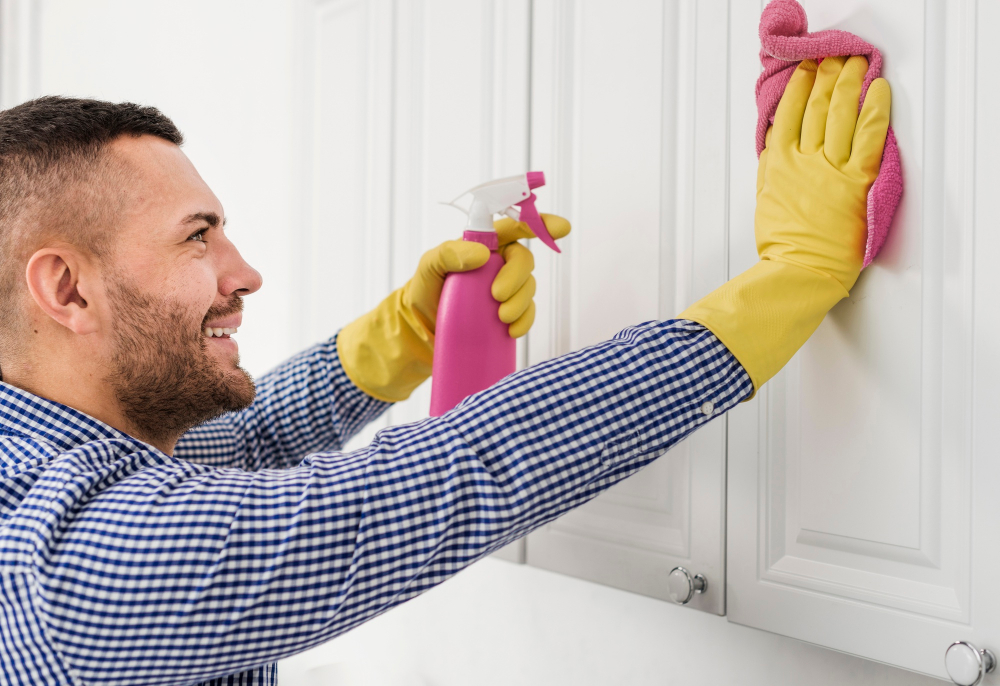
After repairing your kitchen doors, it’s important to take steps to prevent further damage. One of the best ways to maintain vinyl wrap doors is by cleaning them regularly with a mild detergent and warm water solution.
Avoid using harsh chemicals or abrasive sponges that can scratch or damage the surface.
Another way to protect your vinyl wrap kitchen doors is by avoiding exposure to extreme temperatures, such as direct sunlight or heat from appliances like ovens and stovetops. These conditions can cause the adhesive on the back of the vinyl wrap material to weaken over time.
If you have pets in your home, be sure they don’t scratch at or chew on any part of your kitchen cabinets as this could lead not only peeling but also permanent damage that may require professional repair services.
Caring for Repaired Vinyl Wrap Doors
Here are some tips for caring for your newly repaired vinyl wrap doors:
1. Avoid using harsh chemicals or abrasive cleaners on the surface of the door, as these can damage the vinyl.
2. Clean spills and stains immediately with a soft cloth and mild soap and water.
3. Use a non-abrasive cleaner specifically designed for use on vinyl surfaces if necessary.
4. Avoid exposing the door to extreme temperatures or direct sunlight, which can cause fading or warping over time.
5. Regularly inspect your doors for signs of wear and tear so that you can address any issues before they become more serious problems.
Troubleshooting Common Issues
Here are some common issues you may encounter and how to troubleshoot them:
1. Wrinkles or Bubbles: If you notice wrinkles or bubbles in your newly applied vinyl wrap, use a heat gun to gently warm up the area and smooth out any imperfections.
2. Peeling Edges: If the edges of your new vinyl wrap start peeling after application, try using an adhesive spray to reattach them firmly.
3. Uneven Surface: An uneven surface can cause air pockets between the door surface and new vinyl wrap leading to bubbles forming on it over time; ensure that you have thoroughly cleaned off any debris before applying new wraps.
4. Incorrect Measurements: Double-check all measurements before cutting your replacement piece of vinyl as incorrect sizing will lead to ill-fitting wraps that won’t adhere properly.
When to Call a Professional
If you’re dealing with extensive damage or if you don’t feel confident in your DIY skills, it’s always better to err on the side of caution and seek expert help. If your kitchen cabinets are under warranty and the damage falls within its coverage terms, calling a professional may be necessary to avoid voiding any warranties.
Professional repair services can also provide additional benefits such as access to high-quality materials that may not be available at local hardware stores. They can also offer advice on how best to maintain your repaired vinyl wrap doors for long-lasting results.
Ultimately, deciding whether or not to call a professional comes down to personal preference and skill level.
FAQ
Can you repair vinyl wrap kitchen cabinets?
No, vinyl wrap kitchen cabinets cannot be repaired due to the manufacturing process, which prevents the peeling vinyl from being effectively glued back onto the door.
How do you repair plastic coated kitchen cabinets?
To repair plastic coated kitchen cabinets, reattach small loose areas using an instant adhesive like Super Glue or Krazy Glue, but if larger areas are loose, opt for painting the cabinets.
Can you remove vinyl wrap from kitchen doors?
Yes, you can remove vinyl wrap from kitchen doors by heating it with a heat gun or hair dryer, gently lifting a corner with a plastic scraper or credit card, and gradually peeling it off while continuing to apply heat.
What are the most common issues with vinyl wrap kitchen doors and their solutions?
The most common issues with vinyl wrap kitchen doors include peeling, bubbling, and puckering, which can be solved by replacing the damaged wrap, applying heat to re-adhere the wrap, or seeking professional help.
What materials and tools are required for repairing vinyl wrap kitchen cabinets?
To repair vinyl wrap kitchen cabinets, you will require tools and materials such as a heat gun, utility knife, replacement vinyl wrap, squeegee, and adhesive.
Are there any alternatives to vinyl wrap for kitchen cabinet doors that are less prone to damage?
One alternative to vinyl wrap for kitchen cabinet doors that is less prone to damage is using materials such as paint, laminate, or wood veneer.


