Last updated on
Discover the seamless way to replace your kitchen base cabinets without removing the countertop, maintaining a beautiful and functional space in no time.
Have you been wanting to update your kitchen but the thought of removing your countertop and starting from scratch seems daunting? Fear not! There’s a way to replace your kitchen base cabinets without having to remove the countertop. In this article, we’ll guide you through the process step by step, so you can achieve a fresh new look for your kitchen without breaking the bank or causing unnecessary damage.
So grab a cup of coffee and let’s get started!
What's Inside
Assessing the Situation
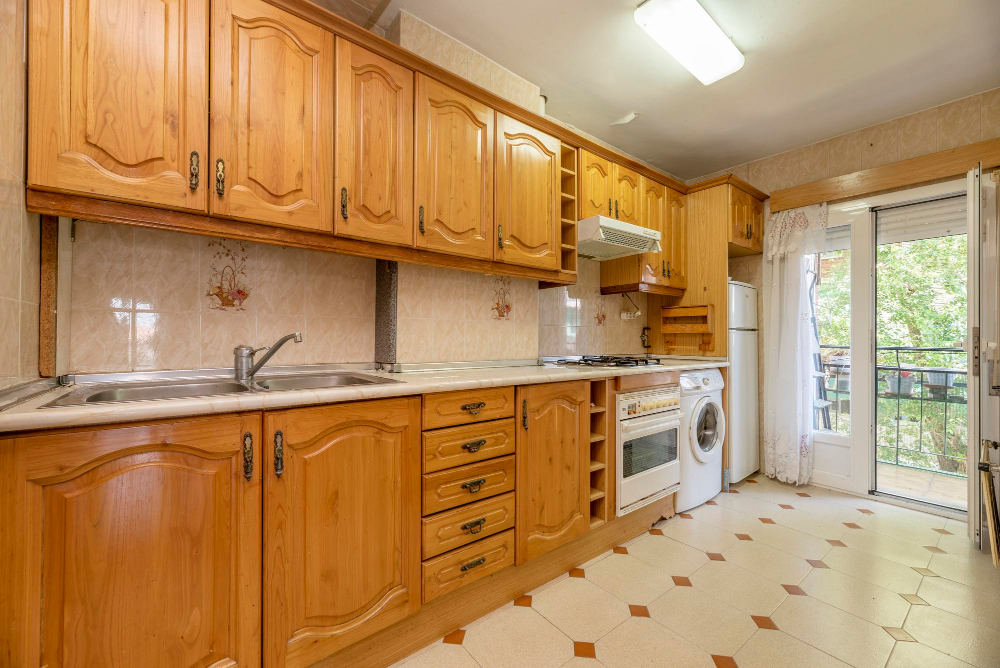
When considering replacing kitchen base cabinets without removing the countertop, there are a few things to keep in mind.
Firstly, take a good look at your existing cabinets and evaluate their condition. Are they structurally sound or do they show signs of wear and tear? If you’re unsure about their stability or quality, consider consulting with a professional before proceeding.
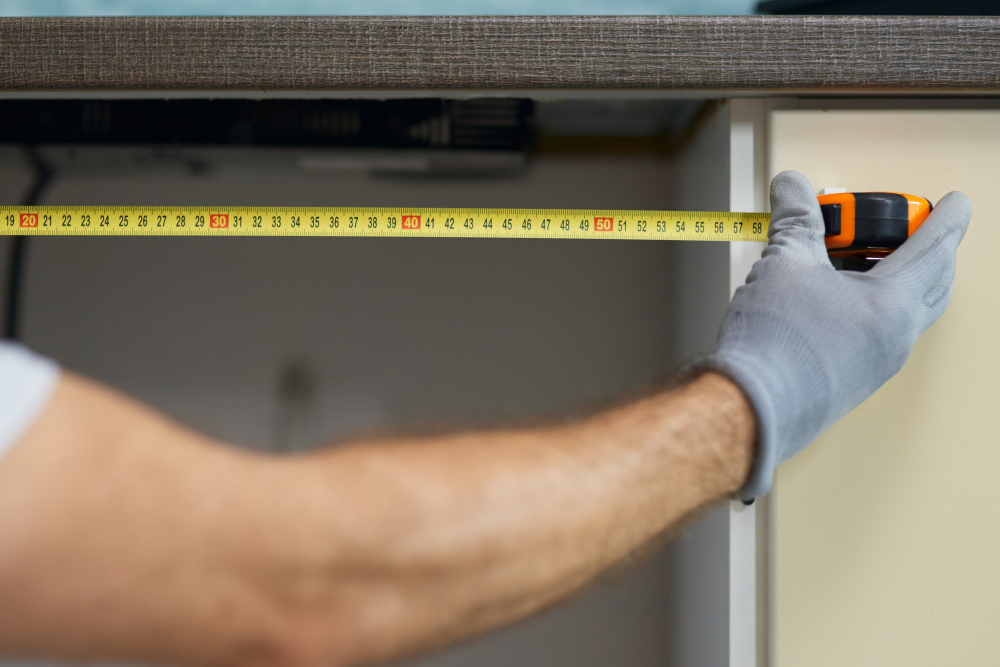
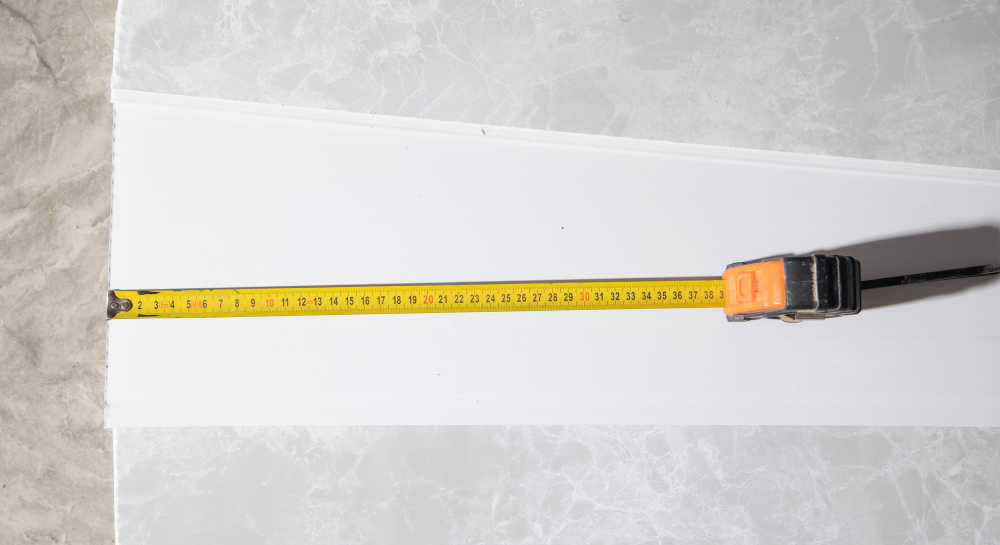
Secondly, measure the dimensions of your current cabinets as well as the space available in your kitchen. This will help ensure that new base cabinets fit properly within the allotted area without causing any issues with appliances or plumbing fixtures.
Lastly, consider whether this is something you want to undertake yourself or if hiring a professional would be more appropriate for such an intricate task. While DIY projects can save money upfront, mistakes can end up costing more in repairs down the line.
Assessing the Feasibility of the Project
When it comes to replacing kitchen base cabinets without removing the countertop, there are a few factors you need to consider before getting started.
Firstly, take a close look at your existing cabinets and determine if they’re in good enough condition for replacement or if they require repairs instead. If your current cabinets are structurally sound but just outdated or worn out cosmetically, then replacing them is likely feasible.
Next up is assessing whether your countertop can be safely supported during cabinet removal and installation. Some countertops may not be able to withstand being left unsupported while work takes place underneath them – this could lead to cracking or other damage that would require costly repairs down the line.
Consider whether you have all of the necessary tools and skills required for this type of project. While replacing kitchen base cabinets without removing countertops isn’t necessarily difficult work for those with experience in DIY projects around their homes; however inexperienced individuals should think twice before attempting such tasks on their own as mistakes can cause more harm than good.
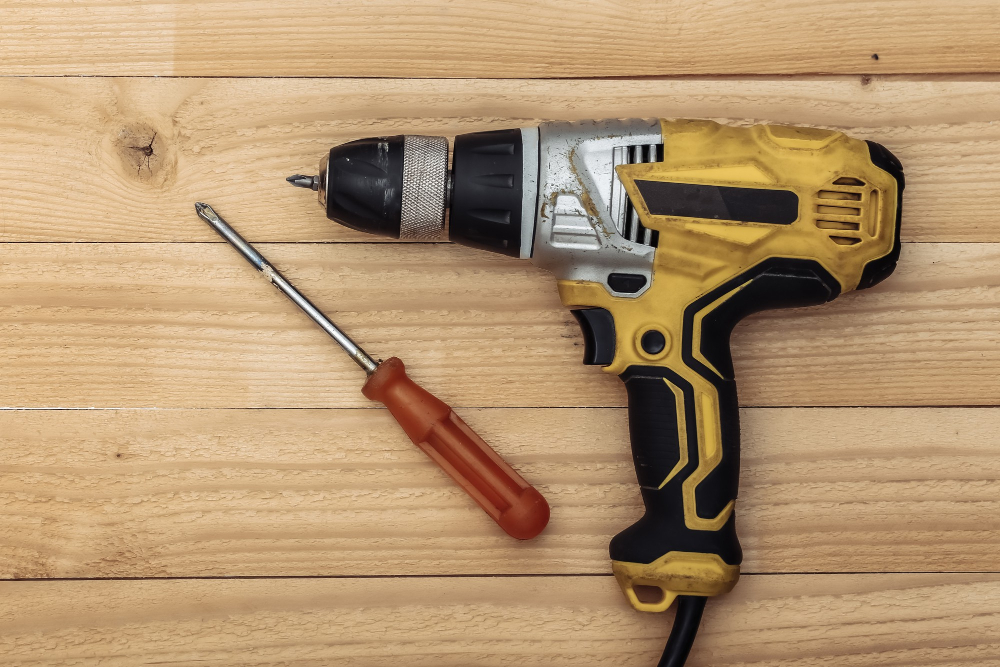
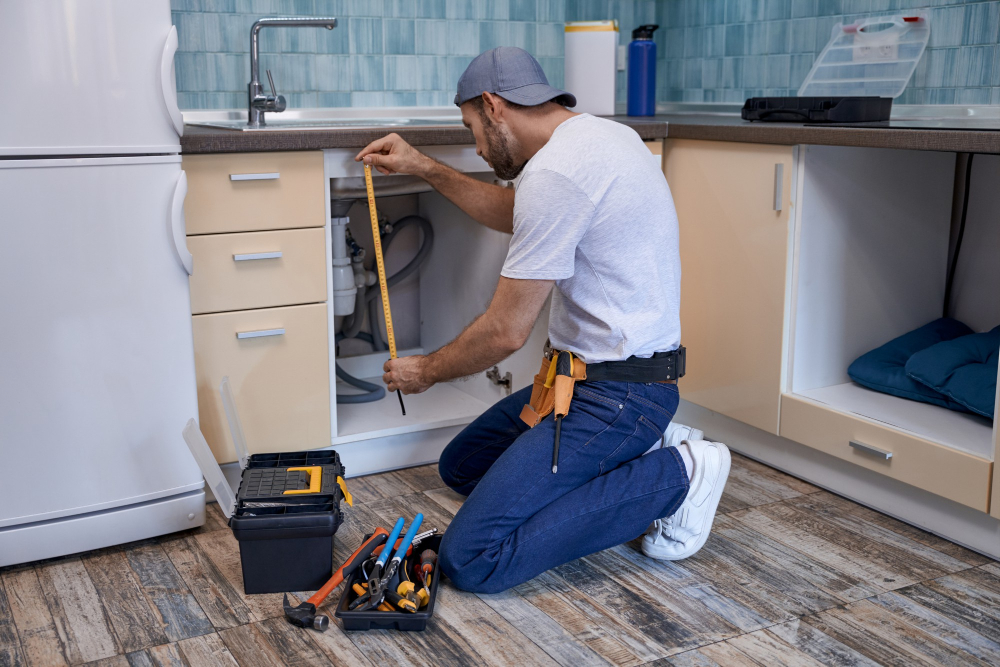
Gathering Tools and Materials
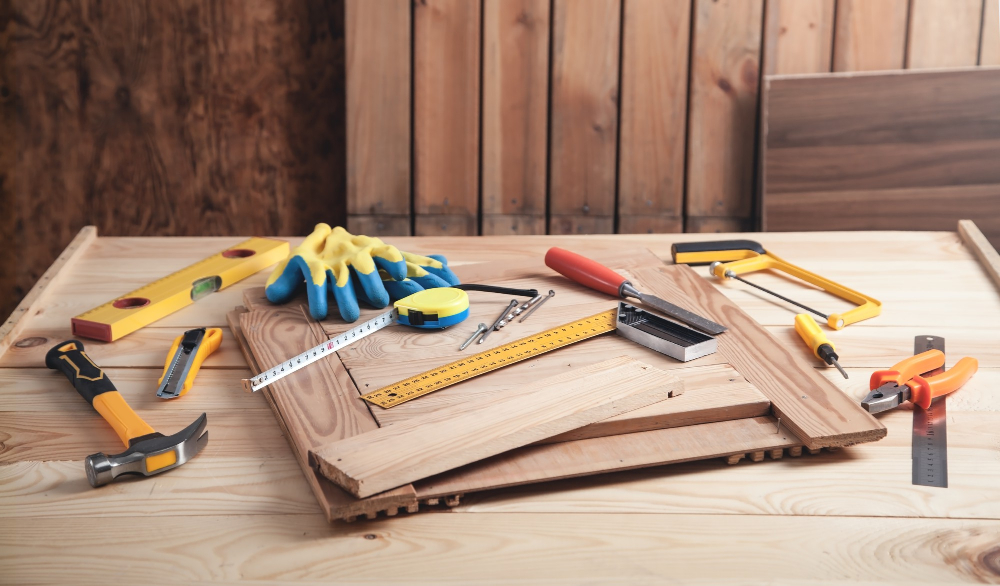
Here’s a list of what you’ll need:
- Screwdrivers (flathead and Phillips)
- Pliers
- Adjustable wrench
- Utility knife
- Measuring tape or ruler
- Level tool
- Drill with drill bits
- Screws (appropriate size for cabinets)
- Shims or wooden blocks
You may also need additional tools depending on your specific situation, such as a reciprocating saw if there are any stubborn screws that won’t budge. It’s important to have everything ready before starting so that you don’t have to stop midway through the process.
In addition to tools, make sure you have all necessary materials on hand such as new base cabinets, cabinet hardware like knobs and pulls if desired, wood shims or blocks for leveling purposes.
Preparing the Work Area
This will help ensure that the project goes smoothly and safely. Start by clearing out all items from your existing cabinets and countertops, including appliances, dishes, utensils and any other items that may be in the way.
Next up is protecting your floors with drop cloths or cardboard sheets to prevent scratches or damage during cabinet removal. You should also cover nearby furniture with plastic sheeting if necessary.
It’s also a good idea to turn off power sources near where you’ll be working for safety reasons – this includes turning off circuit breakers for electrical outlets located on walls adjacent to where you’ll be removing cabinetry.
Safely Disconnecting Plumbing and Appliances
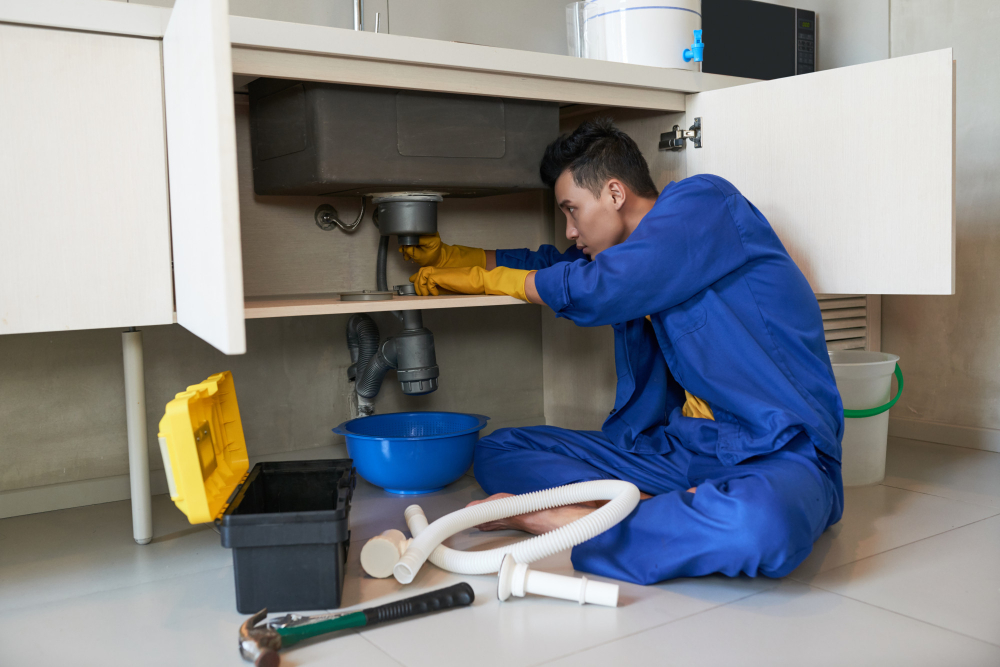
This will prevent any damage or accidents from occurring during the replacement process.
Firstly, turn off the water supply valves under the sink and disconnect all water lines using a wrench. Place a bucket underneath to catch any remaining water in the pipes.
Next, unplug all electrical appliances such as dishwashers or garbage disposals from their power sources. If there are hardwired connections for these appliances, turn off their circuit breakers before proceeding with disconnection.
It’s crucial that you take extra care when dealing with gas lines if your kitchen has a gas stove or oven installed. Turn off the main gas valve leading into your home before detaching anything connected to it and consult with a professional if necessary.
Supporting the Countertop
This step is crucial because countertops are heavy and fragile, and if not handled correctly, they can crack or break. To avoid any damage to your countertop during this process, you’ll need a few tools such as clamps or braces that will help hold it in place while you work on removing the base cabinets.
Start by locating where your countertop is attached to the base cabinet. You may find screws holding them together from underneath or adhesive caulk sealing them together at their seams.
Once located, use clamps or braces (depending on what works best for your type of counter) to secure it firmly in place before proceeding with detaching any screws holding it down.
Removing Cabinet Doors and Drawers
This will make the process easier and safer for both you and your kitchen countertop. To do this, start by removing all items from inside of each cabinet or drawer.
Next, locate the hinges that attach each door to its corresponding cabinet box. Use a screwdriver to unscrew these hinges from both sides of the door until they come loose.
For drawers, look for any locking mechanisms that may be holding them in place before attempting removal. Once unlocked or released (depending on type), pull out gently but firmly until it comes free from its tracks.
Detaching Cabinets From Walls and Countertops
This step requires careful attention to avoid damaging any surrounding surfaces or causing injury.
Start by removing any screws or nails that are holding the cabinets in place. You may need a drill, screwdriver, pry bar, or hammer depending on how they were installed.
Be sure to wear gloves and eye protection as you work.
Next, use a utility knife to cut through any caulking between the countertop and cabinet top. This will help loosen them up so they can be removed more easily without damaging either surface.
If your countertop is made of granite or another heavy material that cannot be lifted off easily with just two people then consider hiring professionals for this part of the job as it can be dangerous if not done correctly.
With all screws removed and caulk cut away from around each cabinet base edge gently lift each one out carefully avoiding damage both above (countertops) below (flooring).
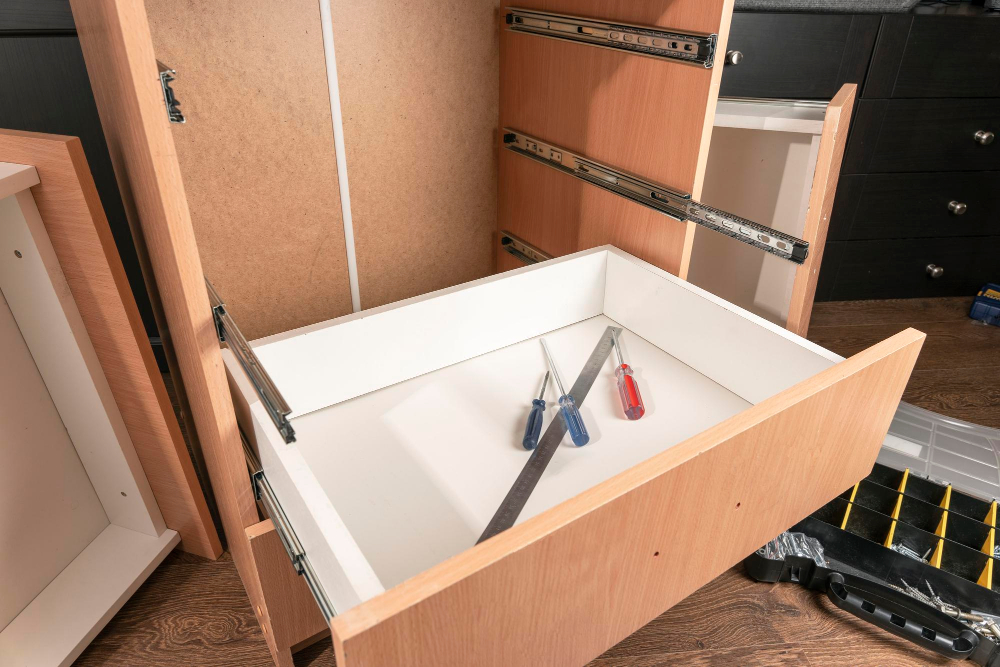
Assembling New Base Cabinets
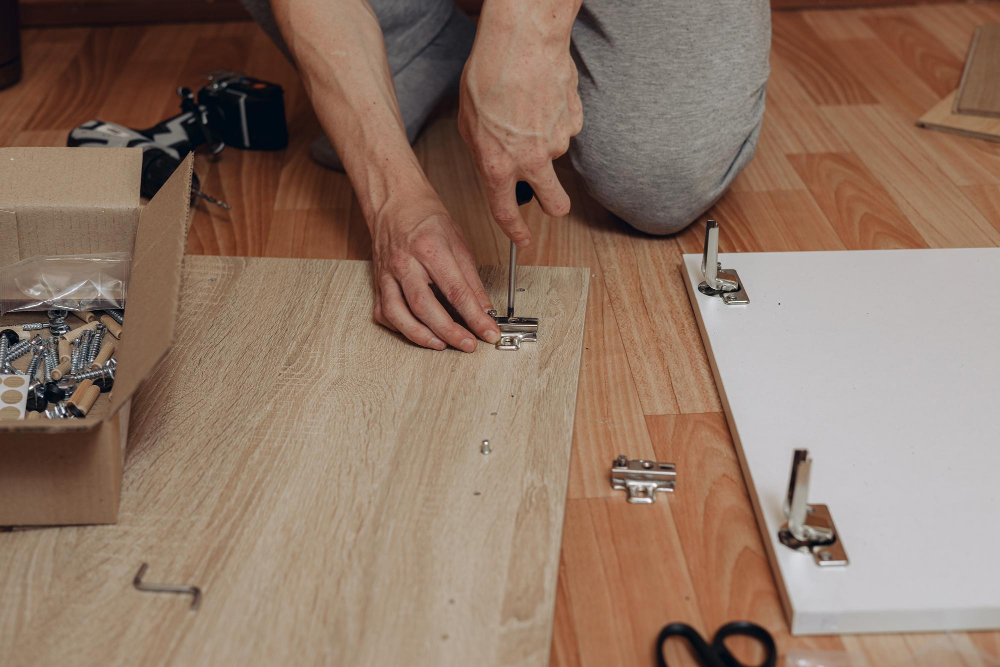
Most base cabinets come in flat-pack boxes with all of the necessary hardware and instructions included. Follow these steps for a successful assembly:
- Lay out all of your pieces and hardware.
- Read through the instructions carefully before beginning.
- Identify each piece by its label or number to ensure proper placement during assembly.
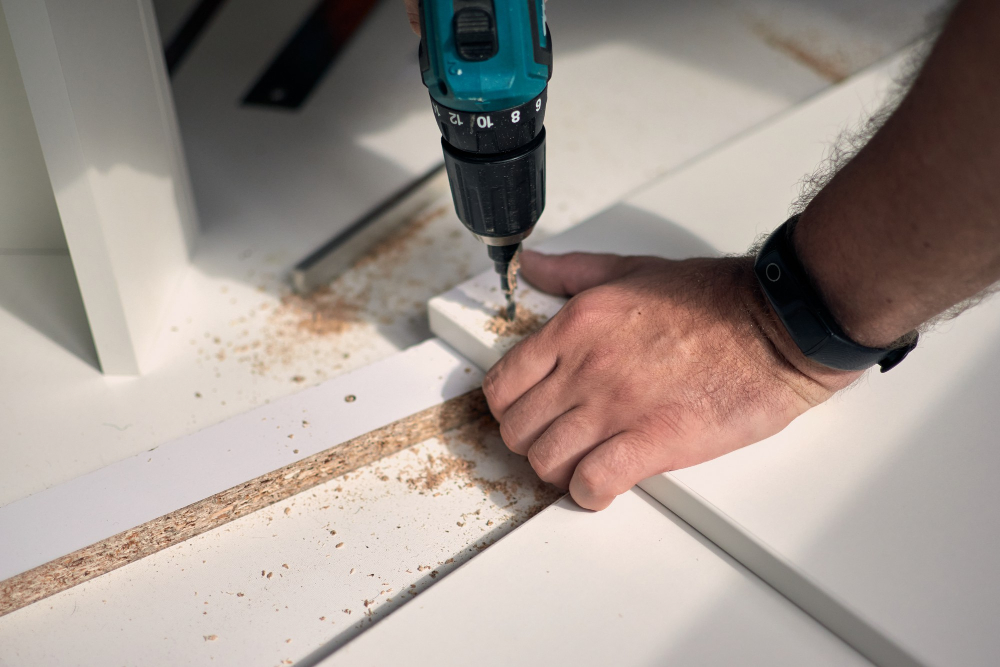
- Use a power drill or screwdriver to attach any necessary screws, brackets, or other hardware according to manufacturer’s instructions.
- Assemble one cabinet at a time before moving on to another.
It is important that you take your time when assembling new base cabinets as this will affect how well they fit together later on in installation process.
Measurements and Layout
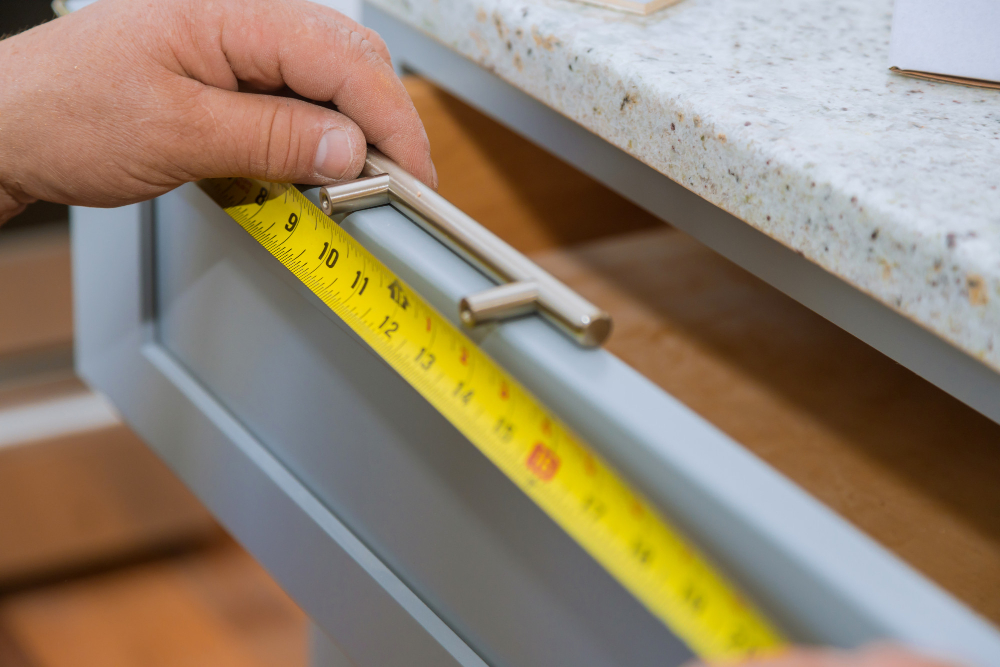
This step is crucial in ensuring that your new base cabinets fit perfectly into your kitchen space. Start by measuring the width of each cabinet and marking their positions on the wall with a pencil.
Use a level to ensure that they are straight.
Next, measure from the back wall to where each cabinet will sit and mark this distance on both sides of each cabinet location. This will help you align them correctly when installing.
It’s also important to consider any appliances or fixtures such as sinks or stoves that may affect how far out from the wall your cabinets can be placed.
Take note of any electrical outlets or plumbing lines in proximity so you can make necessary adjustments before installation begins.
Adjusting for Level and Fit
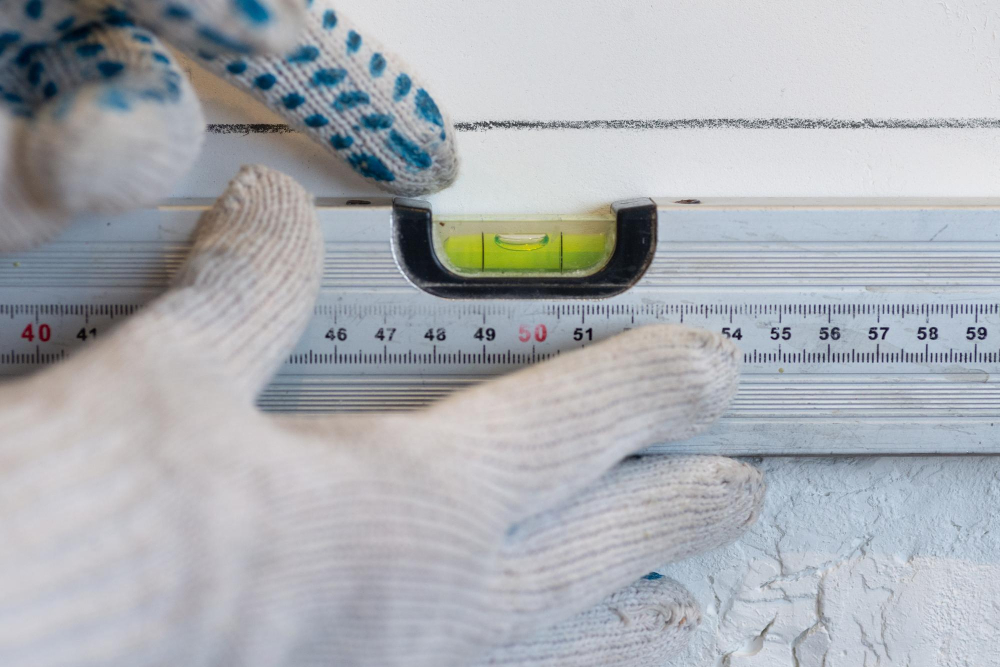
This step is crucial in ensuring that your new base cabinets are properly aligned with each other and with the countertop. Use a level tool to check if they are perfectly horizontal or vertical, making any necessary adjustments by shimming under or behind them until they’re even.
To ensure a perfect fit between your new base cabinets and existing countertops, use clamps or screws to pull them tightly together before securing them in place. You can also use wood filler on any gaps between the cabinet frames and walls for a seamless finish.
Remember that proper leveling will prevent doors from swinging open on their own while providing stability when using drawers. Taking extra care during this step will guarantee an aesthetically pleasing result while maintaining functionality of your kitchen space.
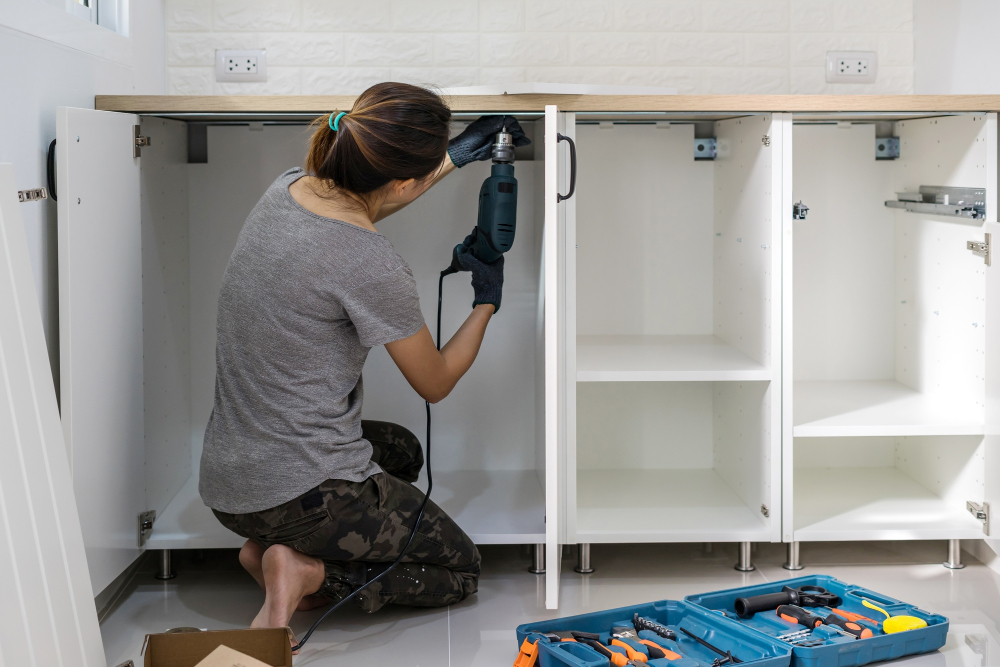
Securing Cabinets to Wall
This step is crucial for ensuring that your cabinets are stable and safe for use. To do this, locate the studs behind the drywall using a stud finder or by tapping on the wall until you hear a solid sound indicating where they are located.
Next, drill pilot holes through both sides of each cabinet at each stud location. Make sure that these holes are slightly smaller than your screws so that they can grip tightly into place without causing any damage.
Attach screws through these pilot holes and into the studs behind them using an electric screwdriver or drill with a screwdriver bit attached. Repeat this process for all of your base cabinets until they’re securely fastened to both walls and adjacent cabinetry.
Reattaching Doors and Drawers
This step is crucial as it will ensure that your kitchen looks polished and complete. Begin by checking if all of the hinges are aligned correctly before attaching them to their respective cabinet frames.
You can use a drill or screwdriver for this task.
Next, attach each drawer face onto its corresponding drawer box using screws or dowels depending on how they were originally attached.
Check that all doors and drawers open smoothly without any obstructions or misalignments. If there are any issues with alignment, adjust accordingly until everything fits perfectly.
Reconnecting Plumbing and Appliances
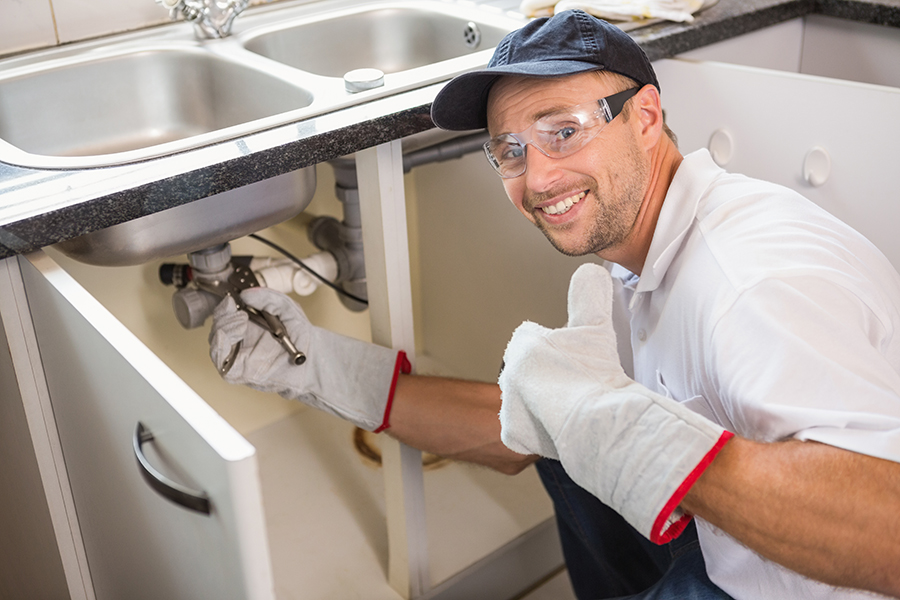
This step is crucial in ensuring that your kitchen functions properly and efficiently. Before starting this process, make sure that all water supply lines are turned off.
Firstly, reattach the sink to its drain line by tightening the nuts with a wrench. Then connect the faucet supply lines to their corresponding valves using adjustable pliers or a basin wrench.
Next up is connecting any other appliances such as dishwashers or refrigerators with ice makers. Make sure all connections are tight and secure before turning on water supply lines again.
It’s important to check for leaks once everything has been reconnected by running water through each appliance separately while checking underneath for any signs of leakage.
Cleaning Up and Disposal

Start by removing any debris or dust left behind from the installation process. Use a vacuum cleaner or broom to sweep away any sawdust, screws, nails or other materials that may be lying around.
Next, carefully remove the old cabinets from your kitchen space. If they are still in good condition and can be reused elsewhere in your home or donated to charity organizations such as Habitat for Humanity ReStore.
If they are beyond repair and cannot be repurposed then you will need to dispose of them properly according to local regulations. Check with your local waste management facility for guidelines on how best to discard large items like cabinetry.
Finishing Touches
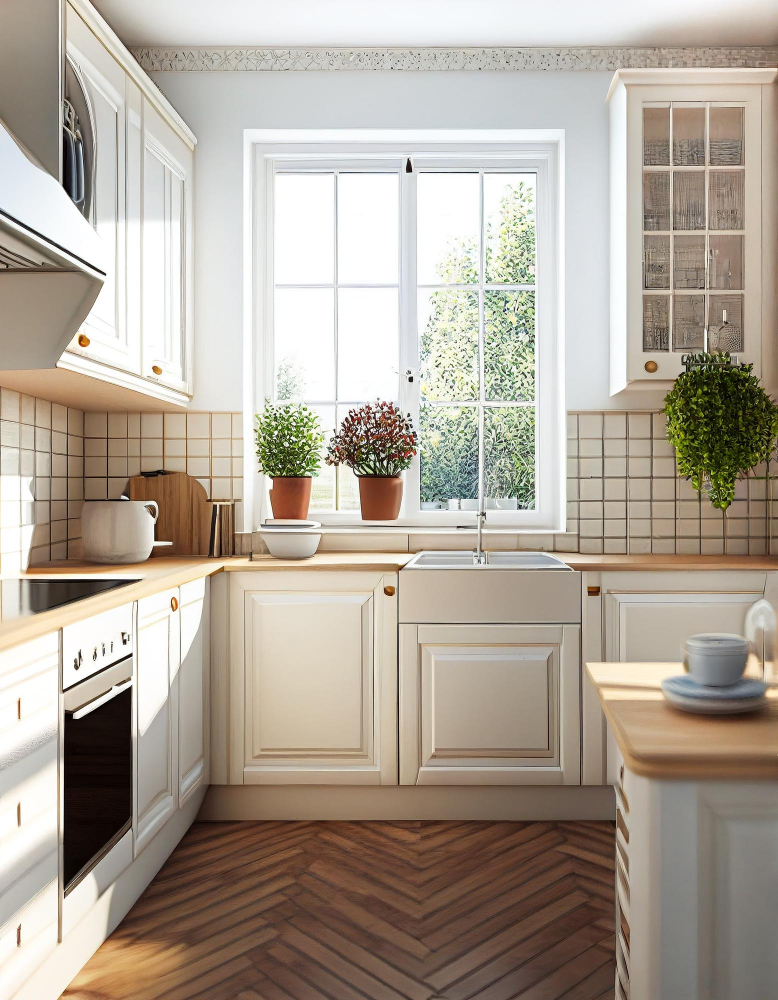
These small details can make a big difference in the overall look and feel of your new kitchen. Here are a few ideas:
1. Install New Hardware: Replacing old hardware with new knobs or handles is an easy way to update the look of your cabinets.
2. Add Under-Cabinet Lighting: Installing under-cabinet lighting can brighten up your workspace and create a warm ambiance in the room.
3. Paint or Refinish Cabinets: If you’re looking for an even bigger change, consider painting or refinishing your cabinets for a fresh new look.
4. Decorate with Plants and Accessories: Adding plants, artwork, or decorative accessories on top of your newly installed base cabinets can give them personality while also making them functional storage spaces.
Tips for a Smooth Cabinet Replacement
Here are some helpful tips to ensure your cabinet replacement goes as smoothly as possible:
1. Take accurate measurements: Before purchasing new cabinets, take precise measurements of the space to ensure that they will fit properly.
2. Label everything: As you remove old cabinets and parts, label them clearly so that reassembly is easier.
3. Use proper tools: Make sure you have all necessary tools on hand before starting the project to avoid delays or damage.
4. Don’t rush: Take your time during each step of the process to avoid mistakes or accidents.
5. Seek professional help if needed: If at any point in time during this project things seem too complicated for DIY approach then don’t hesitate in seeking professional help from an expert carpenter who has experience working with cabinetry installation projects like these.
Hiring a Professional Vs. DIY
A skilled contractor can ensure that your new cabinets are installed correctly and safely, saving you time and potential headaches down the road. However, keep in mind that hiring a professional will come at an additional cost.
On the other hand, if you’re comfortable with basic carpentry skills and have some experience with home improvement projects, replacing kitchen base cabinets is definitely doable as a DIY project. Just make sure to take accurate measurements beforehand and follow all safety precautions when disconnecting plumbing or appliances.
Ultimately it comes down to personal preference – whether you want to save money by doing it yourself or invest in peace of mind by hiring someone else.
FAQ
Can I replace base cabinets without removing countertop?
Yes, you can replace base cabinets without removing the countertop by using cabinet refinishing as a method.
Can you replace cabinets while keeping countertop?
Yes, you can replace cabinets while keeping the countertop, but it’s recommended to hire a professional to minimize damage during the process.
Can you replace cabinets and reuse countertop?
Yes, it is possible to replace cabinets and reuse the countertop if the footprint of the kitchen layout remains the same.
Is it possible to install new kitchen base cabinets without causing damage to the existing countertop?
Yes, it is possible to install new kitchen base cabinets without causing damage to the existing countertop if done carefully and with proper planning.
What precautions should be taken when replacing base cabinets to ensure the preservation of the countertop?
To ensure the preservation of the countertop when replacing base cabinets, one should carefully remove and support the countertop during the process, and avoid applying excessive force or pressure.
Are there any specific techniques or tools recommended for safely replacing kitchen base cabinets while keeping the countertop intact?
Yes, use support braces or jacks to hold the countertop in place and carefully remove the base cabinets, ensuring minimal disturbance to the countertop.


