Last updated on
Discover the innovative methods to give your kitchen tiles a fresh new look without the hassle of removing them, simply by following these easy steps.
Are you tired of the outdated tiles in your kitchen but don’t want to go through the hassle and expense of completely removing them? Well, you’re in luck! There are several ways to update your kitchen tiles without having to tear them down. In this article, we’ll explore some creative and easy ways to give your kitchen a fresh new look without breaking the bank.
So, let’s dive in and discover how you can transform your kitchen tiles into something beautiful and modern.
Key takeaways:
- Gather Materials: Get all the necessary materials for the tile update.
- Clean the Tiles: Start by thoroughly cleaning the tiles.
- Repair Damages: Fix any chips or cracks in the tiles before updating.
- Use Primer: Apply a primer to ensure proper adhesion of the paint or stickers.
- Choose Paint Type: Select the right type of paint for the desired finish.
What's Inside
Gather Materials
This will ensure that you have everything on hand and won’t need to make multiple trips to the store. The materials needed for this project will depend on which method of tile update you choose.
For painting or stenciling, some essential items include a primer suitable for tiles, paintbrushes or rollers, painter’s tape, stencil brushes (if using stencils), and tile stencils (if desired). For grout refreshment or color change projects, purchase a grout cleaner solution along with new grout in your preferred color.
If opting for adhesive tile stickers instead of paint/stencil options then select from various designs available online as per preference. Wallpaper is another option if creating a faux-tile backsplash is what one desires; wallpaper paste and scissors are required here.
Epoxy resin requires more specialized tools such as gloves and safety glasses along with sandpaper grits ranging from 80-220 depending upon how rough/smooth surface needs to be before application.
Clean the Tiles
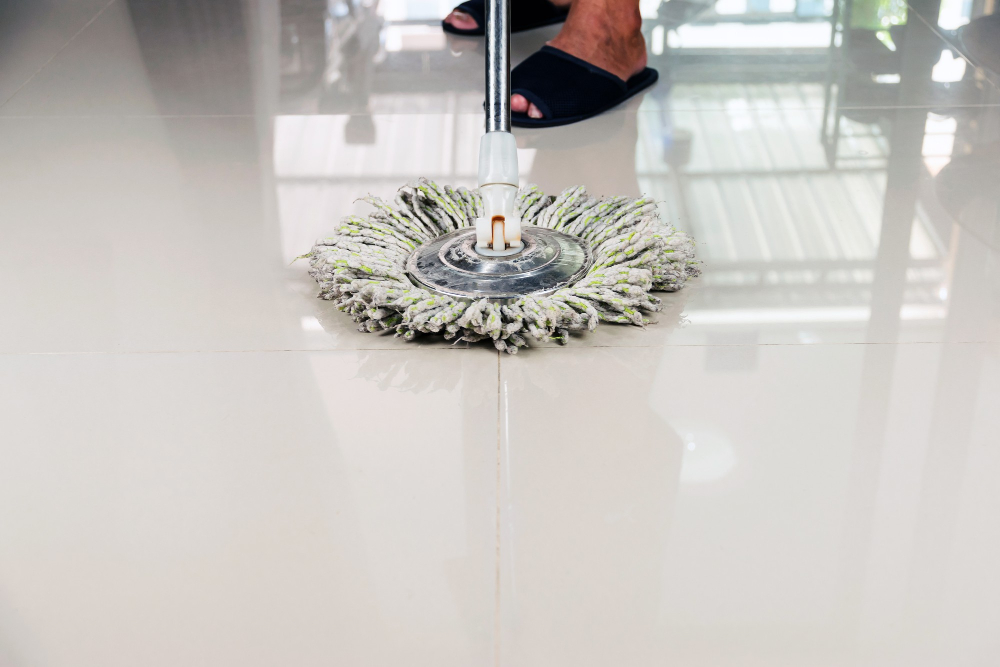
Dirt and grime can prevent paint or adhesive from sticking properly, resulting in a less-than-perfect finish. Begin by wiping down the tiles with warm water and soap using a sponge or cloth.
For stubborn stains, use an all-purpose cleaner that is safe for tile surfaces.
If there are any areas of mold or mildew on the tiles, mix equal parts of water and vinegar in a spray bottle and apply it to those spots. Let it sit for 10-15 minutes before scrubbing with a brush.
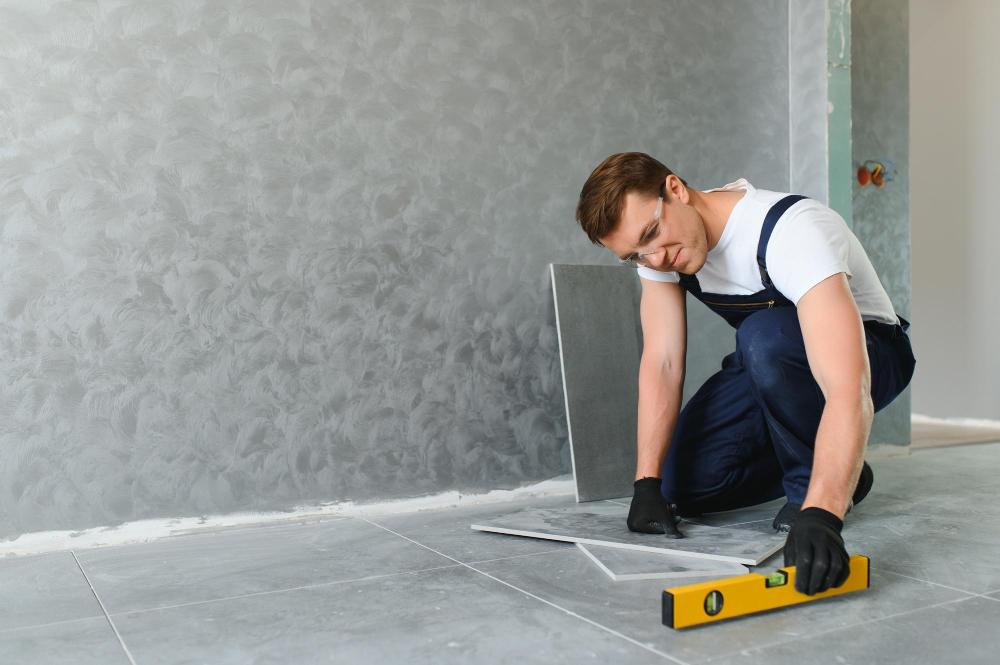
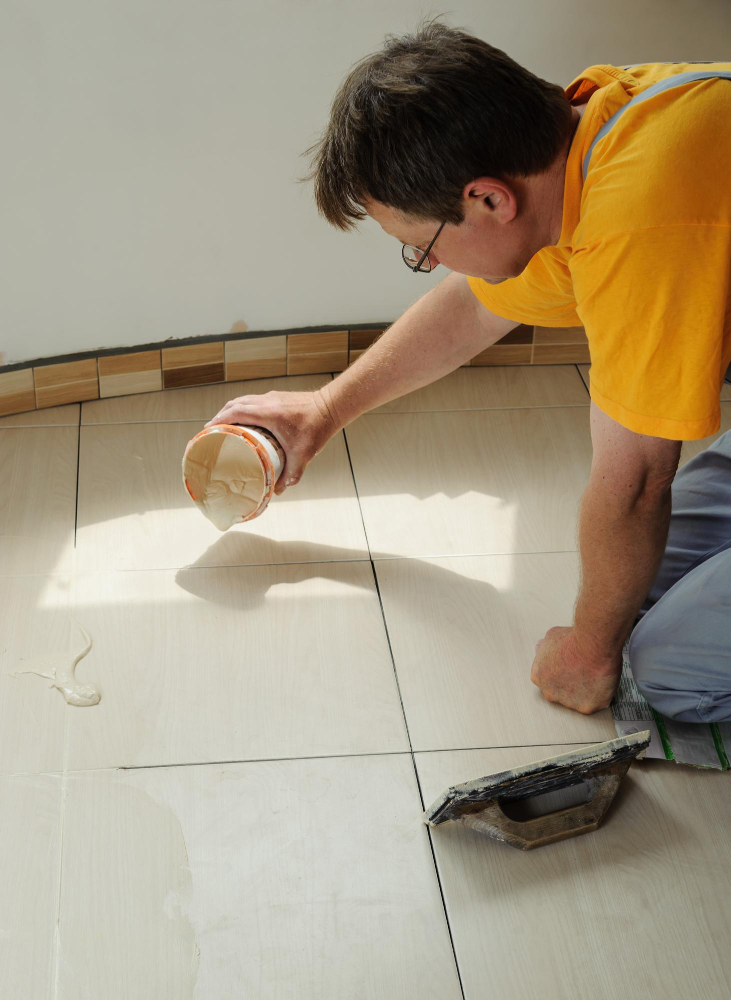
Repair Damages
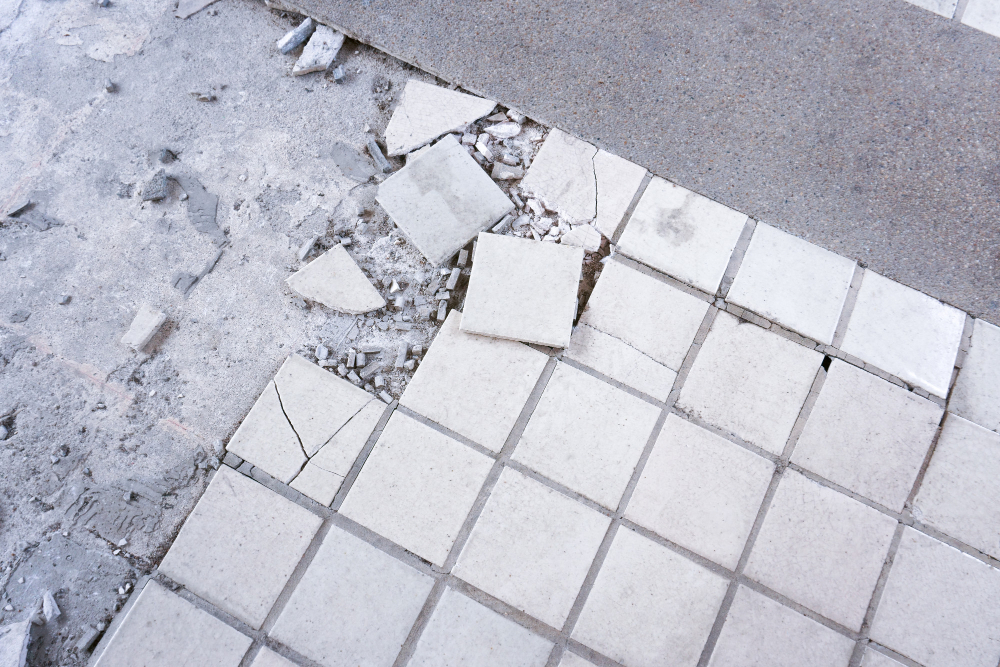
Repairing the damages will ensure that the new finish looks smooth and seamless. To fix small chips in ceramic tiles, you can use a touch-up glaze kit that matches the color of your tile.
For larger cracks or missing pieces of tile, you may need to replace those specific tiles entirely.
To remove damaged tiles without damaging surrounding ones:
- Use a grout saw to cut through grout around the damaged tile.
- Apply heat with a hairdryer on high for 30 seconds at a time until adhesive softens.
- Carefully pry up broken pieces using chisel and hammer.
Use Primer
A primer is a preparatory coating that helps the paint adhere better and last longer. It also prevents any stains or discoloration from showing through the new paint.
To apply the primer, make sure your tiles are clean and dry before starting. Use a brush or roller to apply an even coat of primer over each tile surface, making sure not to leave any drips or bubbles behind.
Allow the first coat of primer to dry completely before applying another layer if necessary. Once you’ve applied all coats of primers needed for full coverage let them cure according to manufacturer instructions before moving on with painting.
Choose Paint Type
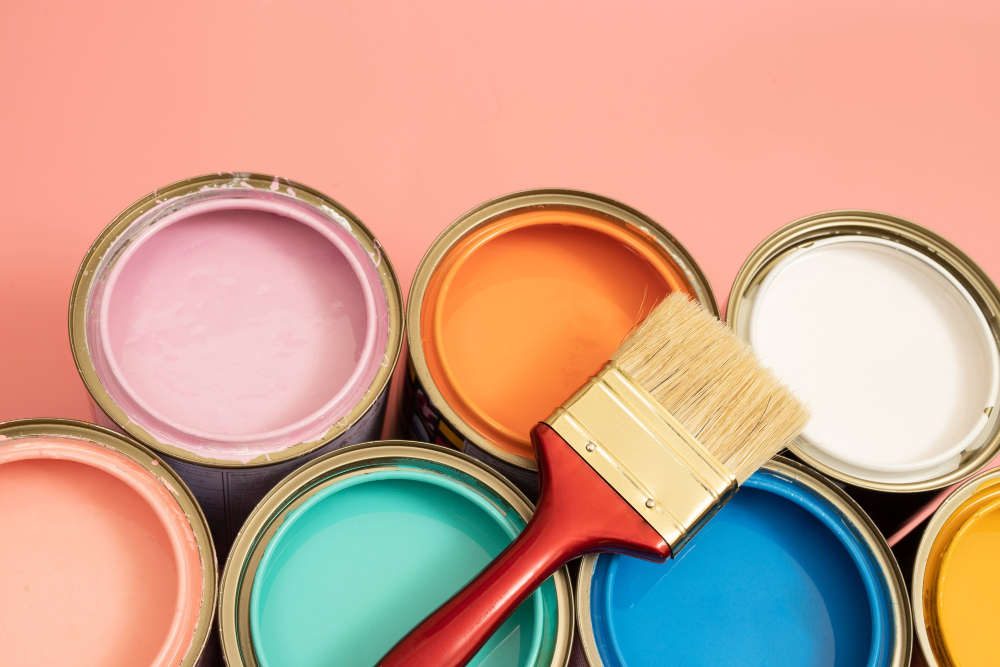
You want a paint that will adhere well to the tile surface and withstand daily wear and tear. There are two main types of paints you can use for this project: epoxy or enamel.
Epoxy paint is a popular choice because it creates a durable, waterproof finish that can last for years. It’s also resistant to stains, chemicals, and abrasions which makes it ideal for high-traffic areas like kitchens.
Enamel paint is another option that provides excellent adhesion on ceramic tiles while being easy to clean with soap and water. Enamel dries quickly but may require multiple coats depending on the color you choose.
Before selecting your preferred type of paint, consider factors such as durability requirements based on how often you use your kitchen or if there are children in the house who might scratch or damage painted surfaces easily.
Select Tile Stencils
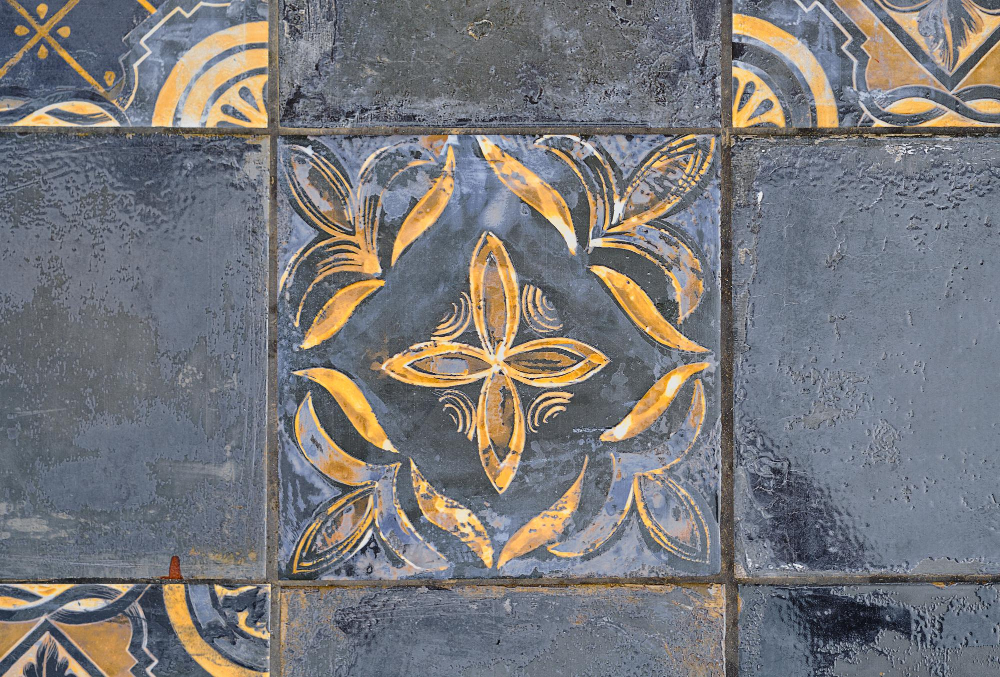
Tile stencils are a great way to add a unique touch to your kitchen without having to replace the entire backsplash. There are many different types of stencils available in various shapes, sizes, and patterns that can be used on any type of tile surface.
When selecting a stencil, consider the size and shape of your tiles as well as the overall look you want to achieve. If you have small subway tiles or hexagonal-shaped ones, choose smaller stencils with intricate designs that will complement their size.
For larger square or rectangular-shaped tiles go for bigger patterns.
You can also mix and match different stencil designs if you’re feeling creative! Just make sure they work together cohesively before applying them onto your tiled surface.
In addition to traditional plastic or cardboard stencils found at craft stores online retailers offer adhesive vinyl decals which stick directly onto surfaces like ceramic tile making application easier than ever before!
Stenciling for a Unique Tile Design
With stencils, you can create intricate designs that will make your tiles stand out and give them an entirely new look. You can choose from various stencil patterns available in the market or even create one yourself using adhesive vinyl sheets.
To get started with stenciling, clean the tile surface thoroughly and let it dry completely before applying any paint or primer. Once you have selected your stencil design, place it on top of the tile carefully and secure it in place with painter’s tape.
Next, use a small foam roller or brush to apply paint over the stencil gently. Be sure not to overload too much paint as this may cause bleeding under the edges of the stencil resulting in an uneven finish.
Once done painting all desired areas remove carefully remove each piece of tape holding down each section of your patterned design then lift off slowly removing any excess wet paint around its edges if necessary for crisp lines. Allow drying time according to manufacturer instructions before moving onto adding protective coating layer(s).
Apply Paint

When choosing a paint type, make sure it is suitable for use on tiles and can withstand high humidity levels. You can opt for either oil-based or latex-based paints depending on your preference.
Before applying the paint, ensure that you stir it well to achieve an even consistency. Use a small brush or roller to apply thin coats of paint onto each tile in smooth strokes until they are completely covered.
It’s important not to overload the brush with too much paint as this may cause drips and unevenness in color distribution. Allow each coat of paint ample time (as per manufacturer instructions) before applying another layer until you achieve your desired finish.
Add Protective Coating

A clear polyurethane sealer will protect the paint from chipping and fading due to daily wear and tear. It also makes cleaning easier by creating a smooth surface that resists dirt buildup.
To apply the protective coating, use a foam brush or roller in long strokes over each tile’s surface. Be sure not to leave any bubbles or streaks as they can be challenging to remove once dried.
Allow ample time for drying before using water on newly coated tiles; this usually takes around 24 hours but check manufacturer instructions for specific drying times.
Grout Refresh
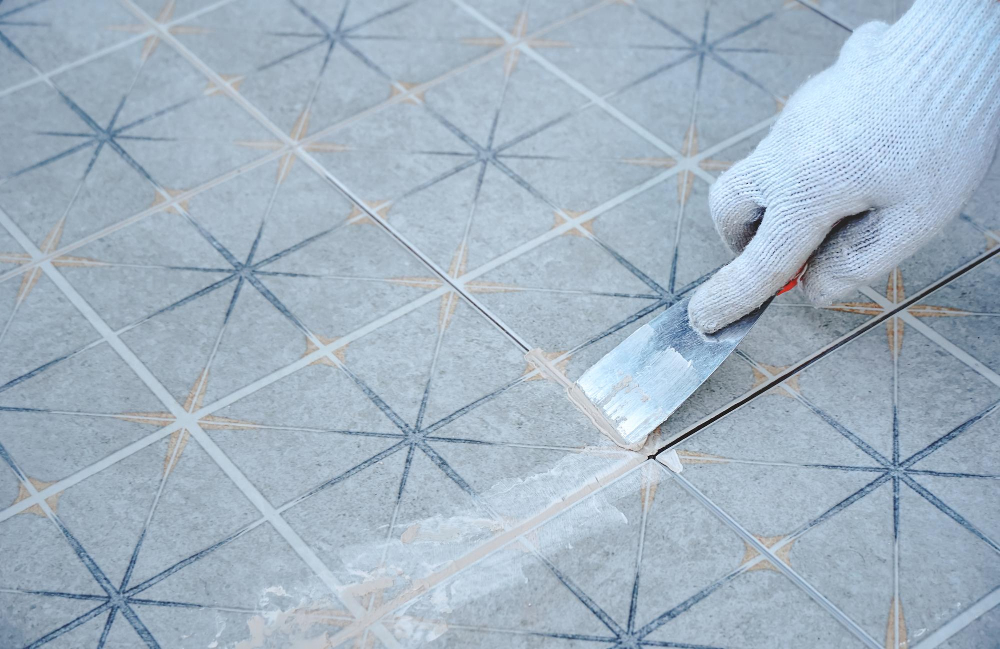
Over time, grout can become discolored and stained, making the entire tile surface look dull and unappealing. However, refreshing the grout can make a significant difference in how your kitchen looks.
To refresh the grout between tiles, you’ll need to start by cleaning it thoroughly with a mixture of baking soda and water or vinegar. Once clean and dry, apply a specialized grout paint that matches or complements your tile color for an even finish.
Alternatively, if you want to experiment with different colors for added visual interest or contrast against white subway tiles – go ahead! There are many options available on the market today that allow you to change up traditional white-colored cement-based mortar into something more colorful like blue-green hues reminiscent of ocean waves crashing onto shorelines during summertime vacations!
Experimenting With Grout Color
It’s an easy and affordable way to update your space without having to replace any tiles. You can choose a contrasting color for a bold statement or opt for something more subtle that complements the existing tile colors.
Before you start, it’s essential to clean and prepare the grout thoroughly by scrubbing it with warm water and soap. Once dry, apply grout stain using either a brush or sponge applicator, making sure not to get any on the actual tile surface.
If you’re unsure about which color would work best in your kitchen, consider testing out different shades on small areas before committing fully. Remember that darker colors tend to show less dirt but may also make smaller spaces feel cramped.
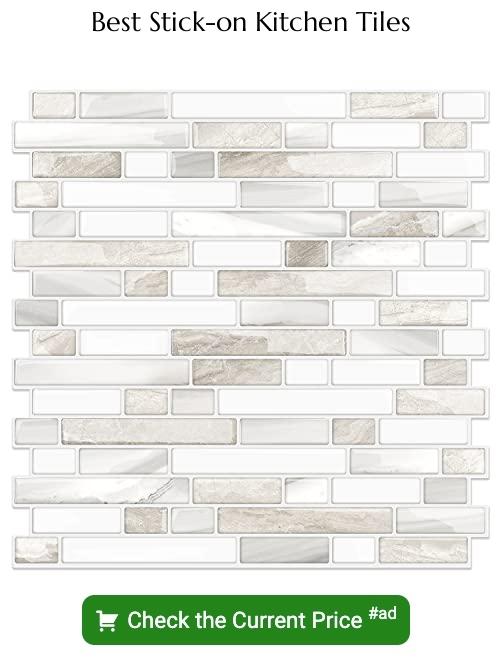
Tile Stickers
These adhesive vinyl sheets come in various designs, patterns, and colors that can transform the look of your kitchen in no time. They are also affordable and easy to apply, making them an excellent option for those who want a temporary solution or renters who cannot make permanent changes.
To apply tile stickers, start by cleaning the surface of your tiles thoroughly with soap and water. Dry it completely before applying the sticker sheet on top of it.
Make sure you align each sticker correctly as you go along so that they fit seamlessly together.
Tile stickers work best on smooth surfaces like ceramic or glass but may not adhere well if there is any damage or texture present on the tile’s surface. It’s essential to choose high-quality tile stickers that will last longer than cheaper options.
Applying Adhesive Tile Stickers
These stickers come in various designs, colors, and sizes that can fit any style or taste. Applying them is simple; all you need to do is clean the surface of the tiles thoroughly before sticking them on.
To apply adhesive tile stickers correctly, start by measuring each tile’s size accurately and cutting out the sticker accordingly. Peel off the backing paper from one corner of the sticker while aligning it with one edge of your first tile.
Slowly press down on it as you work across until it covers every inch.
Once applied correctly, these self-adhesive vinyl sheets will last for years without peeling or fading away quickly like traditional wallpaper would over time due to moisture exposure in kitchens.
Creating a Faux Tile Backsplash With Wallpaper
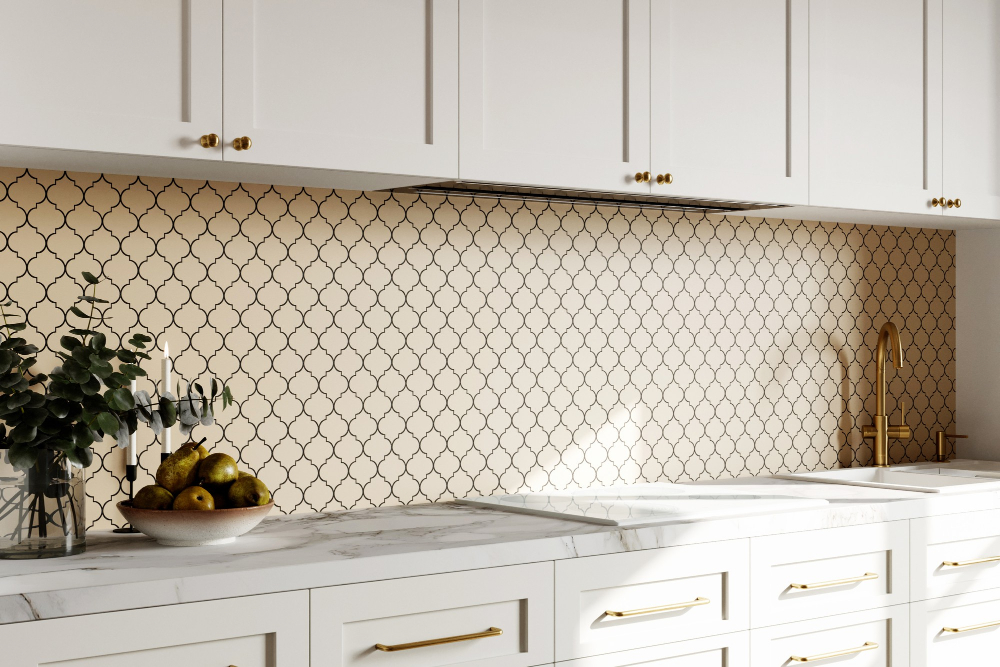
This method is perfect for those who want to add some texture and pattern without the hassle of installing real tiles. Plus, it’s much cheaper than buying actual tiles or hiring someone to install them.
To create this look, start by selecting a wallpaper that resembles the style of tile you desire. Measure your wall space carefully before purchasing so that you have enough material on hand.
Next, clean the area where you’ll be applying the wallpaper thoroughly and let it dry completely before starting work. Then apply adhesive according to manufacturer instructions in small sections at once while smoothing out any air bubbles as they appear.
Once finished applying all pieces of paper onto their respective areas (usually one sheet per section), use scissors or utility knife along edges if necessary until everything looks neat & tidy! Finally seal off edges using clear caulk around perimeter so no moisture can seep behind paper causing damage over time – voila! You now have an updated kitchen backsplash without having removed any old tiling whatsoever!
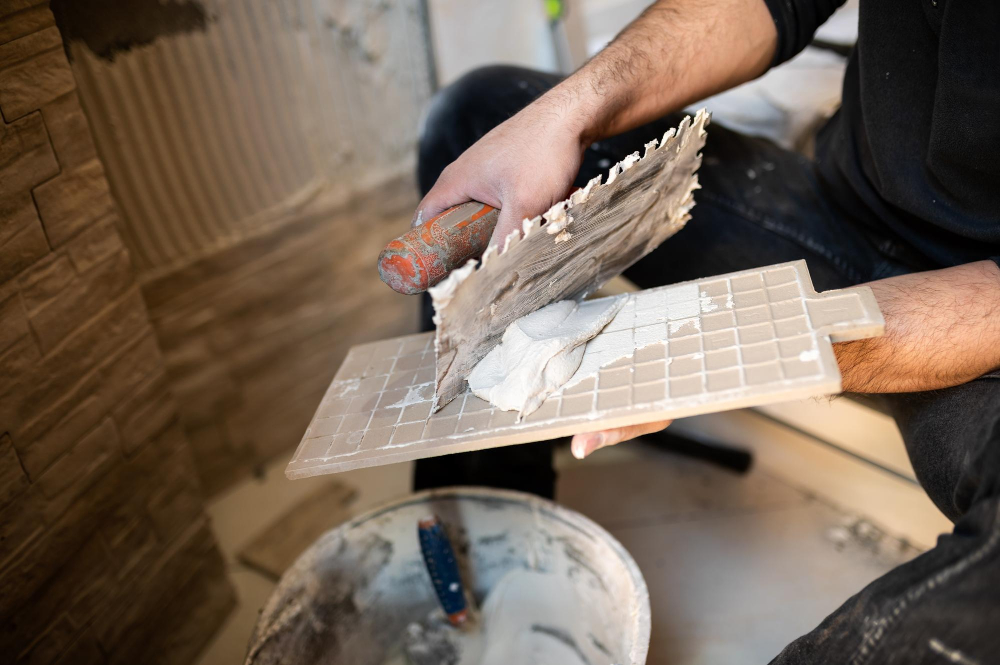
Applying Epoxy Resin to Refresh Tiles
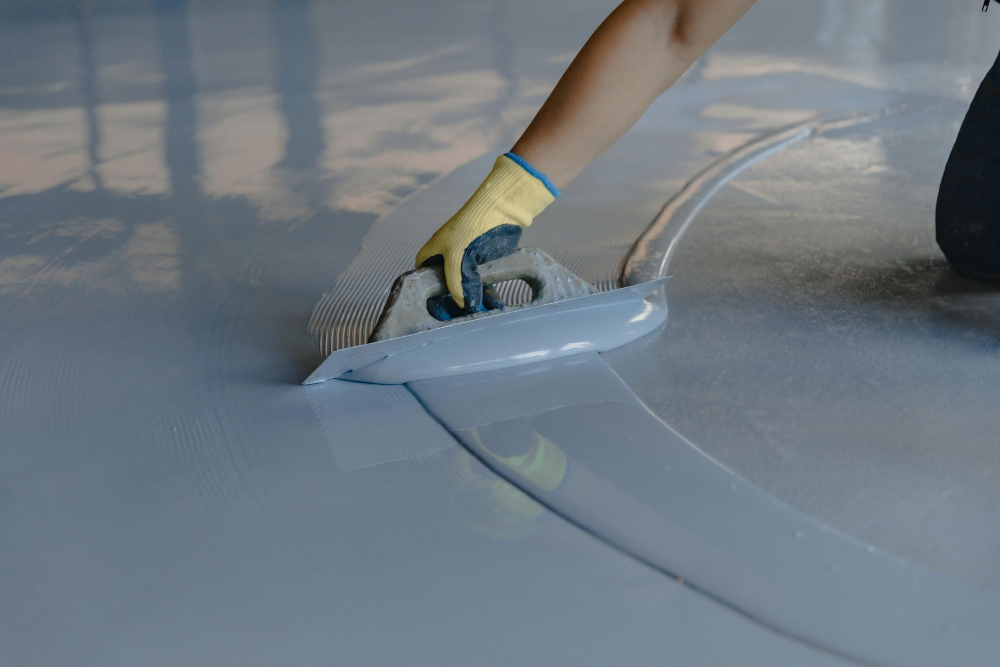
This method works best for tiles that are in good condition but have lost their shine and luster over time. Epoxy resin is a durable, long-lasting material that can give your tiles a glossy finish while also protecting them from damage.
To apply epoxy resin, you’ll need to clean the tiles thoroughly and let them dry completely before starting the process. Then, mix the two-part epoxy according to instructions and apply it evenly onto each tile using a foam brush or roller.
Be sure not to leave any bubbles or uneven spots as they will harden into permanent imperfections once dried. Allow the first coat of epoxy resin enough time (usually 24 hours) before applying another layer if necessary.
Maintenance Tips

Here are some maintenance tips that will help keep your newly updated tiles in top condition:
1. Clean regularly: Regular cleaning is essential for maintaining the appearance of your kitchen tiles.
Use a mild detergent and warm water to clean the surface of the tiles.
2. Avoid harsh chemicals: Harsh chemicals can damage or discolor tile surfaces, so avoid using them when cleaning.
3. Wipe up spills immediately: Spills should be wiped up as soon as possible to prevent staining or damage.
4. Use protective mats: Place protective mats under heavy appliances or in high traffic areas where there is a risk of scratching or chipping.
Advantages of Updating
First and foremost, it can give your kitchen an instant facelift without the need for a complete renovation. This means that you’ll save time, money, and effort while still achieving the desired result.
Moreover, updating your tiles is an excellent way to increase the value of your property if you’re planning on selling in the future. A modern-looking kitchen with updated tiles will attract potential buyers and make them more willing to pay top dollar for it.
Another advantage is that updating allows you to express yourself creatively by choosing unique designs or colors that reflect your personality or style preferences. You can experiment with different patterns or textures until you find something that suits both yours and everyone else’s taste in the household.
Lastly, updated tiles are easier to clean than old ones since they don’t have as many cracks or crevices where dirt could accumulate over time. This makes maintenance much simpler so that cleaning up after cooking won’t be such a chore anymore!
Accessorize and Style
Adding a few decorative elements can make all the difference in creating a cohesive look that ties everything together. Consider adding some potted plants or fresh flowers to bring life into your kitchen.
You could also hang some artwork or add decorative shelves for storage and display purposes.
Another way to accessorize is by incorporating new hardware on cabinets and drawers, such as knobs or handles that complement the color scheme of your newly updated tiles.
Don’t forget about lighting! Updating light fixtures can completely transform the ambiance of any room, including your kitchen. Choose fixtures that match with other design elements in the space while providing adequate illumination for cooking tasks.
FAQ
How can I change the color of my kitchen wall tiles without replacing them?
To change the color of your kitchen wall tiles without replacing them, consider tile refinishing, which involves applying a new coating over the grout and tile for an affordable and long-lasting solution.
Can you cover over kitchen wall tiles?
Yes, you can cover over kitchen wall tiles as it is an environmentally friendly and cost-effective solution compared to replacing them.
What are some affordable and creative ways to refresh the appearance of kitchen tiles without removing them?
One affordable and creative way to refresh the appearance of kitchen tiles without removing them is by using tile paint, stenciling, or adhesive decals to give them a fresh and unique look.
Which materials can be used to effectively cover or update existing kitchen wall tiles?
Some effective materials to cover or update existing kitchen wall tiles include tile paint, tile stickers, or tile-effect wallpaper.
What is the role of temporary stickers or decals in updating kitchen tiles without the need for removal?
Temporary stickers or decals provide a cost-effective and quick solution to updating kitchen tiles’ appearance without the need for removal.


