Last updated on
Learn the straightforward steps to ensure a watertight seal by caulking your kitchen sink effectively.
Key takeaways:
- High-performance caulk prevents water damage and mold growth.
- Proper technique and preparation ensure a watertight seal.
- Silicone caulk is flexible, waterproof, and long-lasting.
- Remove old caulk, use painter’s tape, and smooth caulk bead.
- Regular maintenance extends the life of the caulk seal.
What's Inside
Why You Need A High-Performance Caulk for the Sink
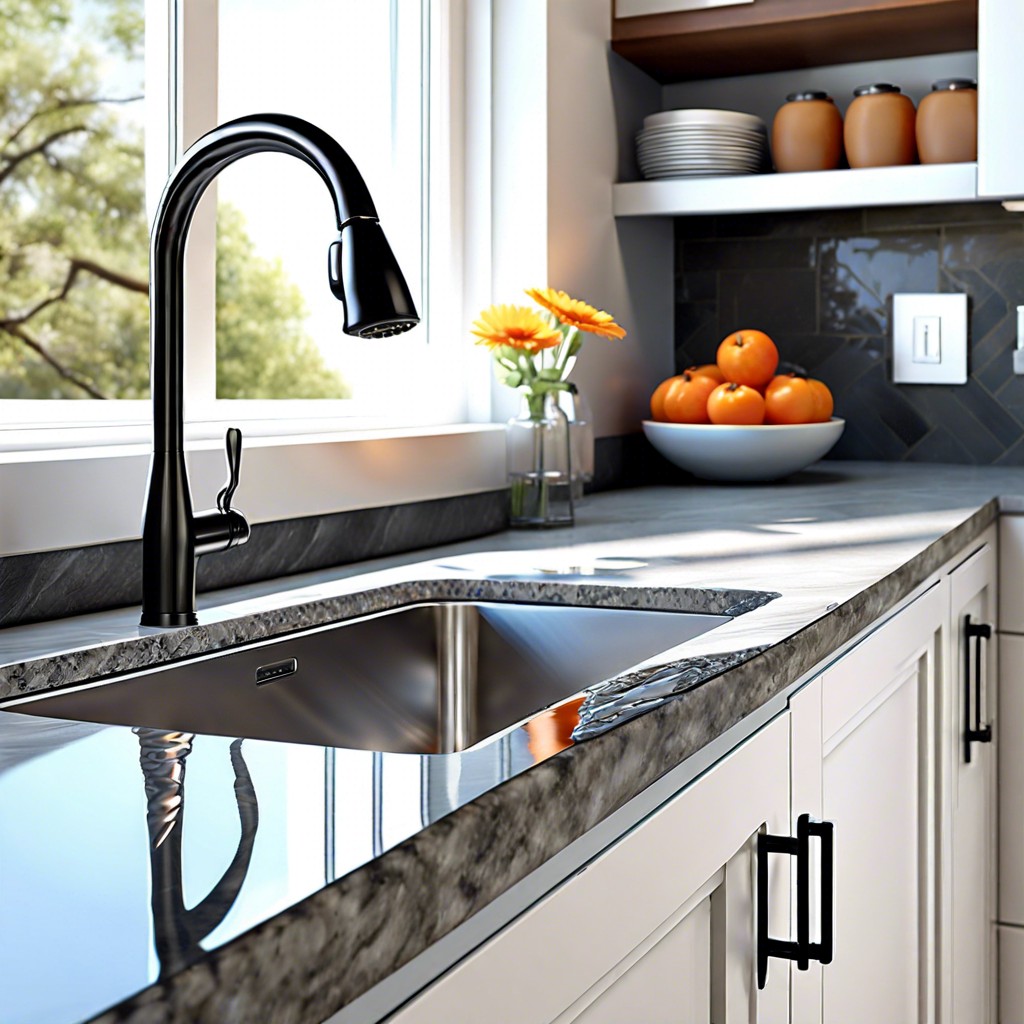
High-performance caulk seals the gap between your kitchen sink and countertop, preventing water from seeping through. This moisture, if unchecked, could cause significant damage. Water leakage can lead to mold growth, which not only undermines the integrity of your kitchen structure but also poses health risks.
Moreover, a top-quality caulk adheres better and has increased durability. It is designed to withstand the kitchen environment where temperature fluctuations and exposure to cleaning substances are common. You can avoid frequent reapplications, saving both time and money in the long term.
It’s essential to note that high-performance caulks can resist the wear and tear of kitchen sinks which are used multiple times a day. They maintain elasticity, allowing for the natural expansion and contraction of the sink materials without cracking. An efficient caulk stops debris and crumbs from getting stuck in crevices—keeping your kitchen hygienic and your sink looking neat.
Lastly, by opting for a superior caulk, you preserve the aesthetic appeal of your kitchen. These products often come in a variety of finishes to match your sink and countertop, giving your kitchen a seamless and professional look.
Pro Tips for Caulking a Sink
Achieving a seamless and watertight seal around your kitchen sink is about technique and preparation. Before you begin, ensure the surface around the sink is clean and dry; any moisture or residue will prevent the caulk from adhering properly. Use painter’s tape to mask off the area on the countertop and the sink, about 1/8 inch from where the caulk will be applied, to keep your line straight and narrow.
It’s best to cut the caulk tube nozzle at a 45-degree angle, allowing you to easily apply the caulk in one smooth motion. Remember, it’s better to start with a smaller cut; you can always enlarge it if necessary. Use a caulking gun for a controlled application, and hold it at a consistent angle as you work your way around the sink.
Don’t rush the process. Apply the caulk slowly, ensuring it gets into the joint fully without leaving voids. After application, immediately smooth the caulk with a damp finger or a caulking tool, removing excess and shaping it into a concave line that allows water to run off easily. This also helps push the caulk further into the gap, creating a stronger seal.
Finally, remove the painter’s tape while the caulk is still wet, which will leave you with a straight and clean edge. Let the caulk cure for 24 hours, or as recommended by the manufacturer, before exposing it to water. This will establish a durable bond and a professional-looking finish.
Choosing the Right Caulk
Navigating the myriad options for caulks can be overwhelming; however, focusing on a few key factors simplifies the process. Silicone caulk is a popular choice for kitchen sinks due to its flexibility, waterproof nature, and longevity. It stands up well to the temperature variations and moisture present in kitchens. Consider a 100% silicone product for the best results, avoiding acrylic or latex caulks as they’re prone to cracking and shrinking.
For those concerned about aesthetics, color-matched caulk is available to seamlessly blend with the sink and countertop. Clear versions are versatile but may yellow over time. Always note the cure time and whether the product is food-safe if the caulk will be in close proximity to areas where you prepare meals.
Another practical consideration is mold and mildew resistance—a must-have feature to ensure a clean and hygienic seal around the sink. Lastly, opt for a caulk with a higher rated durability to reduce the frequency of reapplication, saving time and effort in the long run. A top-tier caulk may have a higher upfront cost, but the investment pays off with its resilience against wear and tear.
How to Caulk a Kitchen Sink
Start with a clean slate by removing old caulk and cleaning the area thoroughly to ensure strong adhesion for the new caulk. Dampen a cloth with rubbing alcohol or a specialized cleaner to wipe down the surfaces.
Mask off the area using painter’s tape to create straight lines and protect the surrounding countertop and sink material from excess caulk. Keep the tape parallel and ensure a consistent width for professional-looking results.
Cut the caulk tube nozzle at a 45-degree angle to allow for a precise application. A cut closer to the tip allows for a thinner bead, suitable for smaller gaps, while a larger opening accommodates wider spaces.
Load the caulk into the caulking gun and apply steady pressure to the trigger. Hold the gun at a 45-degree angle and move smoothly along the seam. For the best control, pull the gun towards you rather than pushing it away.
Immediately smooth the caulk bead with a damp finger or caulk finishing tool. This helps push the caulk into the gap and removes excess for a clean look. Wipe your finger or tool frequently on a damp cloth to avoid dragging caulk.
Remove the painter’s tape while the caulk is still wet, pulling it away slowly and at an angle. This leaves a crisp edge and prevents pulling up any of the freshly applied caulk.
Allow the caulk to cure fully according to the manufacturer’s instructions before exposing it to water or moisture, usually 24 to 48 hours, to ensure a solid seal and extend its longevity.
Maintaining Caulked Areas
Regular maintenance of caulked areas around your kitchen sink extends the life of the seal and keeps your workspace sanitary and in good repair. Moisture is the nemesis of a pristine caulking job, so it’s essential to keep the area dry. After using the sink, take a moment to wipe down the caulk with a dry cloth to prevent water from seeping into any vulnerable crevices.
Over time, even the best caulk can collect dirt or start to yellow. A gentle cleaning solution, such as diluted vinegar or a mild soap with water applied with a soft-bristled brush, can effectively remove surface grime without damaging the sealant.
Visual inspections on a regular basis can save you from future headaches. Check for any signs of wear, such as cracking, peeling, or mold. Early detection means easier repair. If you do notice any of these signs, it’s best to re-caulk promptly.
Though cleaning and inspection are crucial, avoiding harsh chemicals and abrasive scrubbers is just as important. These can break down the caulk and lessen its effectiveness, leading to leaks that can damage your countertop or cabinetry.
Lastly, ensure your kitchen has adequate ventilation, especially during and after tasks that involve a lot of water or steam. This can prevent moisture build-up, which not only protects the caulk but also maintains a healthier kitchen environment. Keeping on top of these simple, routine tasks ensures that the seal around your sink remains intact, offering peace of mind and a consistently clean kitchen landscape.


