Last updated on
This how-to guide will walk you through the steps for a successful faucet installation, ensuring a secure fit and proper function in your kitchen or bathroom.
Key takeaways:
- Choose a faucet that fits your sink’s configuration and style.
- Gather all necessary tools and materials before starting installation.
- Follow the step-by-step process to remove old faucet and install new one.
- Check for leaks after installation by observing connection points.
- Maintain your new faucet by cleaning regularly and checking for loose connections.
What's Inside
Choosing the Right Faucet for Your Sink
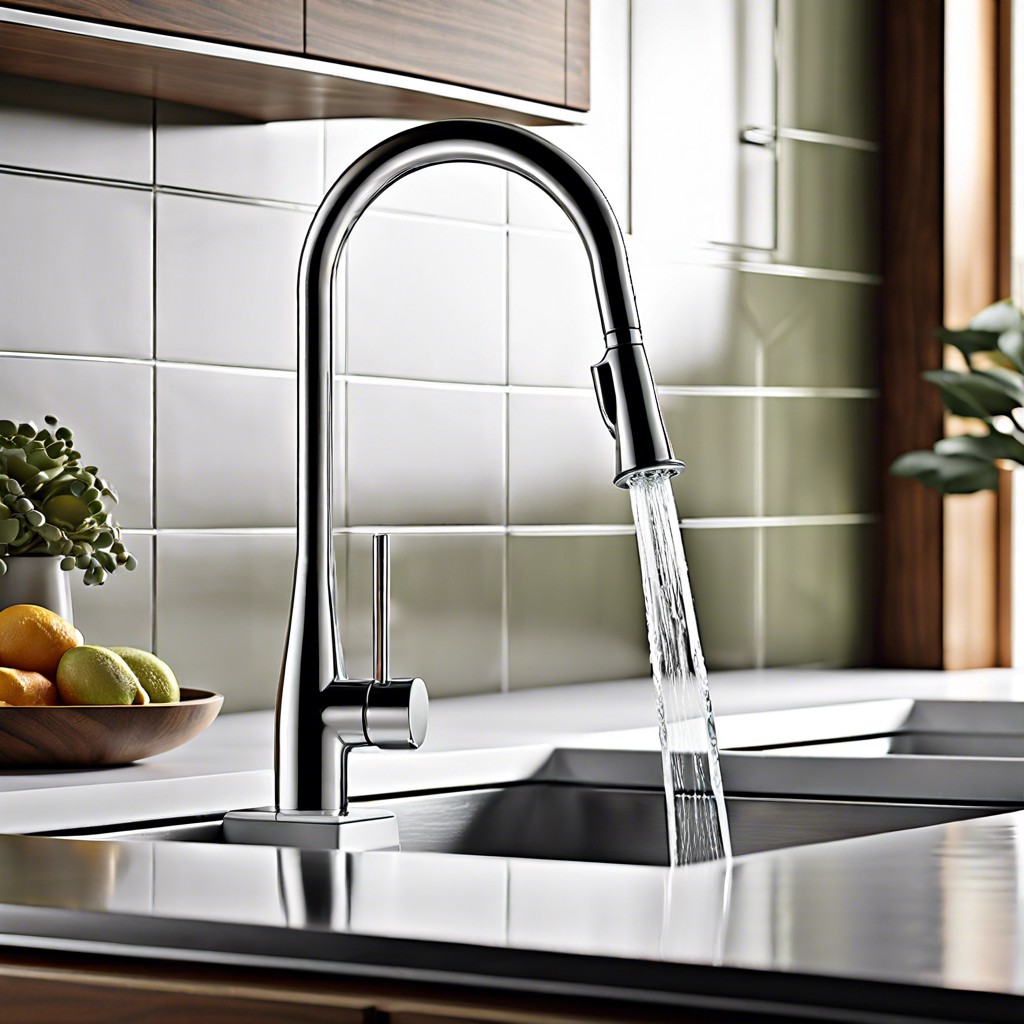
Ensure compatibility between your sink and the new faucet by checking the number of holes and their spacing. Sinks typically come with one to four pre-drilled holes to accommodate various faucet styles such as single-handle, centerset, or widespread models. Match your new faucet with the configuration of your sink, or choose a base plate to cover any unused openings.
Consider the spout height and reach, especially if you have shelves above the sink or a deep basin. Higher spouts offer more clearance for filling pots, while a longer reach is practical for larger sinks to minimize splashing.
Think about the finish and how it complements your kitchen or bathroom decor. Chrome, stainless steel, oil-rubbed bronze, and brushed nickel are popular choices. A finish that matches other fixtures and hardware in the room will create a cohesive look.
Take note of the faucet’s valve quality, as it impacts durability and leakage prevention. Ceramic valves tend to be leak-resistant and long-lasting.
Lastly, reflect on added features for convenience and water conservation. These can include built-in filters, touchless operation, or aerators to reduce water flow without compromising pressure.
Tools and Materials Required for Faucet Installation
Embarking on a faucet installation, it’s imperative to gather all the necessary tools and materials before diving in. This ensures a smooth and efficient installation process.
First up, adjustable wrenches or basin wrenches will be your go-to for loosening and tightening nuts and bolts. They offer a grip and leverage unmatched by standard wrenches, making them indispensable for this task. For some installations, a set of Allen wrenches can also be crucial, especially for securing faucet handles.
Plumber’s tape, also known as thread seal tape, is critical in preventing leaks by ensuring a watertight seal around threaded connections. It’s a small but mighty component you won’t want to overlook.
A flashlight will be your ally in poorly lit spaces. Visibility under the sink is often limited, so a good light source will save you time and frustration.
Channel-lock pliers offer versatility with their adjustable jaws, which can grip variously sized items—ideal for those odd fittings that always seem to pop up during installation.
For cutting through old pipes or hardware, a hacksaw will do the trick. Its fine-toothed blade is designed to make precise cuts, which is essential to avoid damaging your plumbing system.
Finally, sealant or plumber’s putty is necessary for sealing the base of the faucet or the drain assembly, providing a watertight seal that guards against potential leaks.
Having these tools and materials at the ready streamlines your installation journey, allowing you to focus on the task without interruptions for missing pieces.
Steps for Removing the Existing Faucet and Installing the New One
Begin by shutting off the water supply to your sink. This crucial step prevents any accidental water gushes when you remove the faucet. Turn the knobs under the sink clockwise or locate the main valve if those aren’t present.
Next, disconnect the water supply lines from the old faucet. Have a small bucket or towel at hand to catch any residual water remaining in the lines. Loosen the nuts with a wrench or a pair of pliers – a basin wrench is particularly useful here due to its extended handle allowing for reach in tight spaces.
Once the lines are detached, focus on removing the mounting nuts that hold the faucet in place. Depending on your sink, there may be some variation in the type of fastening—nuts, screws, or even a combination. Turn these counterclockwise to free the old faucet.
Before you proceed with the installation, clean the area where the old faucet sat. Get rid of any grime or old plumber’s putty to ensure a clean surface for the new faucet.
With a clean surface, place the deck plate (if using one) according to the manufacturer’s instructions. Align the new faucet’s hoses and tailpieces through the sink’s holes. From underneath, screw on the mounting nuts to secure the faucet body. Again, a basin wrench excels in tightening these nuts in confined spaces.
With the faucet fixed in place, reconnect the water supply lines. It’s vital to ensure these are tightened properly — snug, but not overtightened, as this can damage the threads.
Finally, turn the water supply back on and test your new faucet. The moment of truth involves looking for drips or leaks around the connections. If everything is dry, the installation is successful. If not, retighten where necessary, but avoid using excessive force.
This basic protocol outlines the gist of faucet replacement. It introduces the broad strokes of this common DIY task, providing grounding in the general flow of the process.
Checking for Leaks After Installation
Once your new faucet is in place, it’s crucial to ensure a watertight seal. Begin by slowly turning on the water supply valves to allow water to flow into the faucet. While the water runs, observe all connection points—where the supply lines meet the faucet and where the faucet meets the sink—for any evidence of water seepage.
Next, inspect the base of the faucet and around the handles. If any droplets or moisture are present, turn the water back off and try tightening the connections a bit more. Sometimes, a gentle tightening is all that’s needed to compress the fittings properly.
Don’t forget to look beneath the sink as well. With a flashlight, examine the supply line connections at the shut-off valves. Any accumulated water on the bottom of the cabinet or drips along the supply lines indicate the need for attention.
Leaks can sometimes present themselves only when the faucet is turned on. It’s wise to have someone operate the faucet while you’re checking underneath the sink to monitor dynamic leaks.
Should you encounter a stubborn leak, it often helps to disassemble the connection, check for any misaligned washers or gaskets, and reassemble it. Sometimes, applying thread-seal tape or replacing worn-out parts can resolve the issue. Remember, achieving a leak-free installation is a combination of careful assembly and attentive inspection.
Maintaining Your New Faucet
Regular maintenance is key to ensuring your faucet continues to function efficiently and remains visually appealing. Mineral buildup from water can cause blockages and reduce water flow over time. To prevent this, use a mixture of white vinegar and water to remove any mineral deposits, particularly around the aerator which is the small screen at the faucet’s opening.
Wiping down your faucet daily with a soft cloth can prevent water spots and maintain its shine. For those with a stainless steel or chrome finish, a glass cleaner can be effective in keeping the surface spotless. However, avoid using harsh chemicals or abrasive cleaners that might damage the finish.
Occasionally, check the connections under the sink to ensure they are secure. Over time, connections may loosen, potentially leading to leaks. Hand-tighten where necessary or consult the manufacturer’s instructions if you notice any dripping.
For faucets with a spray hose, periodically unscrew the spray head and clean the filter screen to avoid clogs. Simple maintenance tasks like these will not only extend the life of your faucet but will also save you from potential headaches associated with more complex repairs.
