Last updated on
Discover the essential steps to construct a stunning brick outdoor kitchen that will elevate your backyard gatherings and bring culinary mastery into the open air.

Picture this: it’s a beautiful summer day and you’re hosting a backyard barbecue with friends and family. The smell of grilled burgers and hot dogs fills the air, but there’s one thing missing – a fully equipped outdoor kitchen.
Imagine being able to cook, entertain, and relax all in one space without having to constantly run back inside your home. Sounds amazing, right? Well, with a little bit of planning and effort, you can make this dream a reality by building your own brick outdoor kitchen.
In this article, we’ll guide you through the process step-by-step so that you can create the perfect outdoor cooking oasis for your home.
What's Inside
Planning Your Brick Outdoor Kitchen
Before you start building your brick outdoor kitchen, it’s essential to plan out the project thoroughly. This will help ensure that you have all the necessary materials and tools on hand, as well as a clear understanding of what needs to be done at each stage of construction.
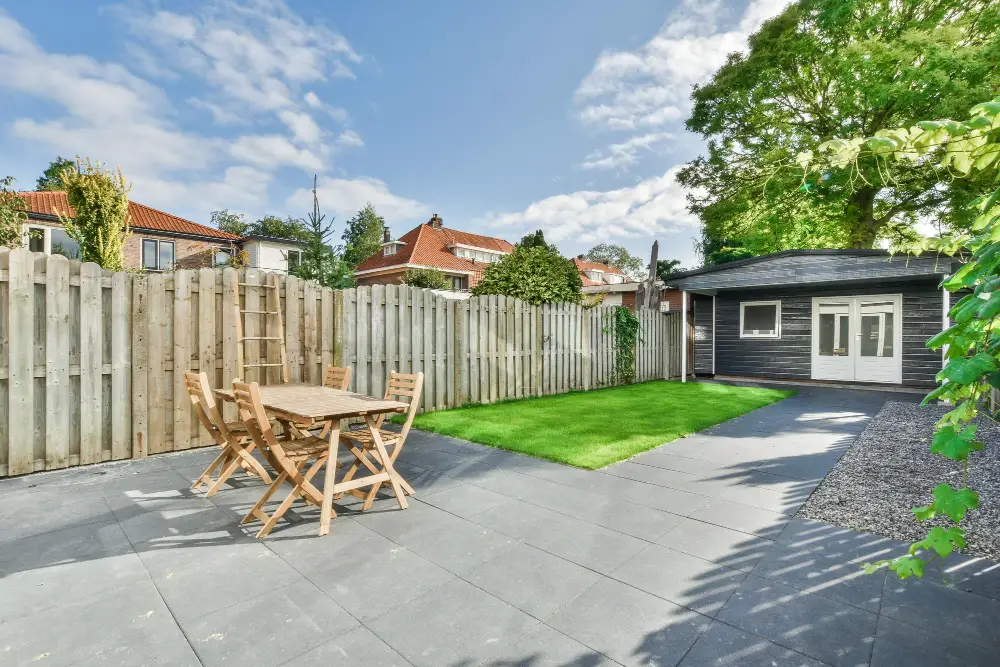
Begin by assessing your space requirements and choosing a layout that works best for your backyard area.
Consider how much space you’ll need for cooking, storage, seating areas, and any other features or appliances you want to include in your outdoor kitchen. Take into account factors such as sunlight exposure during different times of day and potential weather conditions like wind or rain.
Once you’ve determined the ideal size and layout for your brick outdoor kitchen project, it’s time to move onto planning the foundation. This is an important step because it sets the groundwork (literally) for everything else that follows in construction.
Assessing Space Requirements
Before you start planning, it’s important to determine how much space you have available and what kind of layout will work best for your needs. Consider factors such as the size of your backyard, any existing structures or landscaping features that may impact the design, and how many people you typically entertain.
Once you’ve determined the amount of space available for your outdoor kitchen, consider what elements are essential for your cooking needs. Do you need a large grill or smoker? Will there be seating areas around an island or bar top? How much storage do you require?
By assessing these requirements early on in the planning process, it will help ensure that all necessary components fit comfortably within your designated area while still allowing enough room for movement and socializing.
Choosing a Layout

Consider how many people will be using the space and what type of cooking activities you plan on doing. Will you need ample countertop space or do you require more storage areas? Do you want to incorporate seating options or an eating area into your design?
There are several popular layouts to consider when building an outdoor kitchen, including L-shaped, U-shaped, straight-line designs and island configurations. Each layout has its own advantages depending on the size of your backyard and personal preferences.
For example, if entertaining is important to you then an L-shape configuration may work well as it provides plenty of counter space while still allowing guests room to mingle around the grill area. On the other hand, if cooking is more important than socializing then a straight-line design may be better suited as it allows easy access between appliances.
Planning the Foundation
The foundation is the base of your structure and will determine its stability and durability. To begin planning, assess the space where you want to build your outdoor kitchen.
Consider factors such as size, shape, and location in relation to other structures or landscaping features.
Once you have determined a suitable location for your outdoor kitchen, choose a layout that best suits your needs. You may opt for an L-shaped design or a U-shaped one depending on how much space is available.
Next up is preparing the construction site by clearing any debris or vegetation from the area where you intend to build. This step ensures that there are no obstructions during construction.
Gathering essential materials such as bricks, mortar mixtures (cement-sand ratio), rebar rods (if required), gravel/sand mixture for leveling purposes should be done before starting with actual work on-site.
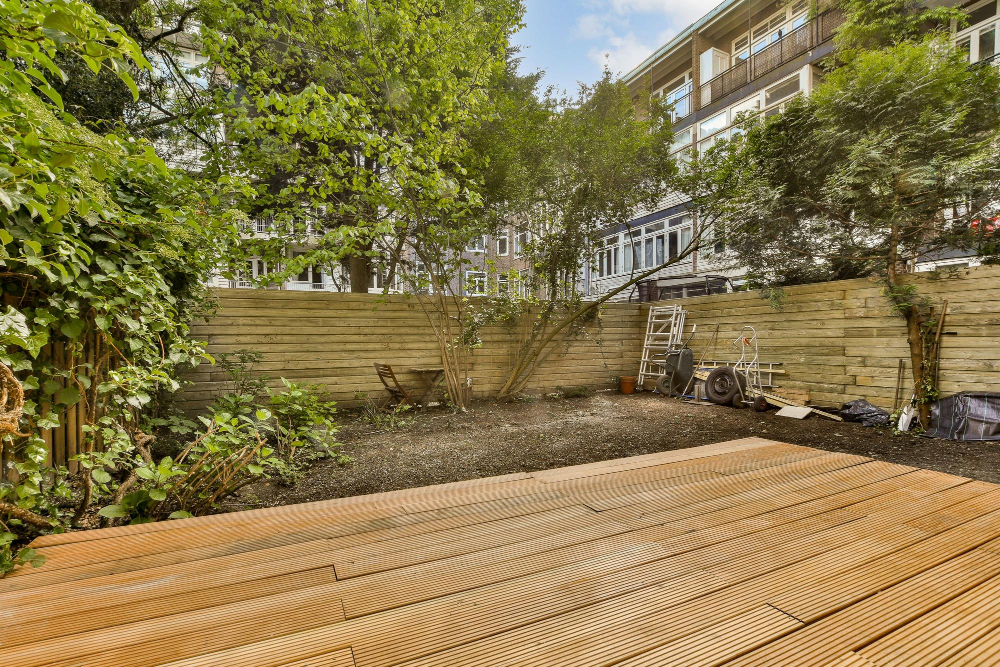
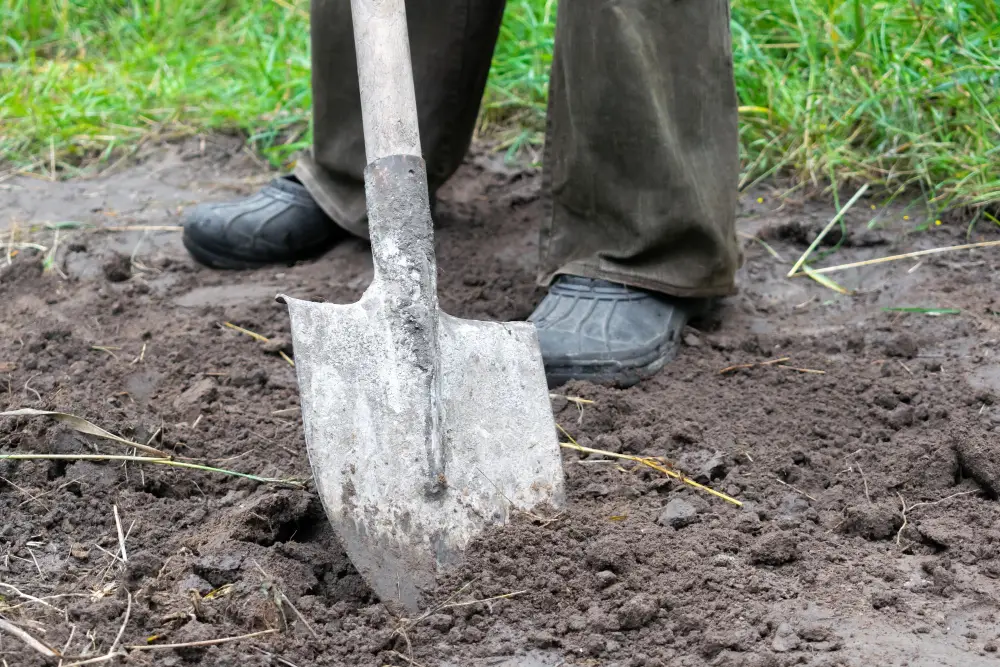
Preparing the Construction Site

This step is crucial as it will ensure that your project runs smoothly and safely. First, clear the area of any debris or obstacles that may hinder construction work.
Then, mark out the perimeter of where you want to build using stakes and string lines.
Next, assess whether there are any underground utilities such as gas pipes or electrical wires in the area where you plan to construct your outdoor kitchen. If so, contact a professional utility locator service before digging begins.
It’s also important to consider drainage when preparing your site for construction. Ensure that water can flow away from the cooking area by grading slopes away from structures and installing proper drainage systems if necessary.
Make sure all necessary permits have been obtained before beginning work on your outdoor kitchen project.
Gathering Essential Materials
This step is crucial as it ensures that you have everything on hand when construction begins, saving you from unnecessary delays or trips to the hardware store.
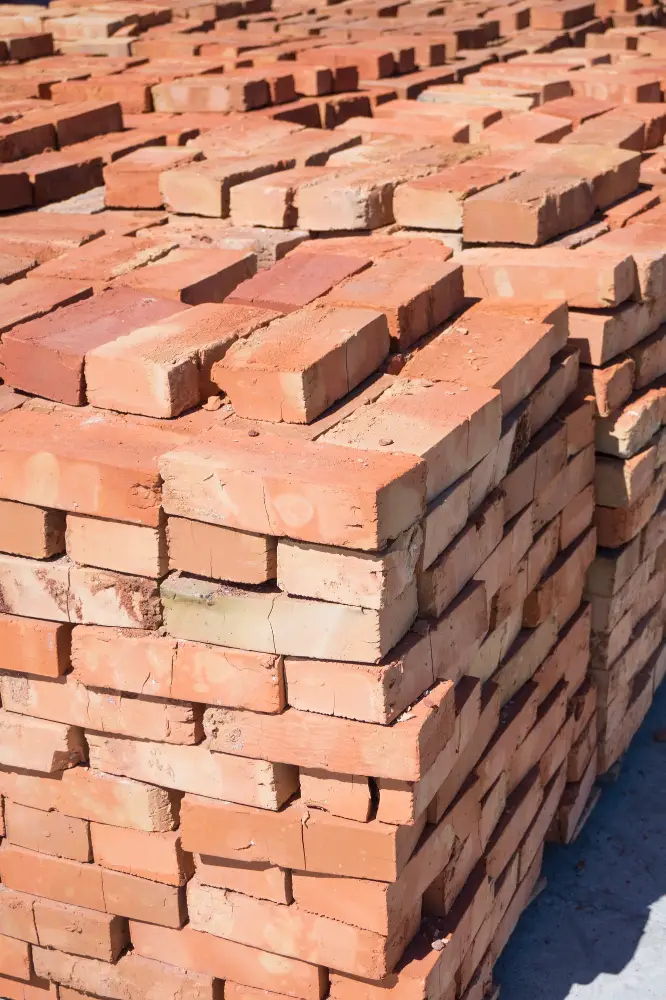
The first thing on your list should be bricks and mortar. These are the building blocks of any brick outdoor kitchen project.
You’ll need enough bricks to construct walls, countertops, storage areas and other features according to your design plan.
Next up are tools such as trowels for applying mortar; a leveler for ensuring even surfaces; a saw or angle grinder if cutting bricks is necessary; safety gear like gloves and goggles; measuring tape or ruler among others.
You will also need appliances such as grills, ovens or refrigerators depending on what features you want in your outdoor kitchen. Don’t forget about utilities like gas lines if needed too!
Tools and Materials Required

Here are some of the essential items that you’ll need:
Tools:
- Trowel
- Masonry saw or angle grinder with a diamond blade
- Level
- Measuring tape
- Rubber mallet
- Spirit level
Materials: – Bricks (choose high-quality bricks for durability) – Mortar mix (make sure it is suitable for outdoor use) – Concrete blocks or pavers (for foundation and base support) – Rebar steel rods (to reinforce concrete foundation if needed) – Countertop surface material such as granite, tile, or concrete. Note: Make sure that any countertop material used is weather-resistant.
Having these tools and materials on hand will make your construction process smoother. It’s also important to note that safety should always come first when working with power tools and heavy materials.
Wear protective gear like gloves, goggles, earplugs while using power equipment like an angle grinder.
Constructing the Base Foundation

Before you start building, it’s essential to plan out the base foundation carefully. This will provide a solid structure for your outdoor kitchen and prevent any potential issues down the line.
To begin constructing the base foundation, you’ll need to mark out where each corner of your outdoor kitchen will be located using stakes or spray paint. Once marked, dig holes at each corner that are deep enough to accommodate concrete footings.
Next, mix up some concrete according to instructions on packaging and pour into each hole until it reaches ground level. Insert metal post anchors into wet cement while still pliable so they can set firmly in place as they dry.
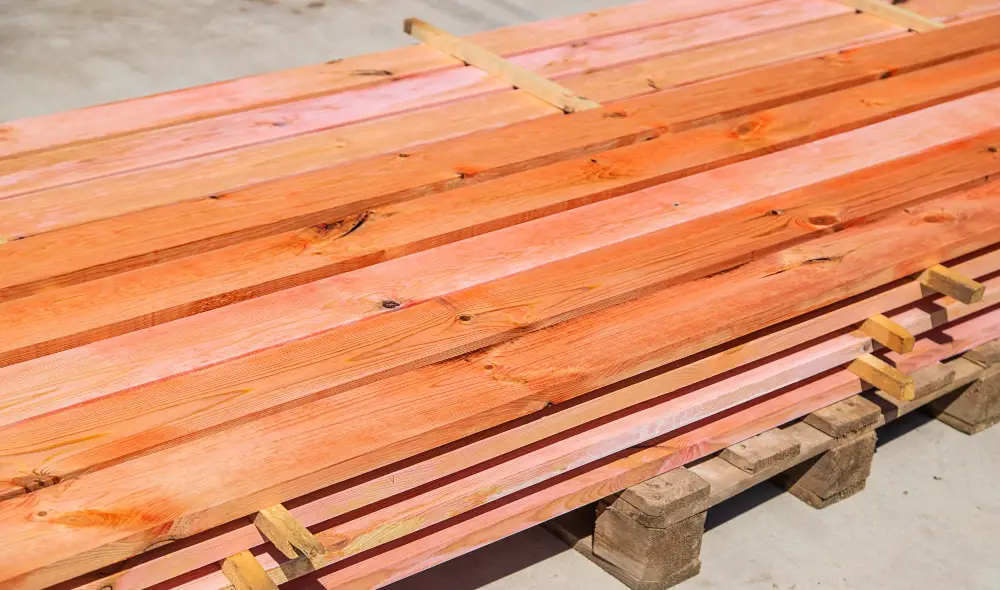
After allowing time for curing (usually 24-48 hours), attach pressure-treated lumber boards onto these anchors with bolts or screws – this forms a sturdy frame around which brickwork can be built later on top of them!
Building Countertop and Storage Areas
These elements are crucial for any functional outdoor kitchen as they provide ample space for food preparation, cooking utensils, and other essentials.
To begin with, measure out the dimensions of your countertop area and cut a piece of plywood or cement board to fit. This will serve as a sturdy base for your countertop surface material such as granite or tile.
Once you’ve secured this in place on top of your foundation structure using screws or adhesive glue, it’s time to build up from there.
Next up is constructing storage areas such as cabinets and drawers that can be used to store cooking tools like spatulas, tongs etc., plates & bowls etc., cleaning supplies like sponges & towels etc. You can use pre-made cabinetry units designed specifically for outdoor kitchens which are made from weather-resistant materials like stainless steel that won’t rust over time.
Alternatively if you’re feeling creative then consider building custom cabinets yourself using pressure-treated wood which is resistant against rotting due to moisture exposure. Make sure all cabinet doors come equipped with waterproof seals so they don’t warp when exposed directly under sunlight/rainfall conditions outside!
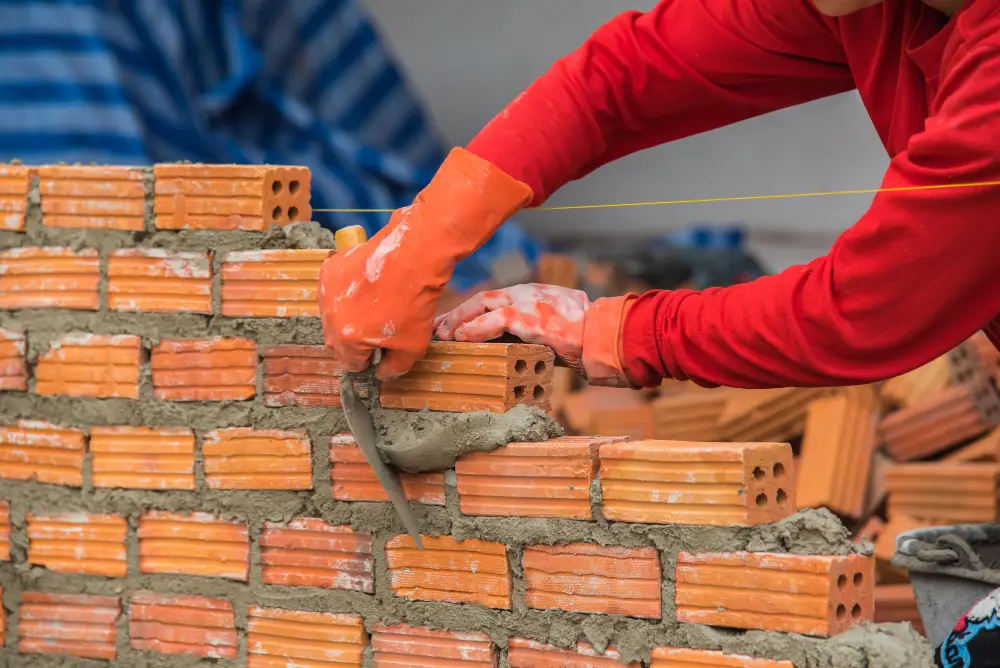
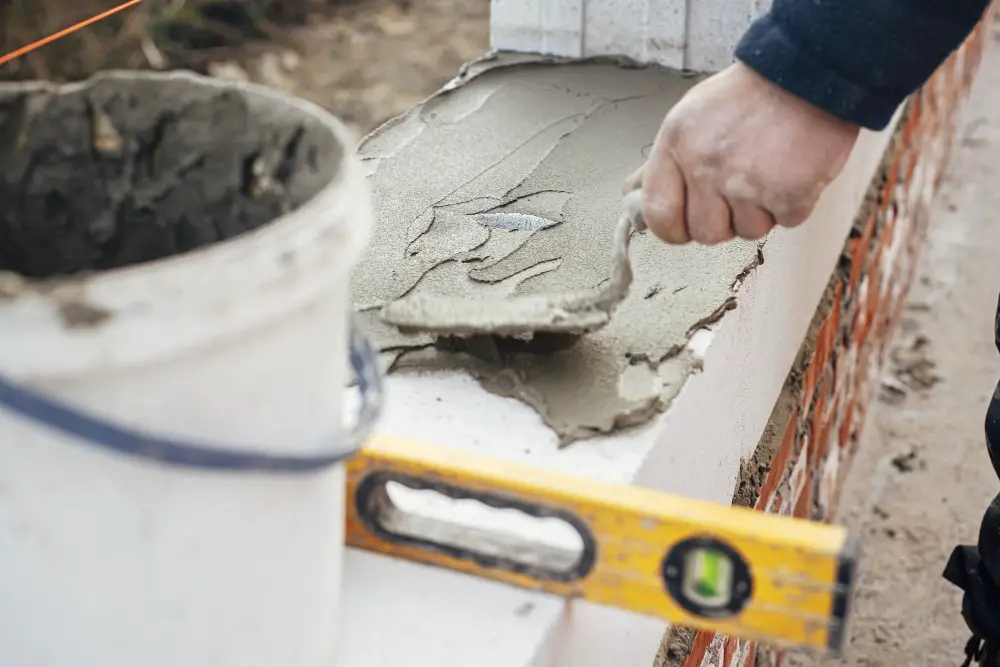
Laying Bricks and Mortar
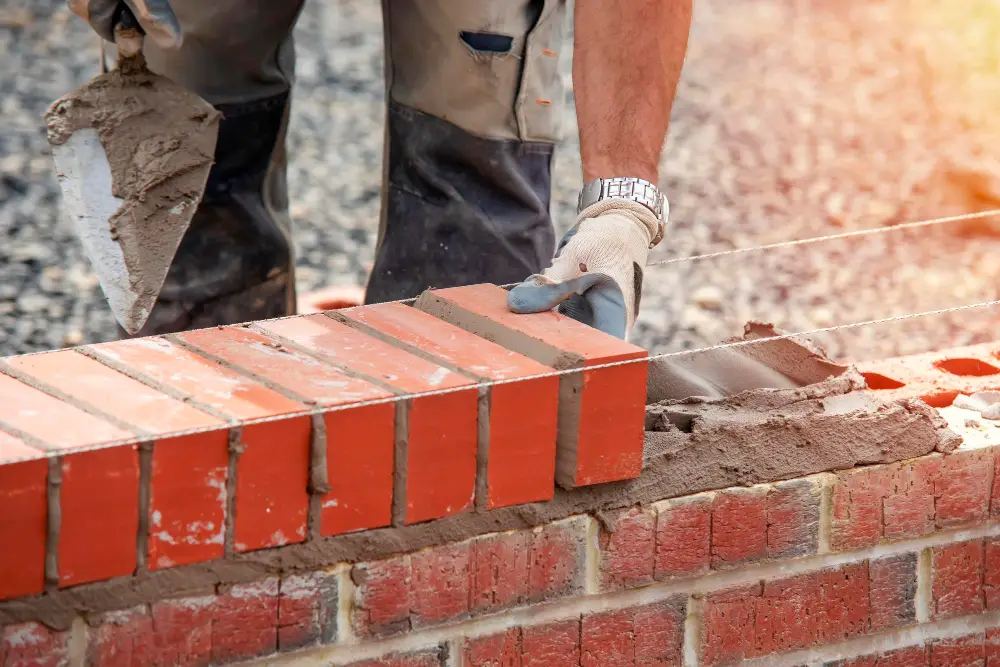
This is where your outdoor kitchen will really begin to take shape. Start by mixing mortar according to manufacturer instructions, then use a trowel to apply a layer of mortar onto the foundation or previous layer of bricks.
Next, lay each brick carefully on top of the mortar bed with about 3/8 inch space between them for additional layers of mortar. Use a level tool frequently throughout this process in order to ensure that everything is straight and even.
As you continue building up your walls with more layers of brick and applying more layers of mortar in between them, make sure that each new row overlaps slightly over the one below it for added stability.
Applying Mortar
Applying mortar is a crucial step in this process as it will hold everything together. To begin, mix your mortar according to the manufacturer’s instructions until you achieve a smooth consistency.
Using a trowel, apply an even layer of mortar onto one side of each brick before placing them on top of each other. Make sure that they are level and straight by using a spirit level or string line as your guide.
As you continue building up your walls, be sure to periodically check for any gaps or unevenness in between bricks. If necessary, use additional mortar to fill these spaces before moving on.
Remember that applying too much pressure when spreading out the mortar can cause it to squeeze out from between bricks which can lead to unsightly stains later on down the road. Take care not only with how much pressure is applied but also with how quickly work progresses so that there isn’t too much drying time allowed for any given area at once!
Building the Brick Walls
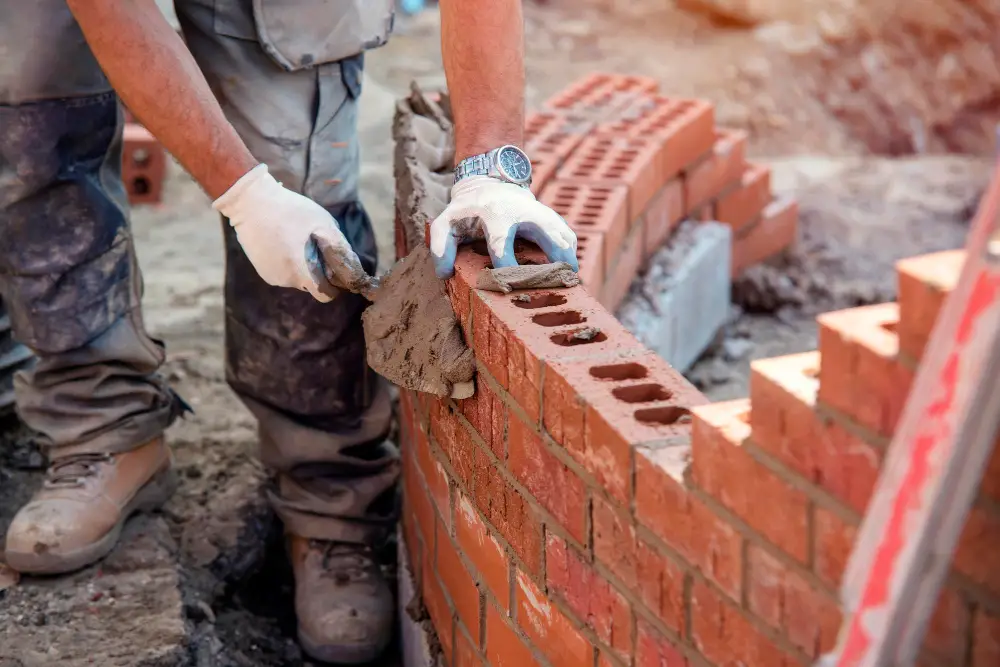
This is where things can get a bit tricky, but with some patience and attention to detail, you’ll be able to create a sturdy and beautiful structure that will last for years.
Firstly, make sure that all of your materials are on hand before starting this step. You don’t want to run out of bricks or mortar halfway through construction! Begin by laying out the first course of bricks along one side of your foundation.
Use a level tool as you go along so that each brick is perfectly aligned.
Next up is applying mortar between each layer as well as in between individual bricks themselves – this helps keep everything together and prevents any gaps from forming over time due to weathering or shifting ground conditions.
As you continue building upwards with additional courses (or layers)of brickwork , remember not only do they need proper alignment but also ensure there are no air pockets within them which could weaken their structural integrity over time.
It’s important at every stage during wall construction process check for levelness using tools like spirit levels or laser levels if available- especially when working on corners where two walls meet at right angles.
Installing Appliances and Utilities
This is a crucial step in creating a functional cooking space that meets all your needs. Depending on what you plan to cook outdoors, there are several options for appliances such as grills, ovens, refrigerators or sinks.
When installing these items into your outdoor kitchen design make sure they are placed strategically so that they don’t interfere with each other or take up too much space. You’ll also want to ensure that any electrical wiring or gas lines are installed safely by professionals who know how to handle them properly.
If you’re planning on adding a grill or oven be sure it has enough clearance from combustible materials like wood siding and decking boards. A refrigerator can be added for convenience but keep in mind its placement should not block access points around the area where people will gather.
Adding a Grill or Oven
One of the most important elements is undoubtedly a grill or oven. When choosing an appliance, consider factors such as size, fuel type (gas or charcoal), and features like temperature control and rotisserie options.
If you’re opting for a grill, ensure that there is enough clearance around it so that smoke can escape easily without causing damage to surrounding structures. You may also want to install additional ventilation solutions such as an exhaust hood if your kitchen area is enclosed.
For those who prefer baking over grilling, adding an oven can be a great option. A pizza oven made from bricks adds both functionality and aesthetic appeal to your outdoor kitchen space while allowing you to cook delicious homemade pizzas with ease.
No matter which appliance(s) you choose for your brick outdoor kitchen – whether it’s just one or several – make sure they are installed correctly by following manufacturer instructions carefully.
Securing the Countertop Surface
This is an essential step that will ensure your cooking area remains stable and safe for use. To secure the countertop, you’ll need to apply a layer of mortar between it and the base structure.
Make sure that there are no gaps or spaces left unfilled as this can cause instability in your outdoor kitchen.
After applying a generous amount of mortar, carefully place the countertop onto its designated spot on top of bricks or blocks previously laid out during construction. Use a level tool to check if everything is even before allowing any weight on top.
It’s important not to rush this process as proper installation will prevent any accidents from happening while using sharp knives or heavy pots and pans in your new outdoor cooking space.
Integrating Lighting Solutions

Proper lighting is essential for creating a warm and inviting atmosphere that will allow you to cook and entertain well into the night. There are several options available when it comes to integrating lighting solutions into your outdoor kitchen.
One popular option is installing overhead lights above the cooking area or countertop surface. This can be achieved by mounting pendant lights or recessed fixtures onto an overhead structure such as a pergola or gazebo.
Another great way to add ambiance and functionality is by incorporating LED strip lights underneath countertops, cabinets, or shelves. These types of lights provide ample illumination while also adding a touch of style and sophistication.
Consider using solar-powered landscape lighting around the perimeter of your outdoor kitchen area for added safety during nighttime use.
Weatherproofing Techniques

Weatherproofing is a crucial step in protecting your investment and ensuring its longevity. One of the most effective ways to weatherproof your brick outdoor kitchen is by applying a sealant or waterproofer to all exposed surfaces.
This will help prevent moisture from seeping into the bricks and causing damage over time.
Another key aspect of weatherproofing is making sure that all appliances are properly covered when not in use. Invest in high-quality covers for grills, ovens, refrigerators, and any other appliances you may have installed in your outdoor kitchen.
Consider installing an overhead shelter such as a pergola or awning to protect against rain and harsh sunlight. This will also provide shade for those hot summer days when cooking outdoors can become uncomfortable.
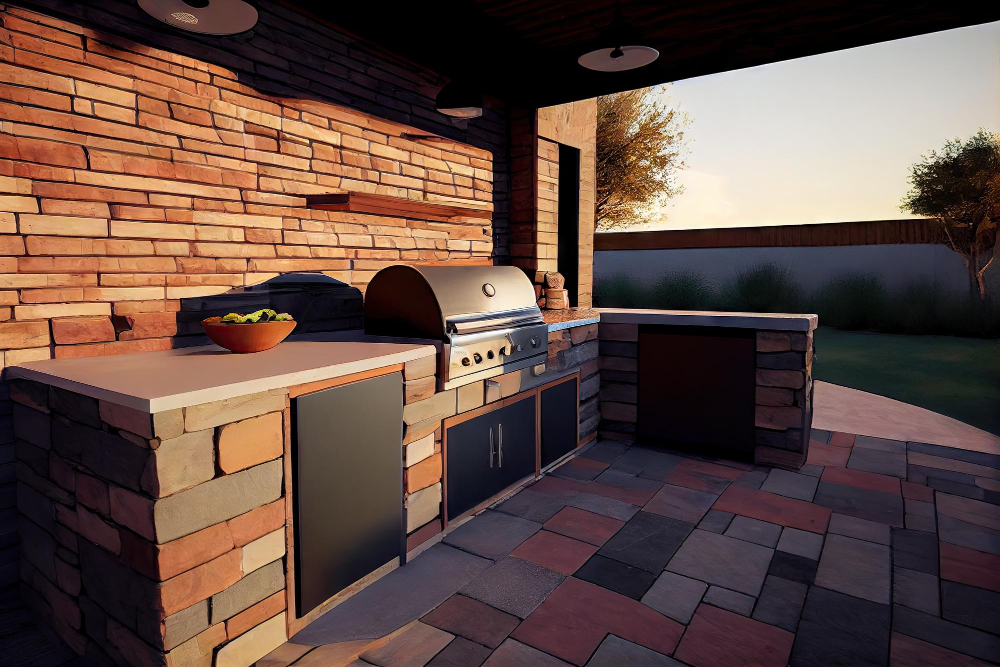
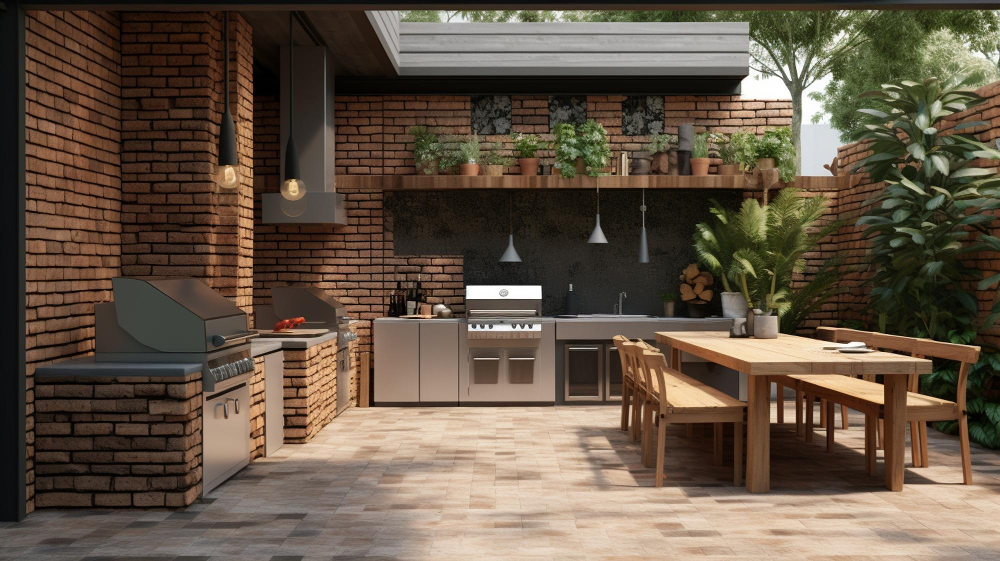
Customizing Your Outdoor Kitchen

One way to do this is by adding unique features that will make your outdoor cooking space stand out from the rest. For example, you could install a wood-fired pizza oven or a smoker for slow-cooked meats.
You might also consider incorporating an ice maker or wine cooler into your design for added convenience when entertaining guests.
Another way to customize your outdoor kitchen is by choosing materials that complement the overall aesthetic of your home and backyard landscape. Consider using natural stone accents or decorative tiles on countertops and backsplashes, as well as incorporating plants and greenery around the perimeter of the space.
Don’t forget about lighting solutions! Adding ambient lighting can create a warm atmosphere in which you can enjoy meals with friends long after sunset has passed.
Finishing Touches and Decoration
One way to do this is by incorporating plants and greenery into the space. Consider adding potted herbs or flowers around the perimeter of your kitchen area for a pop of color and freshness.
Another way to personalize your outdoor kitchen is by choosing decorative elements that match with the overall style and aesthetic you’re going for. For example, if you have a rustic-themed backyard, consider adding vintage signs or lanterns as accents.
Don’t forget about lighting! Adding string lights or other types of outdoor lighting can create an inviting atmosphere in which guests will want to linger long after dinner has ended.
Maintaining Your Outdoor Kitchen

Regular maintenance will not only keep your outdoor kitchen looking great but also ensure that all appliances and utilities are functioning correctly.
One essential aspect of maintaining an outdoor kitchen is cleaning. Make sure to clean up any spills or stains immediately, especially on the countertop surface.
Use a mild detergent and warm water solution with a soft cloth or sponge for regular cleaning.
It’s also crucial to protect your outdoor kitchen from harsh weather conditions such as rain, snow, and extreme heat. Consider investing in covers for appliances when they’re not in use or during inclement weather.
Regularly inspecting gas lines and connections is another critical step in maintaining safety standards within your brick outdoor kitchen space. Check hoses regularly for cracks or leaks before using any gas-powered appliance.
By following these simple steps regularly, you can enjoy cooking outdoors without worrying about damage caused by neglectful maintenance practices!
FAQ
What is the cheapest way to build an outdoor kitchen?
The cheapest way to build an outdoor kitchen is by using salvaged materials such as reclaimed wood or recycled stone and brick, as they are less expensive and eco-friendly.
Can you build an outdoor kitchen yourself?
Yes, you can build an outdoor kitchen yourself by following guidelines and having the right tools and materials for a straight counter and a side grill.
How much does it cost to build a custom outdoor kitchen?
The cost to build a custom outdoor kitchen ranges from $5,060 to $17,280, with a national average of $13,180 or $495 per linear foot.
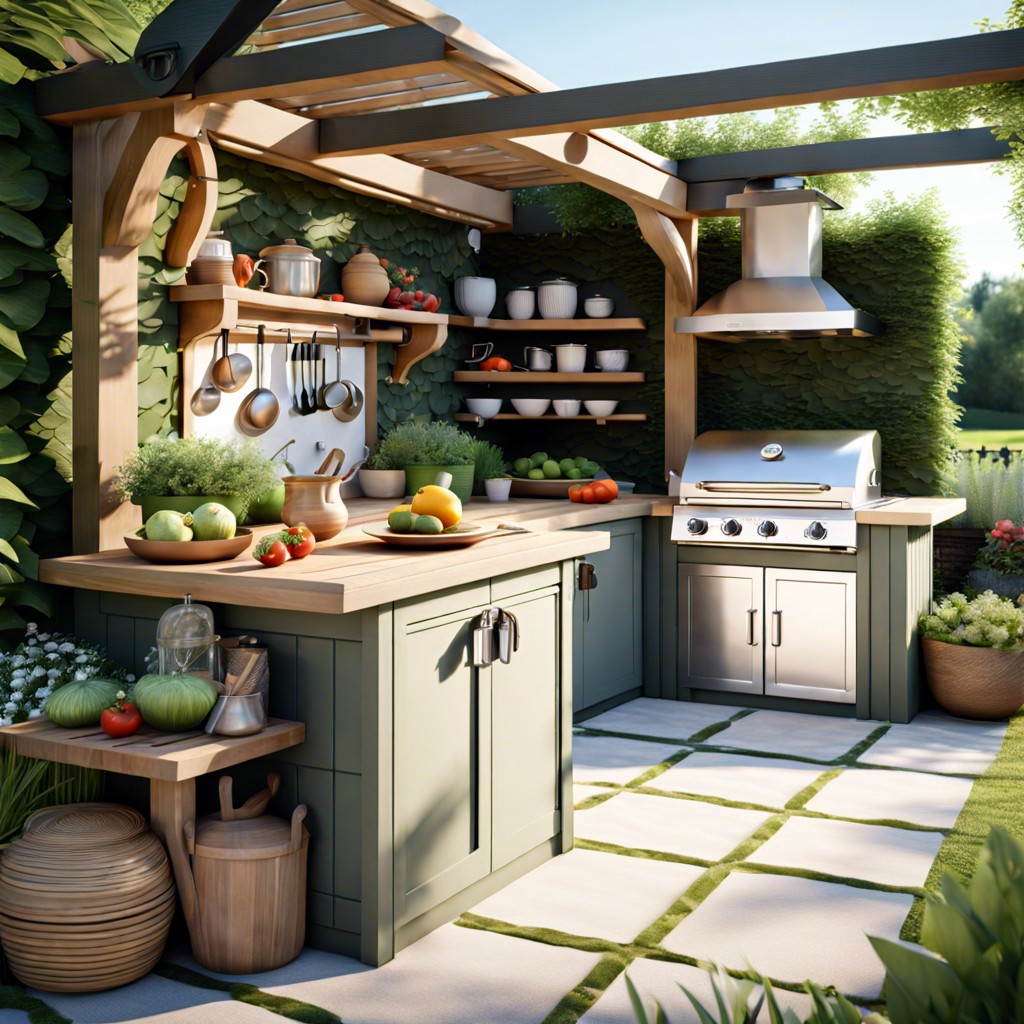
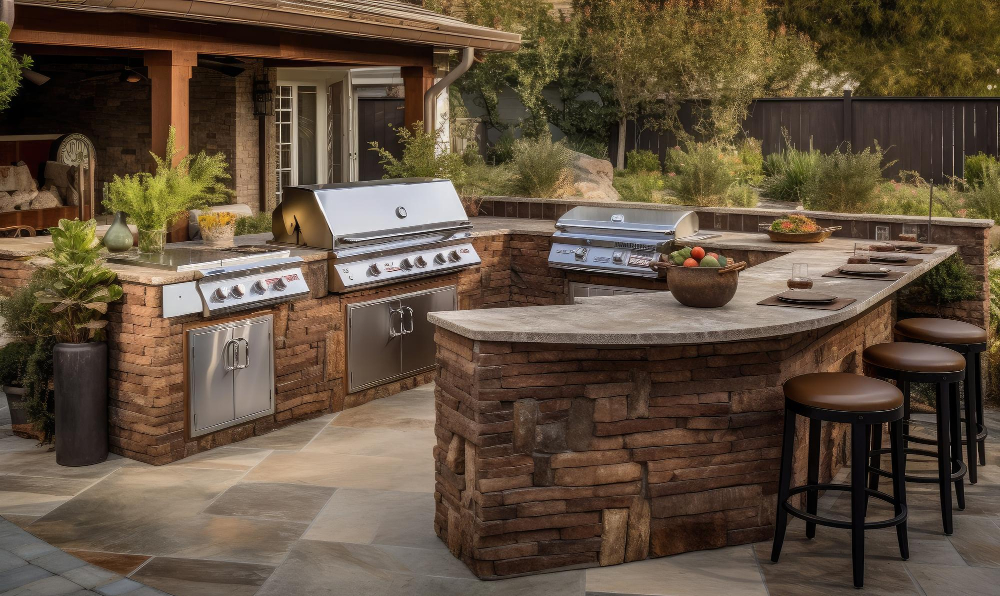
What are the essential features to include in an outdoor brick kitchen design?
Essential features for an outdoor brick kitchen design include a cooking area, storage space, adequate ventilation, weather-resistant materials, and comfortable seating.
How can you maximize the functionality of a small outdoor kitchen space?
To maximize the functionality of a small outdoor kitchen space, consider incorporating multi-functional appliances, vertical storage, and efficient layout design.
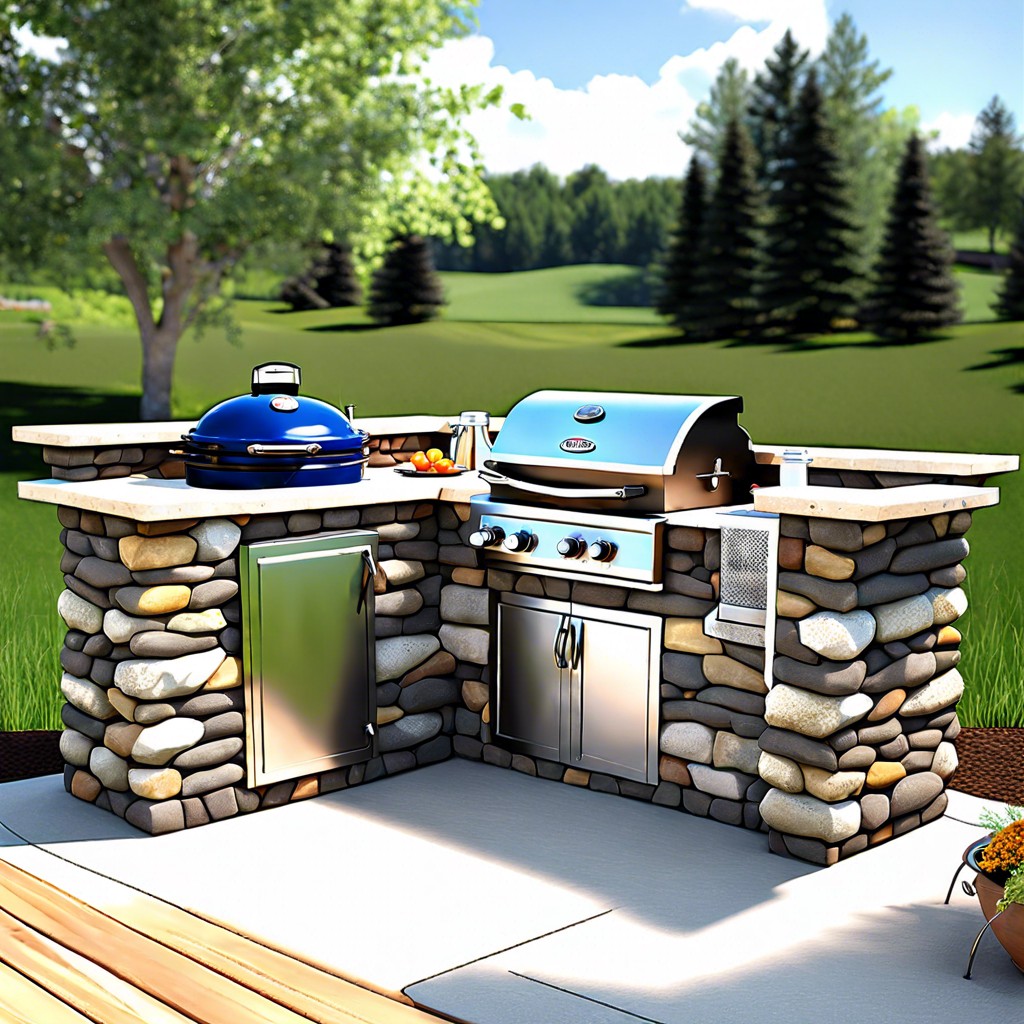
What are some recommended weatherproof materials to use in an outdoor kitchen setting?
Recommended weatherproof materials for an outdoor kitchen setting include stainless steel, stone, and concrete.