Last updated on
Discover the simple steps to effectively clean your Delta pull-down kitchen faucet aerator and enhance its performance for a smooth water flow.
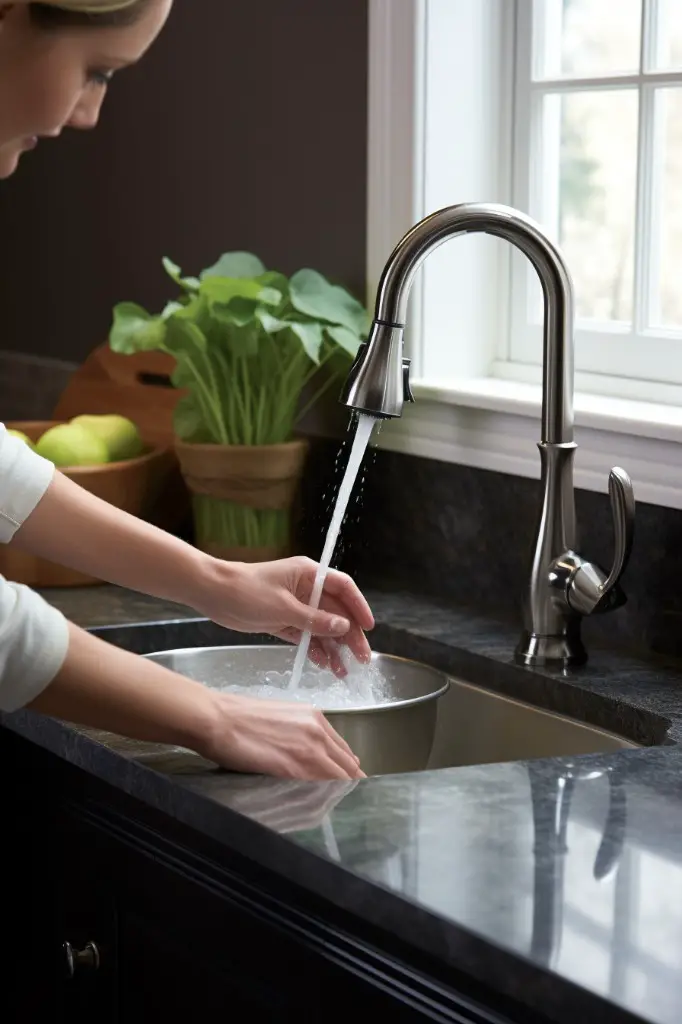
Have you ever turned on your kitchen faucet, only to be greeted with a weak stream of water that barely makes it into the sink? Or maybe you’ve noticed that the water pressure in your Delta pull-down kitchen faucet has decreased over time. If so, it’s likely that your aerator is clogged with mineral deposits and debris.
But don’t worry – cleaning a Delta pull-down kitchen faucet aerator is a quick and easy task that can restore your faucet’s water flow to its former glory. In this article, we’ll walk you through the steps to clean your Delta pull-down kitchen faucet aerator and get things flowing smoothly again.
What's Inside
Importance of Cleaning the Aerator
It’s responsible for mixing air with the water flow, which helps to reduce splashing and conserve water. However, over time, mineral deposits and debris can accumulate in the aerator screen or mesh filter, causing it to clog up.
This buildup restricts the flow of water through your faucet and reduces its efficiency.
Cleaning your Delta pull-down kitchen faucet aerator regularly is crucial for maintaining optimal performance. By removing any blockages from the screen or mesh filter inside the aerator housing, you’ll be able to restore proper water pressure and improve overall functionality.
Neglecting to clean your Delta pull-down kitchen faucet aerator can lead to more significant problems down the line – such as leaks or damage caused by excessive pressure build-up within pipes – that may require costly repairs if left unaddressed.
What Causes Buildup In Faucet Aerators?
Over time, minerals such as calcium and magnesium can accumulate on the mesh screen or disk inside your Delta pull-down kitchen faucet aerator. This buildup restricts water flow and reduces water pressure, making it difficult to perform everyday tasks like washing dishes or filling a pot with water.
In addition to mineral deposits, other debris such as sand, dirt particles from old pipes or rust can also get trapped in your faucet’s aerator causing blockages that affect its performance. If you live in an area with hard water (water containing high levels of dissolved minerals), you may experience more frequent clogging issues than those who don’t.
Identifying Different Aerator Types
This will help ensure that you use the correct tools and cleaning methods for your specific model. There are two main types of faucet aerators: external and cache.
External Aerators: External aerators are screwed onto the end of a threaded spout on top of your Delta pull-down kitchen faucet. They can be easily removed by hand or with pliers.
Cache Aerators: Cache aerators, also known as hidden or recessed aerators, are installed inside the spout itself and require a special key tool to remove them. Cache faucets usually have either male or female threads on their spouts which determine what kind of cache keys they need for removal.
Tools and Materials Required
Fortunately, you won’t need any specialized equipment or expensive products for this task. Here are the items that you’ll need:
- Adjustable wrench or pliers
- Needle-nose pliers (optional)
- White vinegar
- Small bowl or container
- Toothbrush or small brush with soft bristles
Most of these items can be found in your home already, but if not they can easily be purchased at a local hardware store.
Preparing Your Workspace
This will help ensure that the process goes smoothly and that you don’t lose any small parts or damage anything in the process.
First, clear out any clutter around your sink area so that you have plenty of room to work. Next, gather all of the tools and materials required for cleaning your aerator – including pliers or a wrench if necessary – and place them within easy reach.
It’s also a good idea to lay down a towel on top of your countertop or work surface before starting. This will provide an extra layer of protection against scratches or other damage while disassembling and reassembling the aerator.
Turning Off the Water Supply
This will prevent any accidental leaks or spills while you’re working on the aerator. To do this, locate the shut-off valve under your sink and turn it clockwise until it’s fully closed.
If you can’t find a dedicated shut-off valve for your faucet, simply turn off the main water supply to your home.
Once you’ve turned off the water supply, open up both hot and cold handles of your Delta pull-down kitchen faucet to release any remaining pressure in its lines before proceeding with removing its aerator.
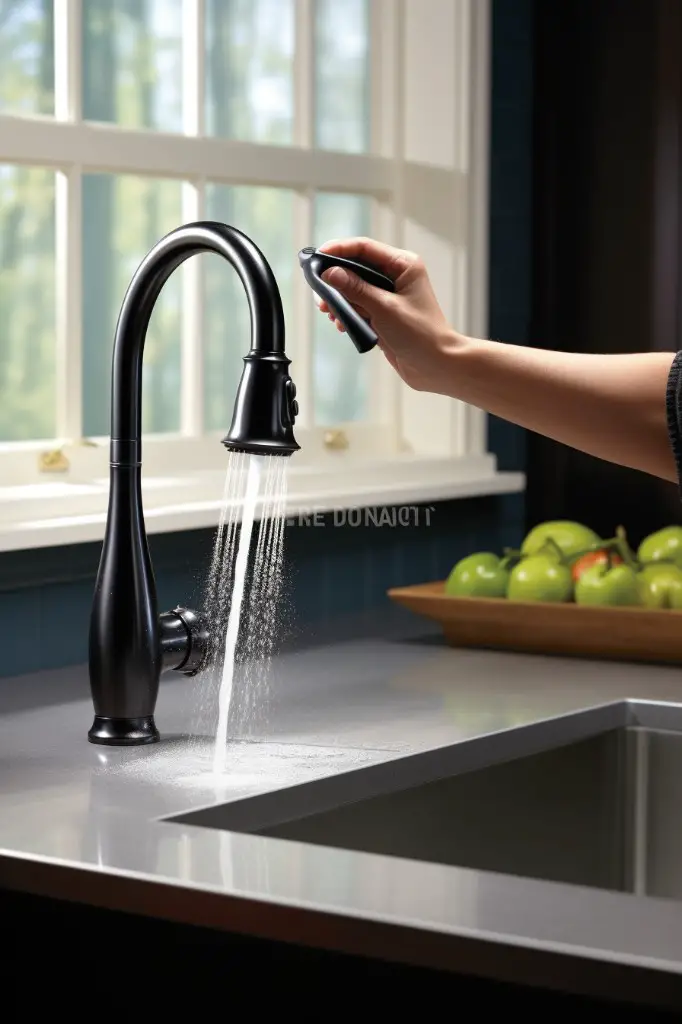
Removing the Aerator From the Faucet
Before starting, make sure to turn off the water supply under your sink or shut off the main water valve in case there is no shutoff valve for that particular fixture.
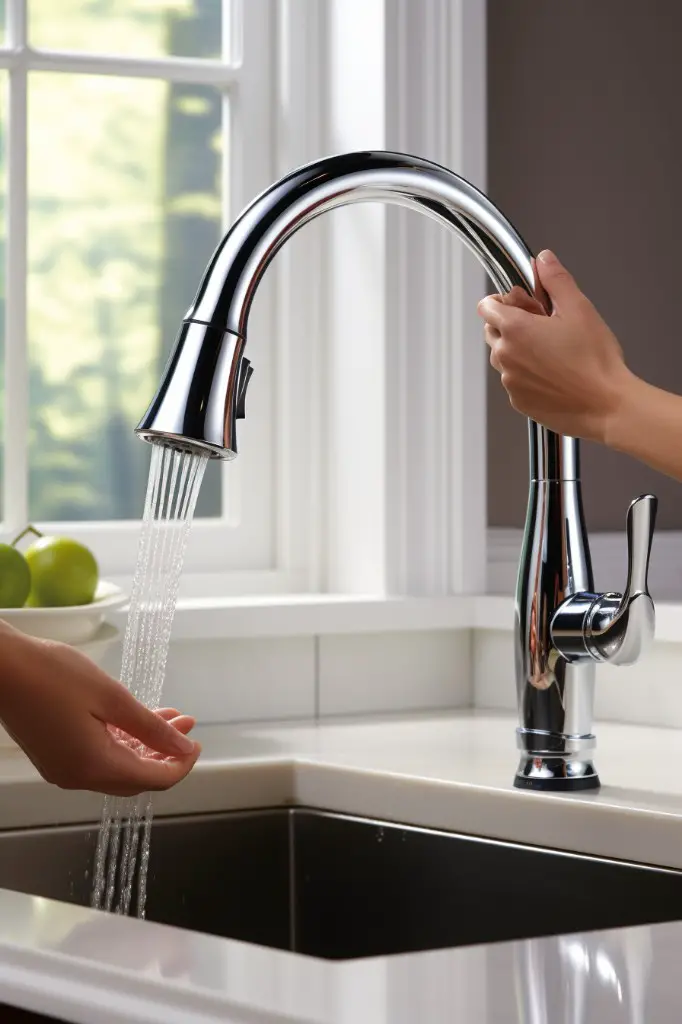
Next, locate where your aerator is located on your faucet head. In most cases, it will be at the tip of a spout or hidden behind a small cover plate on top of it.
If you’re unsure about its location or how to remove it safely without damaging any parts of your faucet head assembly consult with manufacturer instructions.
Using pliers wrapped in electrical tape (to avoid scratching), grip onto either side of an external aerator and twist counterclockwise until loose enough by hand then unscrew completely using fingers only if possible; otherwise use pliers again but gently this time around so as not damage anything else while removing cache-type ones which require special keys available at hardware stores.
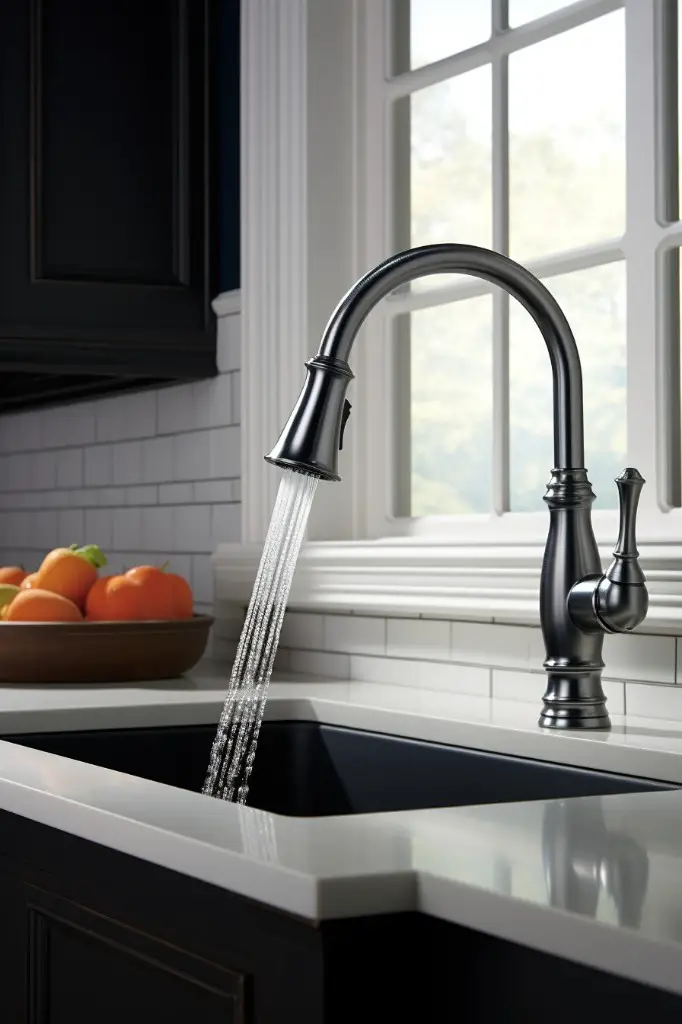
How To Clean A Kitchen Faucet Head
The process for cleaning a kitchen faucet head is similar to that of cleaning an external aerator. First, use a soft-bristled brush or toothbrush to scrub away any visible debris or mineral buildup on the surface of the head.
Next, soak the entire faucet head in white vinegar for at least 30 minutes. This will help dissolve any remaining mineral deposits and loosen stubborn grime.
After soaking, rinse off all parts with warm water and dry them thoroughly with a clean cloth before reassembling your Delta pull-down kitchen faucet aerator.
Step-by-step Guide to Cleaning External Aerators
They are easy to remove and clean, making them a popular choice for homeowners. Here’s how you can clean your external aerator:
1. Turn off the water supply: Before removing the aerator, turn off the water supply by closing both hot and cold valves under your sink.
2. Remove the Aerator: Unscrew or twist counterclockwise on an external threaded faucet head until it comes loose from its base.
3. Disassemble The Aerator: Once removed, disassemble all parts of your Delta pull-down kitchen faucet’s exterior including washers and screens that may be present inside it.
4. Clean The Parts Thoroughly: Use a toothbrush dipped in vinegar or lime juice solution to scrub away any mineral deposits or debris that has accumulated on each part of your Delta pull-down kitchen faucet’s exterior thoroughly.
5. Rinse And Re-assemble Your Faucet Head: Rinse all parts with warm water before reassembling them back into place as they were before cleaning.
Step-by-step Guide to Cleaning Cache Aerators
Here’s how:
1. Turn off the water supply: Before removing your cache aerator, make sure to turn off your faucet’s water supply.
2. Remove the handle: Use an Allen wrench or screwdriver (depending on your faucet model) to remove the handle from your Delta pull-down kitchen faucet.
3. Unscrew and remove cap: Once you’ve removed the handle, use pliers or a wrench to unscrew and remove any caps covering up your cache aerator.
- Remove Cache Aerator: Using needle-nose pliers or channel locks carefully grip onto one of two notches located at opposite ends of this type of Delta pull-down kitchen faucets’ internal housing unit that holds its cartridge assembly in place then twist it counterclockwise until it comes out completely from inside where they were seated before being pulled outwards by hand without using too much force so as not damage anything else around them while doing so; once removed rinse under running water thoroughly cleaning away any debris buildup present on their surface area before reinserting back into position again making sure they fit snugly against each other without leaving gaps between them which could cause leaks later down line if left unchecked over time due wear tear caused by constant usage over extended periods.
- Clean Cache Aerator Screen: After removing cache aerator screen, soak it for 15-20 minutes in vinegar solution . Then scrub gently with toothbrush .
6. Reassemble Your Faucet: Reassemble all parts including handles,caps etc.,.
7. Test The Faucet For Proper Functionality: Finally test whether everything is working properly after cleaning delta pull down kitchen faucet’s cache Aerators. If there are still issues with low pressure flow rate, repeat steps 4-6 again until you get desired results.
Cleaning The Faucet Head Using Vinegar
To clean the faucet head using vinegar, follow these simple steps:
- Mix equal parts of white vinegar and water in a bowl or container.
- Remove the aerator from the faucet and place it in the solution.
- Allow it to soak for at least 30 minutes or longer if there’s heavy buildup.
- Use a soft-bristled brush or toothbrush to scrub away any remaining debris on both sides of each screen.
Once you’ve finished scrubbing, rinse off all traces of vinegar with warm water before reassembling your Delta pull-down kitchen faucet aerator.
Vinegar is an effective natural cleaner that can help remove stubborn mineral deposits without damaging your faucets’ finish or internal components like harsh chemicals might do over time.
Reassembling Your Aerator
Begin by carefully inserting the screen back into the aerator housing and securing it in place with the rubber gasket. Next, insert any additional components such as flow restrictors or washers that were removed during disassembly.
Make sure all parts are properly aligned and seated before screwing on the cap or cover of your Delta pull-down kitchen faucet aerator. Tighten everything securely but be careful not to over-tighten as this can cause damage to both your faucet and its components.
Turn on the water supply slowly while checking for leaks around your newly assembled Delta pull-down kitchen faucet aerator. If there are no leaks present, test out your newly cleaned fixture by turning on hot and cold water separately at full blast for a few seconds each.
Testing the Faucet for Proper Functionality
Turn on the water supply and let it run for a few seconds to flush out any debris that may have been dislodged during cleaning. Then, turn on your Delta pull-down kitchen faucet and check if there is an improvement in water flow or pressure.
If you notice that the water flow is still weak or uneven, try removing and cleaning the aerator again. It’s possible that some buildup was left behind during your initial cleaning attempt.
In rare cases where there are still issues with low water pressure after multiple cleanings of the aerator, it could be due to other problems with your plumbing system such as clogged pipes or valves. In such situations, calling a professional plumber would be necessary.
Troubleshooting Common Issues
Here are some common issues that can occur with kitchen faucets and how to troubleshoot them:
1. Low Water Pressure: If cleaning the aerator doesn’t solve low water pressure, check for leaks in your plumbing or a clogged supply line.
2. Leaking Faucet: A leaking faucet could indicate a worn-out O-ring or damaged valve seat.
These parts will need to be replaced by a professional plumber.
3. Sprayer Malfunction: If your sprayer isn’t working properly, it could be due to mineral buildup in the hose or diverter valve malfunctioning.
4. Loose Handle: Over time, handles can become loose due to wear and tear on internal components such as screws and washers.
Aerator Maintenance Tips
Here are some tips for maintaining your aerator:
1. Clean the aerator regularly: Make cleaning the aerator a part of your regular cleaning routine, especially if you have hard water.
2. Use a water softener: If you live in an area with hard water, consider installing a water softener or using a filter on your faucet.
3. Avoid harsh chemicals: When cleaning the aerator or any other part of your faucet, avoid using harsh chemicals that can damage the finish or cause corrosion.
4. Check for leaks: Periodically check for leaks around the base of the spout and under sink connections to catch any issues early before they become bigger problems.
When to Call a Professional
If you’re not comfortable working with plumbing fixtures or if you’ve tried cleaning the aerator and still have low water pressure, it may be time to seek help from an experienced plumber. If your faucet is leaking or has other issues beyond just low water flow, it’s important to get these problems addressed as soon as possible before they cause further damage.
A licensed plumber will have the expertise and tools necessary to diagnose any underlying issues with your Delta pull-down kitchen faucet and provide effective solutions. They can also recommend replacement parts or upgrades that may improve the performance of your faucet over time.
FAQ
How do you clean an aerator on a pull down faucet?
To clean an aerator on a pull-down faucet, remove it, disassemble, soak in vinegar for five minutes, scrub with an old toothbrush, and reattach; clean aerators as needed or at least once a year.
What are the steps to disassemble a Delta pull-down kitchen faucet for aerator cleaning?
To disassemble a Delta pull-down kitchen faucet for aerator cleaning, follow these steps: turn off water supply, remove handle, unscrew and remove bonnet nut, take out cartridge, disengage hose assembly, and finally, clean the aerator.
What household items can be used to effectively clean a Delta pull-down kitchen faucet aerator?
Household items that can effectively clean a Delta pull-down kitchen faucet aerator include vinegar, an old toothbrush, and a soft cloth.
How often should the aerator of a Delta pull-down kitchen faucet be cleaned to maintain optimal performance?
The aerator of a Delta pull-down kitchen faucet should be cleaned approximately every three to six months to maintain optimal performance.


