Last updated on
Discover the simple steps to efficiently clean your pull-down kitchen faucet spray head, ensuring optimal performance and longevity.
Are you tired of a weak and spotty spray from your kitchen faucet? A pull-down spray head is a convenient feature in any modern kitchen, but it can quickly become clogged with mineral deposits and dirt, affecting the water flow. Don’t worry; cleaning it is easier than you might think! In this article, we’ll guide you through the step-by-step process of cleaning a pull-down kitchen faucet spray head like a pro.
Say goodbye to low water pressure and hello to a sparkling clean spray head that will make your daily tasks in the kitchen much more enjoyable!
Key takeaways:
- Identify spray head issues: Weak flow, leaks indicate problems.
- Gather cleaning supplies: Vinegar, baking soda, toothbrush.
- Turn off water supply: Locate shut-off valve, release pressure.
- Precautionary steps before cleaning: Cover surfaces, wear gloves.
- Remove faucet spray head: Unscrew and detach carefully.
What's Inside
Identifying Spray Head Issues
The most common problem is a weak or inconsistent water flow, which can be caused by mineral buildup or debris clogging the nozzle. Another issue could be a leaky spray head that drips even when turned off, indicating worn-out washers or O-rings inside the assembly.
If you notice any of these problems with your faucet spray head, don’t worry; they are easy to fix and usually require only basic tools and some cleaning supplies.
Gather Cleaning Supplies

You don’t want to be halfway through the process and realize that you’re missing a crucial item. Here are some of the things you’ll need:
- White vinegar
- Baking soda
- A small bowl or container
- An old toothbrush or soft-bristled brush
- Clean cloth or towel
All these items can easily be found in your home, so there’s no need for an extra trip to the store.
Turn Off Water Supply
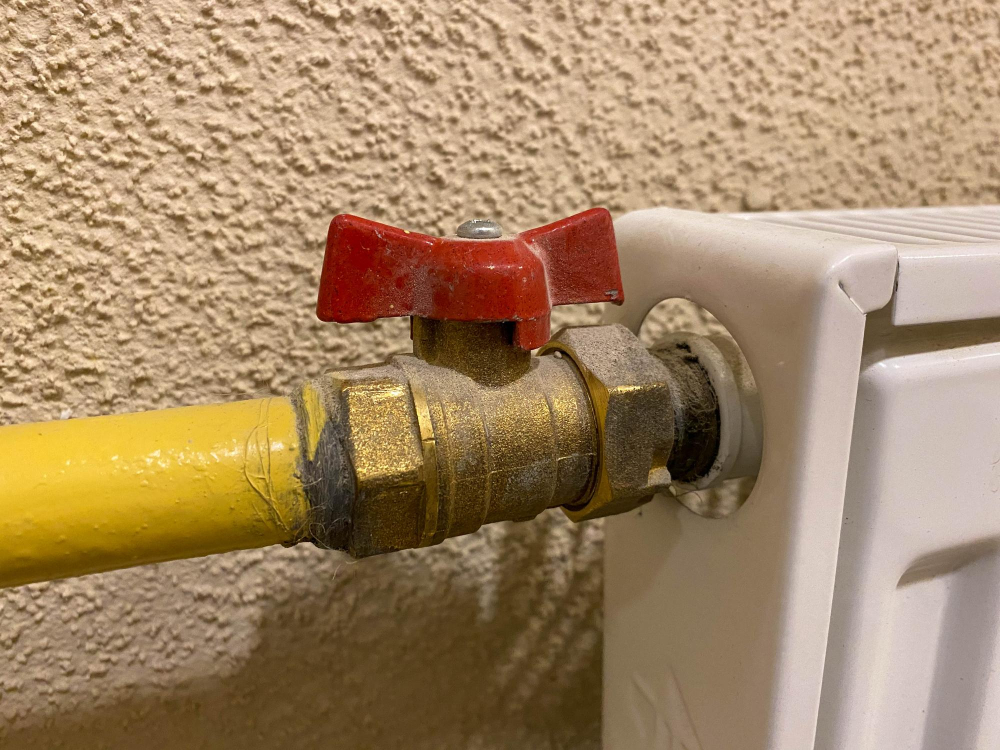
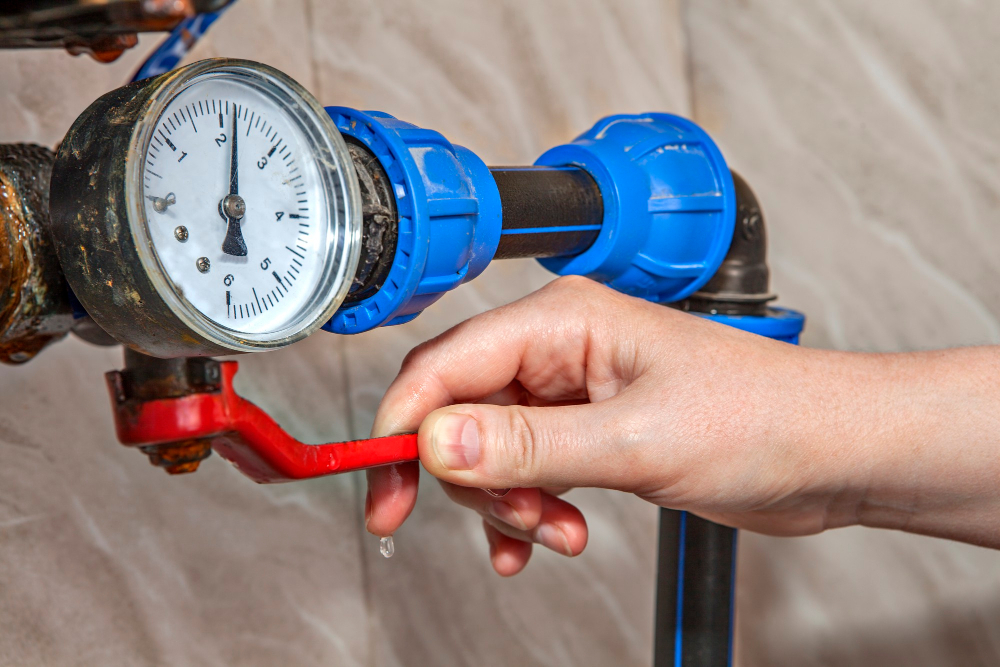
This step is crucial as it prevents any accidental spraying of water while disassembling and cleaning the spray head. You don’t want to end up with a wet mess in your kitchen! To turn off the water supply, locate the shut-off valve under your sink and twist it clockwise until tight.
If you can’t find a shut-off valve for your faucet, consider turning off the main water supply line that enters into your home temporarily.
Once you’ve turned off the water supply, open up both hot and cold faucets on either side of where you’re working to release any remaining pressure in them before proceeding with removing or disassembling parts from within them.
Precautionary Steps Before Cleaning
First and foremost, turn off the water supply to avoid any accidental spraying or flooding. You can usually find the shut-off valve under the sink or near your home’s main water supply line.
Next, cover up any nearby surfaces with a towel or cloth to protect them from splashes of dirty water during disassembly and cleaning. It is also advisable to wear gloves while handling chemicals such as vinegar and lime juice that are commonly used in cleaning solutions.
Make sure you have all necessary tools at hand before starting work on your faucet spray head. This includes a wrench for removing nuts holding the sprayer in place if needed.
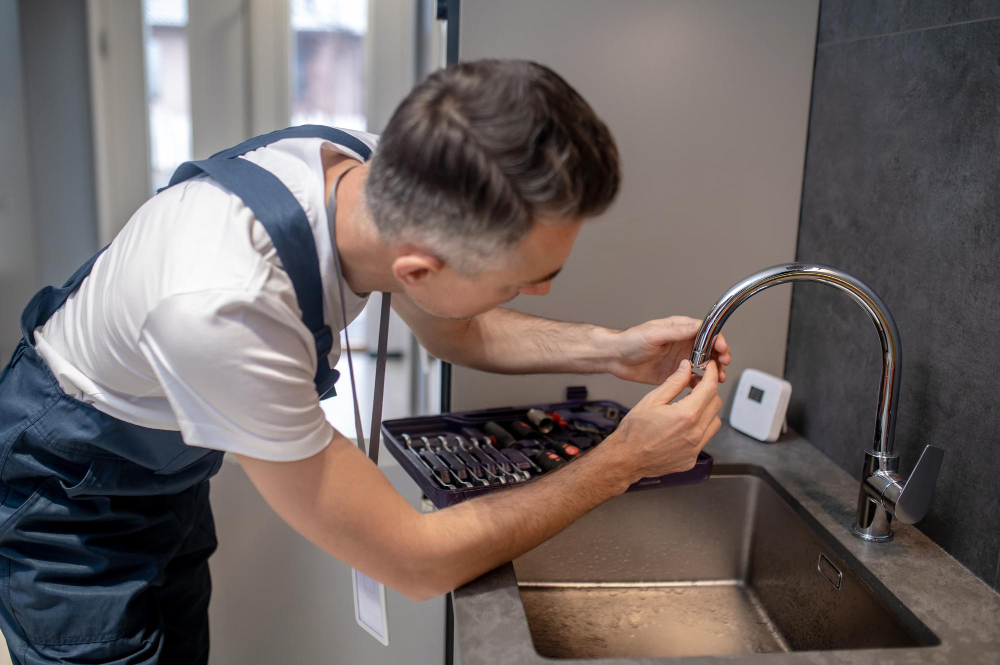
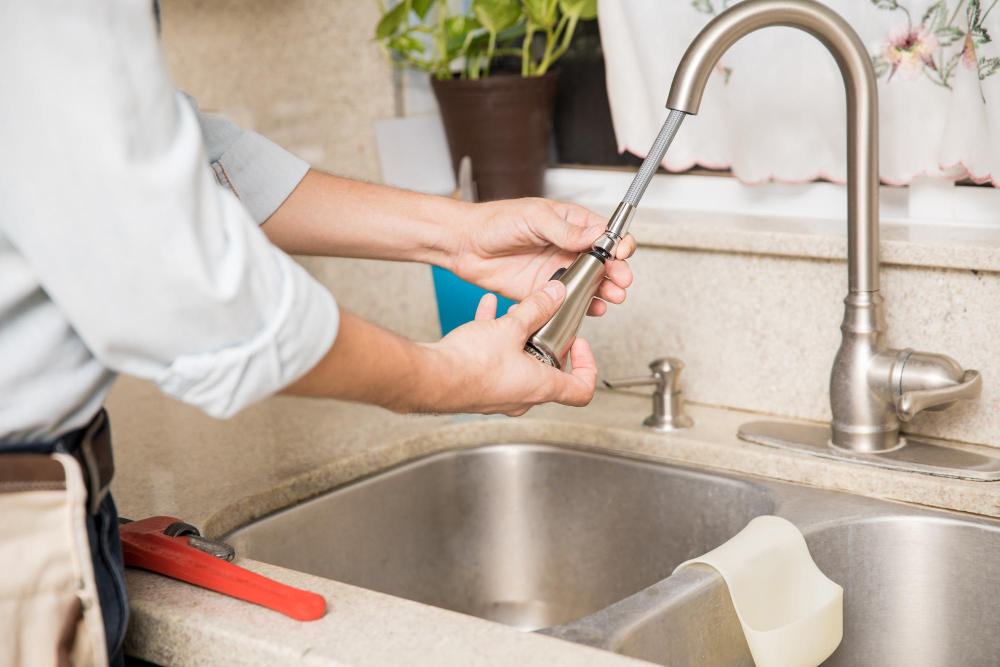
Remove Faucet Spray Head
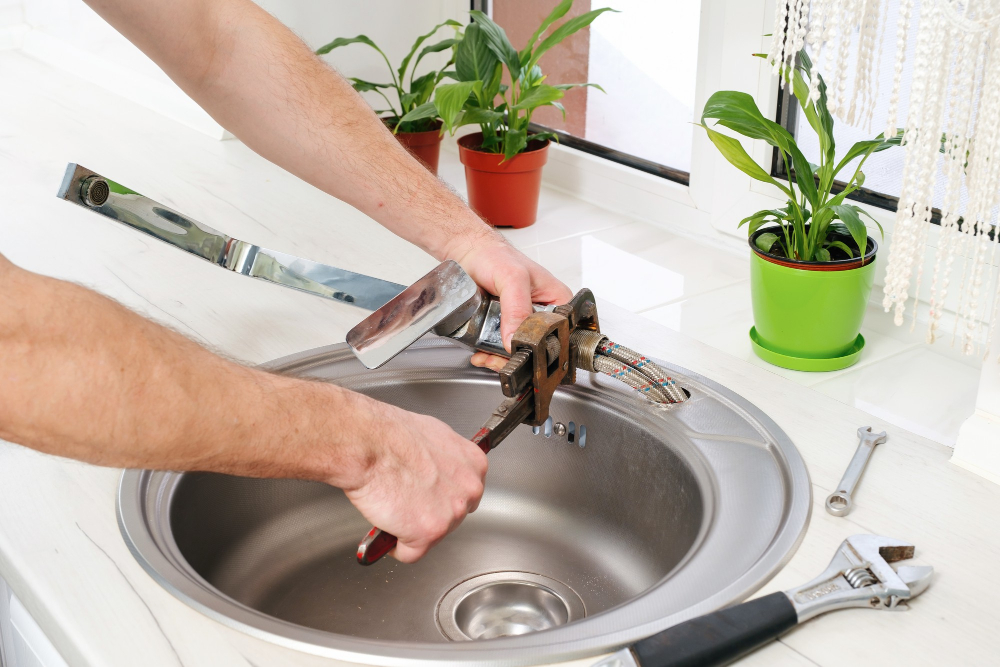
This step is crucial as it allows you to access every part of the spray head for thorough cleaning. To do this, locate where your pull-down kitchen faucet connects with its hose under your sink and unscrew it by hand or using pliers if needed.
Next, detach the sprayer from its holder and carefully place a towel over your sink drain to prevent any small parts from falling down into it while disassembling. Then proceed by removing any rubber gaskets or washers that may be present on either end of the hose connection.
With these steps completed successfully, gently wiggle off the spray head from its base until fully detached. Be careful not to damage any internal components during this process as they are delicate and can easily break if mishandled.
Disassemble Spray Head

This step is crucial as it allows you to access all parts of the spray head and clean them thoroughly. First, locate any screws or clips that hold the spray head together and remove them using a screwdriver or pliers.
Be sure to keep these small pieces in a safe place where they won’t get lost.
Next, gently pull apart each component of your faucet sprayer until they are completely separated. Take note of how each piece fits together so that reassembling later will be easier for you.
If there is any mineral buildup on these components, use an old toothbrush dipped in vinegar solution (one part water one part vinegar) to scrub away dirt and grime from every nook and cranny.
Aerator Cleaning
The aerator is responsible for mixing air with water to create a smooth and consistent flow from your faucet. Over time, mineral deposits can build up on the aerator’s surface, causing low water pressure or uneven spray patterns.
To clean the aerator effectively, use a soft-bristled brush or toothbrush dipped in vinegar solution to scrub away any debris gently. Be sure not to damage any of its delicate parts while cleaning it thoroughly.
Removing the Aerator
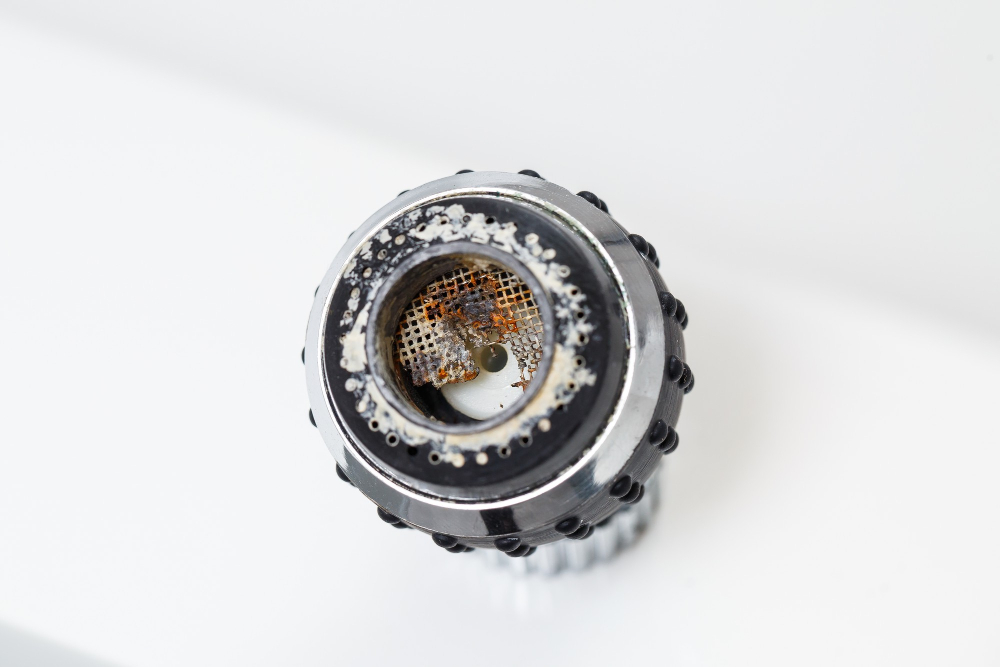
The aerator is a small mesh screen located at the end of your faucet spout that helps regulate water flow and prevent splashing. Over time, mineral deposits can build up on this screen, causing low water pressure or an uneven spray pattern.
To remove the aerator from your pull-down kitchen faucet spray head, use pliers or a wrench to unscrew it counterclockwise. Be sure to wrap a cloth around both ends of the tool before using them on any metal parts of your faucet to avoid scratching its surface.
Once you’ve removed it from its position in front of where water comes out when turned on full blast (the spout), inspect for any visible signs of damage such as cracks or chips in plastic components like gaskets and seals which may need replacing if found damaged during inspection.
Clean Nozzles and Aerator
The nozzles are small holes on the spray head that can become clogged with mineral deposits or debris over time. To clean them, use a toothbrush or a soft-bristled brush to gently scrub away any buildup.
Next, focus on cleaning the aerator itself. This is where most of the mineral buildup occurs and can significantly affect water flow if not cleaned regularly.
Soak it in white vinegar for at least 30 minutes to dissolve any hard water deposits.
After soaking, use an old toothbrush or cloth to remove any remaining residue from both sides of each screen layer in your faucet’s filter system thoroughly.
Rinse everything well under running water before reassembling your pull-down kitchen faucet spray head as per instructions provided by its manufacturer.
Soak Spray Head

Fill a bowl with equal parts of water and white vinegar or any other mild cleaning agent. Submerge the spray head completely into this solution for at least 30 minutes.
Soaking helps dissolve mineral deposits that may be clogging your faucet’s nozzle and affecting its performance. It also loosens dirt particles that are hard to remove by scrubbing alone.
After soaking, use an old toothbrush or soft-bristled brush to gently scrub away any remaining debris from both inside and outside of the spray head. Be careful not to damage delicate parts while brushing.
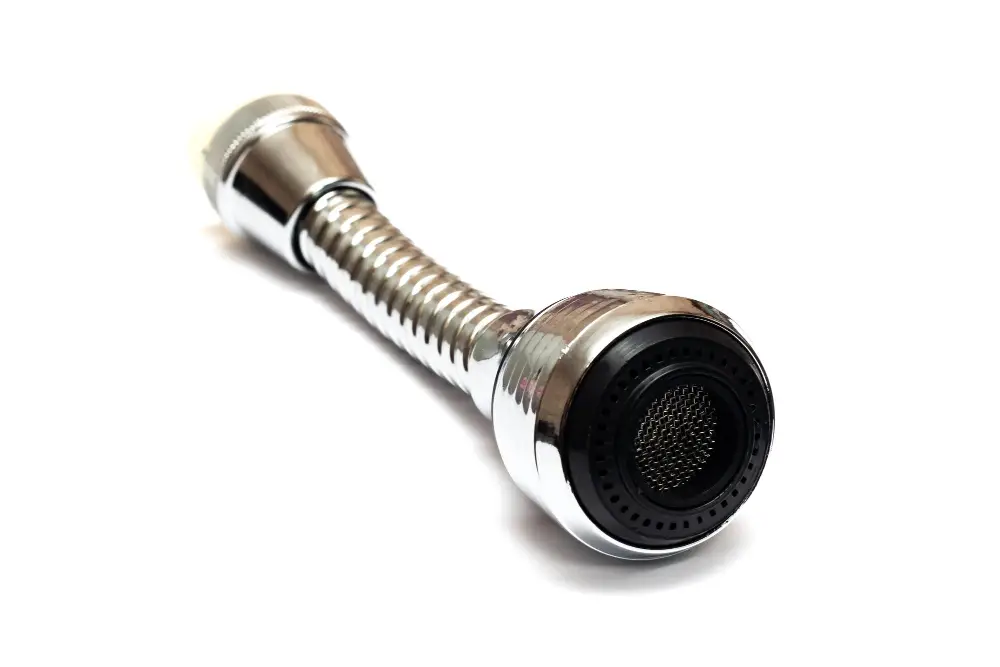
Sprayer Head Cleaning

It’s responsible for delivering a powerful and consistent water flow, making it an essential component in any modern kitchen. To clean the sprayer head, you’ll need to disassemble it first.
Once you’ve removed the aerator from your spray head, take out any rubber gaskets or O-rings that may be present inside. These parts can accumulate dirt and debris over time and affect water pressure if not cleaned regularly.
Next, use a small brush or toothbrush to scrub away any mineral deposits on both sides of the spray faceplate thoroughly. You can also soak this part in vinegar solution for about 30 minutes before brushing off with warm soapy water.
Rinse all parts under running tap water until no residue remains visible on them before reassembling everything back together again as per instructions provided by manufacturer manual.
Wipe Exterior Surfaces
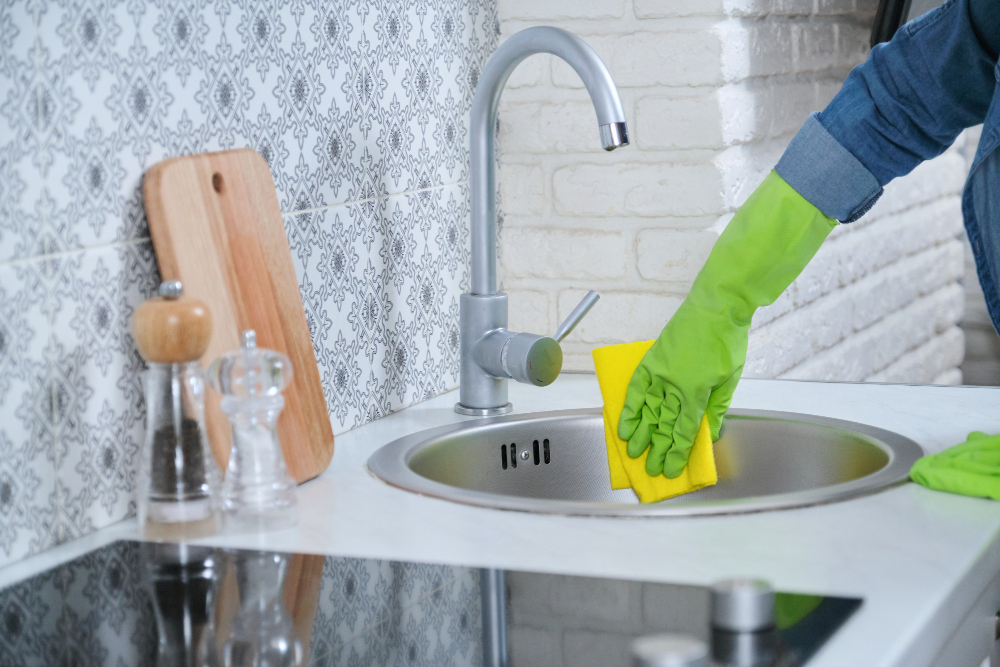
Wipe down all visible parts of the spray head with a soft cloth or sponge and mild soap solution. Be sure not to use abrasive cleaners or scrubbers that could scratch or damage the finish.
If there are any stubborn stains, try using a mixture of equal parts vinegar and water instead. This natural cleaning solution is effective at removing mineral buildup without harming your faucet’s finish.
After wiping down all exterior surfaces, rinse thoroughly with clean water and dry completely with a soft towel. This will prevent any leftover moisture from causing rusting or corrosion over time.
Cleaning the Faucet Hose Fittings
Over time, mineral deposits and debris can accumulate in these fittings, leading to reduced water flow and pressure. To clean them effectively, you will need a pair of pliers or an adjustable wrench.
Firstly, turn off the water supply to your kitchen sink by shutting off the valves under it. Next, use pliers or an adjustable wrench to loosen and remove each fitting from both ends of the hose carefully.
Once removed from their positions on either end of the hose connection point(s), soak them in white vinegar for about 30 minutes before scrubbing with a soft-bristled brush or toothbrush until all dirt is removed thoroughly.
Rinse each fitting with warm water before reattaching them back onto their respective connections using pliers or an adjustable wrench as necessary.
Reassemble Spray Head
Start by placing the aerator back into its original position and screwing it in tightly. Then, insert the rubber gasket into the base of the spray head and attach any other components that were removed during disassembly.
Make sure everything is securely fastened before reattaching your newly cleaned spray head to its hose fitting. Tighten all connections with a wrench or pliers if necessary but be careful not to over-tighten as this can cause damage.
Turn on your water supply and test out your newly restored pull-down kitchen faucet spray head! You should notice an immediate improvement in water flow and pressure compared to before cleaning.
By following these simple steps for cleaning and reassembling a pull-down kitchen faucet spray head, you’ll ensure optimal performance from this essential tool in your daily routine.
Reattach Spray Head
First, make sure that all the components are dry before putting them back together. Then, carefully align and insert the spray head into its original position on top of the faucet body.
Next, tighten any screws or nuts that hold it in place using a wrench or pliers if necessary. Be careful not to over-tighten as this can damage your faucet.
Turn on your water supply and test out your newly cleaned pull-down kitchen faucet spray head! You should notice an immediate improvement in water flow and pressure.
If you encounter any issues during reattachment or testing of your sprayer function after cleaning is complete; refer to our troubleshooting tips section for further assistance.
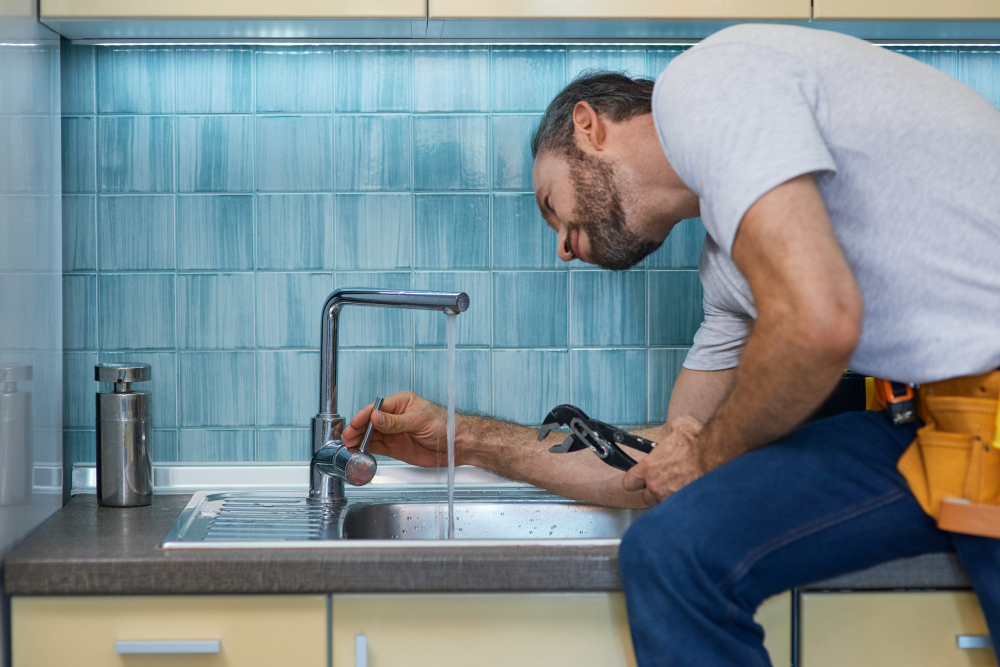
Test Spray Function

Turn on the water supply and activate the spray head by pressing its button or lever. Check if there are any leaks or drips from the connections you just tightened.
If everything looks good, run hot and cold water through your faucet for a few minutes to flush out any remaining debris.
If your pull-down kitchen faucet still has low pressure after cleaning, try removing and soaking it again in vinegar solution overnight before repeating these steps.
Problem Still Not Solved? Troubleshooting Tips

There are a few additional troubleshooting tips that may help solve the problem. First, check for any kinks or bends in the hose that could be restricting water flow.
If this doesn’t work, try cleaning out any debris from the valve body by turning off both hot and cold water supply valves under your sink and then removing each valve stem to clean them thoroughly.
Another common issue with pull-down kitchen faucet spray heads is a weak or inconsistent stream of water coming out of it. This can often be caused by mineral buildup inside the faucet’s aerator screen or nozzle openings.
To fix this issue, remove your aerator screen (as described earlier) and soak it in vinegar overnight to dissolve any mineral deposits clogging up its tiny holes before rinsing it thoroughly with warm soapy water.
Regular Maintenance Tips
It’s recommended to clean it at least once every three months, depending on the frequency of use and water hardness in your area. Regular maintenance will prevent mineral buildup and keep the spray head functioning optimally.
One easy way to maintain cleanliness is by wiping down the exterior surfaces with a damp cloth after each use. This will remove any dirt or grime that may have accumulated during cooking or dishwashing.
Another tip is to avoid using harsh chemicals when cleaning as they can damage the finish of both metal and plastic parts over time. Instead, opt for mild soap solutions or vinegar-based cleaners that are gentle yet effective in removing stains and mineral deposits.
Lastly, always check for leaks around hose fittings regularly as this could indicate wear-and-tear on internal components such as O-rings which need replacement before causing further damage.
Maintenance Tips for Prolonged Spray Head Life

Here are some maintenance tips that will help you keep your spray head in excellent condition:.
1. Clean the Spray Head Regularly: Make sure you clean the spray head at least once a month or more frequently if necessary.
2. Use Vinegar Solution for Hard Water Deposits: If you live in an area with hard water, use a vinegar solution instead of soap and water to remove mineral deposits from the nozzle and aerator.
3. Avoid Harsh Chemicals: Do not use harsh chemicals like bleach or ammonia on your faucet as they can damage its finish.
4. Check for Leaks Regularly: Inspect all connections regularly for leaks and tighten them if necessary.
5. Lubricate Moving Parts Occasionally: Apply silicone lubricant occasionally on moving parts such as swivel joints, O-rings, and washers to prevent wear and tear due to friction.
Conclusion

By following the steps outlined above, you can ensure optimal performance and longevity of your faucet’s spray head. Regular maintenance will not only keep it looking sparkling clean but also prevent mineral buildup and clogging that could affect water flow over time.
Remember to always turn off the water supply before disassembling any parts of your faucet, and take precautionary measures to avoid damaging delicate components during cleaning. If you encounter persistent issues with low pressure or clogged nozzles even after thorough cleaning, consult with a professional plumber for further assistance.
By keeping up with regular maintenance tips like these, you’ll enjoy hassle-free use of your pull-down kitchen faucet for years to come!.
FAQ
What is the best method for removing mineral buildup from a pull down kitchen faucet spray head?
The best method for removing mineral buildup from a pull down kitchen faucet spray head is by soaking the spray head in white vinegar for several hours and then gently scrubbing it with a soft brush.
How often should one clean a pull down kitchen faucet spray head to maintain optimal performance?
One should clean a pull down kitchen faucet spray head every 1-2 months to maintain optimal performance.
What are the important steps to follow when disassembling a pull down kitchen faucet spray head for cleaning?
Answer: The important steps when disassembling a pull down kitchen faucet spray head for cleaning are turning off the water supply, carefully unscrewing the spray head from the hose, and removing any debris or blockages.


