Last updated on
Discover the secrets to effortlessly cleaning your kitchen wall tiles, transforming them into a sparkling haven with these simple yet effective techniques.
The kitchen is the heart of the home, where we cook, eat and spend time with our loved ones. However, with all that cooking comes grease, grime and stains on your kitchen wall tiles.
It’s not only unsightly but also unhygienic to leave them dirty for long periods. Cleaning kitchen wall tiles may seem like a daunting task, especially if you don’t know where to start or what products to use.
Fear not! In this article, we’ll guide you through some easy and efficient ways to clean your kitchen wall tiles without breaking a sweat. So put on your cleaning gloves and let’s get started!
What's Inside
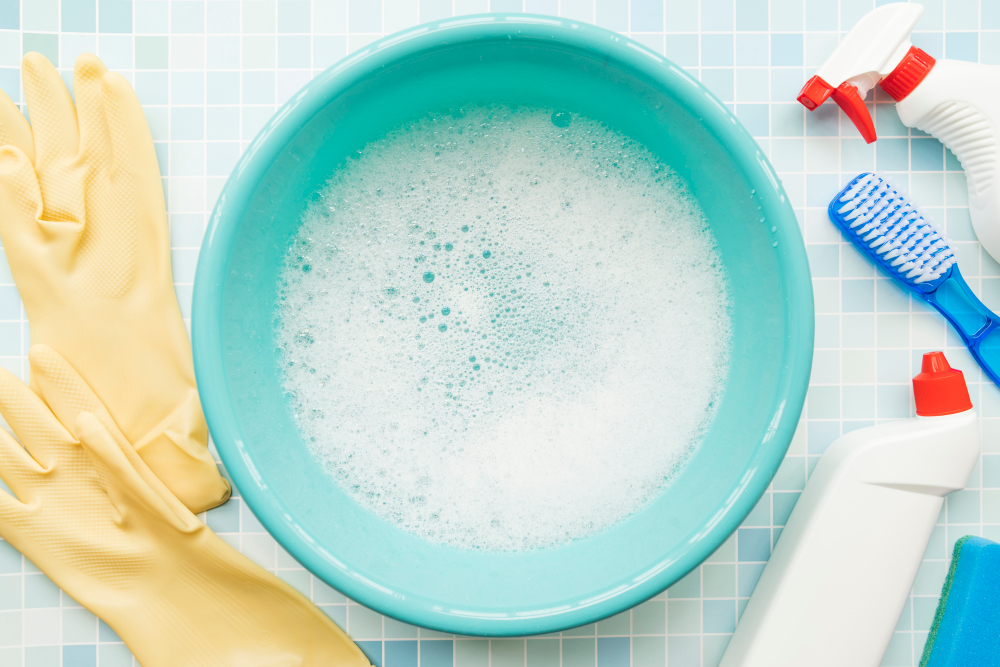
Choose the Right Cleaning Supplies
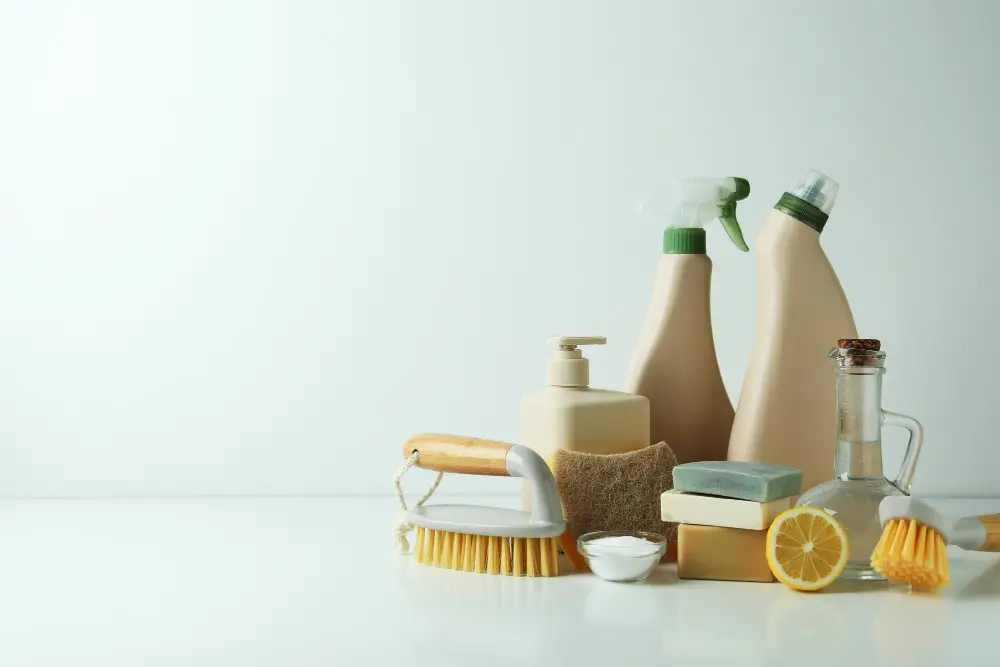
Before you start cleaning your kitchen wall tiles, it’s essential to choose the right cleaning supplies. Using the wrong products can damage your tiles or leave them looking dull and lifeless.
The type of tile you have will determine which cleaner is best suited for it. For example, natural stone tiles require a different approach than ceramic or porcelain ones.
When selecting a cleaner, consider its effectiveness in removing grease and grime without damaging the surface of your tile. You should also look for cleaners that are non-toxic and eco-friendly if possible.
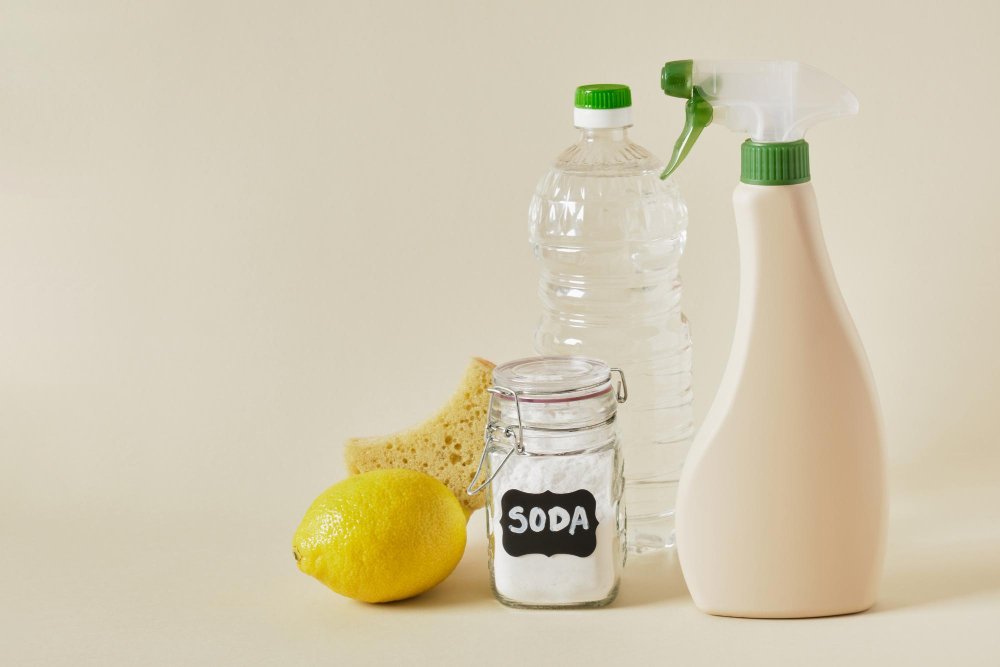
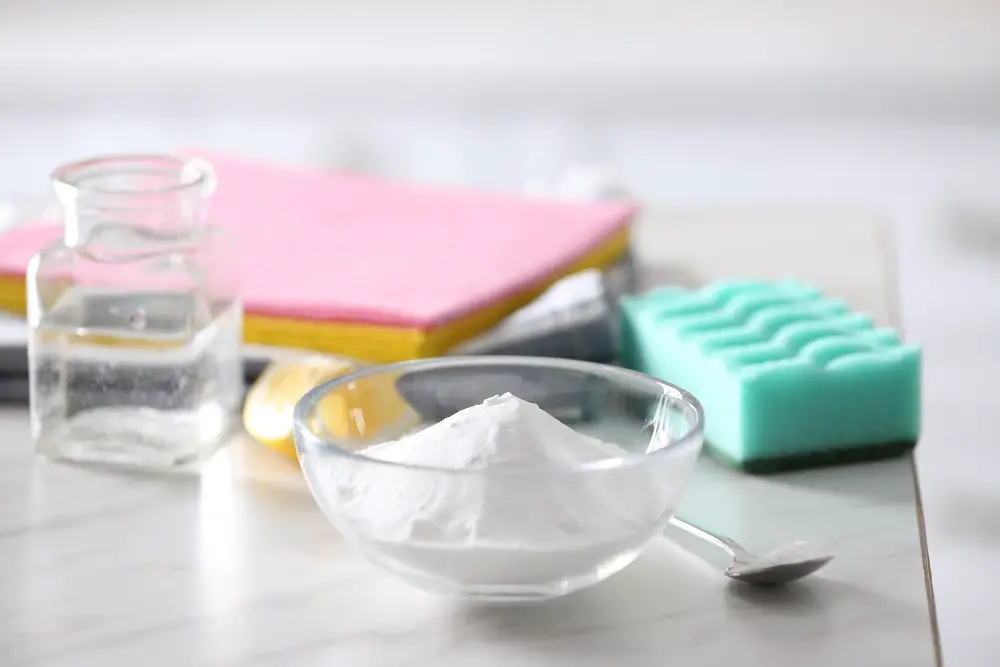
Some common household items like vinegar, baking soda, lemon juice can be used as natural cleaners to clean kitchen wall tiles effectively without any harsh chemicals involved.
Preparing the Cleaning Area

This will help you avoid any accidents or damage to surrounding surfaces. First, remove all items from the countertop and sink area that could get in your way while cleaning.
Next, cover any nearby appliances with a cloth or plastic sheeting to protect them from splashes of water or cleaning solution.
It’s also important to turn off any electrical outlets near the work area before starting as water and electricity don’t mix well together! If possible, open windows for ventilation during and after cleaning.
By preparing the space beforehand, you’ll be able to clean more efficiently without worrying about damaging anything around it.
Remove Loose Debris
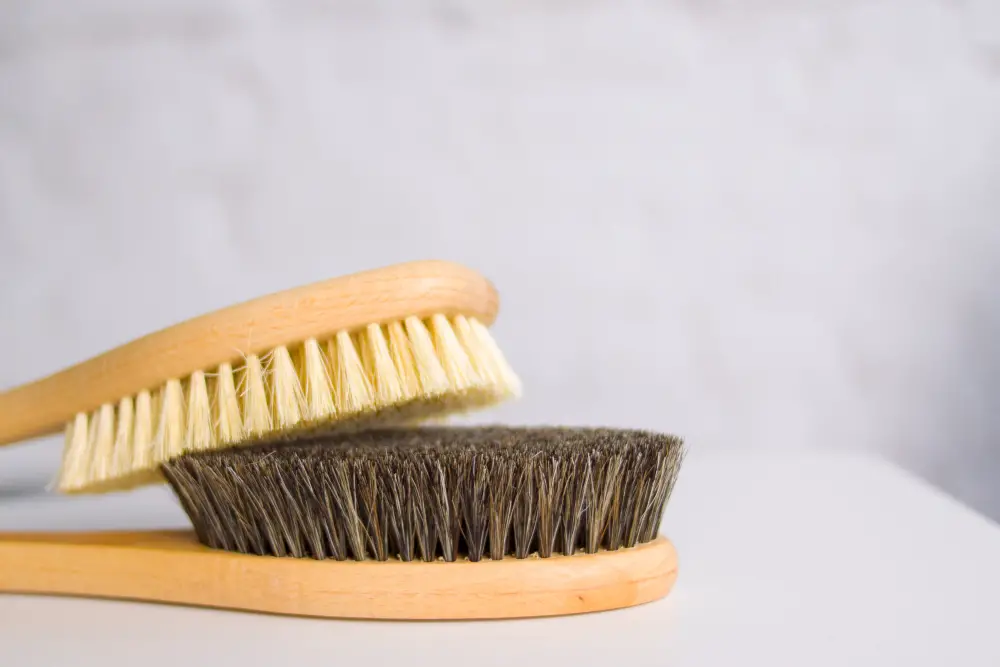
This will make the cleaning process more manageable and prevent dirt from spreading around. You can use a soft-bristled brush or a vacuum cleaner with an attachment to get rid of loose debris on the surface of your tiles and grout lines.
If you’re using a brush, gently sweep in circular motions starting from the top corner of your tiled area downwards. Be careful not to scratch or damage delicate surfaces like glass tiles while brushing them.
For hard-to-reach areas like corners and edges where brushes cannot reach easily, use an old toothbrush dipped in warm water mixed with dish soap solution for scrubbing away stubborn stains before proceeding with tile cleaning solutions.
Removing loose debris is crucial because if left unattended during tile-cleaning processes can cause scratches on surfaces that are difficult to remove later on.
Mixing Natural Cleaners
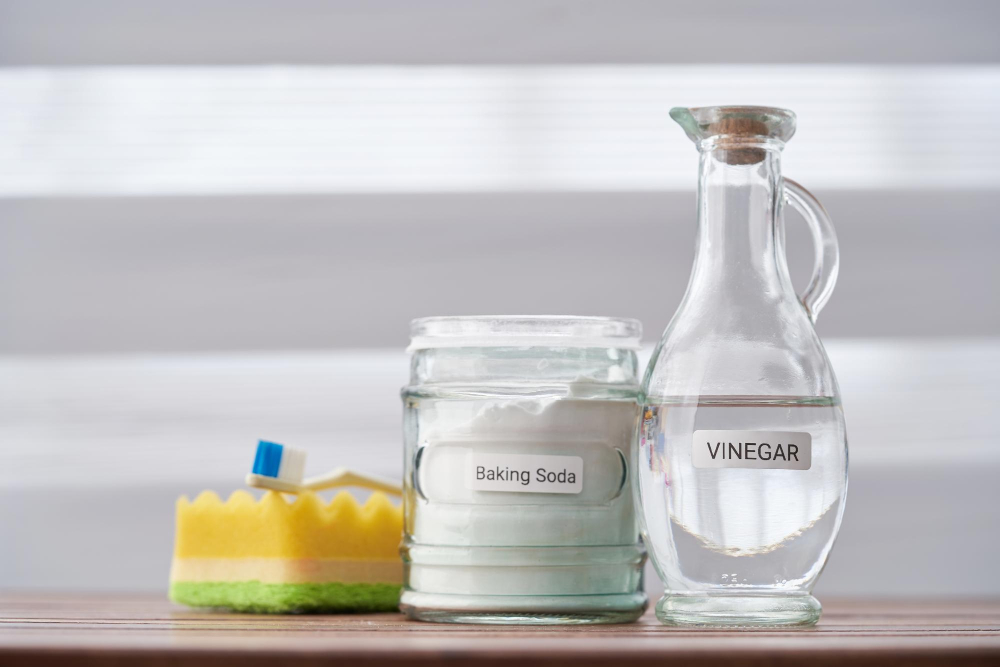
These cleaners are not only eco-friendly but also cost-effective and safe to use around food preparation areas.
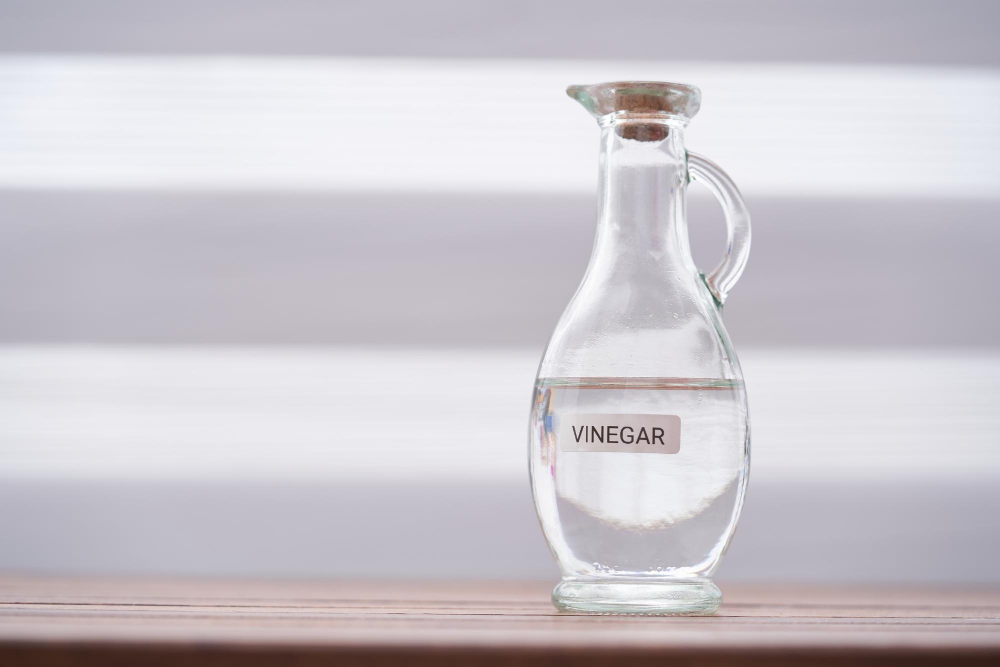
One of the most popular natural cleaning agents is vinegar. It’s acidic properties make it an excellent choice for removing grease and grime from kitchen wall tiles.
Mix equal parts of white vinegar and water in a spray bottle, shake well, then apply the solution on your tiles.
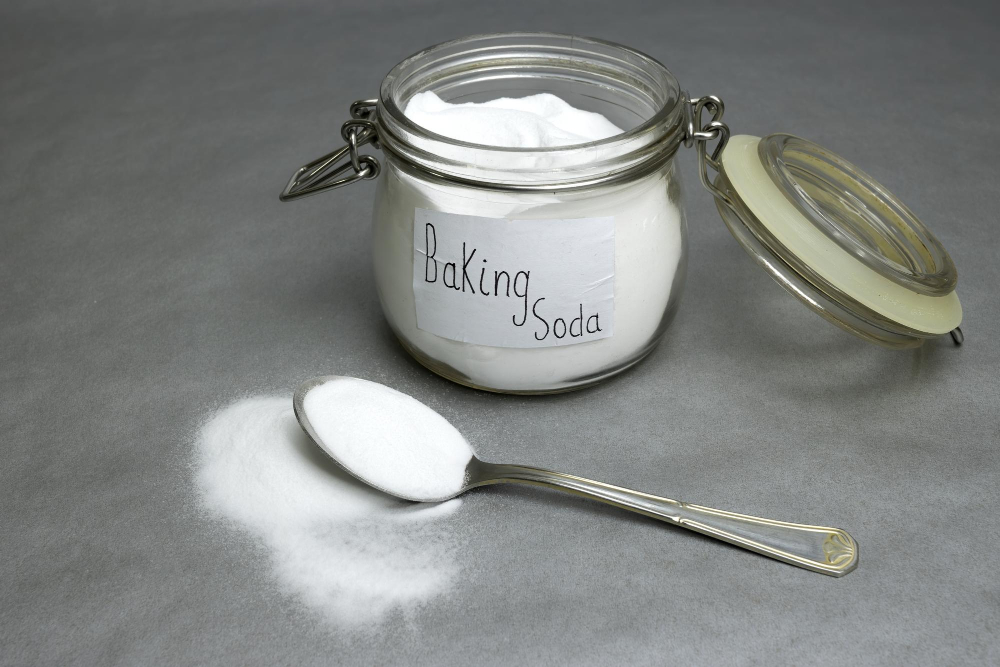
Another effective cleaner is baking soda. Its abrasive texture helps remove stubborn stains without scratching or damaging your tile surface.
To create a paste-like consistency mix 1/4 cup baking soda with enough water until it forms a thick paste; apply this mixture onto the stained area using a soft-bristled brush or sponge.
For tougher stains like oil splatters or tomato sauce spills, try mixing lemon juice with salt to form another powerful cleaning agent that will leave your kitchen wall tiles looking brand new again!
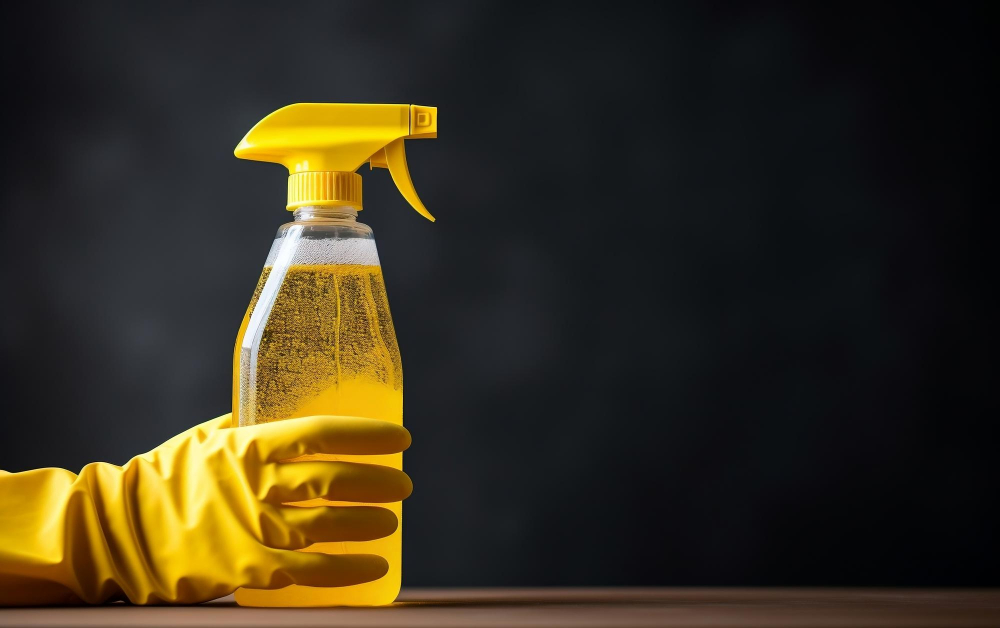
Using Commercial Tile Cleaners

These products are readily available in supermarkets and hardware stores, making them a convenient choice for many homeowners. However, it’s essential to choose the right cleaner that suits your specific type of tile and doesn’t cause any damage or discoloration.
Before using any commercial cleaner, read the label instructions carefully and follow them strictly. Some cleaners may require dilution with water or need to be left on the surface for a certain period before rinsing off.
It’s also crucial to wear gloves and protective eyewear when handling these chemicals as they can be harmful if they come into contact with your skin or eyes.
While commercial tile cleaners can effectively remove tough stains and grime from kitchen wall tiles, some people prefer natural alternatives due to their eco-friendliness or sensitivity concerns.
Recommended Tile Cleaning Products
There are many tile cleaning products available in the market, but not all of them are suitable for your specific type of tiles. It’s essential to choose a product that is safe and effective on your particular surface.
For ceramic or porcelain tiles, you can use an all-purpose cleaner like Mr Clean Magic Eraser or Lysol All-Purpose Cleaner. For natural stone surfaces such as marble or granite, opt for a pH-neutral cleaner like Stone Care International Granite & Stone Cleaner.
If you prefer natural cleaners over chemical ones, vinegar and baking soda work wonders on most types of kitchen wall tiles. Mix equal parts water and white vinegar in a spray bottle and apply it generously onto the tiled area before scrubbing with a soft-bristled brush.
Prepare the Cleaning Solution
The type of cleaner you use will depend on your personal preference and the severity of stains on your kitchen wall tiles. You can choose from natural cleaners like vinegar, baking soda or lemon juice or commercial tile cleaners available in stores.
If using a commercial cleaner, make sure to read and follow instructions carefully before mixing with water. Some products may require dilution while others are ready-to-use solutions.
For those who prefer natural remedies, mix equal parts white vinegar and warm water in a spray bottle for an effective yet gentle solution that won’t harm your tiles’ surface. Alternatively, create a paste by combining baking soda with enough water until it forms into a thick consistency.
Whichever method you choose; ensure that there is adequate ventilation in the room as some cleaning agents can produce fumes which could be harmful if breathed in excessively.
Pre-Treat Tough Stains
In such cases, pre-treating the affected area is essential to loosen up and dissolve tough stains before applying any cleaning solution.
Before you start scrubbing away at a stain on your kitchen wall tile, try using a pre-treatment method first. There are several ways to do this depending on what caused the stain in question.
For example, if you have grease or oil marks on your tiles from cooking splatters or spills, use baking soda mixed with water as a paste and apply it directly onto the stained area. Let it sit for 10-15 minutes before wiping off with warm soapy water.
Alternatively, if there’s mildew buildup due to moisture in your kitchen space that has accumulated over time; mix equal parts of white vinegar and hot water into a spray bottle then spritz generously onto affected areas. Allow it to soak for about 20 minutes before scrubbing gently with an old toothbrush or soft-bristled brush dipped in warm soapy water.
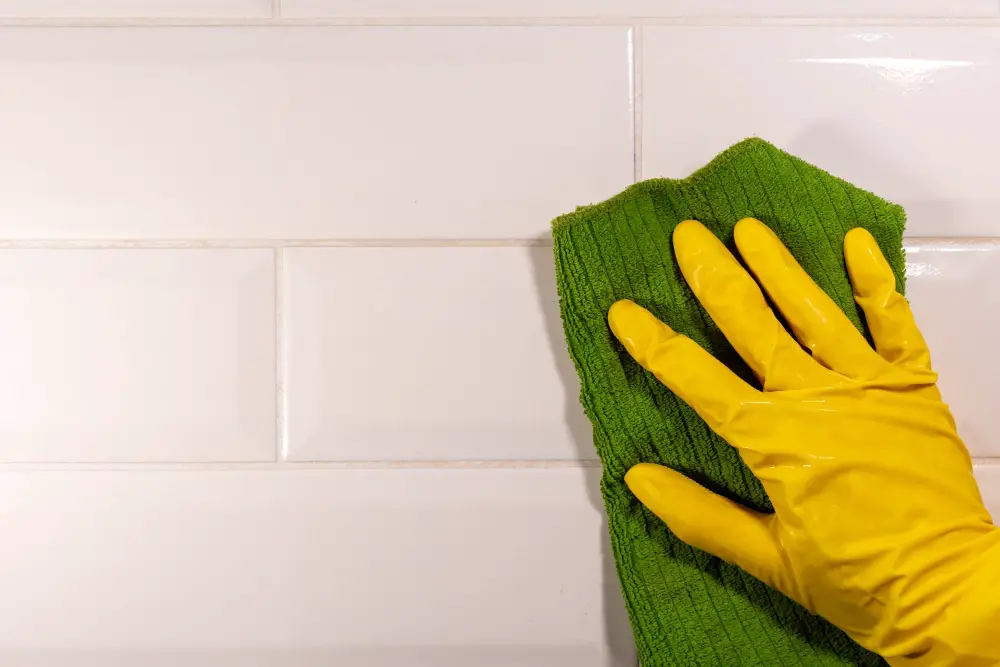
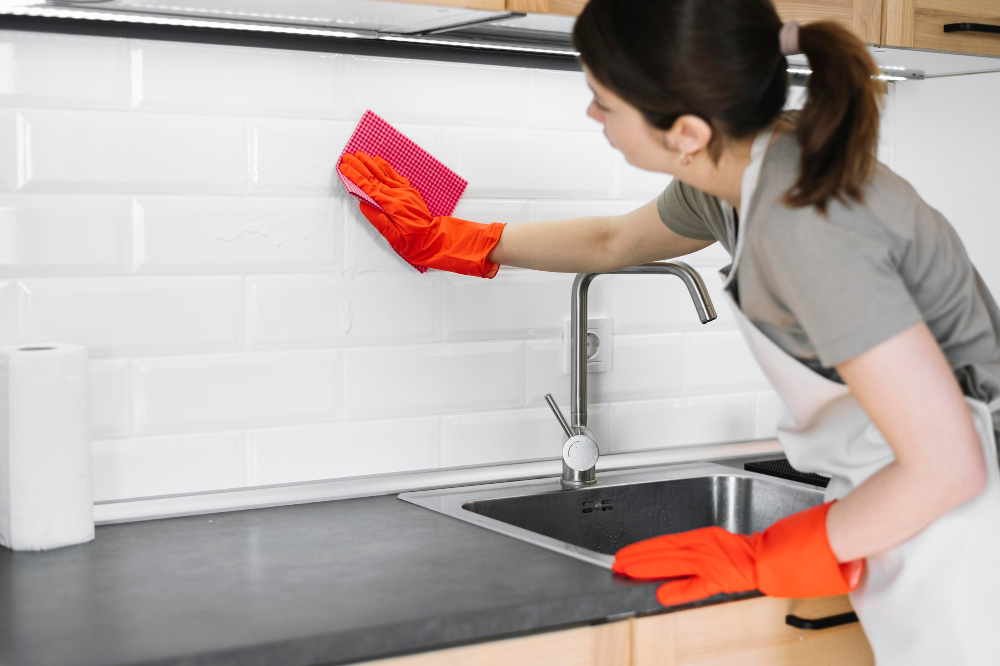
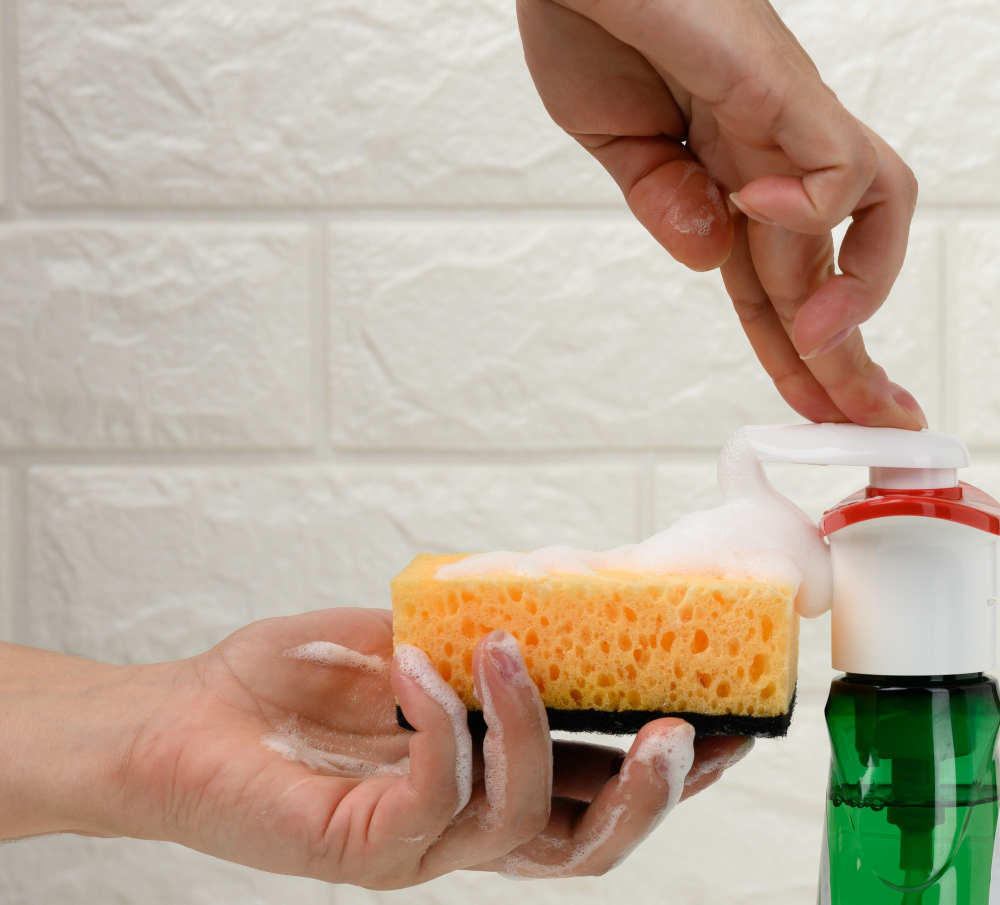
Apply the Cleaning Solution
You can use a sponge or a soft-bristled brush for this task. Dip the sponge or brush into the cleaning solution and start applying it in small sections on your tiles.
Make sure that you cover all areas of your kitchen wall tiles with the cleaning solution, paying extra attention to any stubborn stains or grime buildup. For tough stains, let the cleaner sit for a few minutes before scrubbing them away.
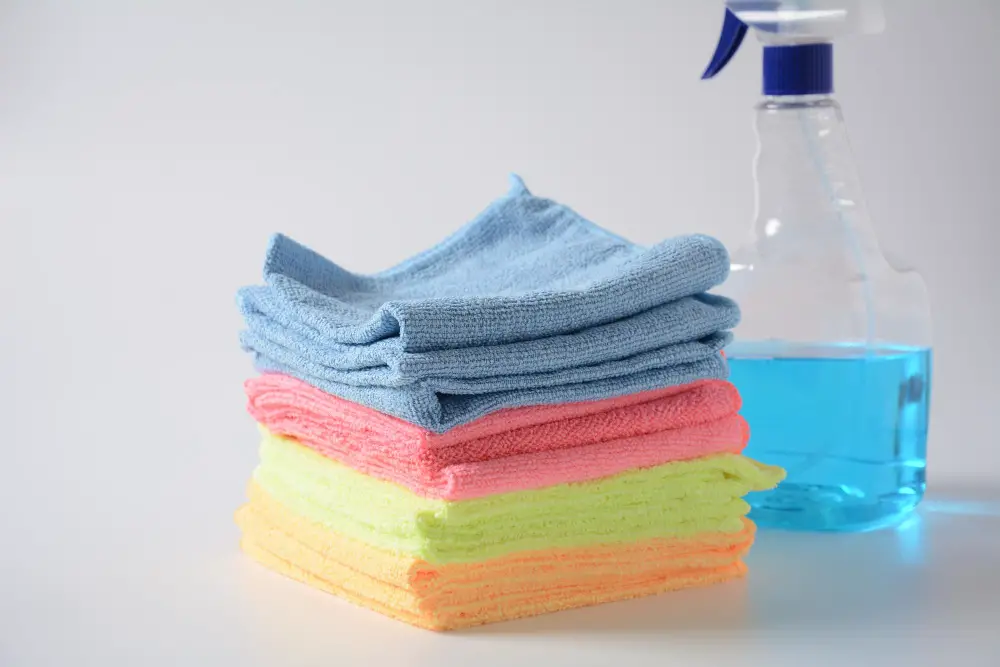
Avoid using abrasive tools like steel wool as they can scratch and damage delicate tile surfaces. Instead, opt for non-abrasive materials such as microfiber cloths or soft sponges.
Remember not to let the cleaning solution dry on your tiles; otherwise, it will leave behind streaks and residue marks that are difficult to remove later on.
Scrubbing Techniques and Tools
The right tools and techniques can make all the difference in achieving a spotless finish.
For light stains or regular maintenance, use a soft-bristled brush or sponge to gently scrub away dirt and grime. For tougher stains, try using an abrasive pad or brush with more pressure but be careful not to damage delicate tiles.
When scrubbing your kitchen wall tiles, work in small sections at a time so that you don’t miss any spots. Start from the top of the tile surface and work downwards towards the bottom for better control over drips.
Remember not to apply too much pressure while scrubbing as this may cause scratches on some types of tile surfaces like ceramic ones. Also avoid using steel wool pads as they can scratch even harder surfaces like porcelain tiles.
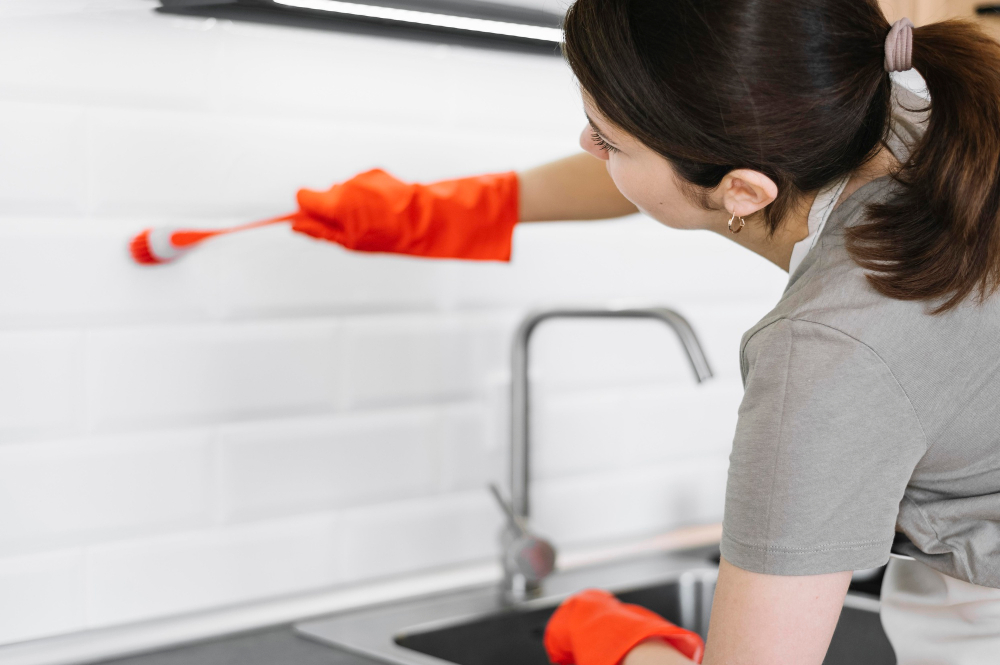
Cleaning Grout Lines
They can be a breeding ground for bacteria, mold, and mildew if not cleaned regularly. Cleaning grout lines is an essential part of tile maintenance to keep your kitchen hygienic and looking its best.
To clean grout lines effectively, you’ll need a stiff-bristled brush or an old toothbrush. Dip the brush into your cleaning solution and scrub along each line in circular motions until all dirt and stains are removed.
For tough stains on white grouts like coffee or wine spills, mix baking soda with hydrogen peroxide to form a paste-like consistency. Apply it onto the stain using an old toothbrush then let it sit for 10-15 minutes before scrubbing away with warm water.
Remember to rinse thoroughly after cleaning as leftover residue can cause discoloration over time. Once done cleaning, dry off excess moisture from both tiles and grouts using a clean towel or cloth.
Cleaning Grotty Grout
Over time, grout can become discolored or even blackened by mold growth. If your kitchen wall tile grout looks grotty despite regular cleaning efforts, don’t worry! There are several ways to tackle this problem.
One effective method is to use baking soda and vinegar paste. Mix equal parts of baking soda and water in a bowl until you get a thick paste consistency.
Apply the mixture onto the stained areas of your kitchen wall tiles using an old toothbrush or scrub brush with stiff bristles.
Next up: pour some white vinegar into a spray bottle (or dip another toothbrush into it) then apply it over the baking soda paste on each tile joint line carefully without touching any surrounding surfaces like countertops or cabinets as vinegar may damage them.
The chemical reaction between these two ingredients will create bubbles that help lift off dirt from deep within pores while also killing bacteria present thereon contact due to its acidic nature which makes short work out of stubborn stains too!
Wiping Away Dirt and Residue
Use a clean cloth or sponge to gently wipe down your kitchen wall tiles. Be sure to rinse out your cloth or sponge frequently in warm water as you work through each section of tiles.
It’s important not to leave any cleaning solution on the surface for too long, as this can cause damage over time. Once all of the dirt has been removed from your kitchen wall tiles, give them a final rinse with clean water and dry them off with a soft towel.
Rinse and Dry the Wall Tiles
Use a damp cloth or sponge to wipe away any remaining cleaning solution from the wall tiles. Make sure that all of the cleaning solution is removed as leaving any residue can cause streaks or stains on your newly cleaned kitchen wall tiles.
After rinsing, use a dry towel or microfiber cloth to dry off your kitchen wall tiles thoroughly. This will prevent water spots and ensure that no moisture remains on the surface of your tile walls.
It’s important not to leave any standing water on your tiled surfaces as this can lead to mold growth in between grout lines over time.
How to Clean Different Types of Tiles
Porcelain, ceramic, and glass tiles are the most common materials used for kitchen wall tiling. Porcelain and ceramic tiles are durable and easy to clean but can be prone to scratches if you use abrasive cleaners or scrubbers.
Glass tiles add a touch of elegance to your kitchen but can be delicate when it comes to cleaning.
To clean porcelain or ceramic tile walls, mix warm water with mild dish soap in a bucket. Dip a soft-bristled brush into the solution and gently scrub the surface in circular motions until all dirt is removed from grout lines as well as tile surfaces.
For glass tile walls, avoid using harsh chemicals that could damage their finish; instead opt for natural cleaners like vinegar mixed with water or baking soda paste applied on stains before wiping them away with damp cloth.
Home Remedies for Cleaning Kitchen Tiles
These remedies are not only eco-friendly but also cost-effective and readily available in most households.
One of the most popular home remedies for cleaning kitchen tiles is vinegar. Mix equal parts of white vinegar and water in a spray bottle, then apply it on your wall tiles.
Let it sit for a few minutes before scrubbing with a soft-bristled brush or sponge. Rinse thoroughly with warm water and dry with a clean cloth.
Another effective remedy is baking soda paste mixed with water or lemon juice to form an abrasive cleaner that removes tough stains from grout lines without damaging the tile surface.
For grease buildup on your kitchen wall tiles, try using dish soap mixed with warm water to cut through the grease effectively.
Cleaning Greasy Kitchen Tiles
The greasy residue can be challenging to remove with regular cleaning solutions. However, there are some effective ways to tackle this stubborn problem.
One of the best natural cleaners for removing grease from kitchen wall tiles is vinegar. Mix equal parts of white vinegar and water in a spray bottle and apply it generously on the greasy areas.
Let it sit for 5-10 minutes before scrubbing with a soft-bristled brush or sponge.
Another excellent option is baking soda paste mixed with water or dish soap. Apply the paste on the affected area using a cloth or sponge, let it sit for 15-20 minutes before scrubbing gently in circular motions.
For tough stains that won’t budge easily, try using rubbing alcohol or ammonia diluted in warm water (1: 4 ratio). Be sure not to mix these two products as they can create toxic fumes when combined.
Remember always test any new cleaner on an inconspicuous area first before applying them all over your kitchen wall tiles.
Preventing Stains and Buildup
Prevention is better than cure, so here are some tips to prevent stains and buildup on your kitchen tiles.
Firstly, wipe down the tiles after every cooking session with a damp cloth or sponge. This will remove any grease or food particles before they can settle on the surface.
Secondly, avoid using harsh chemicals like bleach or ammonia-based cleaners as they can damage the tile surface over time. Instead, opt for natural cleaning solutions like vinegar and baking soda which are gentle yet effective in removing dirt and grime.
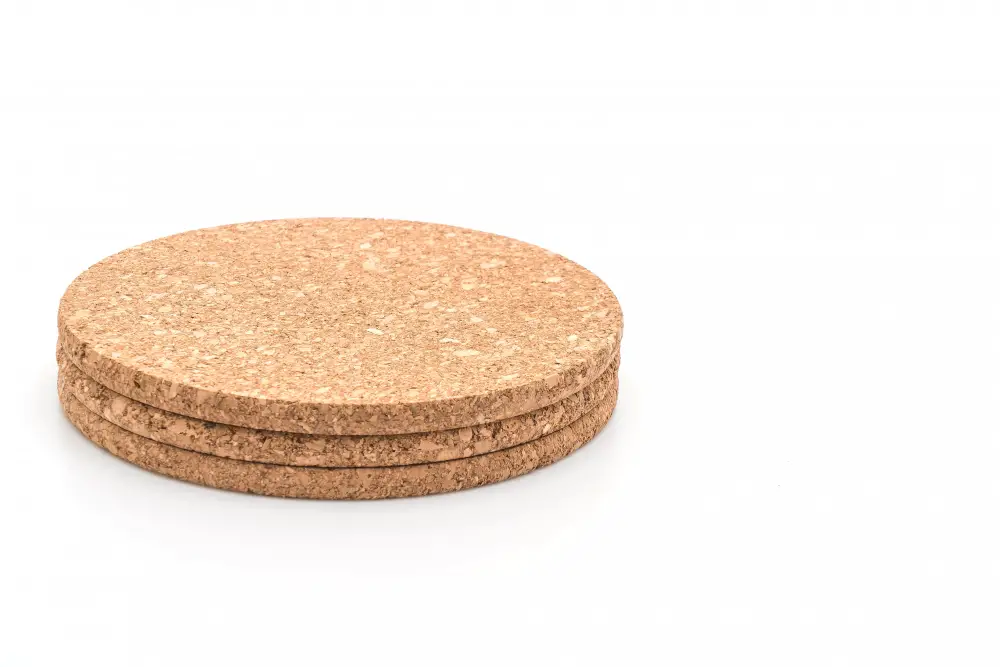
Thirdly, use coasters under glasses and mugs to prevent water rings from forming on your tiled backsplash area. Similarly, use trivets under hot pots and pans instead of placing them directly onto the tile surface which could cause discoloration or cracking due to thermal shock.
Lastly but most importantly – regular maintenance! Schedule periodic deep-cleaning sessions for your kitchen walls at least once every three months depending upon usage frequency.
Maintenance Tips
Here are some maintenance tips that will help you preserve the cleanliness of your kitchen wall tiles:
1. Wipe down the tiles after each use: Use a damp cloth or sponge to wipe away any spills or splatters as soon as they happen.
2. Avoid using abrasive cleaners: Abrasive cleaners can scratch and damage tile surfaces over time, so stick with gentle cleaning solutions instead.
3. Seal grout lines: Grout is porous and can absorb stains easily, so sealing it once every six months will prevent dirt from penetrating deep into its surface.
4. Keep an eye out for mold growth: Mold thrives in moist environments like kitchens and bathrooms; if left unchecked, it can cause health problems for you and your family members.
5. Regularly inspect caulking around sinks and countertops: Caulk seals gaps between surfaces; if damaged or missing, water may seep through causing damage underneath the tile surface.
Safety Precautions During Cleaning
First and foremost, make sure you wear gloves to protect your hands from harsh chemicals or sharp objects that may be present on the tiles. Ensure that there is proper ventilation in your kitchen area as some cleaning products can emit fumes which can cause respiratory problems.
If you’re using a ladder or step stool to reach high areas of the wall tiles, make sure it’s stable and secure before climbing up. Also, avoid standing on chairs or other unstable surfaces as they could easily tip over causing injury.
Lastly but not least important: read all product labels carefully before use and follow instructions accordingly. Mixing different cleaners together can create toxic fumes which are harmful if inhaled accidentally.
By taking these simple safety measures during tile cleaning will help prevent accidents while ensuring a clean kitchen environment for everyone involved!
FAQ
How can I clean my kitchen wall tiles?
To clean your kitchen wall tiles, lightly wipe off dirt with a dry cloth, then wash with warm water mixed with a neutral sulphate detergent, followed by rinsing with clean water and polishing with a clean, dry, soft cloth.
How do you clean kitchen tiles fast?
To clean kitchen tiles quickly, use orange or lemon oil as a natural degreaser by applying a few drops onto the tile surface and wiping it with a damp cloth or sponge and clean water for a grease-free and fresh-smelling surface.
How do you clean greasy kitchen tiles and grout?
To clean greasy kitchen tiles and grout, apply a paste made of one part lemon juice, one part vinegar, and two parts baking soda using a toothbrush, and scrub thoroughly.
What are the most effective natural cleaners for kitchen wall tiles?
The most effective natural cleaners for kitchen wall tiles are white vinegar, baking soda, and lemon juice.
What precautions should be taken while cleaning kitchen wall tiles to avoid damage?
To avoid damage while cleaning kitchen wall tiles, use a mild detergent, avoid abrasive cleaners, and gently scrub the tiles with a soft sponge or cloth.
How often should you clean kitchen wall tiles to maintain hygiene and appearance?
To maintain hygiene and appearance, you should clean kitchen wall tiles at least once a week.


