Last updated on
Find out how to move cabinet shelves because it’s a simple and transformative process that could revolutionize your storage space.
Moving cabinet shelves is a relatively simple process with a few straightforward steps. This guide will take you on a step-by-step journey, from identifying the type of shelving you have, through the necessary tools, and onto the actual process. By the end, you’ll have switched up your cabinet organization with ease and precision, as this guide covers all the details to make shifting your cabinet shelves a breeze.
So, let’s dive right into it!
Key takeaways:
- Use the right tools: tape measure, level, stud finder, drill, screwdriver
- Materials needed: shelf standards, compatible shelf brackets, screws
- Locate studs and mark desired shelf space height
- Attach shelf standards securely to the wall
- Attach shelf brackets and add shelves with precision
What's Inside
What You’ll Need
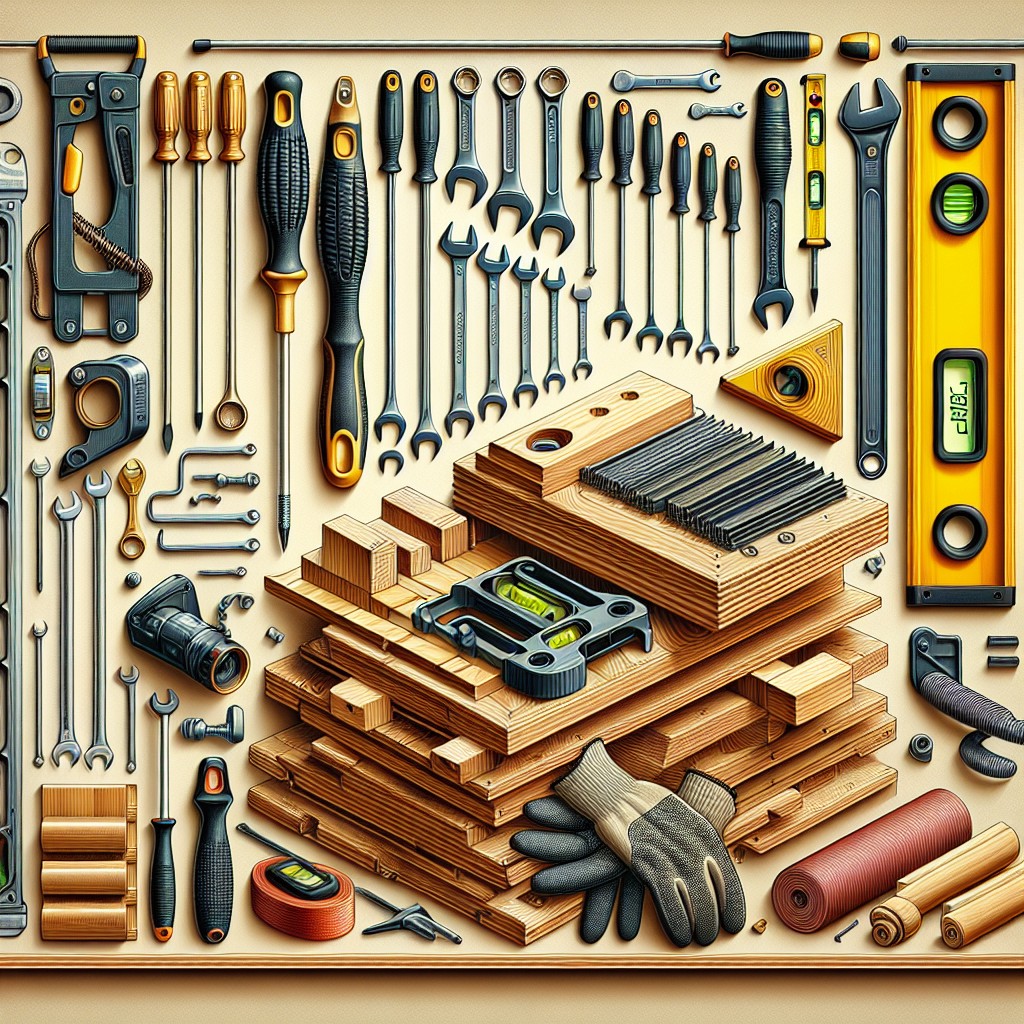
For a successful cabinet shelf moving project, ensure you have the right equipment and materials in place. Tools needed include a tape measure, level, stud finder, drill, and screwdriver. These will ensure accurate measurements and secure, level installations.
The materials you require should comprise of shelf standards, compatible shelf brackets, and screws. You might also require shelves if your existing ones don’t align with the new layout. Opt for shelves and brackets that support your storage weight needs to avoid sagging or collapsing.
It’s also worth having some drywall anchors on hand. These are used when there are no studs available for securing the shelf criteria.
Lastly, consider having someone assist you. An extra pair of hands can prove helpful, particularly when holding shelf standards or shelves level during installation.
Equipment / Tools
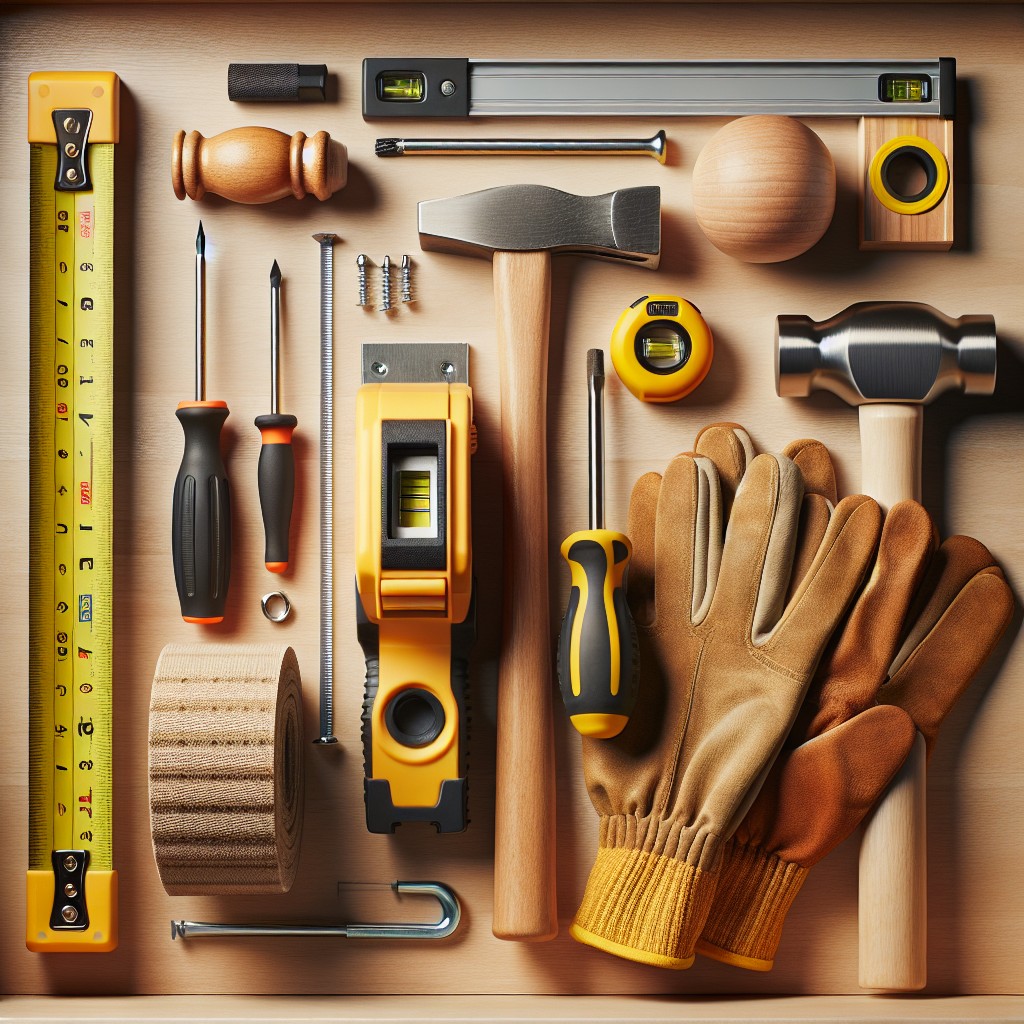
For this project, a variety of tools are needed, starting with a drill, which you’ll use for attaching the shelf standards to the wall. You might want to invest in a stud finder as well, to ensure a secure installation. A level is critical to keep shelves straight, and a tape measure for precise placement is indispensable. Lastly, a screwdriver or drill bit to tighten screws will secure everything in place.
All these tools are readily available at your local hardware store or online. Remember, accurate and careful measurement is the key to a successful project, so take your time to ensure you are well-prepared before beginning.
Materials
Before beginning this project, it’s crucial to have the required materials readily available. These include shelf standards, which create the flexible track system for the shelves, and shelf brackets that will hold the shelves in place.
The shelves themselves, typically made of wood or laminated board, will need to be the correct size for their intended space. Also necessary are screws for attaching the standards to your cabinet walls. It’s essential these are strong and durable to support the weight of the shelves and their contents.
Lastly, a level ensures that your standards and shelves are evenly placed, providing stability and visual appeal.
Locate Studs
Using a stud finder, detect and mark points in your wall where the studs are located. Most studs are 16 inches apart from each other, so this should be an easy task. Remember, it’s essential to install your cabinet shelves on studs to ensure stability and weight support. Use a pencil to mark both the top and bottom of your desired shelf space where these studs are.
Plan Locations for Shelf Standards
Begin by measuring the height of items planned to be placed on the shelves. This will help you determine the best position for each shelf.
Mark the desired height for the top and bottom of each standard, keeping in mind a general rule: the topmost shelf should be high enough to be accessible but sufficiently low to not interfere with cabinet doors or ceiling.
Always leave at least a 12-inch space between cabinet base and the first shelf.
Use a level to ensure all markings are straight to avoid shelves from leaning or tilting.
Always cross-check and adjust accordingly before moving on to the next step.
Please remember, precision is key in this step.
Attach the First Shelf Standard
Having already determined the location of the studs and planned the shelf standard positions, it’s time to fix the first one in place. Start at the top hole and use a spirit level to ensure it’s straight. With it level, mark the positions of the other holes.
Drill pilot holes at these marks, taking care not to make them too deep – a piece of tape around the drill bit can serve as a depth gauge. After drilling, hold the standard in place and use those pilot holes to add screws, securing it to the wall. Always use screws that are long enough to anchor into the studs – they will provide the necessary support for your shelf’s weight.
This step should be repeated for each standard you have planned in this project.
Attach the Remaining Shelf Standards
Once the first shelf standard is securely in place, it’s time to focus on the remaining ones. Be mindful of maintaining the same distance from the ceiling or floor for consistency and a well-balanced appearance. Use a level for precision, ensuring the standards are plumb. This will prevent your shelves from slanting or being uneven.
Then, mark the positions of the holes onto the wall, keeping the process identical to the first standard. This enhances a professional look and symmetry in your cabinet shelving installation.
Subsequently, drill the marked areas and insert wall anchors. Once these are ready, align the shelf standards with the anchors and screw them in place. Again, a power drill can be your go-to tool to fasten the screws, with a manual screwdriver for fine-tuning.
Remember, the strength of your shelves heavily depends on the secure attachment of these standards. Hence, double-check to ensure they’re sturdy and well-aligned with one another before proceeding to the next step.
Attach the Shelf Brackets
Ensuring the brackets are level is crucial. Use a level, hold the bracket on the standard, and mark the spot where you’ll screw it in. Once marked, remove the bracket and pre-drill a small guide hole; this step is essential to avoid splitting the wood. Now, secure the shelf bracket using the appropriate screws, double-checking its level once again.
Remember also to space your brackets appropriately. A good rule of thumb is to have a bracket every 30 – 36 inches. This promotes stability and prevents sagging. A companion bracket should be installed on each standard, with the bracket arms at exactly the same height.
Attach the Shelves
Once your brackets are securely in place, it’s finally time to add the shelves. Here’s an easy guide to do it:
1. Align your shelf with the brackets, making sure it’s level. Use a level tool for this. An uneven shelf can lead to problems down the road such as unstable objects or accelerated wear.
2. Most shelves will have pre-drilled holes. Simply align these holes with the ones on your brackets. If there are no pre-drilled holes, you may need to create them yourself to ensure a tight fit.
3. Fasten the shelf in place using suitable screws, usually provided with your shelf or brackets. Screw them in snugly, but be careful not to over-tighten as this could potentially damage your shelf or the brackets.
4. Give the shelf a slight tug to ensure it’s securely attached and can support weight. This will give you peace of mind before you start placing objects on it.
Remember, safety should always be your number one priority. If you feel unsure at any point, it’s a good idea to consult with a professional.
FAQ
What are the safe methods to adjust the height of cabinet shelves?
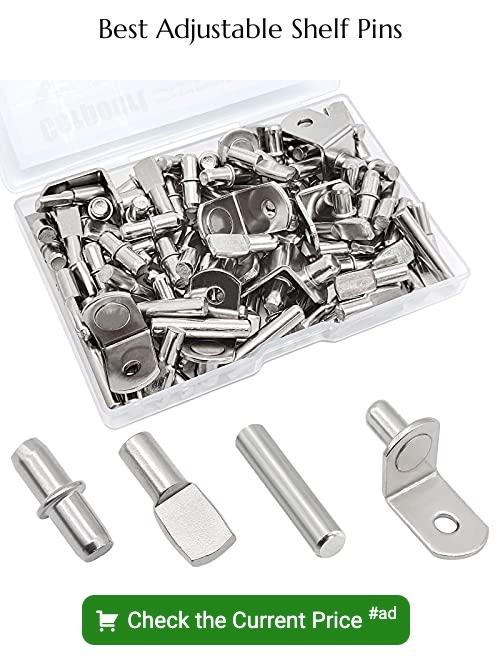
To safely adjust the height of cabinet shelves, use the pre-drilled holes and shelf clips or pins that came with your cabinet, or drill new holes if needed, always ensuring the shelf is level before loading it up.
How can one maximize storage space through strategic shelf repositioning?
Maximizing storage space can be achieved by strategically repositioning shelves higher or lower, aiming to create vertical gaps to store taller items, and broader spaces for wider objects.
What are the commonly used tools when moving cabinet shelves?
The commonly used tools when moving cabinet shelves include a screwdriver, a level, a drill, and measuring tape.
Read More
 How to Choose Kitchen Cabinets: Your Ultimate Buying Guide
 Staining Cabinets: A Step-by-Step Guide to a Fresh Look
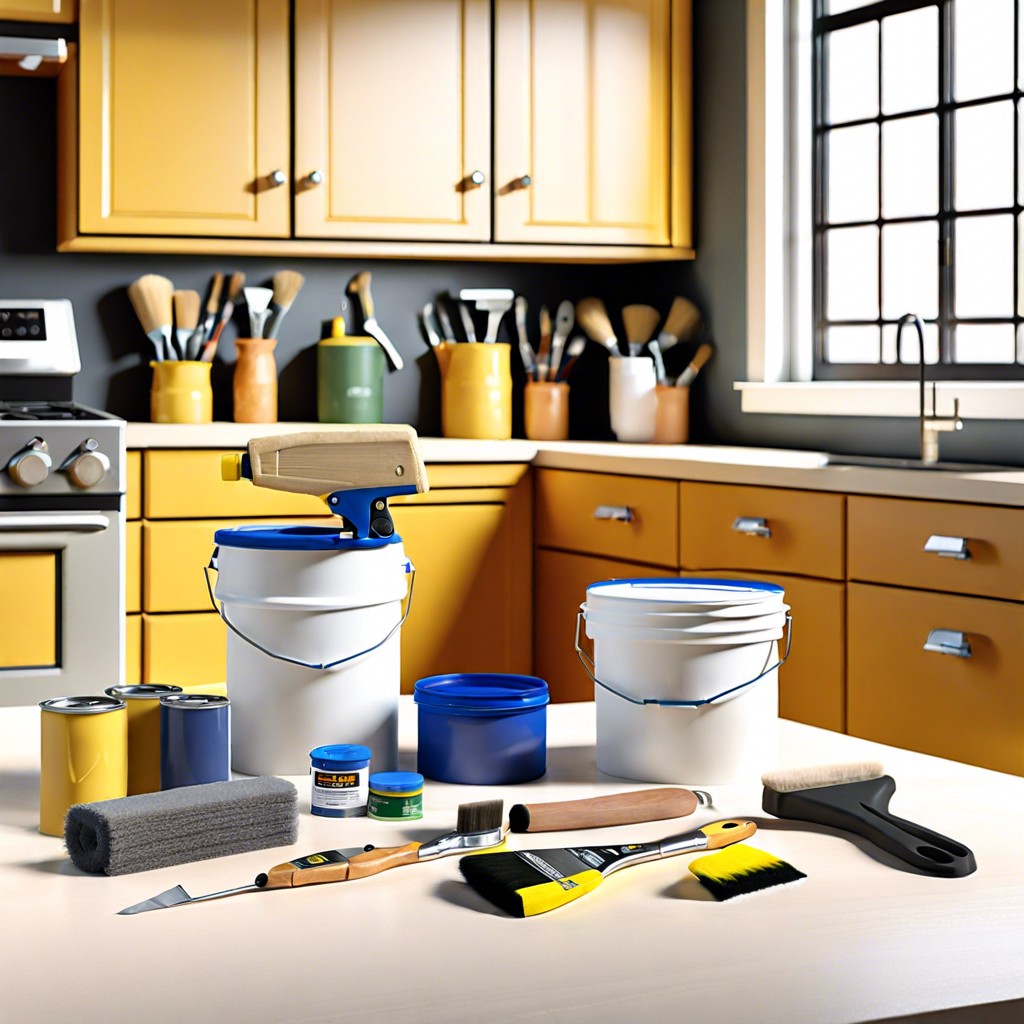 How Long Does It Take to Paint Kitchen Cabinets: A Time-Saving Guide
 Cost to Refinish Cabinets: A Cheaper Revival
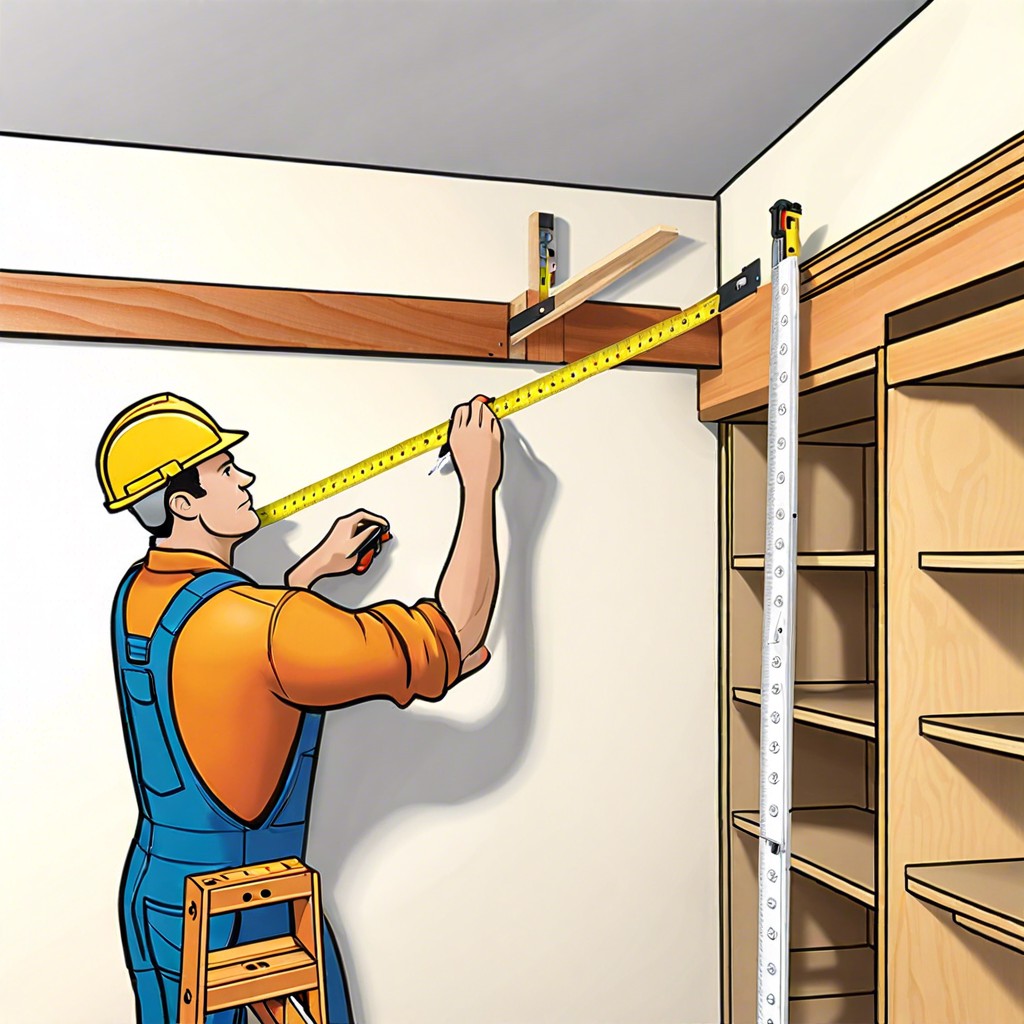 How to Install Upper Cabinets: Tips for a Perfect Kitchen Makeover