Last updated on
Learn the essential steps to properly plumb your kitchen sink with a disposal and dishwasher, ensuring a functional and efficient space for all your culinary adventures.

Plumbing a kitchen sink with a disposal and dishwasher can seem like a daunting task, but it doesn’t have to be. With the right tools and some basic knowledge, you can easily install these appliances and have your kitchen sink up and running in no time.
In this article, we will guide you through the process of plumbing a kitchen sink with disposal and dishwasher step by step. So whether you’re renovating your kitchen or just looking to upgrade your appliances, read on to learn how to plumb your kitchen sink like a pro!
What's Inside
Tools and Materials Required
Here is a list of what you’ll need:
Tools:
- Adjustable wrench
- Basin wrench
- Channel-lock pliers
- Hacksaw or reciprocating saw
- Screwdrivers (flathead and Phillips)
- Plumber’s putty or silicone caulk
Materials: – Kitchen sink with mounting hardware – Garbage disposal unit – Dishwasher drain kit – PVC pipes, fittings, and glue for drainage system – Water supply lines (hot/cold) Having these tools at your fingertips will make the installation process much smoother. It’s also essential to ensure that all materials are compatible with each other before starting work.
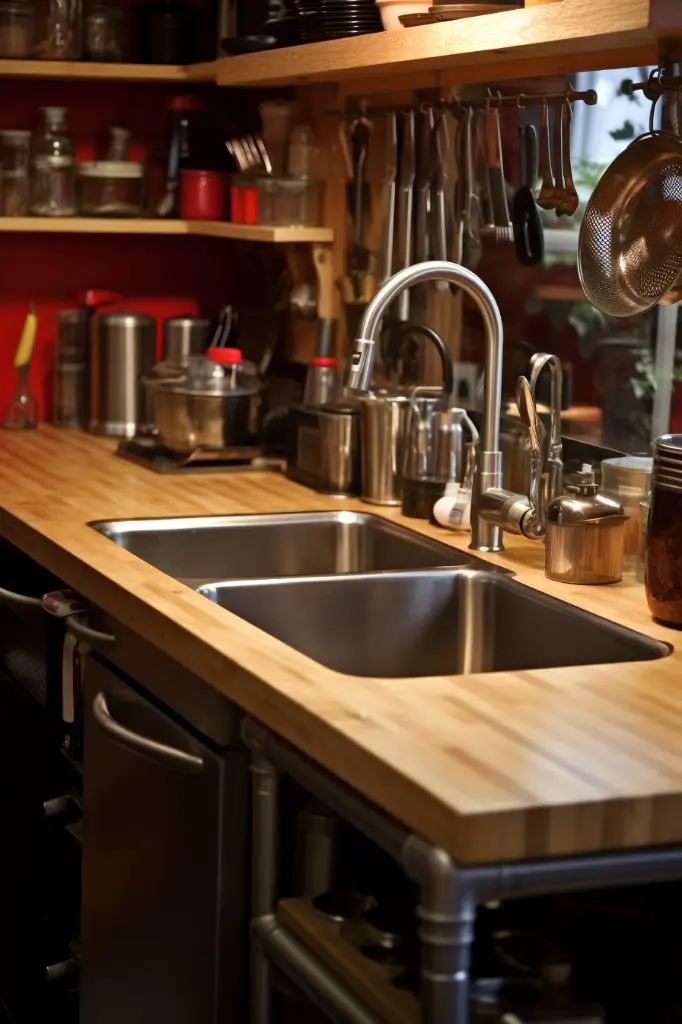
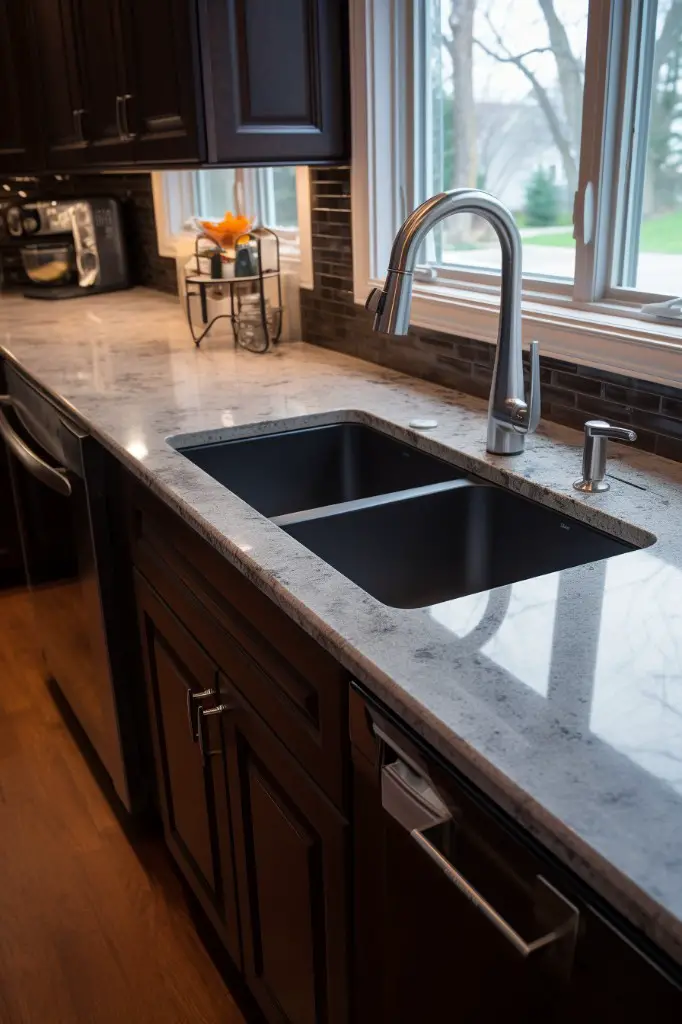
Choosing the Right Sink
There are several factors to consider when selecting a kitchen sink, including size, material, style and configuration.
Size is an essential consideration when choosing a kitchen sink. You need to ensure that it fits comfortably in your countertop space while still providing enough room for washing dishes or preparing food.
Material is another crucial factor as different materials have varying durability levels and maintenance requirements. Stainless steel sinks are popular due to their affordability and ease of cleaning while porcelain sinks offer an elegant look but require more care.
Style also plays a significant role in choosing the right kitchen sink as there are various designs available such as undermounts or drop-ins which can affect how easy they will be installed into countertops.
Lastly, consider whether you want one large basin or multiple smaller ones depending on how much cooking you do at home. A single bowl may be sufficient if you don’t cook often but if cooking is frequent then double bowls might work better for separating dirty dishes from clean ones during meal preparation time.
Measuring and Planning the Installation
This will help ensure that everything fits properly and works efficiently. Begin by measuring the width of your cabinet where you plan to install the sink, as well as its depth from front to back.
Next, determine where you want to position your garbage disposal unit under the sink. Make sure there is enough space for it without interfering with any other plumbing or electrical components in your kitchen.
When planning for a dishwasher installation, consider its location relative to both water supply lines and drain pipes. You’ll need access points for both hot water supply lines (usually 3/8-inch copper tubing) and drainpipes (usually 1-1/2-inch PVC pipe).
Once all measurements are taken into account, create a rough sketch of how everything will fit together before proceeding further with mounting preparation or actual installations.
Sink Mounting Preparation

The first step is to remove any old sink and clean the countertop surface thoroughly. Next, measure and mark where you want your new sink to be placed on the counter.
Once you have determined where your new sink will go, it’s time to cut out a hole in the countertop for it. Use a jigsaw or reciprocating saw with a fine-tooth blade for this task.
After cutting out the hole in your countertop, test-fit your new kitchen sink into place before proceeding with installation. Make sure that there are no gaps between the edge of the opening and lip of the basin.
Installing the Kitchen Sink
First, remove any old sink or debris from the area where you will be installing your new one. Then, place a bead of silicone caulk around the edge of the mounting surface on top of your countertop.
Next, carefully lower your new sink into place and make sure it is level with no gaps between it and the countertop. Use clamps to hold everything in position while you work.
Now that everything is secure, use a wrench to tighten down all mounting clips under each side of the sink until they are snug against both sides of its rim.
Garbage Disposal Choosing and Prep
First and foremost, you need to determine the size of your kitchen sink and the amount of food waste that typically goes down your drain. This will help you choose a disposal with an appropriate horsepower rating.
Next, consider whether you want a continuous feed or batch feed model. Continuous feed disposals allow for constant grinding while running water through them, making them ideal for larger households with more frequent use.
Batch feed models require loading food waste into the unit before turning it on but offer added safety features as they cannot be turned on accidentally.
Once you have chosen your garbage disposal model, prepare it by removing any packaging materials and checking that all necessary parts are included in the package. Follow manufacturer instructions carefully when installing mounting hardware onto the sink flange before attaching plumbing connections.
Garbage Disposal Installation
A garbage disposal is a handy appliance that helps grind up food waste and prevent clogs in your pipes. Before purchasing a garbage disposal, make sure it’s compatible with your sink and plumbing system.
To install the garbage disposal, start by removing any excess putty or debris from around the mounting area of your sink. Then attach the mounting assembly to the bottom of your sink using screws provided with your unit.
Next, connect all necessary wires according to manufacturer instructions and slide in place under mount ring before tightening screws until snugly fit against underside of drain flange.
Attach discharge tube onto outlet port located at top end near motor housing while ensuring proper alignment between both parts before securing them together using clamp provided by manufacturer or plumber’s tape if needed.
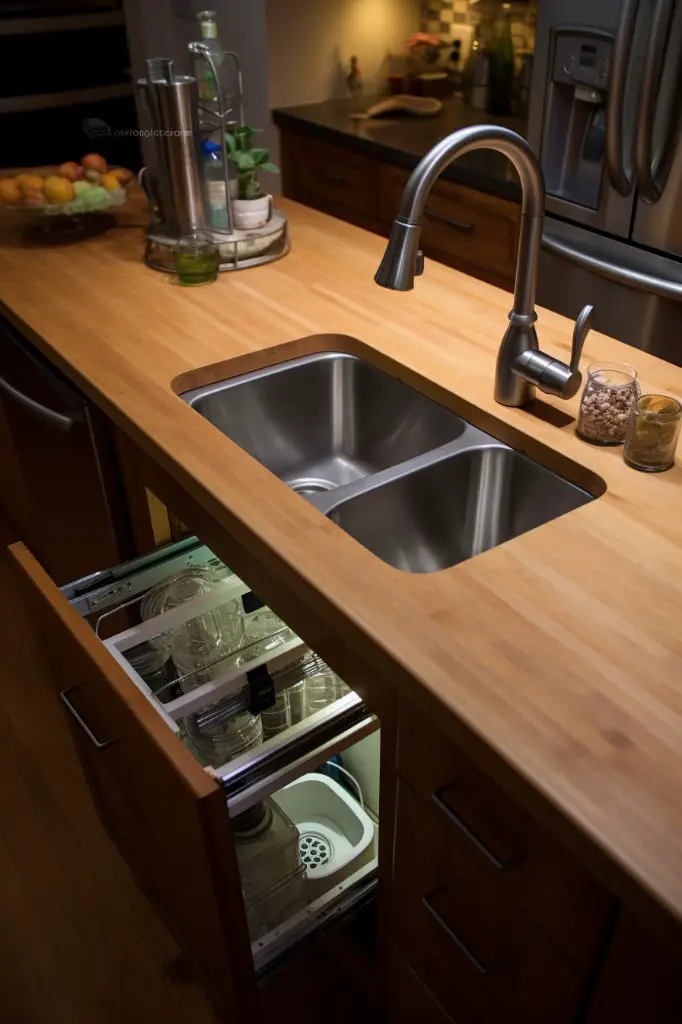
Dishwasher Selection and Preparation
First and foremost, you need to ensure that the dishwasher is compatible with your plumbing system and can be easily installed. You also want to choose a model that fits within your budget while still meeting all of your needs.
Before purchasing a new dishwasher, measure the space under your countertop where it will be installed. Make sure you have enough room for both the appliance itself and any necessary connections or hoses.
Think about what features are important to you in a dishwasher. Do you want one with multiple wash cycles? A delay start option? Adjustable racks?
Once you’ve selected the right model for your needs, prepare it by removing any packaging materials and reading through its installation instructions thoroughly before beginning installation.
Dishwasher Installation
Before purchasing a dishwasher, make sure that it fits in your kitchen space and is compatible with your plumbing system. Once you have chosen a suitable model, follow these steps for installation:
1. Turn off the water supply: Locate the shut-off valve under your sink and turn off both hot and cold water supplies.
2. Remove cabinet panel: Remove any panels or drawers beneath where you plan to install your dishwasher.
3. Connect drain hose: Attach one end of the drain hose from your new dishwasher onto an inlet port on top of or near its pump assembly.
4. Connect Water Supply Line: Connect one end of a braided stainless steel supply line onto each inlet valve at bottom front corners inside machine compartment.
5. Attach Drain Hose To Garbage Disposal: If there is no air gap installed then connect discharge pipe coming out from side of dish washer directly into garbage disposal unit by removing knock-out plug using hammer & screwdriver.
6. Plug In The Dishwasher And Test It Out: Plug in power cord into electrical outlet under sink cabinet. Run test cycle after turning on main water supply.
Connecting Water Supply Lines
Before starting this process, make sure that all of your appliances are properly secured and sealed. You will need to connect both hot and cold water supply lines to each appliance.
To begin connecting the water supply lines for your sink with disposal and dishwasher installation project, start by turning off the main water valve. Then attach a shut-off valve onto each of the hot and cold pipes under your sink using Teflon tape or pipe dope for a tight seal.
Next up is attaching flexible hoses from these valves onto their respective inlet ports on both sides of your faucet assembly (hot/cold). Make sure they’re tightened securely but not over-tightened as this can cause leaks down-the-line.
Finally comes hooking up those same flexible hoses from underneath where they meet at one end into either side inlet port on top of garbage disposal unit before tightening them down again just enough so there’s no wiggle room left whatsoever!
Hooking Up the Drain and Drain Pipes
This step is crucial as it ensures that wastewater flows out of your kitchen sink efficiently without any leaks or blockages.
To begin with, connect the tailpiece of your sink strainer to a P-trap using a slip nut. Make sure that all connections are tight enough but not too tight as this can cause damage to the pipes.
Next, attach another piece of pipe called an extension tube onto one end of the P-trap and then connect it to your garbage disposal unit on its other end. Use plumber’s tape or putty around each connection point for added security against leaks.
For connecting dishwasher drainage into this system use a branch tailpiece which will be connected between disposer outlet port (where discharge hose from dish washer is connected) & p trap inlet arm. Check all connections for any signs of leakage by running water through them before turning on your garbage disposal or dishwasher.
Installing and Connecting the Air Gap
It prevents dirty water from flowing back into the dishwasher and contaminating clean dishes. Installing and connecting the air gap is a straightforward process that can be completed in just a few steps.
To install the air gap, you will need to drill a hole in your countertop or sink deck where you want it to be located. Then, insert the base of the air gap through this hole so that it sits flush with your countertop or sink deck.
Next, connect one end of a length of tubing to the bottom outlet on your dishwasher and attach another length between this tube’s other end and one side inlet on top of an Air Gap fitting (usually marked as “Dishwasher”). Connect another piece from its second side inlet (marked as “Sink”) directly onto either tailpiece coming down from each basin strainer basket assembly under each bowl drain opening.
Hooking Up the Dishwasher Drain Hose
The dishwasher drain hose is usually connected to a small inlet on top of the garbage disposal unit. Before connecting, make sure that your dishwasher has a high loop installed under your kitchen sink cabinet or countertop.
This will prevent dirty water from flowing back into your clean dishes and keep any unpleasant odors at bay.
To connect the dishwasher drain hose, first remove any knockouts in place on top of the garbage disposal unit where you plan to attach it. Then insert one end of the drainage tube onto this inlet and secure it with a clamp or zip tie.
Next, run another length of tubing from this connection point up towards an air gap fitting mounted above counter level (if required by local plumbing codes). Connect this second piece back down again into another opening near where we started – typically located just below our sink basin itself!
Adding Your Dishwasher Wye
The wye is a T-shaped fitting that connects the dishwasher drain line to the garbage disposal and sink drain. It allows wastewater from both appliances to flow into one pipe.
To install the wye, first turn off your water supply and disconnect all plumbing connections under your sink. Then, locate where you want to place the wye on your drainage system – typically between 6-8 inches above where it enters into a P-trap or other waste pipe.
Next, cut out a section of piping using PVC cutters or saws according to manufacturer instructions for size and placement of fittings (usually around 2 inches). Install an elbow joint onto each end of this newly created gap in order for them fit snugly together with no leaks when tightened down properly by hand tightening only at first before using pliers if necessary.
Checking for Leaks
Even a small leak can cause significant damage over time if left unchecked. To check for leaks in your plumbing system, turn on the water supply and run both the disposal and dishwasher simultaneously while inspecting all connections carefully.
Start by checking under the sink where all pipes connect to ensure that there are no visible signs of leakage or dripping water. Then move on to inspecting each connection point along with drainpipes leading from both appliances.
If you notice any drips or moisture around any connection points or pipes leading from either appliance during this process – don’t panic! Simply tighten up loose fittings using pliers until they’re snug again before retesting everything once more.
Remember that even after tightening up loose fittings; it’s still essential always to keep an eye out for potential leaks as part of regular maintenance routines moving forward.
Finishing and Sealing the Installation
This step is crucial in preventing leaks and ensuring that your plumbing system functions properly.
To seal the installation, start by applying plumber’s putty around the base of the sink flange. Then place a rubber gasket over it before tightening down with mounting hardware.
Next, connect all drain pipes using PVC cement or Teflon tape to ensure a tight seal. Make sure all connections are secure and free from any leaks.
After connecting water supply lines for both hot and cold water sources as well as hooking up dishwasher hoses correctly (if applicable), turn on both faucets to check for any leaks at each connection point.
Testing the Sink, Disposal, and Dishwasher
Before using any of these appliances for the first time, it is important to check for leaks and ensure that everything is working correctly.
To test your sink and garbage disposal unit:
- Turn on the water supply valves under the sink.
- Fill up both sides of your kitchen sink with water.
- Pull up on the stopper in one side while turning on that side’s garbage disposal switch.
- Allow all of this water to drain through both sides while running cold tap water down each drain.
If there are no leaks or issues with drainage during this process then you can move onto testing out your dishwasher:
- Make sure there are no dishes inside before starting
- Add detergent into its dispenser
- Turn it ON
- Wait until cycle ends
Maintenance and Troubleshooting
Regular cleaning of the sink, disposal, and dishwasher will prevent clogs or blockages from forming in the pipes. You can use a mixture of baking soda and vinegar or commercial cleaners specifically designed for these appliances.
In case you encounter any issues with your plumbing system such as leaks or strange noises coming from the garbage disposal unit, troubleshooting should be done immediately before they worsen. Check if there are any loose connections in the pipes that need tightening up; inspect if there are food particles stuck inside that cause clogging; make sure all electrical connections are secure.
If problems persist despite troubleshooting efforts on your own end then it’s best to call a professional plumber who can diagnose what’s wrong with your plumbing system accurately without causing further damage.
Safety Tips for Installation and Usage
Here are some essential tips to keep in mind:
- Always turn off the water supply before beginning any work on your plumbing system.
- Wear protective gear such as gloves, goggles, and closed-toe shoes when handling tools or working under the sink.
- Use caution when handling sharp objects like blades or pipes.
- Follow manufacturer instructions carefully during installation of appliances like garbage disposals and dishwashers.
- Ensure that all electrical connections are properly grounded before turning on power to any appliance.
By following these simple safety guidelines, you can ensure that your kitchen sink is installed safely and functions efficiently for years to come!
FAQ
Does dishwasher go in garbage disposal or drain pipe?
The dishwasher should be connected to the garbage disposal, not the drain pipe, when a garbage disposal is installed.
Can you hook up dishwasher to garbage disposal?
Yes, you can hook up a dishwasher to a garbage disposal by connecting the dishwasher drain tube directly to the garbage disposal using hose clamps and possibly a dishwasher connector fitting.
What are the necessary plumbing components for connecting a dishwasher and garbage disposal to a kitchen sink?
Necessary plumbing components for connecting a dishwasher and garbage disposal to a kitchen sink include air gap, dishwasher tailpiece, garbage disposal, sink strainer, drain pipe, and necessary fittings.
How can you properly vent a kitchen sink with both a dishwasher and garbage disposal installed?
To properly vent a kitchen sink with both a dishwasher and garbage disposal installed, combine the drain lines of both appliances and connect them to a vented P-trap, ensuring that the vent is situated above the flood level of the sink.
What are common issues to watch for when plumbing a kitchen sink with a disposal and dishwasher setup?
Common issues to watch for in plumbing a kitchen sink with disposal and dishwasher setup include proper connections, preventing leaks, maintaining water pressure, and avoiding clogs.


