Last updated on
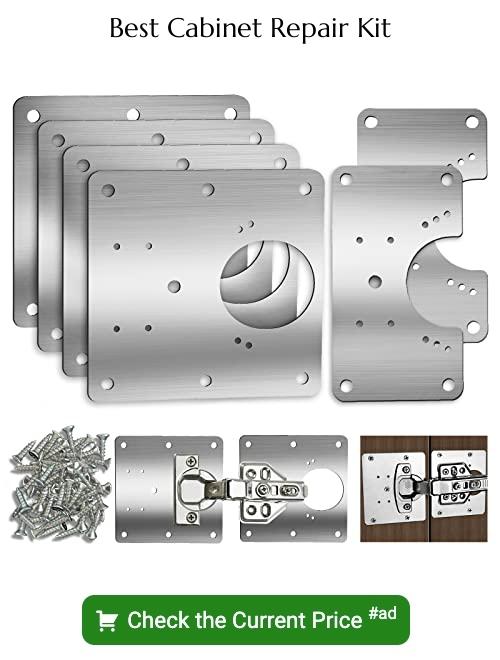
Discover the essential steps to effectively repair your kitchen cabinet frame and restore its functionality with this comprehensive guide.
If you’re a homeowner, you know that the kitchen is the heart of your home. It’s where meals are prepared, conversations are had, and memories are made.
However, with constant use and wear and tear, even the sturdiest of kitchen cabinets can start to show signs of damage over time. One common issue that homeowners face is a damaged cabinet frame.
But don’t worry! With a little bit of know-how and some basic tools, repairing your kitchen cabinet frame can be an easy DIY project that will help keep your kitchen looking its best for years to come. In this article, we’ll walk you through everything you need to know about how to repair your kitchen cabinet frame like a pro!
What's Inside
Assessing Cabinet Damage

Before you can begin repairing your kitchen cabinet frame, it’s important to assess the extent of the damage. This will help you determine what tools and materials you’ll need for the job, as well as give you an idea of how much time and effort it will take to complete.
Start by examining each cabinet individually. Look for cracks or splits in joints, loose screws or nails, weak wood that may be prone to breaking under pressure, broken pieces that have fallen off entirely or are hanging on by a thread.
Check all drawers and doors too – they should open smoothly without any sticking points. If there are any issues with hinges or slides causing them not to close properly then this could indicate further damage inside the cabinets themselves.
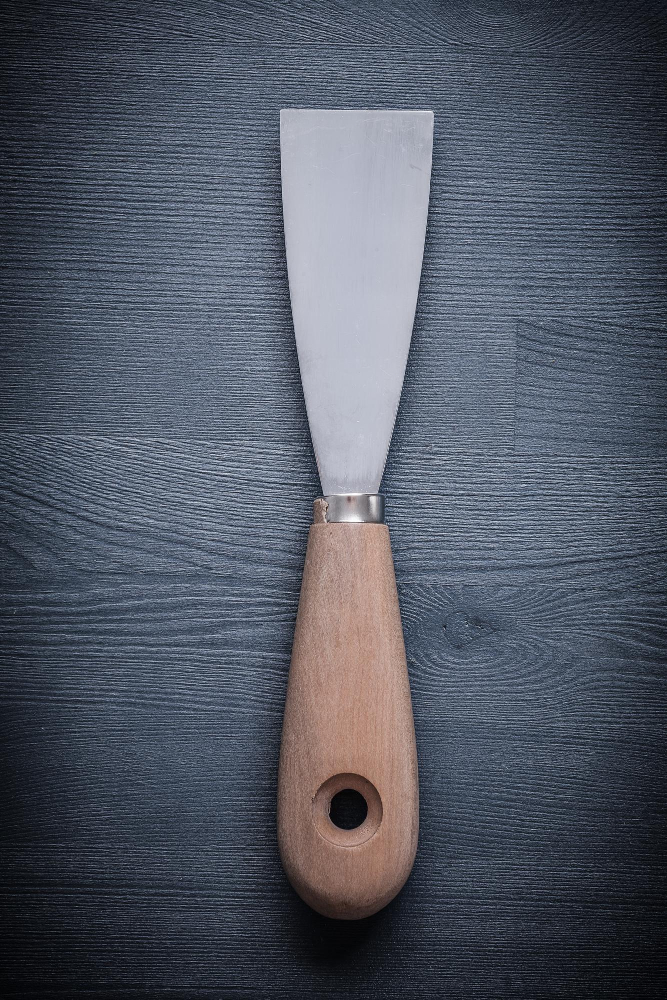
Gathering Repair Tools
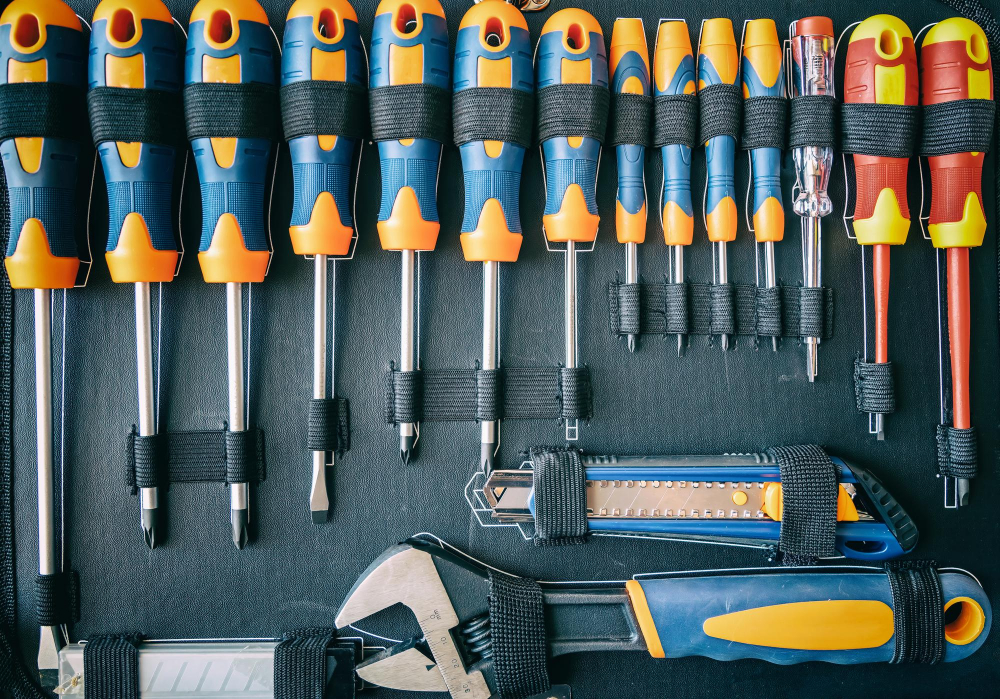
Having the right tools on hand will make your job easier and ensure that you can complete repairs quickly and efficiently. Here are some of the essential items you’ll need:
1. Screwdriver set: You’ll need a variety of screwdrivers in different sizes and types, including Phillips head and flathead.
2. Wood glue: This is an important item for repairing cracked joints or reattaching broken pieces.
3. Clamps: These are useful for holding pieces together while glue dries.
4. Wood filler: If there are gaps or holes in your cabinet frame, wood filler can help fill them in before sanding and finishing.
5. Sandpaper: You’ll need sandpaper with varying grits to smooth out any rough spots after repairs have been made.
6. Paintbrushes/rollers/spray gun (depending on how you plan to finish): Once all repairs have been made, painting or staining may be necessary depending on what type of finish was previously used.
Repairing Cracked Joints
Once you’ve identified a cracked joint, it’s time to gather the necessary tools and materials for repairing it.
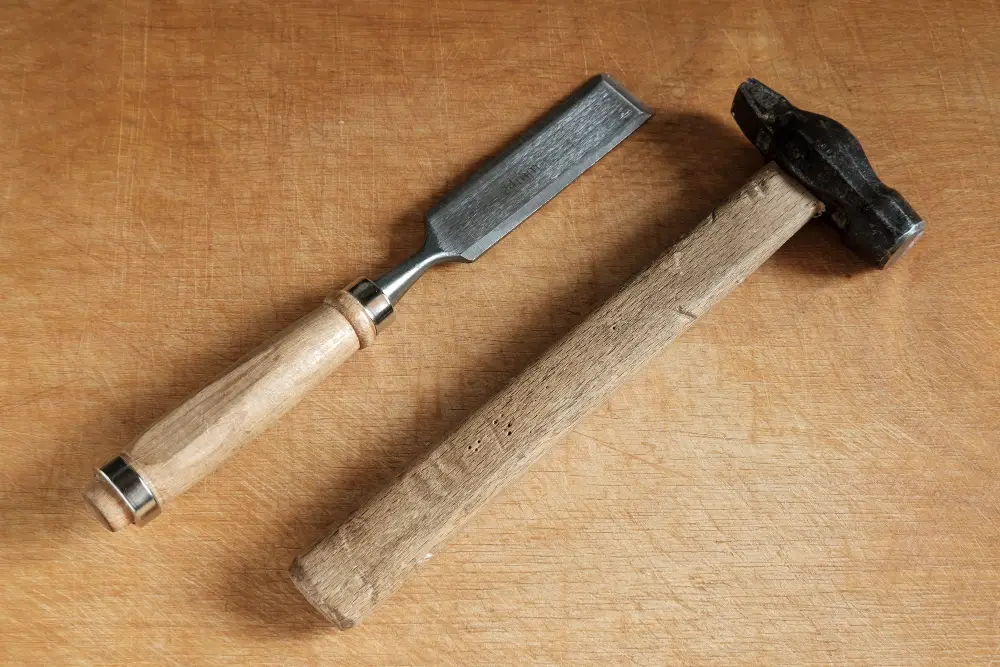
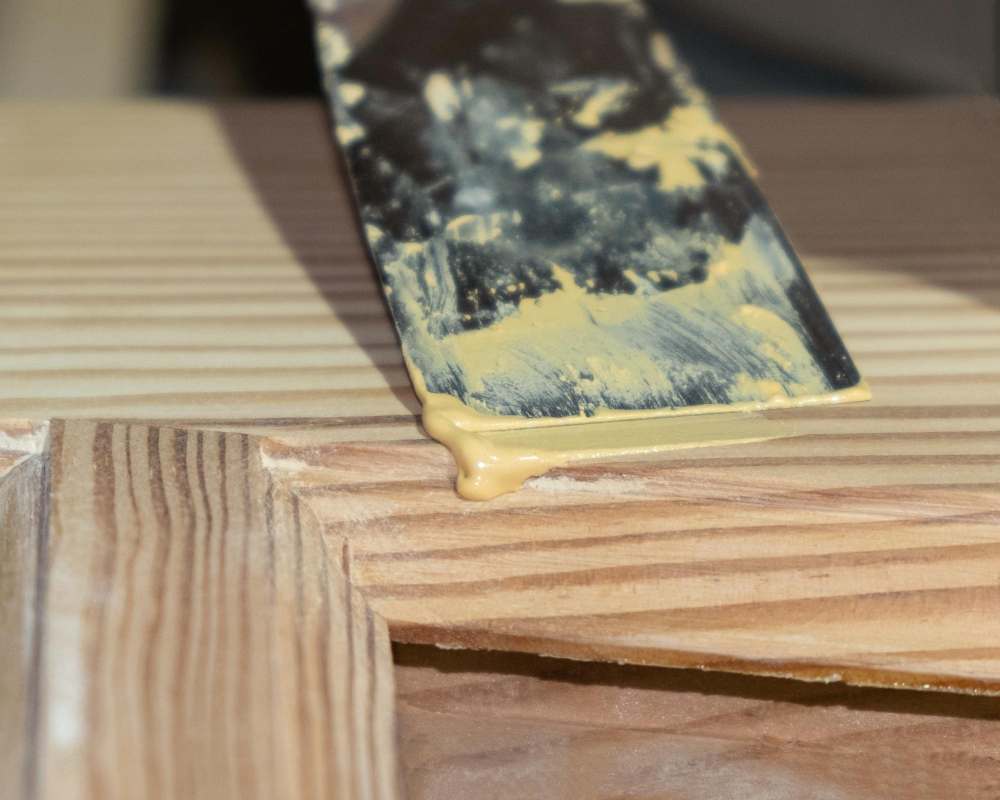
To fix a cracked joint, start by removing any loose or damaged wood around the area with a chisel or utility knife. Then apply wood glue generously into the crack and clamp tightly together until dry (usually 24 hours).
If there are gaps between pieces of wood that need filling, use sawdust mixed with glue as filler.
For larger cracks that require more support than just glue alone can provide, consider using wooden dowels or screws to reinforce joints from behind.
Fixing Loose Screws and Nails
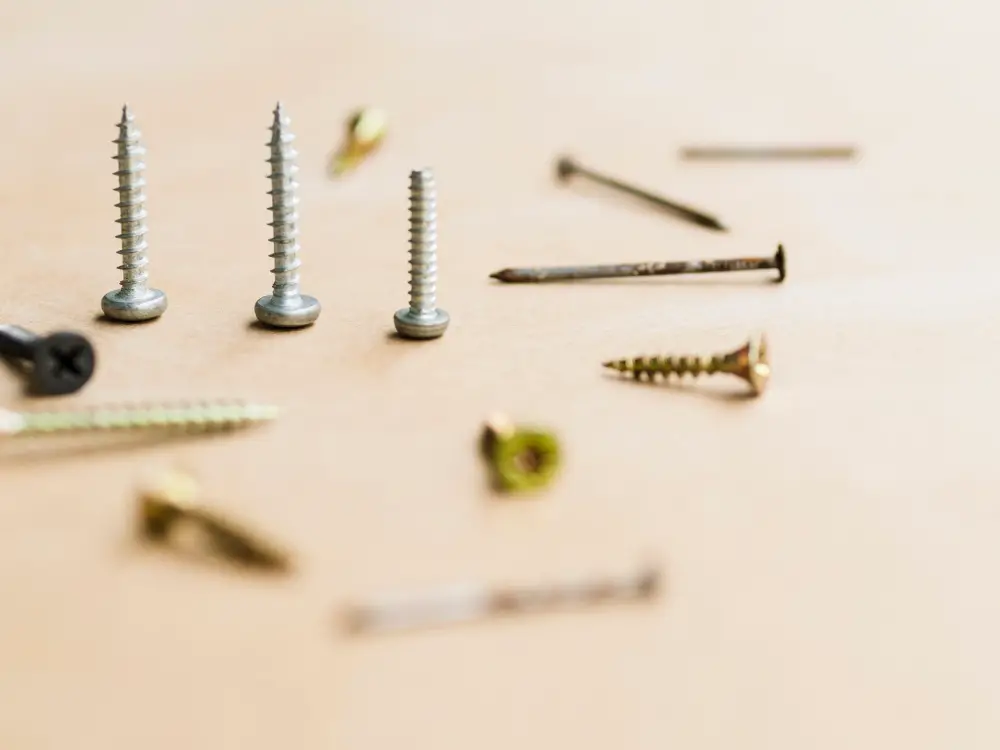
Over time, these fasteners can become loose due to constant use or changes in temperature and humidity. If left unaddressed, they can cause further damage to your cabinets.
To fix this issue, start by removing any loose screws or nails using a screwdriver or hammer. Then, fill the holes with wood filler and let it dry completely before sanding it down until smooth.
Next, drill new pilot holes slightly smaller than the diameter of your screws or nails into the repaired area. This will help ensure that they stay securely in place once reattached.
Reattach any hardware using a screwdriver for screws and a hammer for nails if necessary. Make sure everything is tightened properly but be careful not to overtighten as this could cause more damage.
Strengthening Weak Wood
Once you’ve identified weak or damaged wood, it’s time to take action and strengthen those areas before they become a bigger problem. Weak wood can be caused by age, moisture exposure, or even pests like termites.
Fortunately, there are several ways to reinforce weakened areas of your cabinet frame.
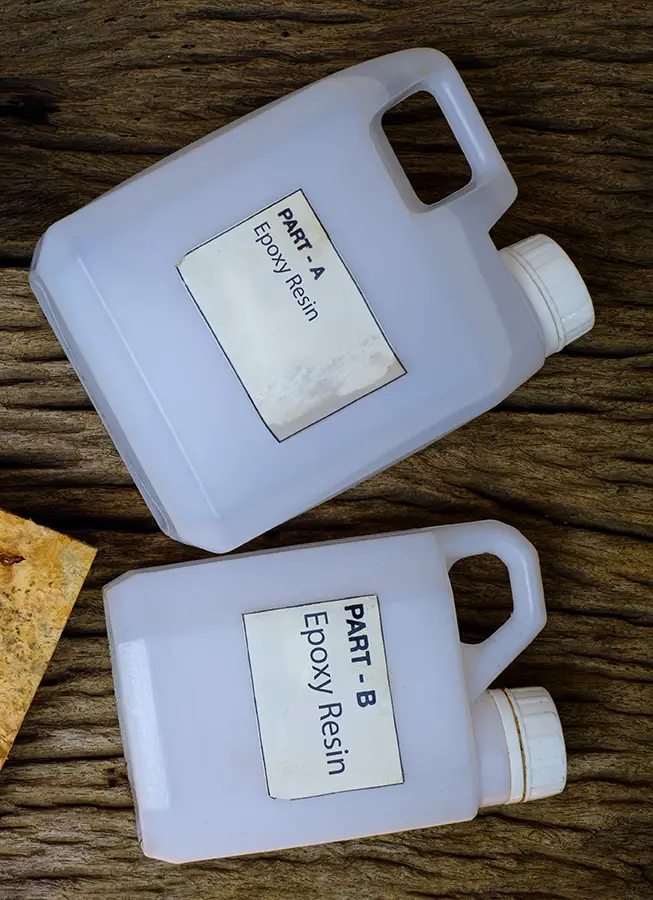
One effective method for strengthening weak wood is using epoxy resin. Epoxy resin is a two-part adhesive that creates an incredibly strong bond when mixed together and applied correctly.
To use epoxy on your kitchen cabinets:
- Clean the area thoroughly with soap and water.
- Sand down any rough spots or splinters.
- Mix equal parts of the two components of the epoxy according to package instructions.
- Apply a thin layer of mixed epoxy onto the weakened area with a brush or spatula.
- Allow it to dry completely before sanding down any excess material.
Another option for reinforcing weak wood is using wooden dowels as support beams inside joints that have come apart over time due to wear-and-tear stressors such as opening/closing doors repeatedly without proper maintenance care taken into consideration beforehand (e.g., lubricating hinges). Wooden dowels can also be used in conjunction with other methods such as glue reinforcement techniques mentioned earlier in this article.
Reattaching Broken Frame Pieces
First, remove any loose or damaged wood from the area using a chisel and hammer. Then, apply wood glue to both surfaces that will be joined together and clamp them tightly for at least 24 hours until the glue dries completely.
For larger breaks or cracks in the frame pieces, you may need to use wooden dowels as reinforcement. To do this, drill holes into both sides of the break and insert wooden dowels coated in wood glue before clamping everything together.
Once everything is dry and secure again, sand down any rough edges or excess dried glue with fine-grit sandpaper until smooth. If necessary, touch up any paint or stain on your cabinets so that they look good as new!
Fixing Cabinet Door Hinges
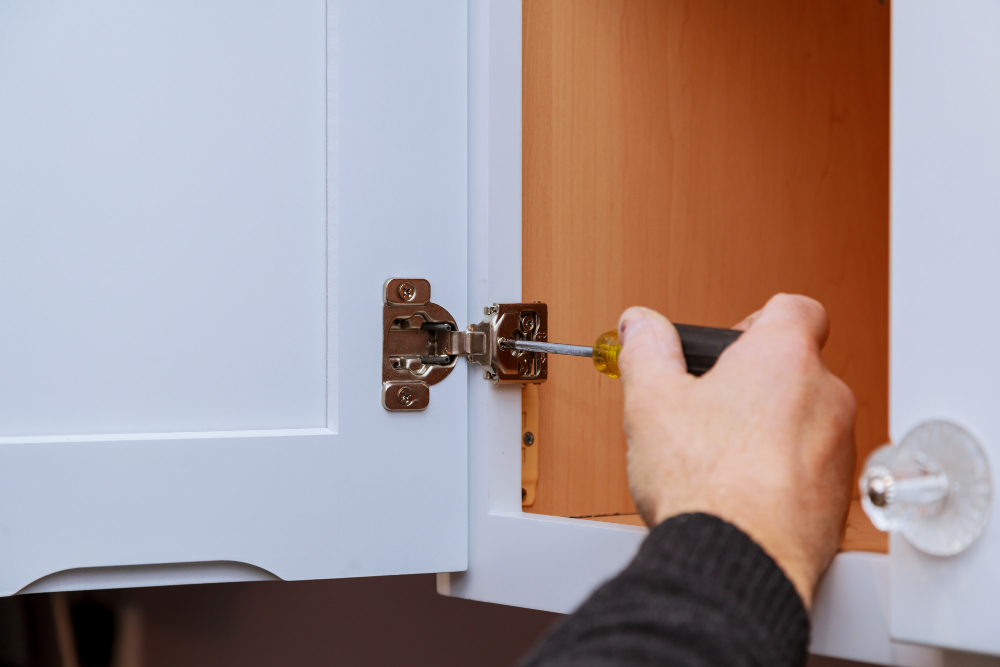
Over time, the screws that hold the hinges in place can become loose, causing doors to sag or not close properly. Fortunately, fixing this problem is relatively simple.
To start, remove any items from inside your cabinet and then use a screwdriver to tighten all of the screws on each hinge. If you find that some of them are stripped or damaged beyond repair, replace them with new ones.
If tightening doesn’t solve your problem and you still have a sagging door issue after replacing any damaged hardware pieces; try adjusting it by loosening one screw at a time while holding up on the door until it’s level again before retightening everything back into place securely once more.
Adjusting Euro Hinges
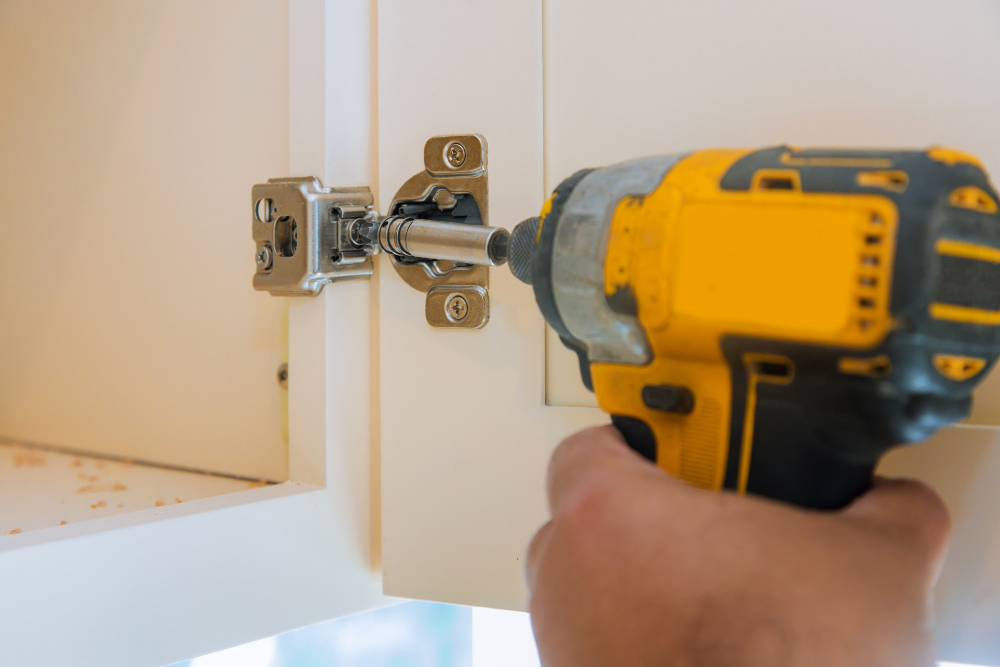
They are known for their sleek design and easy adjustability, making them a great choice for homeowners who want to update the look of their kitchen without sacrificing functionality. However, even the best euro hinges can become misaligned over time due to constant use or accidental damage.
To adjust your euro hinges, start by opening the cabinet door and locating the two screws on each hinge that hold it in place. Use a screwdriver to loosen these screws just enough so that you can move the door up or down as needed.
Next, check if your cabinet doors need any lateral adjustment (left-to-right). If they do require some adjustment then locate another set of screws on each hinge which will allow you to shift them from side-to-side.
Once you have made all necessary adjustments with both sets of screws on both sides of each hinge – tighten everything back up again using your screwdriver until snug but not too tight as this could cause further issues later down-the-line!
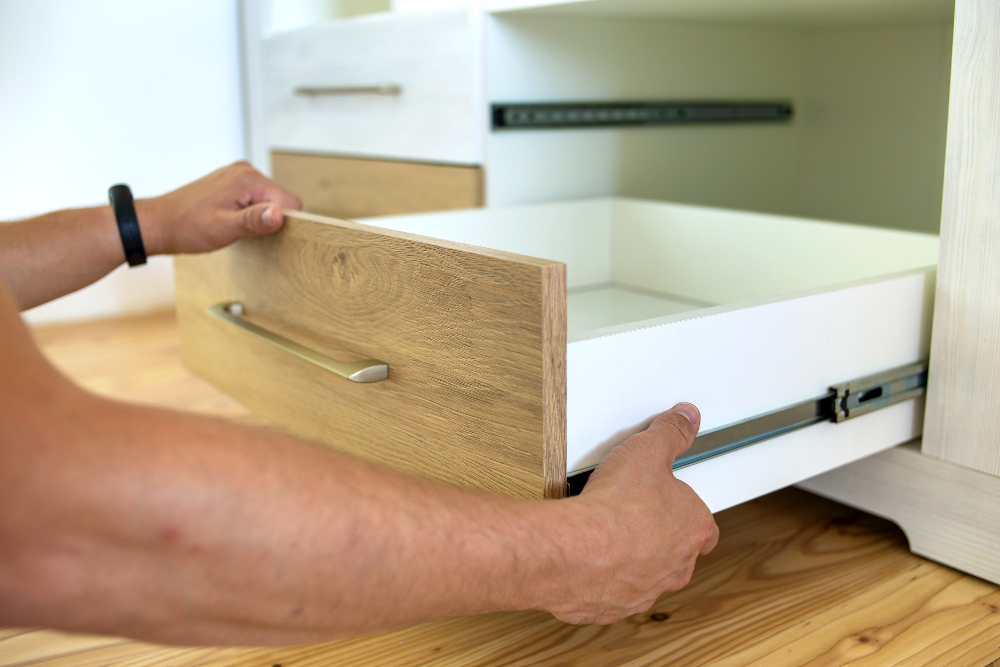
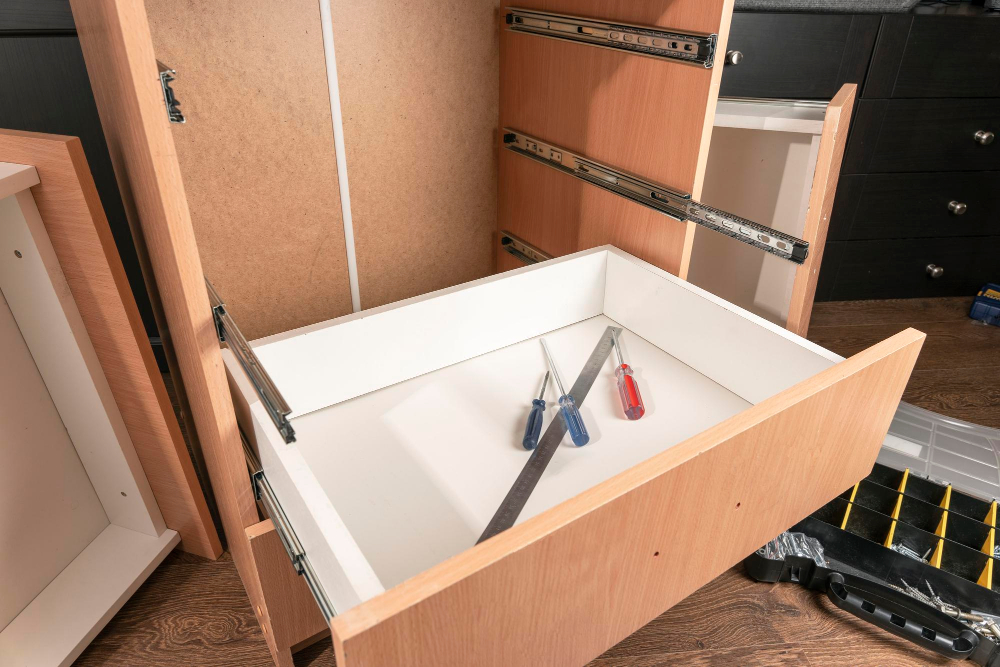
Replacing Damaged Drawer Slides

The good news is that this is a relatively simple repair that can be done in just a few steps.
First, remove the drawer from its housing by pulling it out as far as possible and lifting up on the front of the drawer until it clears the slide. Then, locate and remove any screws holding the old slide in place using a screwdriver or drill.
Next, measure your old slides to ensure you purchase new ones of similar size. You can find replacement slides at most hardware stores or online retailers.
Once you have your new slides ready to go, attach them to both sides of each cabinet opening using screws and make sure they are level with one another before reinserting each drawer into its respective slot.
Repairing Busted Drawers
The first step is to remove the damaged drawer from its frame and assess the extent of the damage. If it’s just a minor crack or split, you may be able to fix it by applying wood glue and clamping it until dry.
However, if there are larger pieces missing or significant damage has occurred, you may need to replace parts of the drawer entirely. You can purchase replacement parts at your local hardware store or online.
To repair busted drawers effectively:
- Remove any remaining screws holding together broken pieces.
- Apply wood glue along all broken edges.
- Reattach all broken pieces using clamps for support while drying.
- Sand down any rough spots once dried completely
- Repainting/ staining as needed
Fixing Broken Drawer Fronts
The first step is to remove the damaged front from the drawer box. You may need to use a screwdriver or pry bar to gently loosen any screws or nails holding it in place.
Once you’ve removed the old front, measure and cut a new piece of wood that matches your existing cabinetry. Make sure it’s slightly larger than the opening so that it overlaps on all sides.
Next, attach your new drawer front using wood glue and clamps for added stability while drying. Be sure to wipe away any excess glue with a damp cloth before allowing it to dry completely.
Sand down any rough edges and apply paint or stain as desired for an even finish that matches your other cabinets.
Dealing With Stripped Screw Holes
Over time, screws can become loose and cause the wood around them to weaken or split, making it difficult to keep them in place. Fortunately, fixing a stripped screw hole is a relatively easy process.
To start, remove any remaining screws from the damaged area and clean out any debris or sawdust that may have accumulated inside the hole. Next, fill the hole with wood glue and insert wooden toothpicks into it until they are flush with its surface.
Once you’ve filled up all of your stripped screw holes using this method let everything dry completely before re-drilling pilot holes for new screws in order to avoid splitting your repaired frame again.
Beefing Up Drawer Bottoms
Weak drawer bottoms can cause damage not only to the drawer itself but also to its contents. Fortunately, repairing and strengthening a weak bottom is an easy fix.
To start with, remove everything from the affected drawers and take out any screws holding them in place. Then turn over each drawer and inspect its bottom for signs of wear or damage.
Next, cut a piece of 1/4-inch plywood slightly smaller than the size of your drawer bottom using a circular saw or jigsaw. Apply wood glue along all four edges of the new plywood piece before placing it on top of your existing damaged one.
Once you’ve placed it correctly on top, use clamps around all sides until they’re tight enough so that no gaps remain between both pieces while drying overnight (or as per manufacturer instructions). Afterward, drill pilot holes through both layers at regular intervals before screwing them together with 1-inch screws.
Strengthening Cabinet Shelves
Over time, heavy dishes and appliances can put a strain on your shelves, causing them to bow or even break. Fortunately, there are several ways to strengthen your cabinet shelves and prevent this from happening.
To start, remove all items from the shelf in question and inspect it for any visible damage. If you notice any cracks or splits in the wood, use wood glue to repair them before proceeding.
Next, cut a piece of 1/4-inch plywood that’s slightly smaller than the size of your shelf. Apply construction adhesive along both sides of the plywood sheet and press it onto the underside of your shelf so that it sits flush against its surface.
Once you’ve attached this reinforcement panel underneath each affected shelf (you may need more than one), allow ample drying time before replacing items back onto them again.
Repairing Warped Wood
Warped wood can cause problems with the overall structure of your cabinets and may even lead to further damage if left untreated. Fortunately, repairing warped wood is a relatively simple process.
To start, remove any items from inside the affected cabinet and take out all shelves or drawers. Then use a damp cloth to wipe down both sides of the warped piece of wood thoroughly.
This will help soften up any fibers in the grain that have become stiff over time.
Next, place heavy objects on top of each end of the board so that it bends back into its original shape while drying overnight or for several days depending on how severe warping is present.
Replacing Damaged Veneer
Fortunately, replacing damaged veneer is a relatively simple process that you can do yourself with just a few basic tools.
To start, remove any remaining pieces of the old veneer using a putty knife or scraper. Then use sandpaper to smooth out any rough spots and ensure that the surface is even.
Next, measure and cut new veneer to fit over the area where you removed the old one. Apply contact cement to both surfaces (the back of the new veneer and on top of where it will be placed) according to manufacturer instructions before pressing them together firmly.
Once in place, use a roller or block wrapped in cloth to apply pressure evenly across all areas for good adhesion. Finally trim off excess material with either scissors or utility knife as needed before sanding down edges until they are flush with surrounding woodwork.
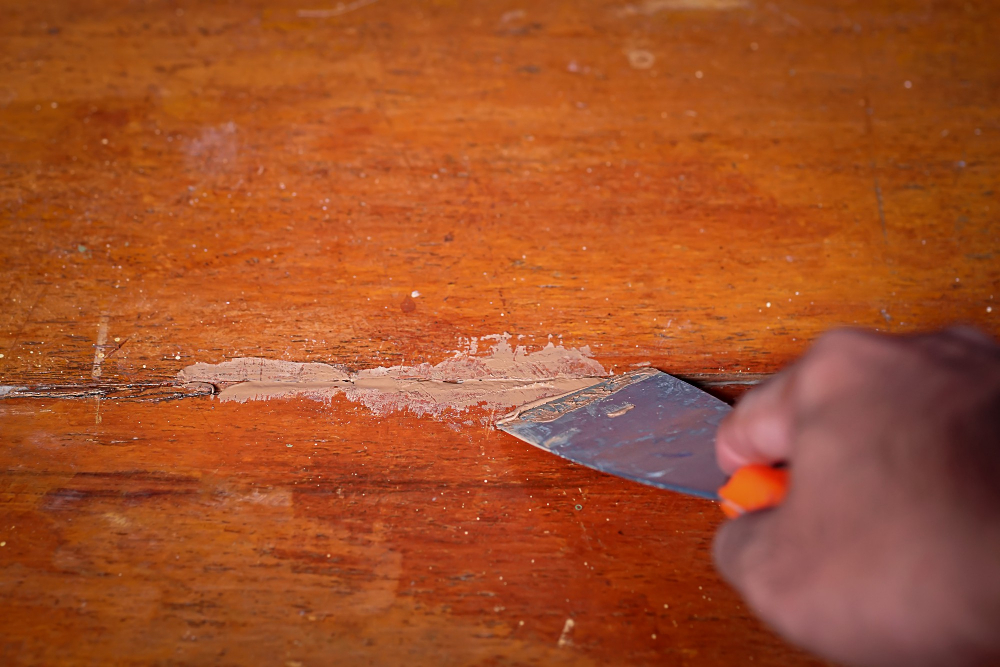
Filling Gaps and Holes
First, clean the area around the gap or hole to remove any debris. Then, apply a small amount of wood filler to the affected area using a putty knife.
Smooth out any excess filler and let it dry completely according to manufacturer instructions.
Once dry, sand down the filled area until it is smooth and level with the rest of your cabinet frame. If necessary, repeat this process until all gaps and holes are filled.
Remember that different types of wood fillers may have varying drying times depending on their composition; therefore always follow manufacturer’s instructions for best results.
Sanding and Finishing Repairs
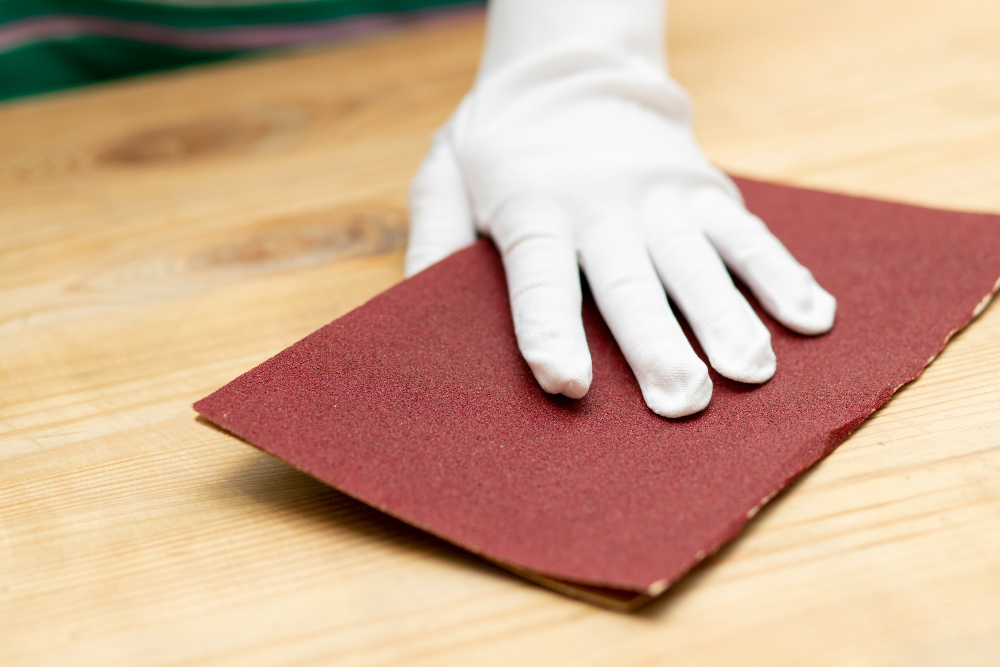
Sanding is an essential step in any woodworking project as it helps smooth out rough edges and prepare the surface for finishing. Start by using a fine-grit sandpaper to gently sand down any rough spots or excess glue from your repair work.
After you’ve sanded down the surface, wipe away any dust with a clean cloth before applying wood filler if necessary. Once the wood filler has dried completely, use another round of fine-grit sandpaper to smooth out any remaining bumps or imperfections.
When it comes time to apply a finish, there are several options available depending on your personal preference and style of cabinets. You can choose between painting or staining your cabinets based on their material type (wood vs MDF) and color scheme that matches other elements in your kitchen decor.
If you decide on painting them then make sure that all surfaces have been properly primed before applying paint coats; this will ensure even coverage without streaks or blotches appearing after drying. On the other hand, if staining is more up-to-your-alley then select an appropriate stain color which complements existing colors within space while also providing protection against moisture damage over time.
Painting or Staining Cabinets
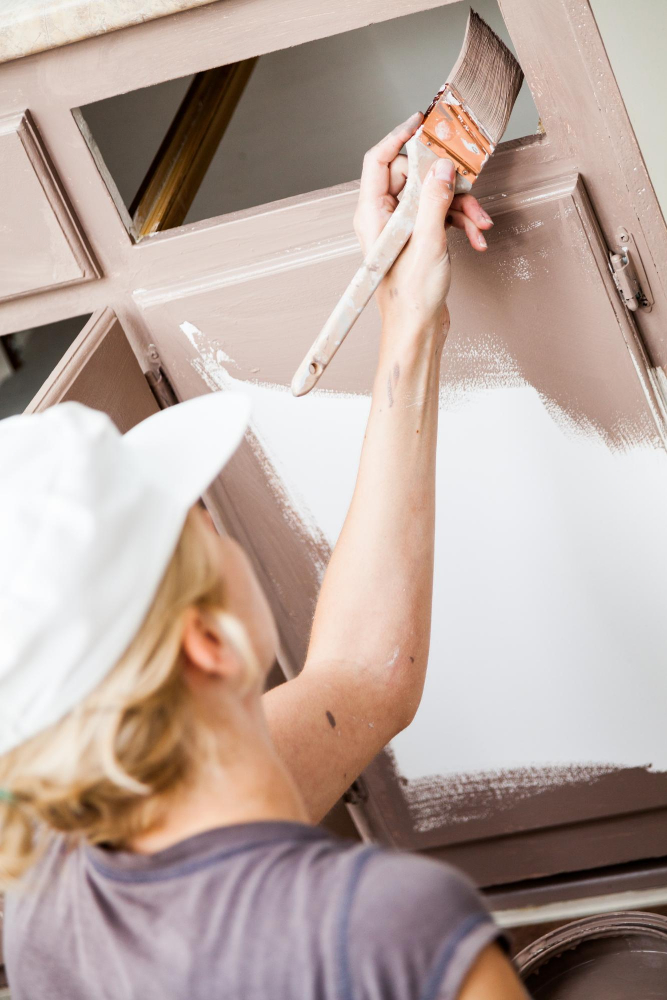
Painting or staining your cabinets is an excellent way to update the appearance of your kitchen without breaking the bank. Before painting or staining, make sure that all repairs are complete and that any holes and gaps are filled with wood filler.
If you’re going for a painted finish, start by sanding down the surface of each cabinet door and drawer front until they’re smooth. Then apply primer before painting with two coats of paint in your desired color.
For those who prefer stained finishes, use a wood conditioner on all surfaces before applying stain evenly across each piece using a brush or cloth. Allow sufficient drying time between coats as per manufacturer instructions.
Maintaining Kitchen Cabinet Frames

Regular maintenance can help prevent future damage and prolong the life of your cabinets. Here are some tips for maintaining your kitchen cabinet frames:
1. Keep them clean: Wipe down the exterior of your cabinets regularly with a damp cloth or sponge to remove any dirt or grime that may accumulate.
2. Avoid harsh chemicals: Harsh cleaning products can damage the finish on your cabinets over time, so stick with mild soap and water when cleaning.
3. Check for loose screws and hinges: Periodically check all screws and hinges in order to tighten them if necessary.
4. Be mindful of weight distribution: Don’t overload shelves or drawers beyond their capacity as this could cause warping or breakage over time.
5. Address issues promptly: If you notice any signs of wear-and-tear such as cracks, chips, scratches etc., address these issues promptly before they worsen into bigger problems.
By following these simple maintenance tips, you’ll be able to keep your newly repaired kitchen cabinet frame looking great for years!
FAQ
How do you fix a cabinet that is coming apart?
To fix a cabinet that is coming apart, inject glue into loose joints, cracks, or separations, place slanted studs underneath its front, and tap them forward with a hammer, tightening the cabinet against the wall.
What is the best way to reattach a loose kitchen cabinet door hinge?
The best way to reattach a loose kitchen cabinet door hinge is by tightening the screws or replacing them with new ones if they’re stripped or damaged.
How can you repair damaged wood or chipped paint on a kitchen cabinet frame?
To repair damaged wood or chipped paint on a kitchen cabinet frame, sand the affected area, apply wood filler or paint, and finish with a top coat for a seamless appearance.
What are the essential tools and materials needed for fixing a kitchen cabinet frame?
Essential tools and materials for fixing a kitchen cabinet frame include a screwdriver, hammer, nails, screws, wood glue, and a level.


