Last updated on
How about creating some spray paint mason jar crafts for your home decor? These aren’t just beautiful but fun to make too. Read on!
Glass jars are easy and fun to upcycle. That old pickle jar can quickly become a decorative vase. A vintage canning jar can become a cute coin bank. The ideas are so abundant there are websites and blogs dedicated to sharing the crafting tips for mason jars.
One fun way we love to decorate mason jars is with spray paint (pick the best spray paint for glass). It’s a quick way to bring a completely new look to an otherwise standard jar or bottle. This article aims to show you the quickest way to achieve a perfectly painted glass mason jar.
What's Inside
Why Spray Paint Mason Jars?
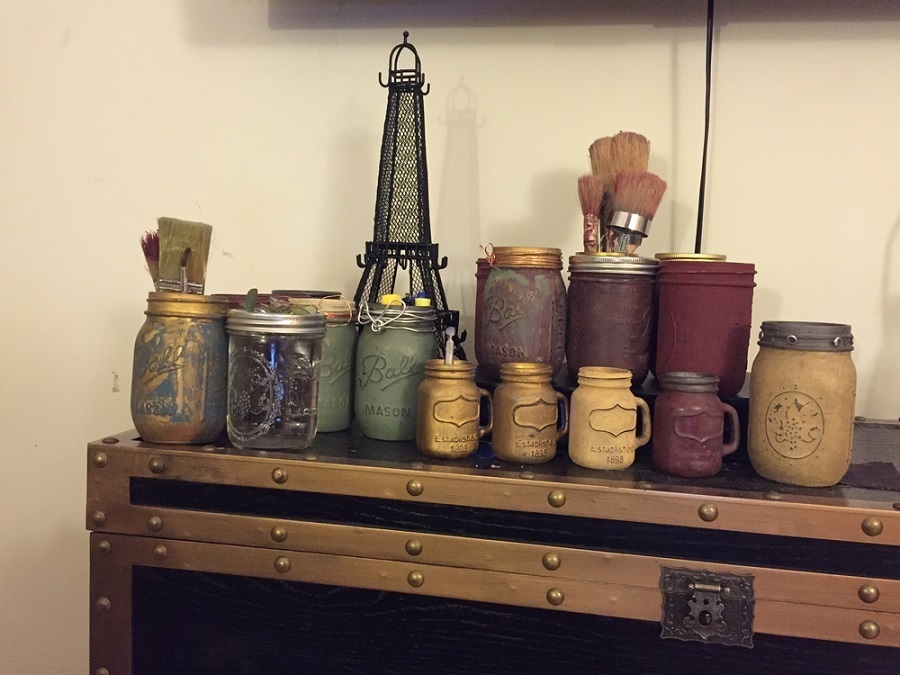
Sure, there are several types of paint that can coat glass, and you might already have some chalk paint in your craft cabinet. If you want to go that route, be our guest, but we can assure you that when it comes to glass jars you will achieve the most even coating with spray paint. Not to mention it only takes a couple of minutes!
Any glass jars or bottles will work. If you’re planning on purchasing jars for the project instead of upcycling what you already have, I would actually advise against purchasing from a craft store. These stores often put quite the mark-up on glass jars. Stores like Target and Walmart, and online vendors like Amazon usually have much more reasonable prices.
Materials Needed
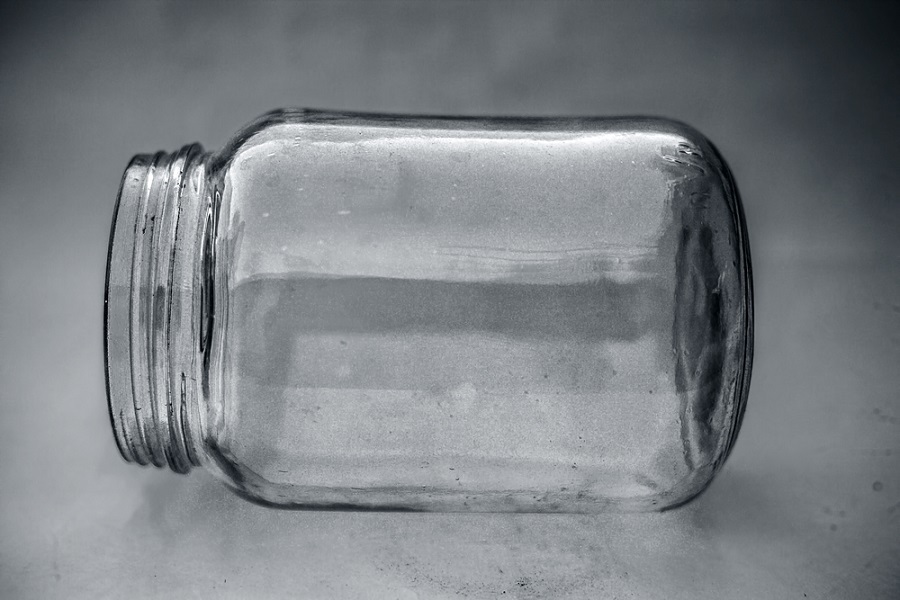
- Glass jars
- Cardboard or newspaper
- Spray paint
- A smock, mask, and safety goggles
- Optional: vinyl stickers or tape to create unique cut-outs
Tips for How to Spray Paint Mason Jars

Safety first. When using spray paint, we recommend that you always wear a mask and safety goggles. Spray paint often contains VOCs, which are chemical irritants that you could potentially breathe in or get in your eyes when using the aerosol spray can. We also recommend wearing old clothes or a smock to protect your clothing. Even the tiniest bit of wind can send that paint in the wrong direction!
Find an outdoor location. Spray painting should only be done outside, or in a highly ventilated location (like a garage or workshop with the door propped open.) Make sure to cover your work area with cardboard or old newspaper, to catch any excess paint.
We also recommend not painting in direct sunlight and avoiding super humid days. Spray paint company Krylon suggests a temperature between 50-90F is ideal, with relative humidity below 85%.
Prepare your mason jars. Make sure that your mason jars or glass bottles are completely clean and dry before you start painting. Any residue from old labels or extra moisture will prevent the paint from sticking correctly and you may end up with bubbles or runny areas.
If you plan on using vinyl stickers or tape to create a fun pattern on your jar, now is the time to do so. This woman made a fun, patriotic theme using vinyl stars and the colors red, white, and blue.
Once the mason jars are ready, place them upside-down (open end down) on your work surface. This works best if you create an area where you can work completely around the jars without having to touch them. If you’re painting multiple jars at once, I recommend putting at least 6-8 inches of space between jars, especially if you’ll be using different colors.
Time to Spray Paint! Before starting, shake your spray paint up really well and test it in an inconspicuous area (like on your cardboard mat). This will release any air bubbles from the can that might cause blotchiness on your project.
Once ready, spray a nice even coat over the jar using a left to right motion, until you’ve covered the entire surface area of the jar. Voila!
Drying time. We recommend allowing your jars to dry 20-30 minutes between each coat of paint. Once you’re satisfied with the coverage, allow 2-3 hours to dry completely before handling. Some paints make take slightly longer, so it’s best to check the can for additional instructions.
How to Paint and Distress Mason Jars
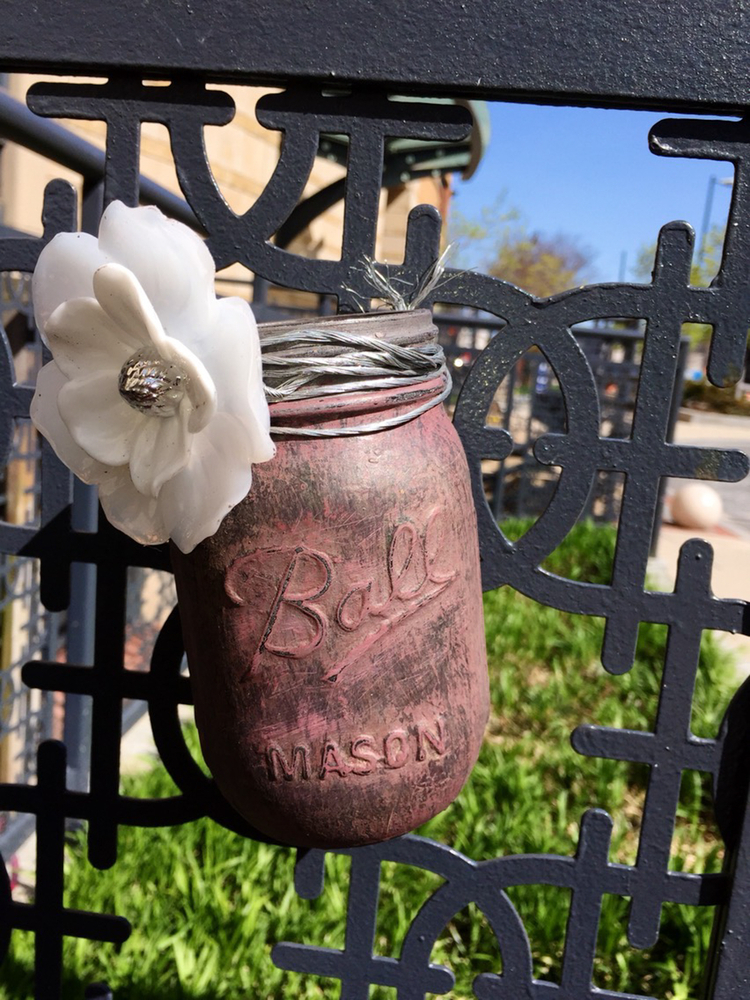
If you’re more into the farmhouse chic look of a distressed and “vintage” style, no worries! We’ve got you covered. Simply follow the steps above, using two to three coats of paint and allow to dry overnight. Then, using a bit of sandpaper, gently rub the surface until you’ve achieved your desired levels of distressing.
If your jar has a lot of intricate detailing like logos and etched designs, you may want to use something smaller, like a nail file, to bring forth the details in your distressing. If not, you can use a logo maker to embellish the jar.
How to Weatherproof Your Painted Mason Jars
Some spray paints are rated for outdoor use and will stand up to the elements pretty well. Still, if you’re planning on leaving your spray painted mason jars outdoors for any length of time, I recommend finishing your project with a polyurethane spray paint. These clear paints act as a sealer for your glass jars. For added shine, choose a polyurethane that is rated as “high-gloss.” These can easily be picked up at your local hardware store.
Mason Jar Craft Ideas
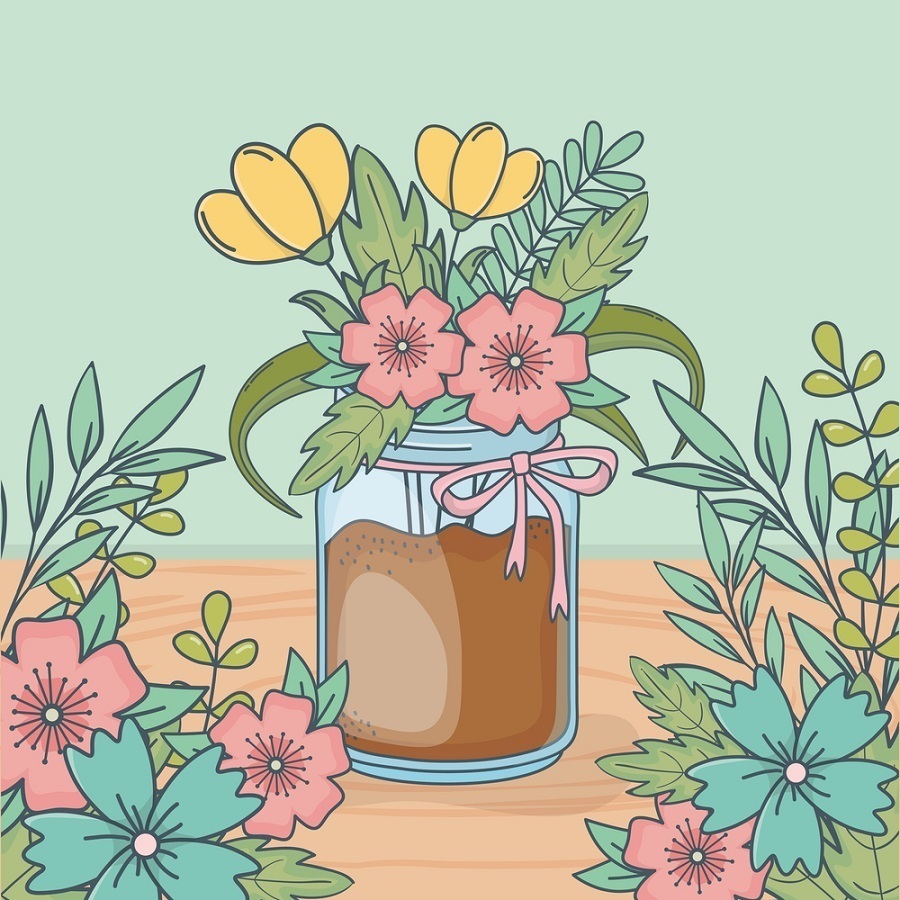
So, what to do with your painted mason jars? Here are some of our favorite ways to showcase these beauties:
- Flower vases. This is such a beautiful way to share some of your homegrown flowers with a neighbor or friend.
- Mini planters. Mason jars are great for smaller succulents or mini cactuses.
- Toothbrush holder. A practical and chic addition to any bathroom countertop.
- Utensil caddy. The perfect way to display your forks and spoons at your next summer cookout.
- Coin bank. Save up for a special outing.
- Desk organizers. Keep all your pens and pencils tidy in a decorative jar.
- Party favors. Fill with candy and you’ve got a classy party gift.
Now that you know how to spray paint mason jars, your creativity can take flight. If your new hobby takes root and has you running out of spray paint on a regular basis, it may be time to upgrade to a handheld paint sprayer.
