Last updated on
Discover the art of transforming your open kitchen shelves into a stunning display with these simple styling tips and tricks.
Open shelves in the kitchen have become increasingly popular as they provide an opportunity to showcase your favorite dishes, cookbooks, and decorative items. However, styling open shelves can be a daunting task for many homeowners.
The key is to strike a balance between functionality and aesthetics while ensuring that everything looks organized and visually appealing. In this article, we will explore some practical tips on how to style open shelves in your kitchen like a pro! So if you’re ready to transform your kitchen into a stylish and functional space, keep reading!
Key takeaways:
- Choose the right open shelving style for your kitchen.
- Consider the material selection for your open shelves.
- Measure and space your shelves properly.
- Pay attention to measurements and installation tips.
- Select a color scheme and experiment with neutrals.
What's Inside
Choosing the Right Open Shelving Style
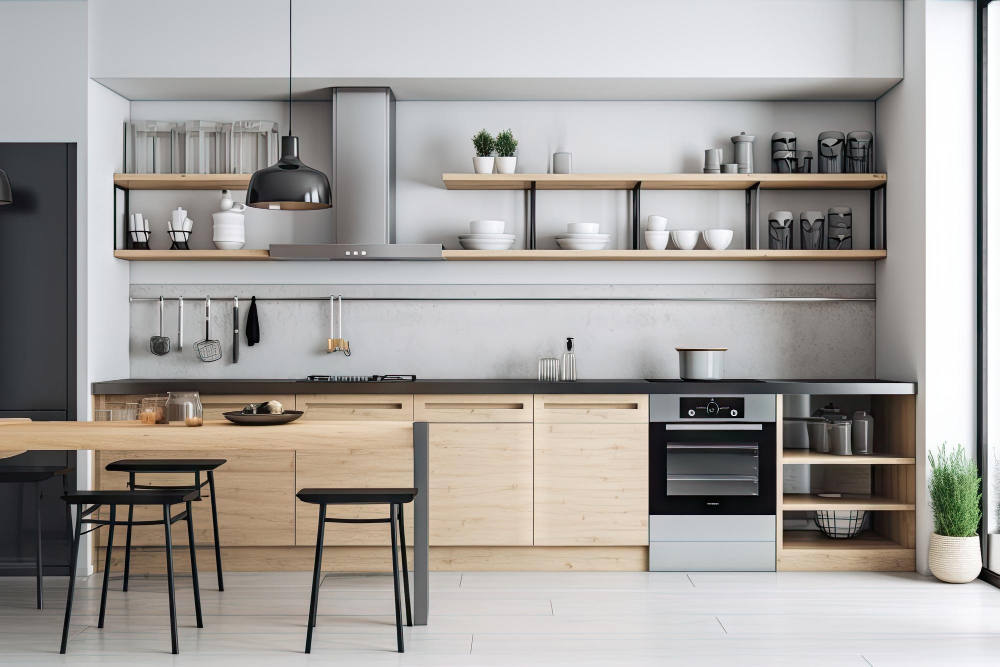
When it comes to choosing the right open shelving style for your kitchen, there are several factors to consider. The first step is to determine the overall aesthetic of your kitchen and select a style that complements it.
For instance, if you have a modern or minimalist kitchen design, floating shelves with clean lines and simple brackets may be an excellent choice.
On the other hand, if you have a more traditional or rustic-style kitchen, wooden shelves with decorative brackets can add warmth and character. Glass shelves can create an elegant look while allowing light to pass through them.
Another factor to consider when selecting open shelving styles is functionality. If you plan on using your open shelves for storage purposes only rather than display items such as cookbooks or dishes then closed cabinets might be better suited for this purpose.
Material Selection for Open Shelves
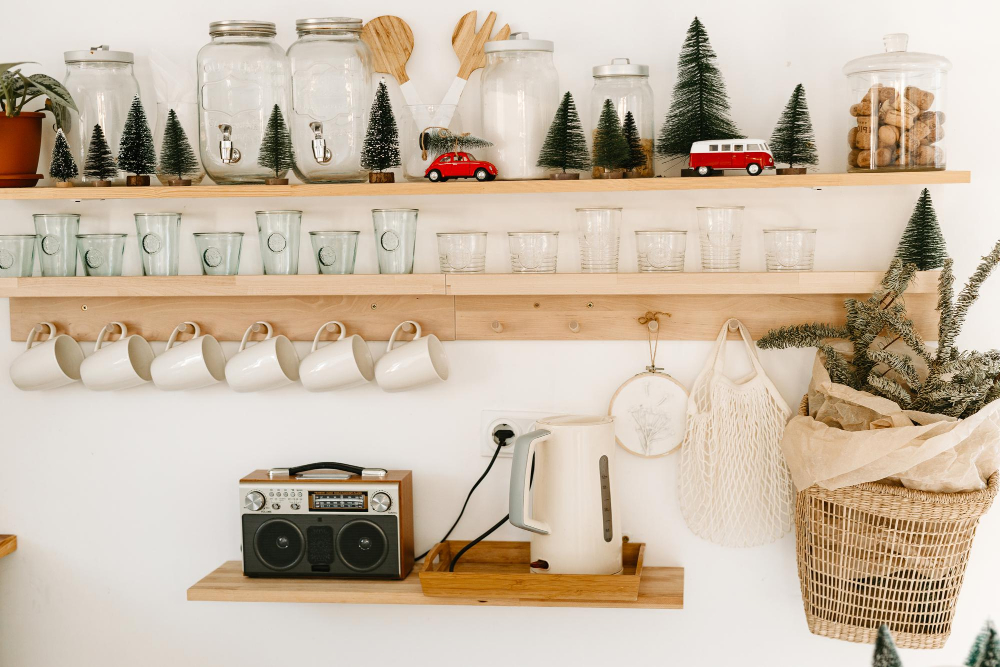
The most popular choices include wood, glass, metal and acrylic. Each material has its own unique characteristics that can add a different look and feel to your kitchen.
Wooden shelves are the most common choice as they provide warmth and texture to space while also being durable enough to hold heavy items such as dishes or cookware. Glass shelves offer a sleek modern look but require more maintenance due to their tendency towards smudging or breaking.
Metallic finishes like stainless steel or brass can add an industrial touch while acrylic shelving provides a contemporary vibe with its transparent appearance.
Consider the overall style of your kitchen when choosing materials for open shelving. If you have a rustic farmhouse-style kitchen then wooden shelves would be perfect whereas if you have an ultra-modern minimalist design then metallic finishes may be more suitable.
Measuring and Spacing Shelves

Measuring is an essential step in ensuring that your shelves fit perfectly into the designated area. Start by measuring the length, width, and height of each shelf space to determine how many shelves you need.
When spacing out your open kitchen shelving units, consider both functionality and aesthetics. You want enough room between each shelf so that items don’t feel cramped or cluttered but not too much space where they look sparse or empty.
A good rule of thumb is to leave at least 12-18 inches between each shelf for larger items like plates or bowls while leaving around 8-10 inches for smaller decorative pieces such as vases or plants.
Remember also to take into account any appliances such as microwaves or coffee makers when deciding on spacing. Leave enough clearance above these appliances so that they can be easily accessed without disrupting other items on display.
Measurements and Installation Tips
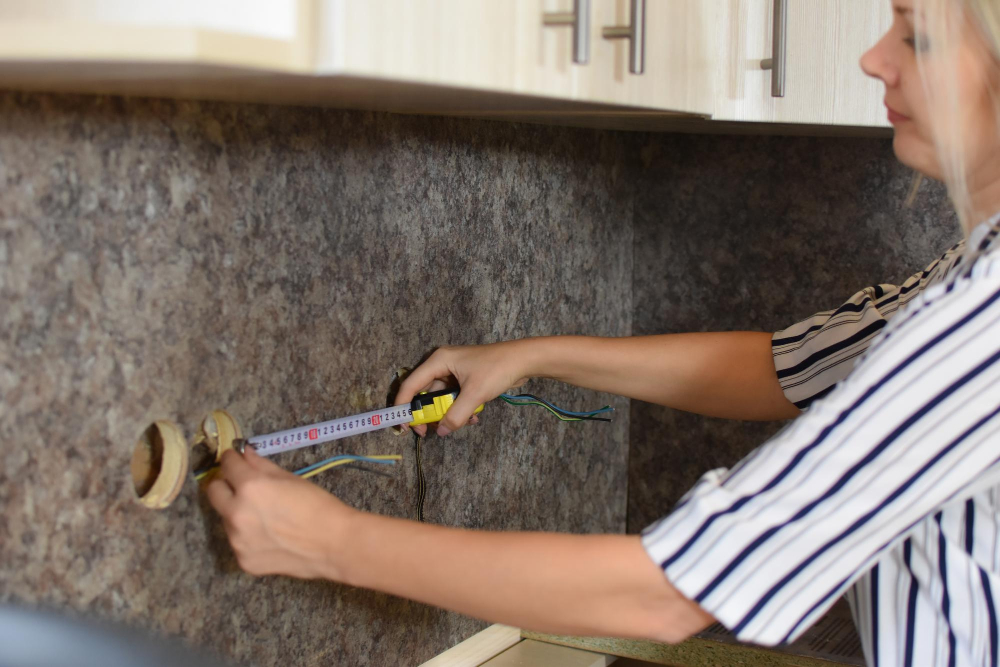
Measuring is a crucial step in ensuring that your shelves fit perfectly into the space available. Start by measuring the length of each wall where you plan to install open shelving.
Next, determine how many shelves you want on each wall and their height.
When installing open shelving, it’s important to ensure that they are level so that items don’t slide off or look crooked. Use a level tool when marking where brackets will be installed on walls.
Another installation tip is spacing between shelves; this can vary depending on what items will be displayed but generally should not exceed 18 inches apart from one another.
Selecting a Color Scheme
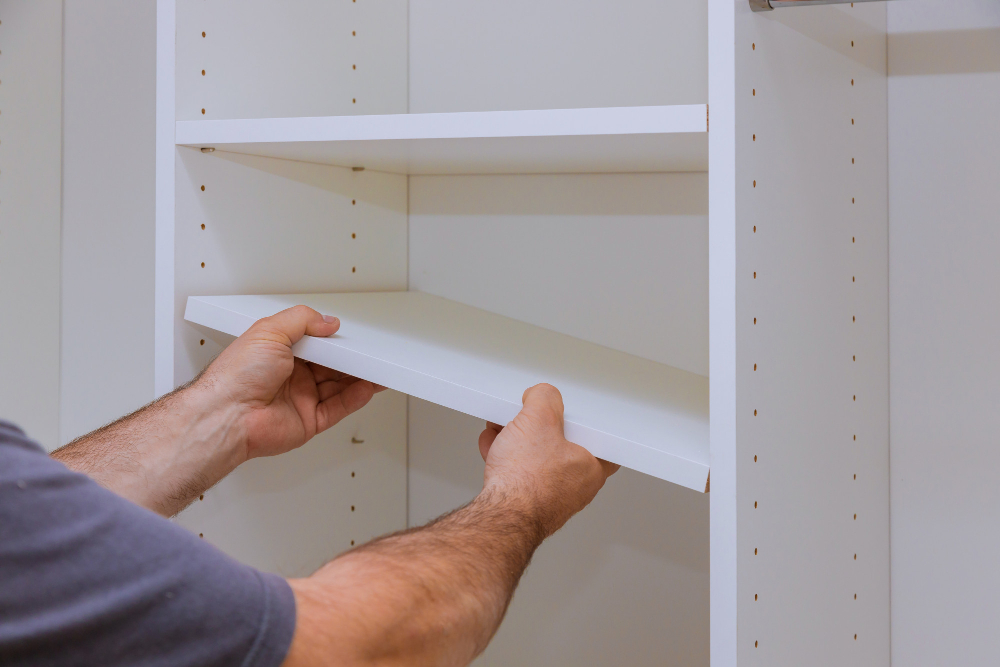
The colors you choose can make or break the overall look of your kitchen. One way to create a cohesive and visually appealing display is by sticking to a specific color palette.
If you’re unsure where to start, consider using neutral tones such as white, beige or gray for your shelves’ backdrop. This will provide an excellent base for displaying colorful dishes and accessories that pop against the neutral background.
Another option is incorporating bold hues like reds, blues or greens into your shelf décor if you want something more vibrant and eye-catching. However, be careful not to go overboard with too many bright colors as this can result in visual clutter.
Experiment With Neutrals
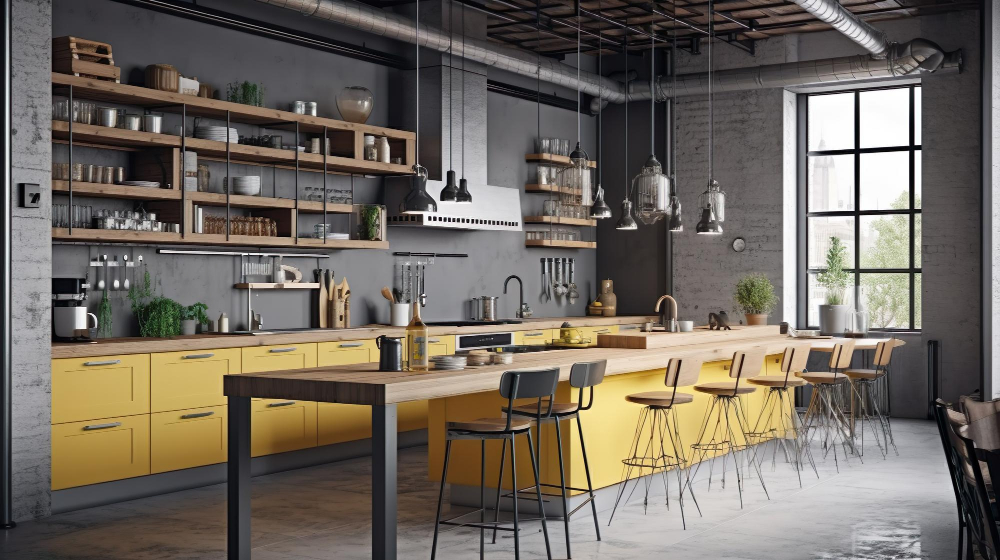
Neutral colors such as white, beige, gray or black can create a clean and cohesive look on your open shelves. You can mix different shades of neutral colors to add depth and interest while keeping everything visually appealing.
Experimenting with textures is also an excellent way to add visual interest without adding too much color. For instance, you could use woven baskets in natural tones or textured ceramics in varying shades of white for added texture.
Using metallic accents like copper pots or brass candlesticks will give your kitchen shelves an elegant touch that complements the neutral palette perfectly. Remember that when working with neutrals; it’s essential not to overdo it by sticking only one shade throughout the entire space; instead try mixing various hues together for more dimensionality!
Add a Splash of Bright Color
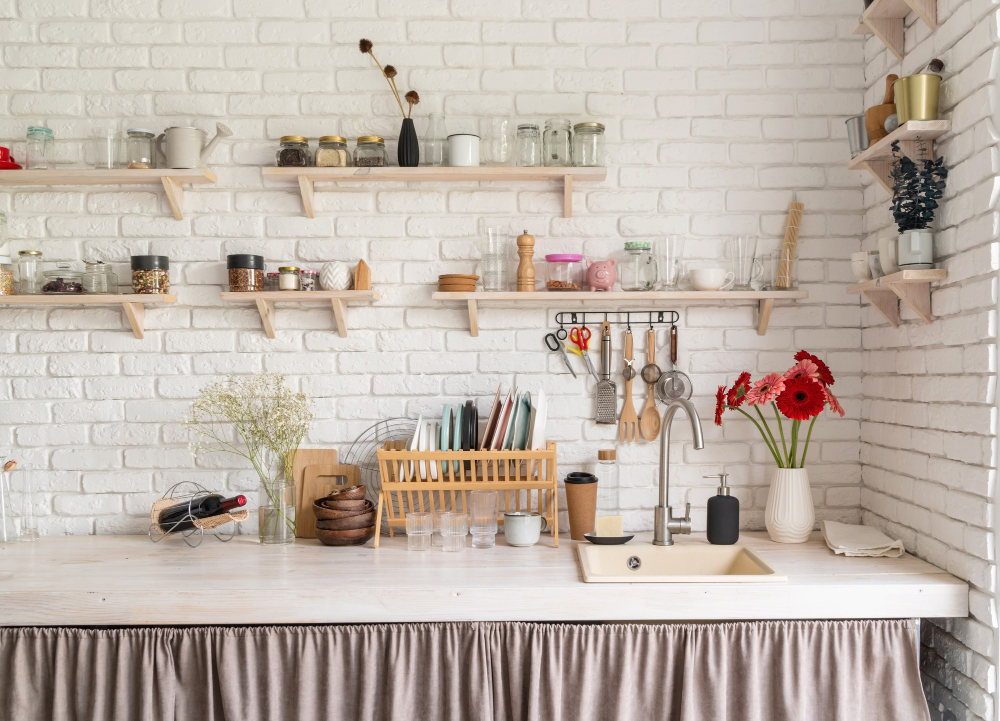
This can be achieved by using colorful dishware, decorative items or even painting the back wall of the shelf in a bold hue. However, it’s important not to go overboard with too many colors as this can create visual clutter and chaos.
To keep things cohesive and visually appealing, choose one or two accent colors that complement each other well. For example, if you have blue accents on your kitchen countertops or backsplash tiles then adding blue plates or bowls on your open shelves will tie everything together nicely.
Remember that less is often more when it comes to adding color so don’t feel like every item needs to be brightly colored. Instead opt for just one statement piece per shelf such as an eye-catching vase or bowl in a bold shade.
Mixing and Matching Shelf Décor
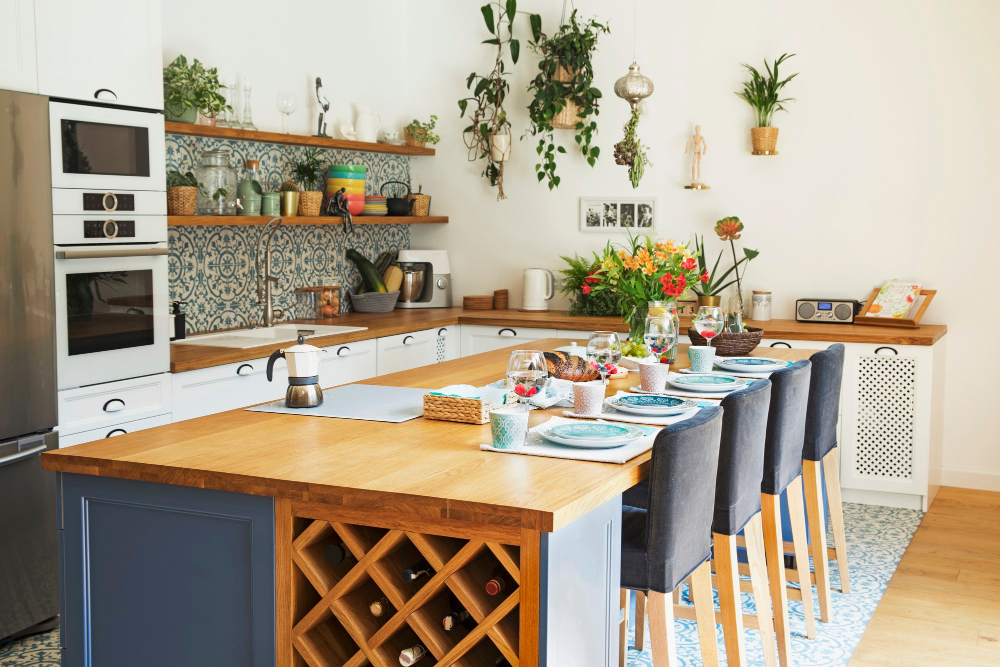
When it comes to shelf décor, there are no hard-and-fast rules. However, some general guidelines can help you achieve a balanced display.
Start by selecting items that complement each other in terms of color, texture, or shape. For instance, if you have white dishes on your shelves already but want to add some greenery for contrast – consider using plants with variegated leaves or pots with interesting textures.
Another way to mix things up is by incorporating decorative objects such as vases or sculptures alongside functional pieces like bowls and plates. This creates visual interest while still maintaining practicality.
Remember that less is often more when it comes to shelf decor; too many competing elements can make the space feel cluttered rather than curated. So be sure not overdo it!
Vary Size and Scale
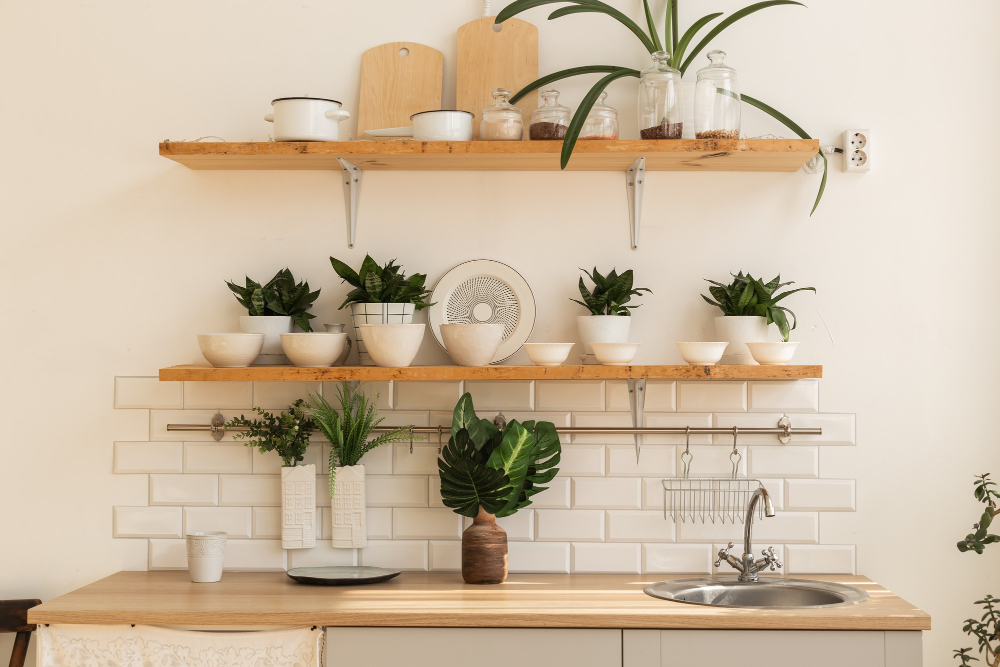
This creates visual interest and prevents your display from looking too uniform or boring. Mix up small and large items, tall and short pieces, as well as different shapes to create a dynamic look.
For example, you can place a stack of dinner plates next to smaller bowls or cups for contrast. Or group together several small decorative objects with one larger item like a vase or pitcher.
Another way to vary size is by using risers on your shelves. These can be simple wooden blocks that elevate certain items above others for added dimensionality.
Remember not everything has to be perfectly symmetrical either! Play around with placement until you find what looks best in terms of balance between the various sizes on display.
Incorporating Kitchen Essentials

This not only adds functionality but also ensures that your kitchen looks organized and practical. Some of the must-have essentials include plates, bowls, glasses, mugs, and utensils.
To make these items look visually appealing on your open shelves consider grouping them by color or material.
For instance, if you have white dishes with gold trimmings or silverware with black handles group them together for a cohesive look. You can also add some texture by incorporating woven placemats or wooden cutting boards into the mix.
Another way to incorporate kitchen essentials is by using decorative storage containers such as glass jars for storing dry goods like pasta and rice while adding visual interest at the same time.
Organizing Shelf Contents
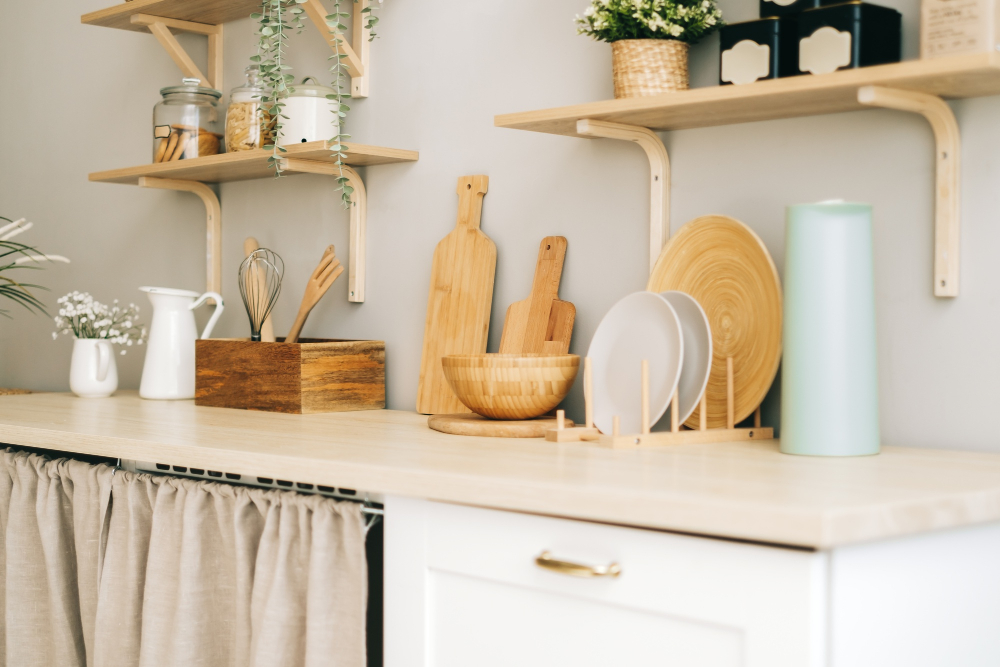
First and foremost, you want to make sure that everything is easily accessible and within reach. This means placing frequently used items at eye level or lower on the shelf.
Another important consideration is grouping similar items together. For example, all of your baking supplies should be stored together on one shelf while your dinnerware can be placed on another.
To add visual interest and prevent cluttered-looking shelves, try incorporating different textures and shapes into your display. Mix up smooth surfaces with rough ones like woven baskets or textured ceramics.
Lastly, don’t forget about negative space! Leaving some empty areas between objects will help create a sense of balance while also making it easier for the eye to focus on individual pieces rather than being overwhelmed by too much visual stimulation.
Place Items On Shelves According to Use
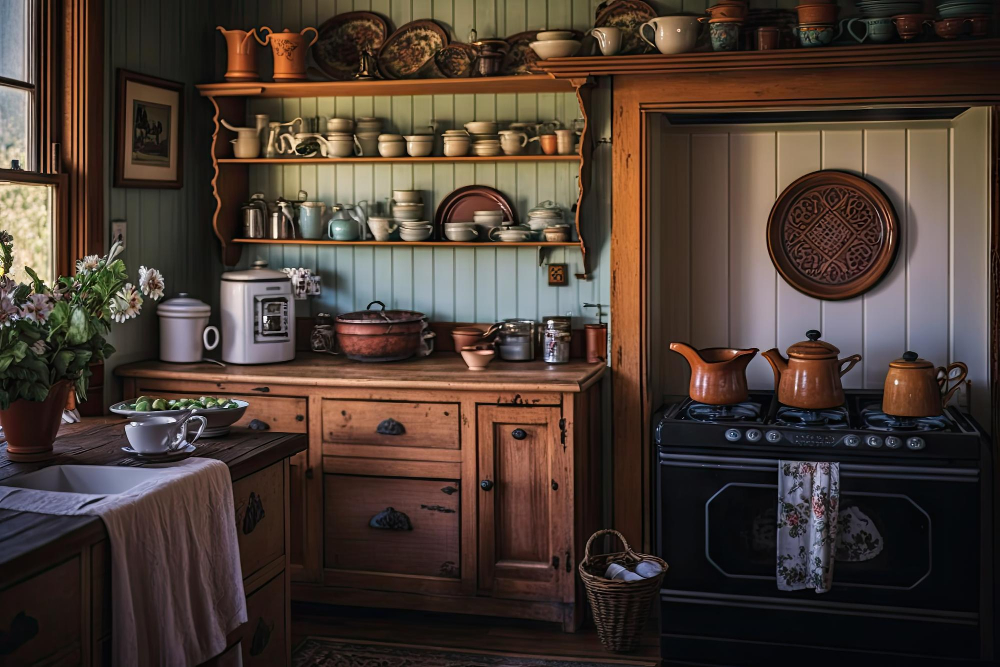
You want your items to be easily accessible and within reach while also looking visually appealing. To achieve this balance, it’s essential that you place items on shelves according to use.
Start by grouping similar items together such as plates, bowls, and glasses. Place them at eye level for easy access when setting the table or grabbing a quick snack.
Store heavier dishes on lower shelves where they won’t pose a risk of falling or breaking.
Next up are cooking essentials like pots and pans which should be stored near your stove for convenience during meal prep time. Keep frequently used spices close by along with utensils like spatulas and ladles.
For those who love baking, dedicate a shelf specifically for baking supplies such as measuring cups/spoons, mixing bowls etc., so everything is in one place when you need them.
Displaying Cookbooks and Recipes
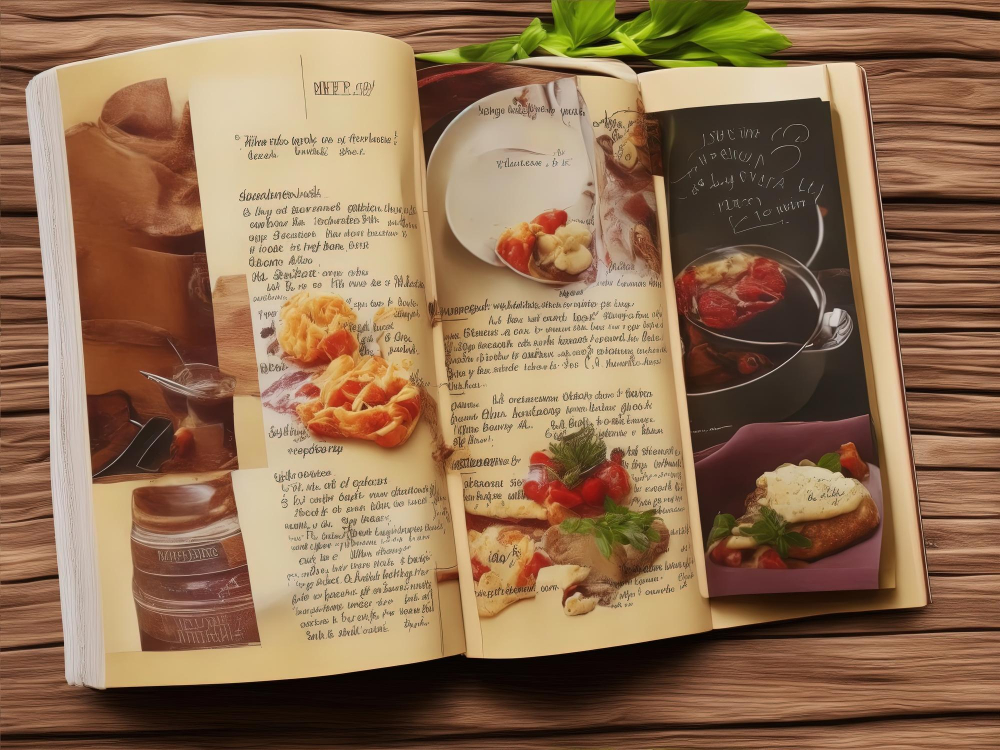
They can also be used as inspiration for meal planning or as a conversation starter when entertaining guests. When displaying cookbooks, consider grouping them by color or size for an organized look.
Another option is to display recipe cards or printouts in clear acrylic stands on the shelves. This not only adds visual interest but also makes it easy to access recipes while cooking.
If you have family recipes that have been passed down through generations, consider framing them and hanging them on the wall above your open shelving unit. This creates a sentimental touch while still keeping with the overall theme of your kitchen décor.
Adding Greenery and Plants
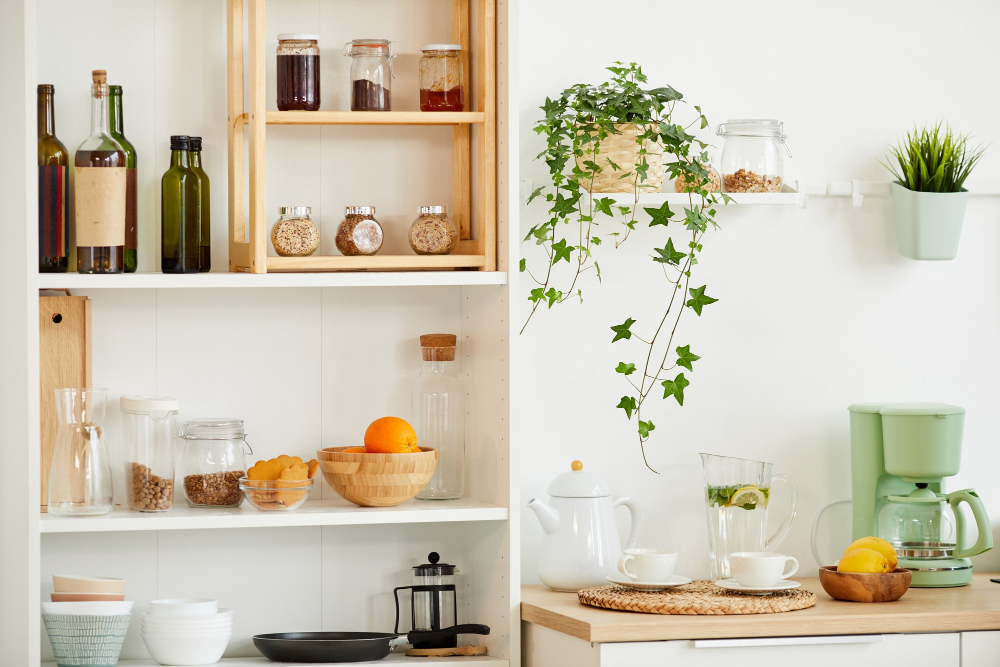
Plants not only add a touch of nature but also help purify the air in the room. When selecting plants for your open shelves, consider their size, shape, and lighting requirements.
Succulents are a popular choice as they require minimal care and come in various shapes and sizes. They can be placed on small dishes or pots that match the color scheme of your kitchen decor.
Herbs such as basil, thyme or rosemary can also be grown on open shelves with adequate sunlight exposure. Not only do they look great but you’ll have fresh herbs at hand when cooking!
If you’re looking for something more dramatic than succulents or herbs try hanging trailing vines like pothos from high up shelving units; this will create an eye-catching display while adding texture to space.
Accessorize the Under-Shelf Area
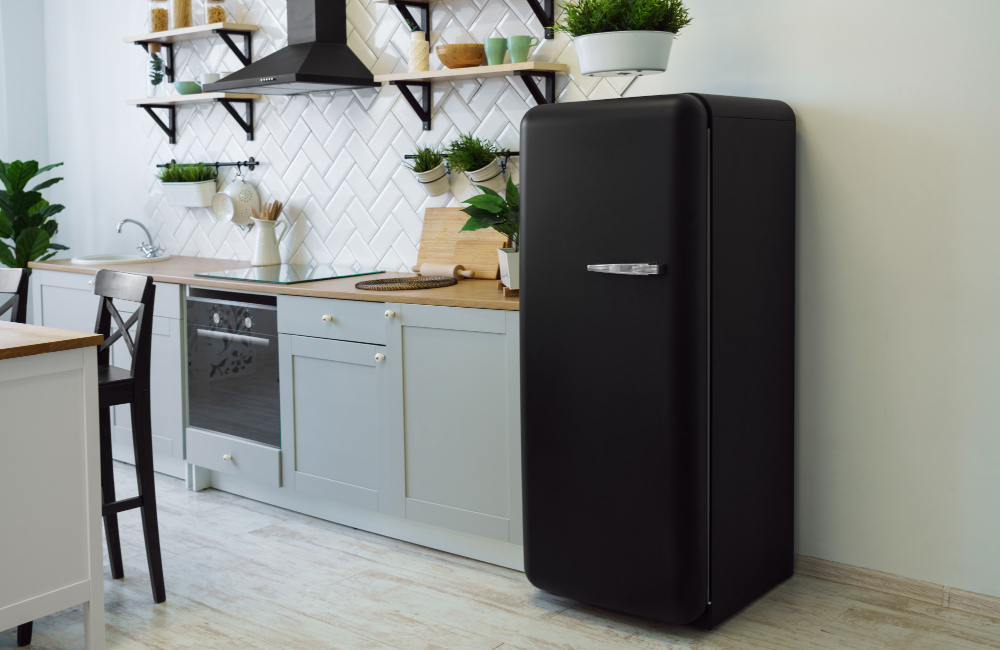
This area can be used to add an extra layer of visual interest and depth to your display. Consider adding small decorative items such as vases, jars, or even a small plant in this space.
Another great way to accessorize this area is by incorporating lighting options such as LED strip lights or puck lights that will illuminate your display and create a warm ambiance in your kitchen.
When selecting items for this area, make sure they complement the overall color scheme and style of your kitchen décor. You can also use these accessories to tie together different elements on each shelf by repeating colors or textures throughout.
Layering Items for Visual Interest
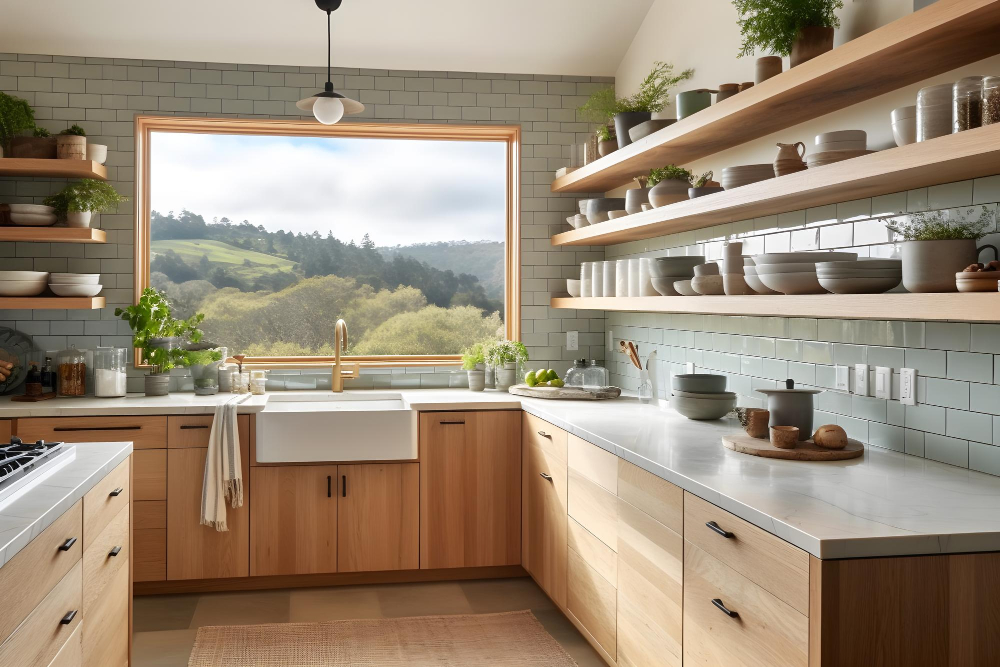
When done correctly, layering can add texture, color, and dimension to your kitchen decor. To achieve this look, start by placing larger items at the back of the shelf and gradually work towards smaller pieces in front.
For instance, you could place a large vase or pitcher at the back of a shelf with smaller plates or bowls in front.
Another great tip for layering is to use different heights when arranging your items. This will help draw the eye up and down as well as side-to-side across each shelf display.
You can also experiment with mixing textures such as wood cutting boards paired with ceramic dishes or glass jars filled with colorful spices next to woven baskets holding utensils.
Remember that less is often more when it comes to styling open shelves; too many layers can make things look cluttered rather than visually appealing.
Creative Storage Solutions for Open Shelves
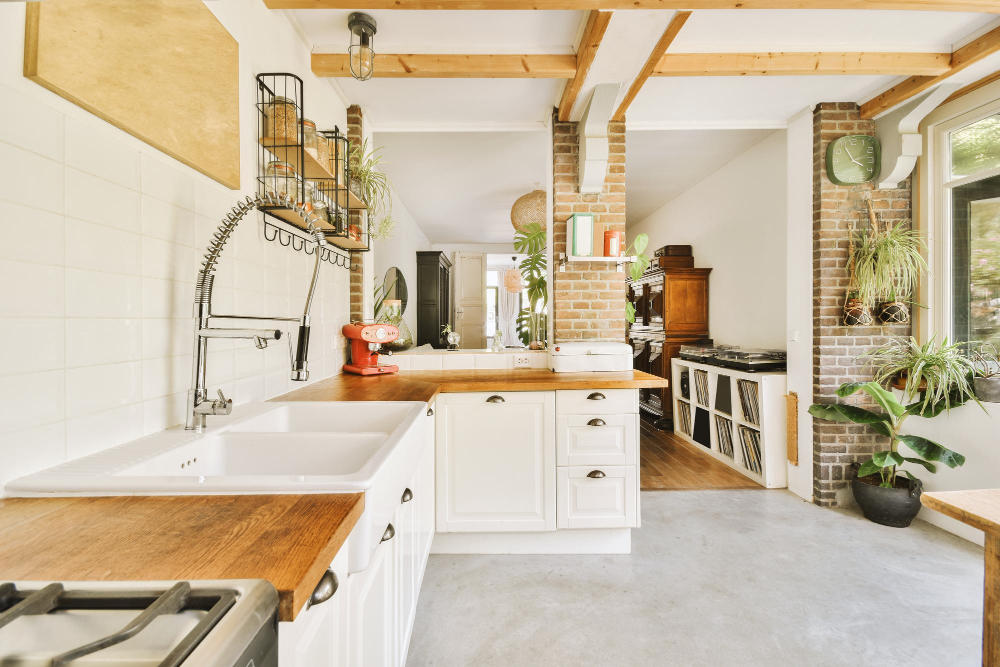
Fortunately, there are many creative storage solutions that you can use to keep your open shelves looking neat and tidy.
One option is to incorporate baskets or storage containers into your shelf design. These containers come in various sizes and materials such as wicker, wire mesh or fabric-covered boxes.
They provide an excellent solution for storing small items like spices, utensils or even fresh produce.
Another idea is to install hooks underneath the bottom of the shelf where you could hang mugs or cups by their handles instead of stacking them on top of each other which takes up more space than necessary.
You could also consider using tiered stands that allow you to stack plates vertically rather than horizontally which saves space while still keeping everything visible on the open shelves.
Utilizing Baskets and Storage Containers
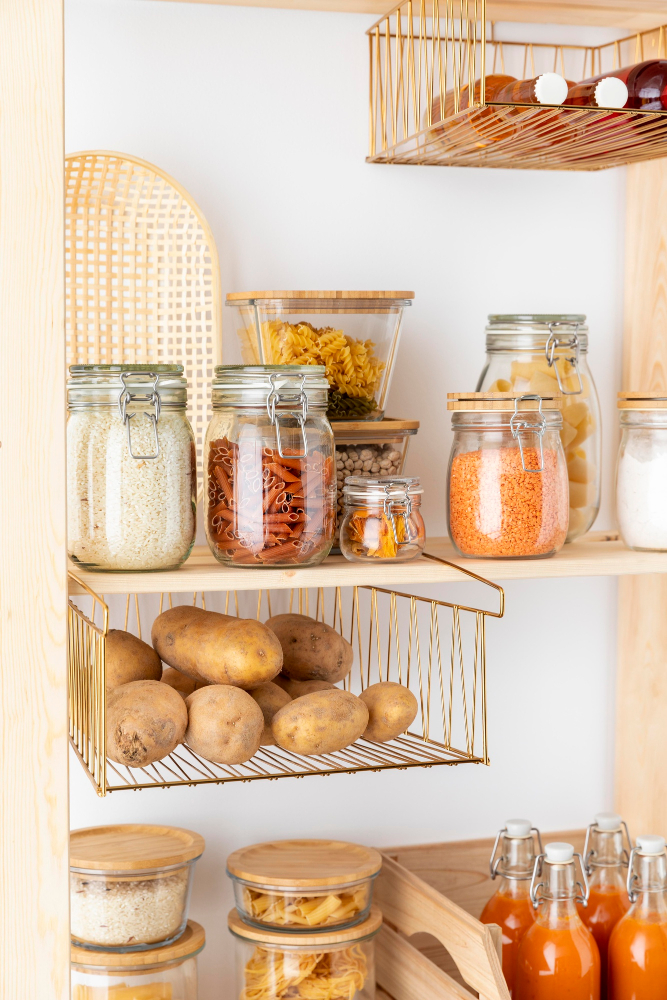
They can be used to store items that may not look as visually appealing on display or for organizing smaller items like spices or utensils. Woven baskets in natural materials such as rattan or seagrass can add warmth and texture while wire baskets offer a more industrial feel.
When selecting baskets or containers for your open shelves, consider the size of the shelf space you have available. You don’t want them too big that they take up too much room but also not so small that they get lost among other decorative pieces.
To keep things organized within these storage solutions, use labels on each basket/container indicating what is inside it. This will make it easier when searching for specific items later on.
Incorporating Lighting Options
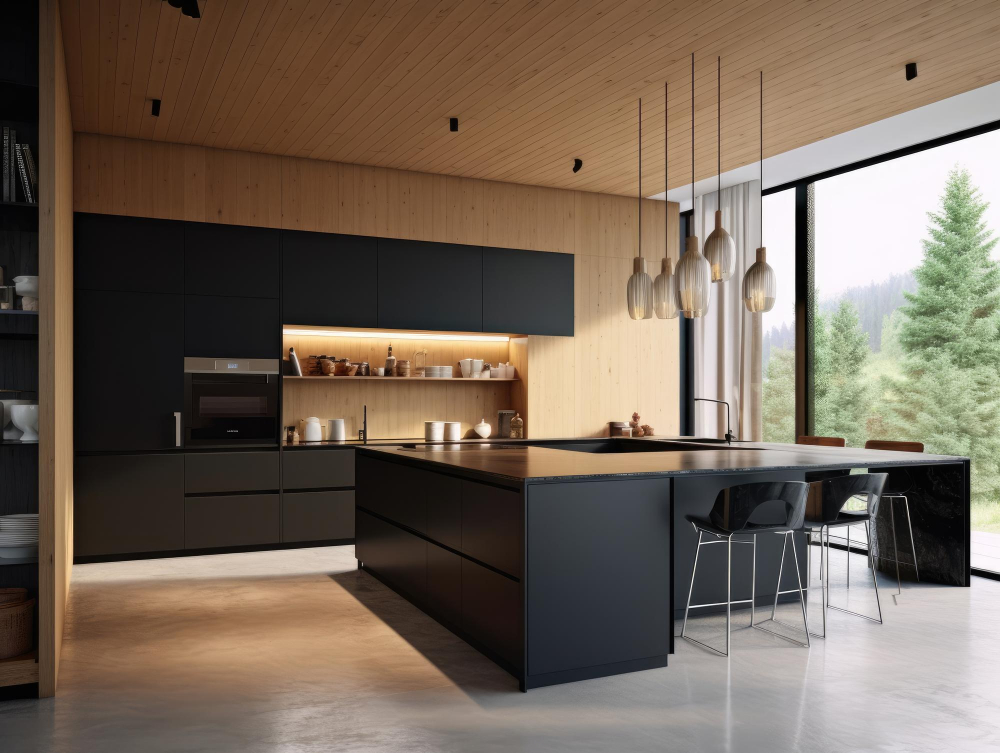
Consider adding under-cabinet lighting to highlight specific items on your shelves or installing small spotlights above each shelf for a dramatic effect. You can also use LED strip lights to create an ambient glow that will add warmth and depth to your display.
Another option is incorporating pendant lights above the open shelving area, which not only provides additional light but also adds visual interest. Pendant lights come in various styles, sizes, colors, and materials; therefore you have plenty of options to choose from depending on the style you want.
When selecting lighting options for your open shelves kitchen design project ensure that they complement other elements such as color scheme or material selection used throughout space while providing adequate illumination for both practicality purposes as well as aesthetics reasons.
Rotating Seasonal Displays
Rotating seasonal displays on your open kitchen shelves can add a touch of freshness and excitement to your space. For example, during the fall season, you could display pumpkins, gourds or autumn leaves in warm colors like orange and brown.
In winter months, you could showcase holiday-themed items such as snowflakes or ornaments.
During springtime, consider adding fresh flowers in vases or displaying pastel-colored dishware for a light and airy feel. And when summer rolls around again? Think beachy vibes with seashells and starfish accents.
By rotating seasonal displays on your open kitchen shelves every few months or so will keep things interesting while also allowing you to experiment with different styles without committing long-term!
FAQ
Are open shelves in kitchen still popular?
Yes, open shelves in kitchens are still popular, as the trend continues to persist without showing any signs of slowing down, especially for those seeking a fresh, modern vibe in their space.
What are the essential factors to consider when designing open kitchen shelves?
When designing open kitchen shelves, essential factors to consider include materials, weight-bearing capacity, organization, and aesthetics.
How can you efficiently organize and style open shelves to maximize both aesthetics and functionality?
To efficiently organize and style open shelves for maximum aesthetics and functionality, place frequently used items within reach, use a combination of storage containers for visual interest, and create a balanced look by grouping similar items together.
What materials and finishes are best suited for open kitchen shelving to complement various interior design styles?
The best materials and finishes for open kitchen shelving that complement various interior design styles include wood, metal, glass, and laminate in finishes like natural, matte, glossy, or textured.
