Last updated on
Tackling a clogged kitchen sink can turn the day’s tide in your favor, and this article details practical steps to get your plumbing back on track without professional intervention.
Key takeaways:
- Boiling water can clear mild sink clogs.
- Check and reset the garbage disposal.
- Use a plunger to dislodge obstructions.
- Clean the P-trap to remove accumulated debris.
- Practice good kitchen habits to prevent future clogs.
What's Inside
Attack With Boiling Water
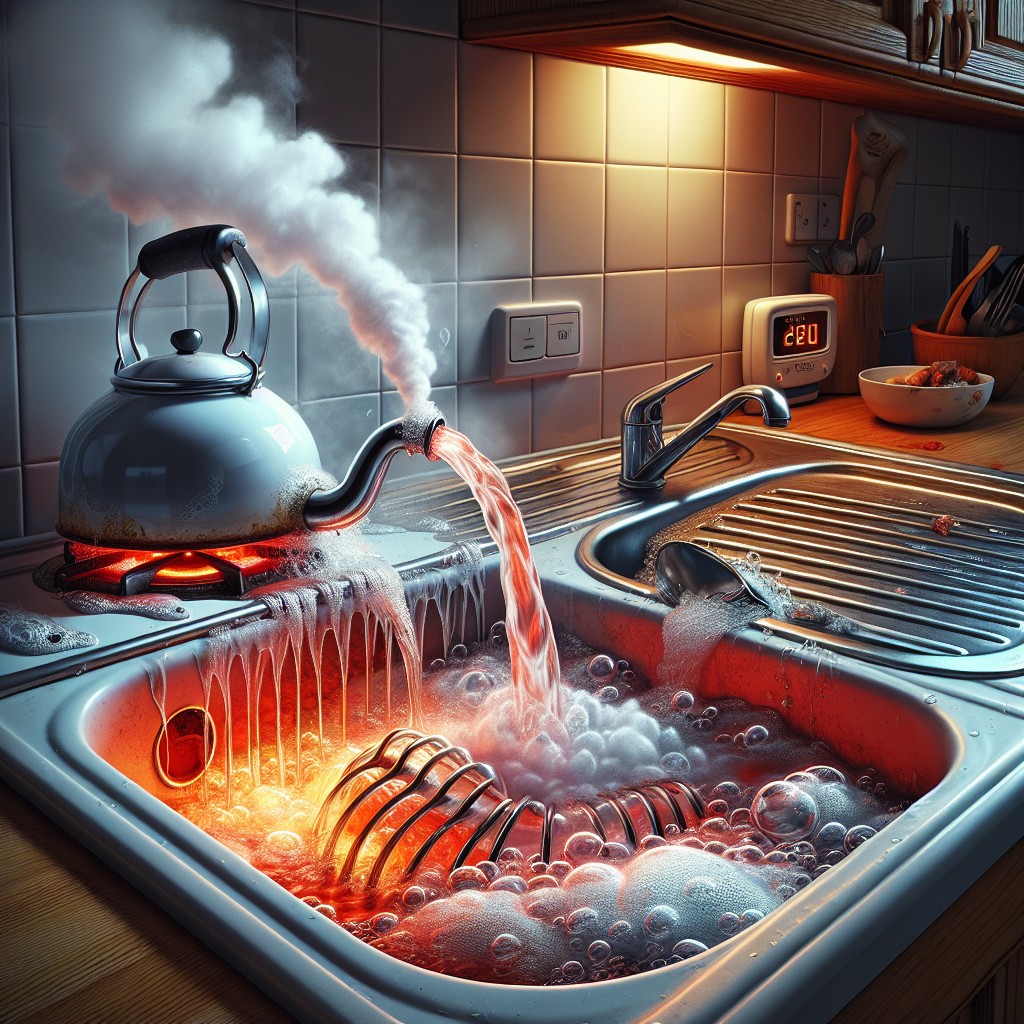
Pouring boiling water down the drain can sometimes clear mild blockages that are close to the sink’s surface. The high temperature helps dissolve components like grease or soap that may have solidified, causing the clog.
To effectively use this method:
- 1. Boil a kettle or a pot of water to the point where it’s bubbling hot.
- 2. Carefully carry it over to the sink and pour it directly down the drain.
- 3. Wait a few minutes to allow the heat to work on the obstruction.
It’s pivotal to note that this is not suitable for PVC pipes as extreme heat can soften this material, potentially leading to damage. For sinks with a disposal unit, ensure the unit isn’t the cause of the clog before trying this method. If the water doesn’t clear the clog on the first go, repeat the process a couple more times before moving on to other methods.
Check the Garbage Disposal
If the clog persists after dousing it with boiling water, turn your attention to the garbage disposal. Often, clogs occur just beneath the disposal, where food particles and debris may become trapped. Before you get started, ensure the disposal is off to prevent any accidents.
Start by pressing the reset button located on the bottom of the unit, as an overload could have tripped the disposal, causing it to shut off. After resetting, turn on the disposal to see if it clears the clog. Listen for the sound of the motor running smoothly, which indicates that the blades are moving freely and potentially dislodging the obstruction.
For stubborn clogs, try manually turning the blades with an Allen wrench. Insert it into the center hole beneath the disposal and work it back and forth. This manual agitation can free up jammed debris.
If the disposal is not working properly, and you suspect it’s defective, refrain from disassembling it yourself unless you have experience with such appliances. Consider professional help if a reset and manual blade rotation don’t resolve the issue. Remember, regular cleaning with ice cubes can keep the blades sharp and prevent future build-ups, ensuring your disposal helps rather than hinders your kitchen sink’s flow.
Plunge Away the Blockage
Equipped with a standard cup plunger, seal it over the drain and ensure water covers the plunger cup for optimal pressure. Vigorous, successive pumps create a vacuum to dislodge obstructions, often resolving minor clogs.
Persistent issues might necessitate the process repetition or signal deeper blockages necessitating alternate methods. During the task, keep the sink partially filled to maintain pressure effectiveness. The key is consistency and controlled force to avoid damage to pipes or seals.
If water flow remains stagnant, investigate further with a plumber’s snake or other advanced tools.
Clean the P-trap
The P-trap is the U-shaped pipe under your sink that keeps debris and sewer gases from entering your home. Over time, it can become the source of clogs due to an accumulation of gunk and leftovers. Before you start, you’ll need a bucket and a pair of channel-lock pliers.
1. Place your bucket underneath the P-trap. This will catch any water and debris that may spill out when you remove the trap.
2. Loosen the two slip nuts at both ends of the P-trap using the pliers. These are typically hand-tightened but may need some extra muscle if they’re tight.
3. After removing the P-trap, inspect it for clogs. A good practice is to clean it out with an old toothbrush or a straightened wire coat hanger to scrape away built-up residue.
4. Before reattaching the P-trap, ensure the washers are in good condition to avoid leaks. If they look worn, they should be replaced.
5. Once everything is clean, reassemble the P-trap, hand-tightening the slip nuts. It’s wise to run water through the pipes to check for leaks before considering the job done.
Remember, regular maintenance of your P-trap can prevent severe clogs and save you from future headaches.
How to Prevent Future Clogs
Preventing future clogs starts with mindful kitchen habits. Scraping plates thoroughly before rinsing them can significantly reduce the amount of debris entering your drain.
Fats, oils, and greases solidify inside pipes, so avoid pouring these directly down the sink. Instead, let them cool and dispose of them in the trash.
For a natural preventive measure, use a mixture of vinegar and baking soda monthly to maintain clear pipes.
Regularly using a sink strainer can trap food particles and other solids that might otherwise create blockages.
Remember to run cold water when grinding food waste with the garbage disposal, ensuring smoother operation and less strain on your plumbing.
These practices will keep your sink free-flowing and help avoid the inconvenience of clogs.
