Last updated on
If your kitchen sink is leaking, this how-to guide will provide you with simple steps to identify the cause and apply a practical fix.

Key takeaways:
- Pinpoint the source of the kitchen sink drain leak
- Turn off the water supply before starting repairs
- Check for damaged seals or gaskets around the drain
- Replace worn out washers and gaskets for a proper seal
- Test for leaks after completing the repairs
What's Inside
Identifying the Source of the Leak
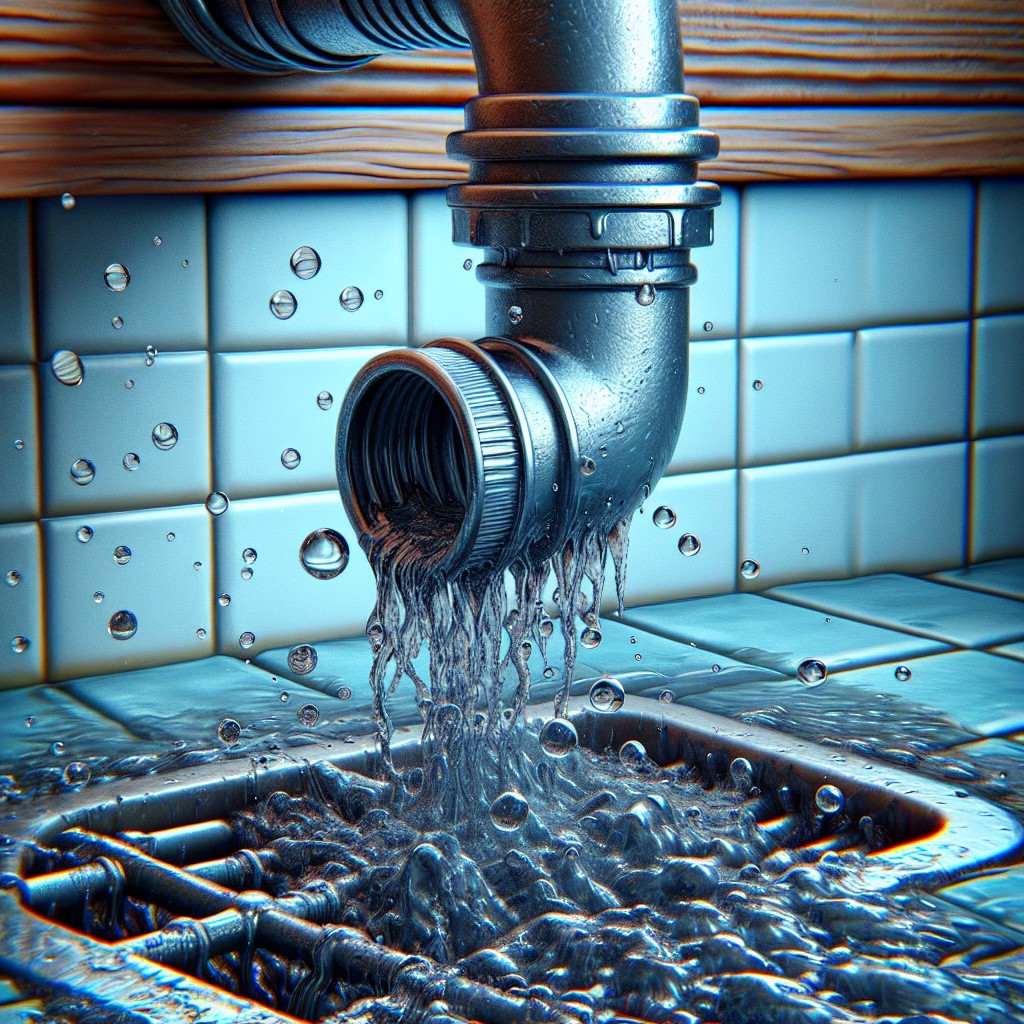
As you roll up your sleeves ready to tackle the leak, the first step is playing detective to pinpoint where the water’s breaking through. Grab a flashlight and look underneath the sink; water can travel along pipes, so it’s important to trace the droplets back to their origin.
It could be dripping from the drain itself, which is where the basket strainer and the tailpiece meet, or a potential crack could be the culprit. Don’t overlook the possibility of a loose connection where the drainpipe meets the sink’s bottom or at the P-trap—the curved pipe designed to trap debris and prevent clogs.
Sometimes, the leak is simply due to old plumber’s putty that’s failed its duty. A dry run test — placing a stopper over the drain, filling the sink with water, and then releasing it — can also reveal any leaks in real-time. Just remember: never underestimate the sneakiness of water, it could be flowing from another nearby fixture, so keep a broad perspective as you search.
Shutting Off the Water Supply
Before diving into repairs, ensure safety and prevent further water damage by turning off the water supply. Locate the valve beneath the sink, often situated in the cabinet. If the stop valve is stuck or inaccessible, you may need to turn off the main water supply to your home. This main valve is typically found in the basement, garage, or outdoors near the utility area.
Rotate the valve clockwise to halt the flow of water. Once the water is off, open the faucet to relieve any remaining pressure and to drain residual water from the pipes, readying your workspace for a clean and dry repair.
Inspecting for Damaged Seals or Gaskets
After turning off the water supply, take a close look at the seals or gaskets surrounding the kitchen sink drain. These components are crucial as they prevent water from seeping out at the juncture where your sink meets the plumbing. Over time, exposure to various temperatures and chemicals can cause them to deteriorate.
Pay attention to any signs of wear, cracking, or brittleness. A damaged seal or gasket can’t perform effectively, which might be why you’re facing leaks. Also, inspect the putty or sealant used; if it’s not adhering properly or has gaps, it needs replacing.
If you’re unsure whether a seal or gasket is the culprit, try the paper towel test. Simply wipe the area with a dry paper towel – if it comes away wet, you’ve found your leak. Remember, even small imperfections can cause significant leakage, so if in doubt, it’s better to replace the seal or gasket.
Replacing Worn Out Washers and Gaskets
Once you’ve pinpointed that the culprit behind the pesky leak is a worn-out washer or gasket, a simple replacement can seal the deal—quite literally. Start your repair by loosening the locknut that holds the sink basket in place. With that out of the way, you can access the washer. If it’s damaged or hardened, this can be your leak’s smoking gun. When selecting a replacement washer, ensure it’s the same size and shape as the original to guarantee a snug fit.
For gaskets, a visual check will usually reveal any signs of deterioration. A gasket that’s seen better days may be cracked or warped. Replacing a gasket is just as straightforward: remove the old one, clean any residue from the surfaces, and place the new gasket where the old one sat. Remember that over-tightening can be just as detrimental as not tightening enough—aim for a firm fit to avoid squashing the new gasket.
With these new components installed, you’re taking a decisive step towards bidding farewell to those annoying drips and ensuring the longevity of your kitchen sink’s plumbing.
Testing for Leaks After Repairs
Once the new washers and gaskets are in place, it’s crucial to check that your repairs hold water—literally. Run the faucet and let the water flow into the sink, observing the newly sealed areas for any sign of moisture. Use a dry paper towel to gently press around the edges of the drain and the base of the faucet. If the towel picks up any wetness, this could indicate that the leak persists.
Don’t forget to also look underneath the sink while the water is running. Keep an eye out for drips or any seepage along the pipes. You can also place a dry bowl or a piece of paper underneath the drainpipes; any drops will be immediately visible, confirming if the issue is resolved. Remember, even a small leak left unchecked can lead to larger problems, so ensuring a thorough test after repairs is a crucial step in the process.


