Last updated on
Learn exactly how long it typically takes to install kitchen cabinets and the factors that can speed up or delay the process.
Key takeaways:
- Accurate measurement is crucial for a smooth cabinet installation process.
- Consider kitchen style, material, functionality, and finish when selecting cabinets.
- Preparation work involves clearing the space and verifying measurements.
- Actual installation includes installing base and wall cabinets, hinges, handles, and drawer slides.
- Post-installation finishing touches include adjustments, hardware installation, and cleanup.
What's Inside
Planning and Measurement

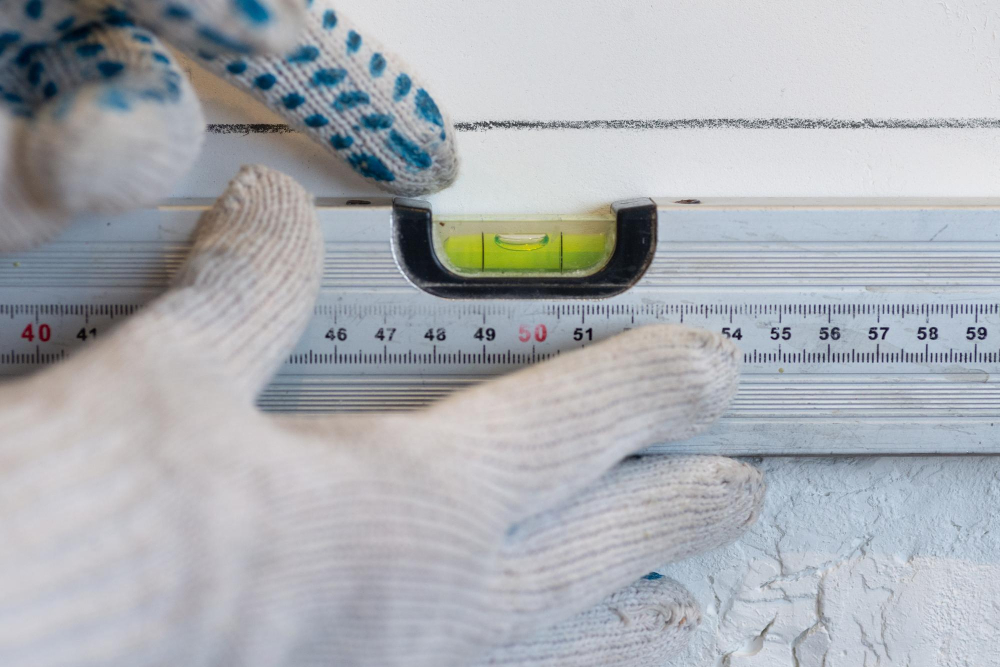
Before you dive into the exciting world of cabinet installation, take a moment to ensure your kitchen space is meticulously measured. This crucial step sets the stage for a smooth installation process, as accurate measurements are the backbone of fitted cabinetry that looks tailor-made rather than a mismatched jigsaw puzzle.
First, measure the overall dimensions of your kitchen — height, width, and depth — not ignoring any nooks or architectural quirks. Next, consider any obstacles like windows, sinks, or appliances that could influence the cabinet layout. Jot down the dimensions of each obstacle and their distance from the floor and each other, as this dictates where cabinets can or can’t go.
Then contemplate the workflow in your kitchen. Placement of items such as the stove, refrigerator, and sink, guided by the classic “work triangle” principle, can influence where and how cabinets are placed.
Lastly, decide on details like the space needed between the countertop and upper cabinets, ensuring there’s enough room to operate appliances comfortably.
Taking the time for thorough planning and precise measurement upfront can save you a mountain of headache later. It’s about doing it once and doing it right — while avoiding living in a renovation limbo filled with power tools and takeout dinners. Precision here is your best friend and the foundation for a set of cabinets that seem to have always belonged right where they are.
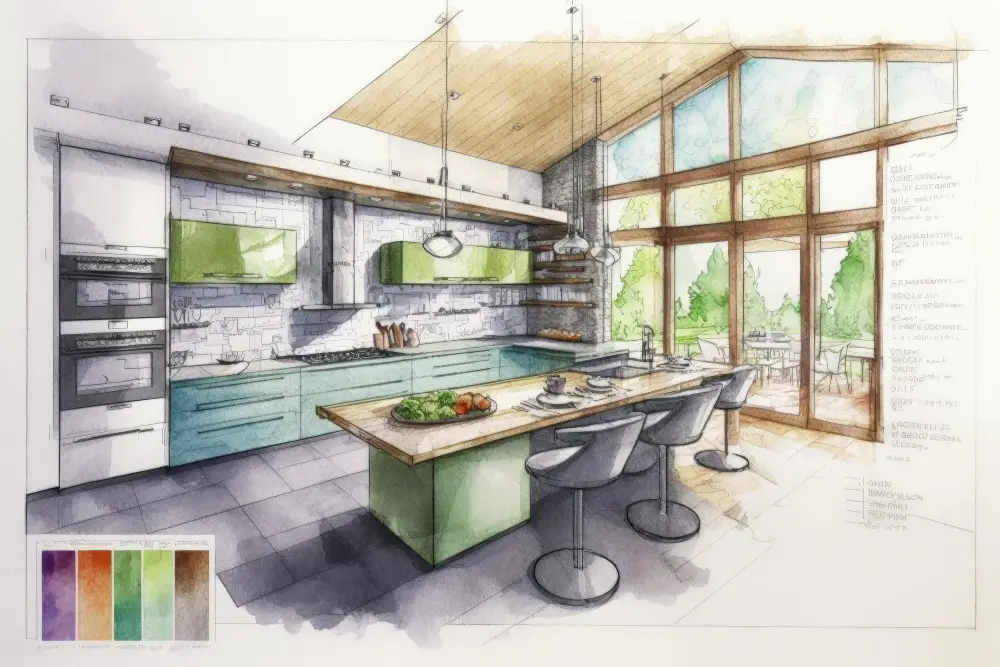
Selecting Cabinets
Selecting the right cabinets is a crucial step, akin to picking a good hat for your head—it should fit well and look great! First, consider the style of your kitchen. Modern, traditional, or perhaps transitional? The cabinet style should complement the room’s overall design.
Material choice can influence both the aesthetics and durability. Options range from solid wood, laminates, to metal, each bringing its vibe and varying levels of resilience. Wooden cabinets offer a classic look but keep in mind they might need more upkeep compared to metal or laminate options.
Also, think about functionality. How much storage do you need? Would you like special features like built-in spice racks or a lazy Susan? These decisions should be tailored to how you use your kitchen to avoid any post-install regrets.
Lastly, consider the finish and color. Lighter colors can make a small kitchen appear larger, whereas darker hues often bring a touch of sophistication but might require more lighting. Each choice frames not just your kitchen’s look but also your day-to-day interaction within the space.
Remember, your cabinet selection sets the tone for your kitchen renovation, both in style and functionality. Choose wisely and ensure they meet your everyday kitchen needs and aesthetic desires.
Preparation Work (1-3 Days)
Before the new fixtures can find their place, out with the old! Clearing the space is the first step, which might involve removing existing cabinetry and ensuring walls are smooth, free of nails or adhesive residue. It’s not a glamorous job, but think of it as prepping the canvas before the masterpiece.
Next up, verifying measurements. Accuracy here is crucial unless you fancy a cabinet door that opens into another dimension! Double-check distances between counters, appliances, and ensure electrical outlets are not going to be blocked. Adjustments at this stage save headaches later on.
Finally, gather your tools and materials. Keep everything from screws to levels handy. Remember, scrambling for a screwdriver mid-installation is nobody’s idea of a good time. A smooth start sets the stage for a successful installation, paving the way for the new heart of your home to take shape.
Actual Installation (2-7 Days)
Once the preliminary steps are out of the way, the real fun begins. Installation varies in length, but let’s break down what typically happens.
First, the base cabinets are installed. Since these will support your countertops, precision is key! Ensuring everything is level can be quite the balancing act—literally! After the base, the wall cabinets follow. Often, this is slightly quicker, unless you’ve chosen snazzy options with intricate designs or heavy materials.
Hinges, handles, and drawer slides are next. It might seem straightforward, but aligning these small components can be like threading a needle while riding a bicycle—tricky but doable with focus and patience.
Finally, if any cabinets are designed to house appliances, special frames or reinforcements may need to be fitted. Think of this as creating a bespoke suit for your appliances; it needs to be just right to ensure a sleek fit and finish.
Throughout the process, communication with your installer is crucial to dodge any potential mishaps. It’s a bit like choreographing a dance—and everyone needs to know the steps!
Post-Installation Finishing Touches (1-2 Days)
After the heavy lifting of cabinet installation is completed, it’s time to add those final touches that trn a construction zone into a conrtable, stylish kitchen.
First, adjustments are crucial. Even new cabinets might not align perfectly at first go. Cabinet doors may need a bit of tweaking to ensure they open and close smoothly – it’s like tuning a violin until the harmony is just right. Think of hinges as your melody line!
Next, hardware installation, which includes handles and knobs, not only adds functionality but also serves as your kitchen’s jewelry. Choosing the right style can elevate the look dramatically. It’s where your personal flair can shine—will you go bold and modern or classic and refined?
Lastly, cleanup and final inspection are essential. This phase involves removing any protective coverings, cleaning up the sawdust, and making sure every screw is tightened. It’s about dotting the i’s and crossing the t’s, ensuring everything is spotless and up to par before you start to cook up a storm.
These steps might sound simple, but they make all the difference in creating a finished kitchen that feels cohesive and ready for its culinary debut!
Continue reading: