Last updated on
Discover the simple steps to accurately measure your kitchen floor, ensuring you have all the necessary information for your next renovation or flooring project.

When it comes to renovating or redesigning your kitchen, one important aspect that often gets overlooked is measuring the kitchen floor. Whether you’re planning to install new flooring or simply want to ensure accurate measurements for furniture placement, getting the dimensions right can make all the difference.
In this article, we’ll guide you through the process of measuring your kitchen floor like a pro. So grab your tape measure and let’s get started!
What's Inside
Understanding Your Kitchen Layout

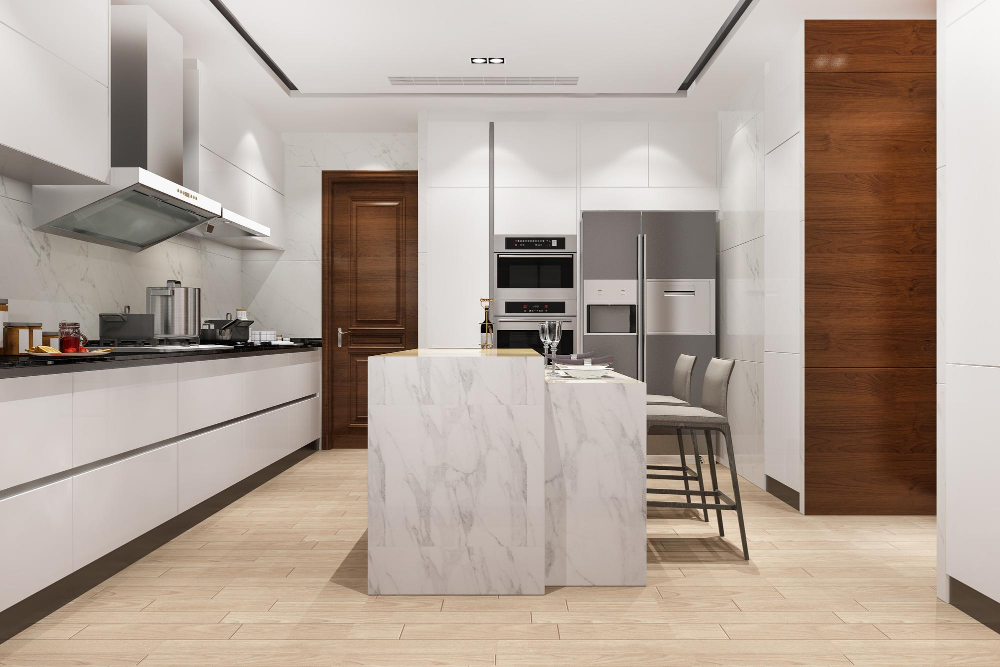
Before you start measuring your kitchen floor, it’s crucial to have a clear understanding of your kitchen layout. Every kitchen is unique in its design and configuration, so taking the time to familiarize yourself with the space will help you accurately measure and plan for any flooring changes or furniture arrangements.
Take a moment to visualize how your kitchen is laid out. Consider where the walls are located, as well as any permanent fixtures such as cabinets, islands, or appliances.
Understanding these elements will give you a better sense of how to approach measuring your floor.
If possible, obtain a copy of your original house plans or blueprints that include accurate measurements of each room. This can serve as an excellent reference point when it comes time to measure specific areas within your kitchen.
Take note of any irregularities in the layout that may affect measurement accuracy. For example, if there are nooks or alcoves along one wall that protrude into the main area of the room – these details need special attention during measurement.
Interpreting Your Kitchen Layout

Your kitchen layout will determine where you need to start and end your measurements, as well as any obstacles or irregularities that may affect the accuracy of your measurements.
Take a moment to study the overall design of your kitchen. Identify key features such as walls, cabinets, islands, appliances, and any other permanent fixtures that could impact the measurement process.
Pay attention to corners and angles that might require special consideration.
By interpreting your kitchen layout effectively, you’ll be able to plan out how best to navigate through different areas while measuring. This will help ensure that no space is overlooked or incorrectly measured.
Remember: precision is key when it comes to measuring for flooring or furniture placement in a room like the kitchen where every inch matters.
Gathering Necessary Tools

Having the right equipment on hand will make the process much smoother and ensure accurate measurements. Here are a few tools you’ll need:
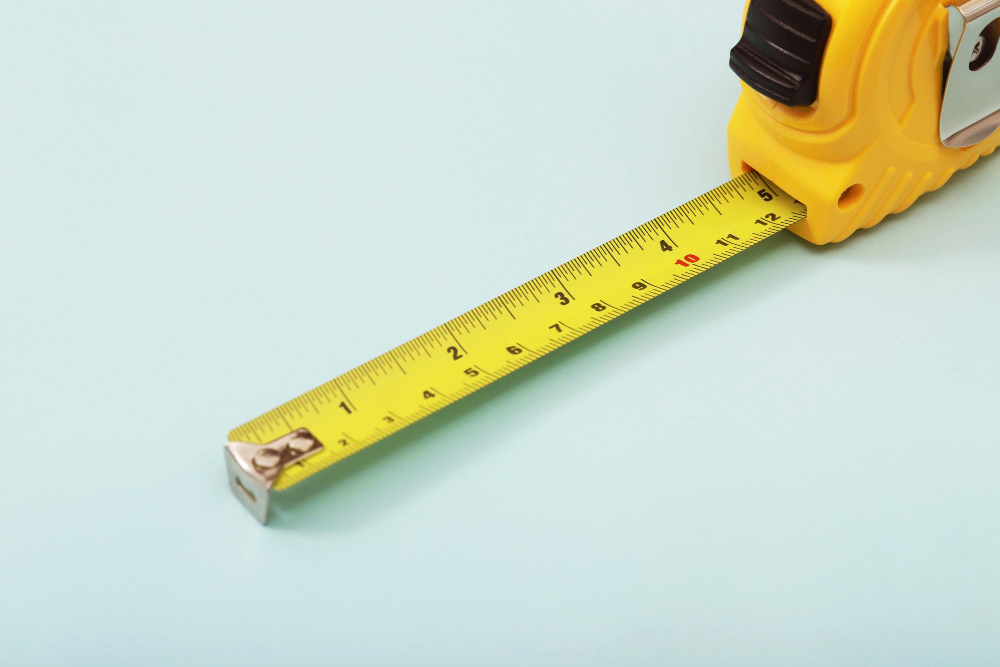
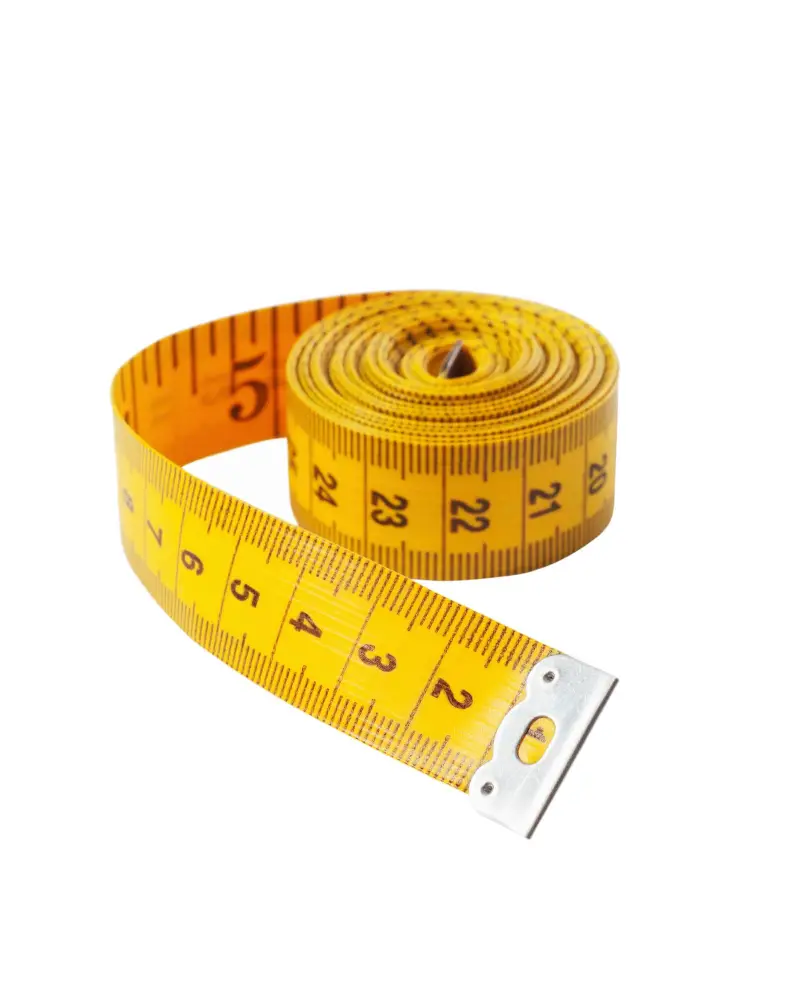
1. Measuring Tape: A reliable measuring tape is an absolute must-have for any home decorator or DIY enthusiast.
Look for a tape measure that extends at least 25 feet (7.6 meters) to accommodate larger spaces.
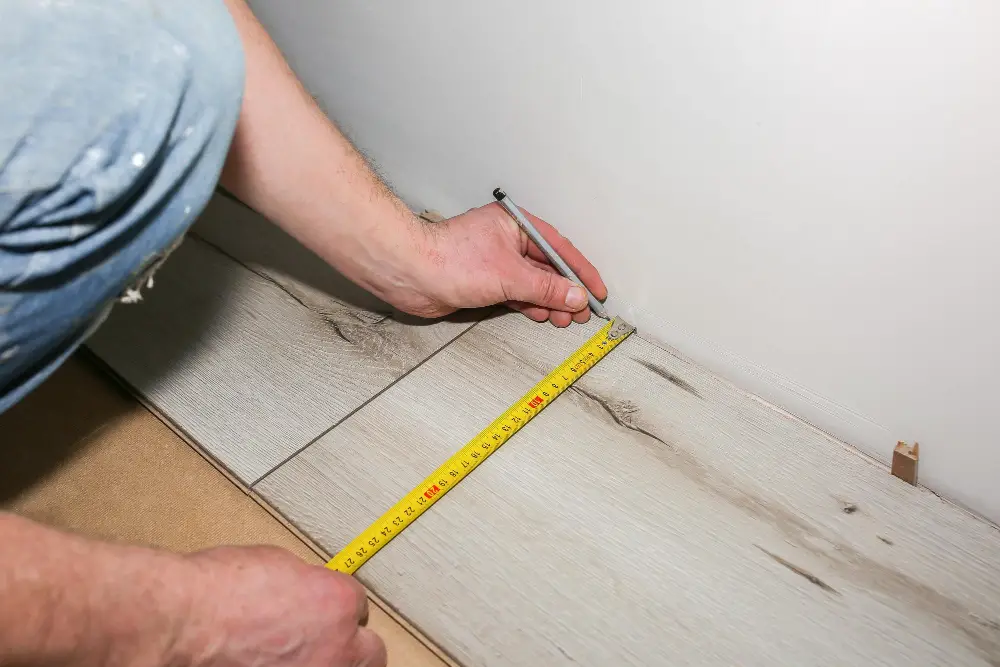
2. Pencil and Paper: Keeping track of your measurements is crucial, so be sure to have a pencil or pen and some paper handy during the process.
3. Calculator: If you’re planning on calculating square footage or converting measurements into different units, having a calculator nearby will save time and prevent errors.
4. Leveling Tool: While not always necessary, having a leveling tool like a bubble level can help ensure accuracy when measuring uneven surfaces or checking if floors are flat.
Required Tools for Floor Measurement
These tools will help you gather precise measurements and ensure that your flooring project goes smoothly. Here are the required tools for measuring your kitchen floor:
1. Measuring Tape: A reliable measuring tape is an absolute must-have when it comes to taking accurate measurements of any kind.
Look for a tape measure with clear markings and a sturdy construction.
2. Pencil or Pen: Having something to mark down your measurements is crucial for keeping track of the numbers as you go along.
3. Paper or Notebook: It’s important to have a dedicated space where you can record all the measurements in one place, making it easier to refer back to them later on during planning or purchasing materials.
4. Calculator (optional): While not necessary, having access to a calculator can be helpful if there are complex calculations involved, such as converting square footage into square meters.
5. Level (optional): If you’re concerned about uneven floors or want precise leveling information, using a level tool can provide additional accuracy in determining variations across different areas of the floor surface.
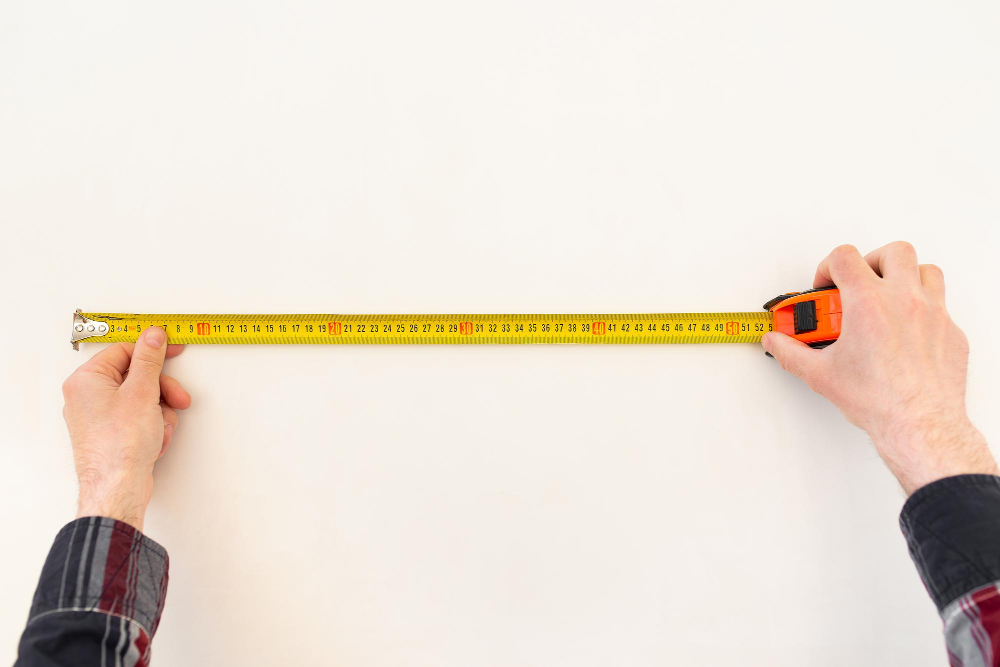
How to Use a Measuring Tape Effectively
This simple yet essential tool will be your best friend throughout the measurement process.
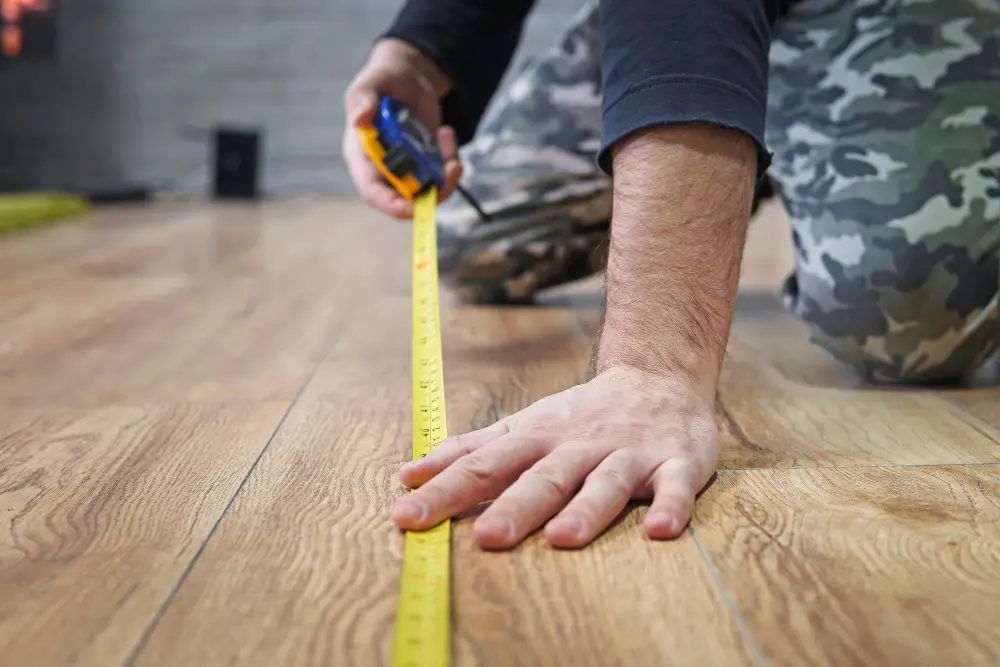
To start, ensure that your measuring tape is in good condition and properly extended. Hold one end of the tape firmly against a fixed point on one side of your kitchen floor.
It could be a wall or any other immovable object that serves as a reference point.
Next, carefully extend the tape across the length or width of your kitchen floor while keeping it taut but not overly stretched. Make sure that it remains parallel to walls and other straight edges for accurate measurements.
When taking measurements, read from where zero aligns with an edge rather than starting at one end of the tape measure itself. This helps eliminate errors caused by variations in hook sizes at each end.
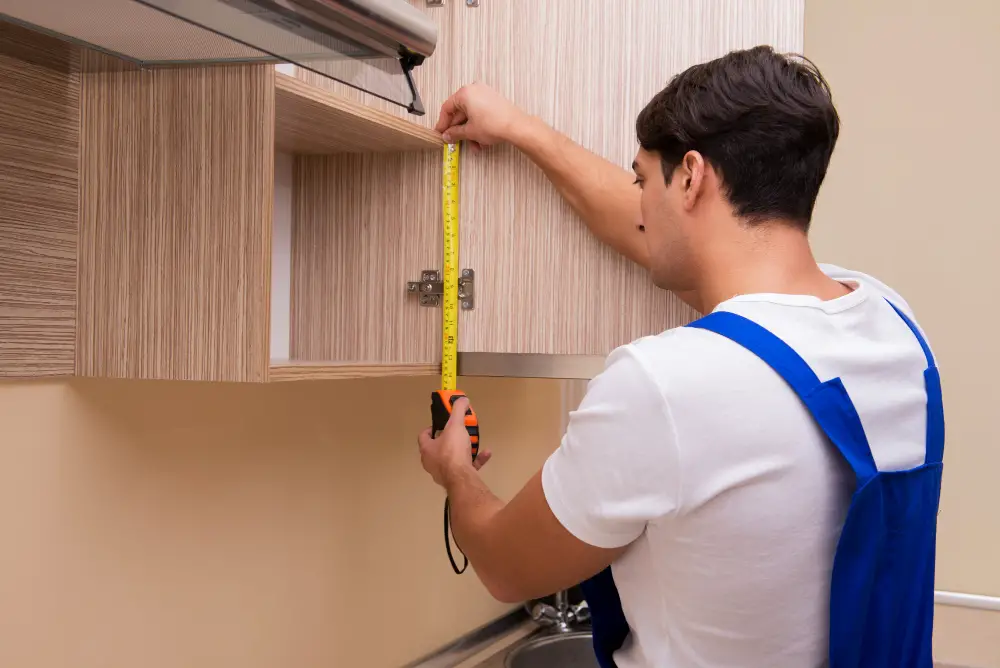
For longer distances, consider using an assistant who can hold down one end while you take measurements from another position within reach without compromising accuracy.
Remember to record each measurement immediately after taking it so you don’t forget any crucial details later on when planning or purchasing materials for flooring installation or furniture placement.
Understanding the Importance of Accurate Measurements

Just imagine spending hours selecting the perfect flooring material, only to realize it doesn’t fit properly once you start installation. Or envision arranging your furniture based on estimated dimensions, only to find out that everything feels cramped and awkward in reality.
That’s why understanding the importance of accurate measurements is crucial before diving into any kitchen floor project. Precise measurements ensure that you have a clear understanding of your available space and can make informed decisions about layout, materials, and design choices.
By taking accurate measurements, you’ll be able to determine how much flooring material is needed without wasting money on excess supplies or falling short midway through installation. Precise dimensions allow for proper planning when it comes to placing cabinets or islands within your kitchen layout.
Moreover, having accurate floor measurements will help contractors provide more precise estimates for labor costs and materials required for the job. This ensures transparency in budgeting while minimizing unexpected expenses along the way.
Starting Points for Measurement
This will serve as the reference for all subsequent measurements. A good starting point is typically where the main entrance of your kitchen is located.
Stand at the entrance and identify a prominent feature or landmark that you can easily measure from. It could be a wall, an appliance, or even a cabinet edge.
Once you have chosen this reference point, mark it with tape or make note of its location.
From there, you can move on to measuring other areas of your kitchen floor with confidence and accuracy. By establishing this initial starting point, you’ll ensure consistency in all measurements throughout the process.
Remember that precision is key when it comes to measuring your kitchen floor accurately for any renovation project or furniture placement plans.
Measuring the Kitchen Length
This could be a wall or an existing feature that you want to align your measurements with. Once you have determined the starting point, use a measuring tape to extend it along the length of your kitchen.
Make sure to keep the tape measure straight and taut as you move along, avoiding any sagging or bending that could affect accuracy. Take note of any obstacles such as cabinets or appliances that may require adjustments in measurement.
If your kitchen has multiple sections or angles, break down each section into individual measurements for better precision. For example, if there is an L-shaped area in your kitchen layout, measure each leg separately and then add them together for the total length.
Remember to account for baseboards and trim when measuring from one end of a wall to another. These small details can make all the difference when it comes time to install new flooring or plan furniture placement.
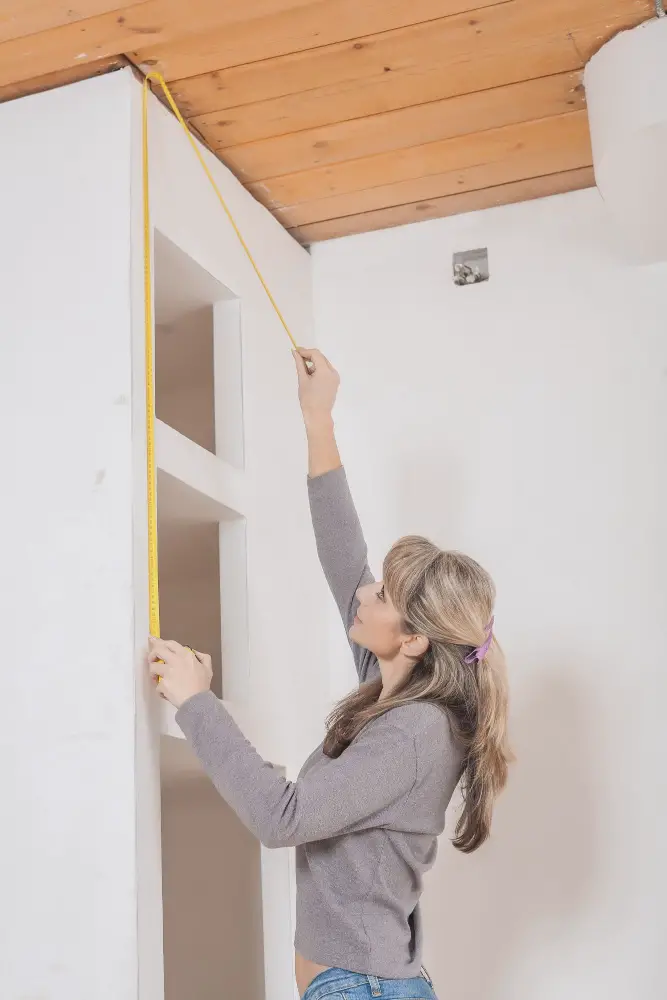
Measuring the Kitchen Width
This step is crucial for determining how much flooring material you’ll need and ensuring that everything fits perfectly.
To measure the width accurately, start by positioning yourself at one end of the room. Extend your tape measure from this point to the opposite side, making sure it runs parallel to any walls or cabinets.
Take note of the measurement displayed on your tape measure.
If there are any obstacles such as islands or built-in appliances in your kitchen, be sure to include them in your measurements as well. Measure from one edge of these objects to another and record those dimensions separately.
It’s important not only to take accurate measurements but also consider potential irregularities in shape or corners that may affect how much flooring material you’ll need. If there are any nooks or crannies along the width that deviate from a straight line, make sure they’re accounted for when measuring.
Factoring in Cabinets and Islands
These elements can significantly impact how much flooring material you will need for your project.
When measuring around cabinets, start by measuring from one end of the cabinet to another along each wall. Be sure to include any overhang or decorative trim that extends beyond the main structure of the cabinet.
This will give you an accurate measurement for determining where your flooring should begin and end.
Islands are another consideration when measuring your kitchen floor. To measure around an island, start by taking measurements from one side edge to another across its widest point.
Then measure from front edge to back edge along its longest dimension.
By factoring in both cabinets and islands into your measurements, you’ll ensure a precise fit for new flooring installation or furniture placement within your kitchen space.
Tackling Tricky Areas and Corners
These are often the most challenging parts to measure accurately, but with a little patience and attention to detail, you can ensure precise measurements for your flooring project.
When dealing with tricky areas such as alcoves or nooks in your kitchen layout, it’s important to break them down into smaller sections. Instead of trying to measure the entire space at once, focus on measuring each individual section separately.
This will help eliminate any confusion or errors that may arise from trying to measure complex shapes all at once.
Corners can also pose a challenge when measuring your kitchen floor. To get accurate measurements in these tight spaces, use a flexible tape measure that can easily bend around corners without losing its accuracy.
Take multiple measurements from different angles within the corner area and then average them out for more precise results.
Remember that precision is key when tackling these tricky areas and corners of your kitchen floor measurement process. Taking extra time now will save you headaches later on during installation or furniture placement.
Handling Tricky Measurement Situations
These situations can include irregularly shaped kitchens, odd angles, or obstacles such as built-in cabinets or islands. But fear not! With a few handy tips and techniques, you’ll be able to handle these challenges like a pro.
When dealing with irregularly shaped kitchens or floorplans, it’s important to break down the space into smaller sections for measurement. Start by identifying distinct areas within your kitchen and measure each section individually.
This will help ensure accuracy when calculating the total square footage.
For odd angles or corners that are difficult to reach with a standard tape measure, consider using alternative measuring tools such as laser distance meters or digital angle finders. These devices can provide precise measurements even in tight spaces where traditional methods might fall short.
When faced with built-in cabinets or islands that obstruct your path while measuring the floor area beneath them, there’s no need to fret either! Simply measure up until where these structures begin and record those dimensions separately from the main floor measurements. This way, you’ll have accurate information about both open areas and enclosed spaces within your kitchen.
Remember always to double-check any challenging measurements before finalizing them for use in flooring calculations. It’s better to invest extra time ensuring accuracy than facing issues later on during installation due to incorrect dimensions.
Dealing With Irregularly Shaped Kitchens
If you find yourself dealing with an irregularly shaped kitchen, don’t fret! With a few extra steps and careful measurements, you can still accurately measure your floor.
When faced with an irregularly shaped kitchen, it’s important to break down the space into smaller sections for measurement. Start by identifying distinct areas within your kitchen layout.
This could include alcoves, nooks, or extensions that deviate from the main shape of the room.
Next, focus on measuring each individual section separately. Treat them as separate entities and calculate their dimensions accordingly.
For example, if there is a small pantry area jutting out from one side of your kitchen wall or an L-shaped countertop extension at one end of the room – measure these areas independently.
To ensure accuracy when measuring irregular spaces like corners or curved walls in your kitchen floor plan; use flexible tape measures that can easily bend around curves and angles without losing precision.
Remember to record all measurements clearly along with labels indicating which part of the room they correspond to for easy reference later on during planning stages.
Dealing With Irregular Floorplans
These irregularities may include angled walls, alcoves, or protruding corners that deviate from the standard rectangular shape. But fear not! With a few extra steps and careful attention to detail, you can still accurately measure your kitchen floor even with these unique features.
When dealing with an irregular floorplan, it’s essential to break down the measurement process into smaller sections. Start by identifying the main areas of your kitchen and measure them individually.
For example, if you have an L-shaped kitchen layout with one side longer than the other or a U-shaped design with multiple angles and corners – focus on measuring each section separately.
To tackle angled walls or alcoves effectively in your measurements:
- Identify where these features intersect with straight edges.
- Measure from those points along each wall until you reach another intersection point.
- Repeat this process for all relevant angles and alcoves within your space.
For protruding corners that disrupt regular flow:
- Measure both sides of the corner independently as separate lengths.
- Add these two measurements together to get an accurate total length for that particular area.
Remember always double-checking your calculations when dealing with irregularities is crucial since any errors could lead to ill-fitting flooring materials or furniture placement issues later on.
Calculating the Square Footage

This step is crucial when it comes to purchasing flooring materials or estimating costs for your project.
To determine the square footage, start by multiplying the length and width measurements of your kitchen floor. For example, if your kitchen measures 10 feet in length and 8 feet in width, multiply these two numbers together: 10 x 8 = 80 square feet.
Keep in mind that this calculation assumes a rectangular or square-shaped kitchen. If you have an irregularly shaped layout with nooks or alcoves, break down those areas into smaller rectangles and calculate their individual square footages separately before adding them all up.
If you prefer working with metric units such as meters instead of feet, convert your measurements accordingly before calculating the area. To convert from inches to centimeters (or vice versa), remember that there are approximately 2.54 centimeters per inch.
Once you’ve determined the total square footage of your kitchen floor accurately, make sure to add a little extra for waste allowance during installation—typically around five percent—to account for any cutting errors or unforeseen issues during installation.
How to Convert Measurements Into Square Meters
Converting measurements into square meters allows for easier comparison and calculation when selecting flooring materials or estimating costs.
To convert your measurements from feet or inches to square meters, you’ll need to follow a simple formula. First, multiply the length of your kitchen floor by its width in either feet or inches.
This will give you the total area in square feet or square inches.
Next, if necessary, convert the units from feet/inches to meters/centimeters using conversion factors: 1 foot is equal to approximately 0.3048 meters and 1 inch is equal to approximately 2.54 centimeters.
Once you have converted all dimensions into metric units (meters/centimeters), multiply the length by the width again but this time using these new metric values instead of imperial ones. The result will be your kitchen floor area expressed in square meters.
Accounting for Error Margin

Even the most experienced decorators and renovators understand that small discrepancies can occur during the measurement process. These errors can be due to human error or slight variations in the shape of your kitchen.
To ensure accuracy, always add a few extra inches or centimeters to your measurements as a buffer zone. This will allow for any unforeseen adjustments that may need to be made during installation or when purchasing materials.
By accounting for an error margin, you’ll have peace of mind knowing that even if there are minor deviations from your initial measurements, you’ll still have enough flooring material and won’t face any last-minute surprises.
Remember, precision is key when it comes to home improvement projects like installing new flooring in your kitchen.
Importance of Double-Checking Measurements

Even seasoned professionals understand that mistakes can happen during the measuring process. By taking a few extra minutes to verify your measurements, you can avoid costly errors and ensure a smooth renovation or flooring installation.
Double-checking your measurements serves as an essential quality control step in any home improvement project. It helps catch any discrepancies or inaccuracies before proceeding with purchasing materials or making irreversible changes to your kitchen layout.
Imagine this: You’ve diligently measured the length and width of your kitchen floor, excitedly ordered new flooring based on those dimensions, only to realize later that there was a small error in measurement. Suddenly, frustration sets in as you find yourself having wasted time and money on materials that don’t fit properly.
To prevent such scenarios from occurring, take advantage of modern technology by using digital tools like laser measures or smartphone apps designed for accurate measuring purposes. These tools provide precise readings and eliminate human error associated with traditional tape measures alone.
Remember also to measure multiple times from different angles if needed—especially when dealing with irregularly shaped kitchens—to ensure consistency across all dimensions. This additional effort will give you peace of mind knowing that every measurement has been thoroughly checked for accuracy.
Recording Your Measurements

This step ensures that you have all the necessary information readily available when discussing your project with contractors or purchasing materials for flooring.
To record your measurements, grab a pen and paper or use a digital note-taking app on your smartphone. Start by labeling each measurement clearly so that there is no confusion later on.
For example, mark “Length” and “Width” at their respective measurements.
Next, jot down any additional notes about tricky areas or irregularities in the floor layout that may affect the installation process. These notes will come in handy when discussing specific requirements with professionals who can provide guidance based on these details.
Remember to keep track of units of measurement used (feet, inches) as well as any conversions made (if applicable). Having this information documented will prevent errors during calculations and ensure accurate estimates for materials needed.
Lastly, consider taking photographs of the measured area from different angles if possible. Visual documentation can serve as an extra reference point during discussions with experts or when comparing options for flooring styles and designs later on.
Utilizing Your Measurements For Flooring

Your precise measurements will serve as the foundation for making informed decisions about the type and quantity of flooring materials you’ll need.
With your measurements in hand, head over to a reputable flooring supplier or browse online catalogs. Knowing the exact dimensions of your kitchen floor will allow you to confidently choose the right amount of material without any guesswork.
This ensures that you won’t end up with too much or too little flooring, saving both time and money.
Having accurate measurements enables you to explore different layout options for laying down tiles or planks. You can experiment with various patterns such as herringbone or diagonal layouts by visualizing how they would fit within the confines of your kitchen space.
When it comes time for installation, providing precise measurements allows professional installers (if hired) to work efficiently and effectively without encountering unexpected obstacles due to inaccurate information. DIY enthusiasts can also benefit from accurate dimensions by planning their installation process meticulously beforehand.
Remember that accuracy is key throughout this entire process – from measuring correctly at the start all the way through finalizing design choices and executing flawless installations based on those initial calculations. By utilizing your carefully recorded measurements during every step of choosing and installing new flooring in your kitchen, not only will everything fit seamlessly but also look visually appealing while enhancing functionality within this important space.
FAQ
How do I calculate how much flooring I need?
To calculate how much flooring you need, you should measure the room’s length and width using a tape measure, then multiply these measurements together to find the square footage.
What is the best way to measure floor space?
The best way to measure floor space is by determining the length and width of the area in feet, and then multiplying these together to get the area in square feet using the formula: Length (in feet) x Width (in feet) = Area in sq. ft.
What tools are necessary for accurately measuring kitchen floor space?
A tape measure and a notepad are necessary for accurately measuring kitchen floor space.
Are there any specific techniques to measure kitchen floors with irregular shapes?
Yes, for measuring kitchen floors with irregular shapes, specific techniques involve dividing the area into manageable geometric shapes, then measuring, and adding these individual areas together.
How do I account for appliances and fixtures when calculating kitchen flooring requirements?
When calculating kitchen flooring requirements, account for appliances and fixtures by measuring the entire floor space, including the areas under them.


