Last updated on
Because water damage can wreak havoc on your beautiful cabinets, understanding repair ideas becomes crucial to reclaiming your home’s aesthetic appeal.
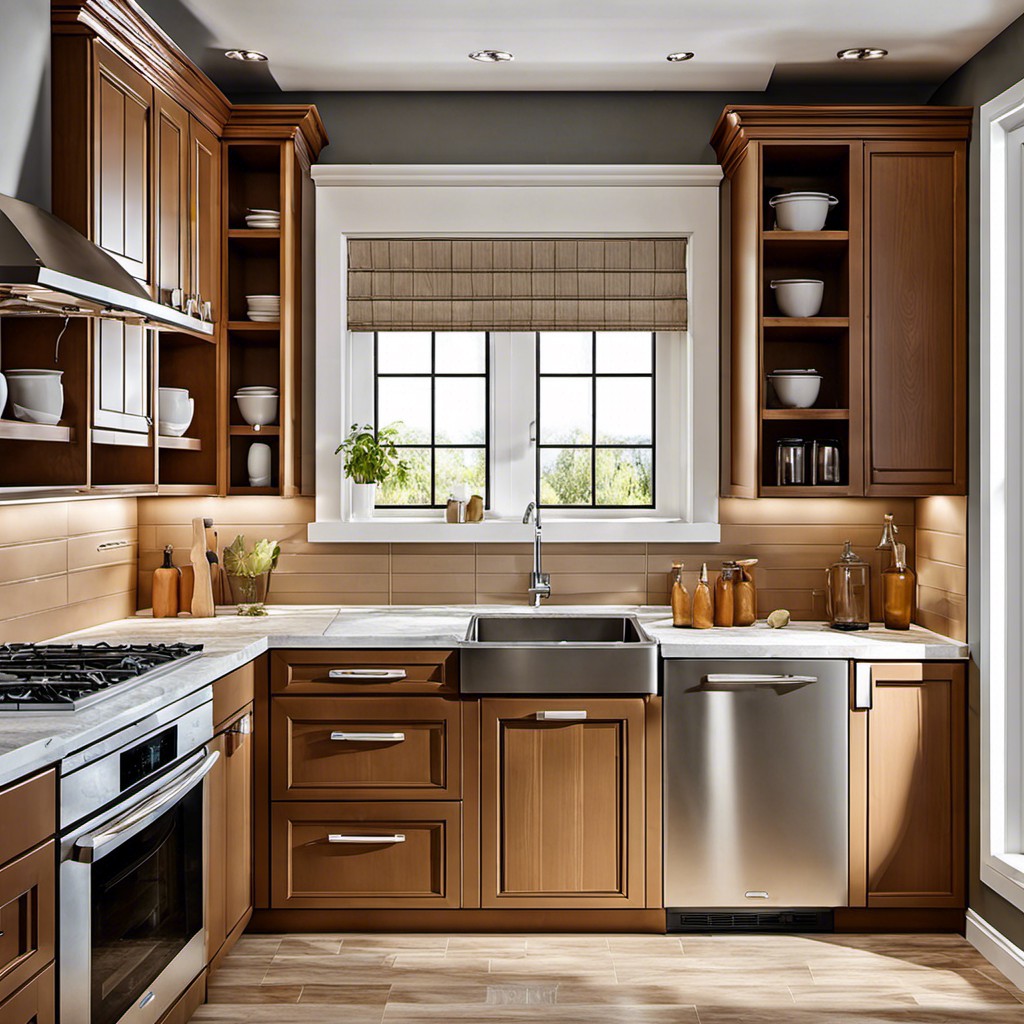
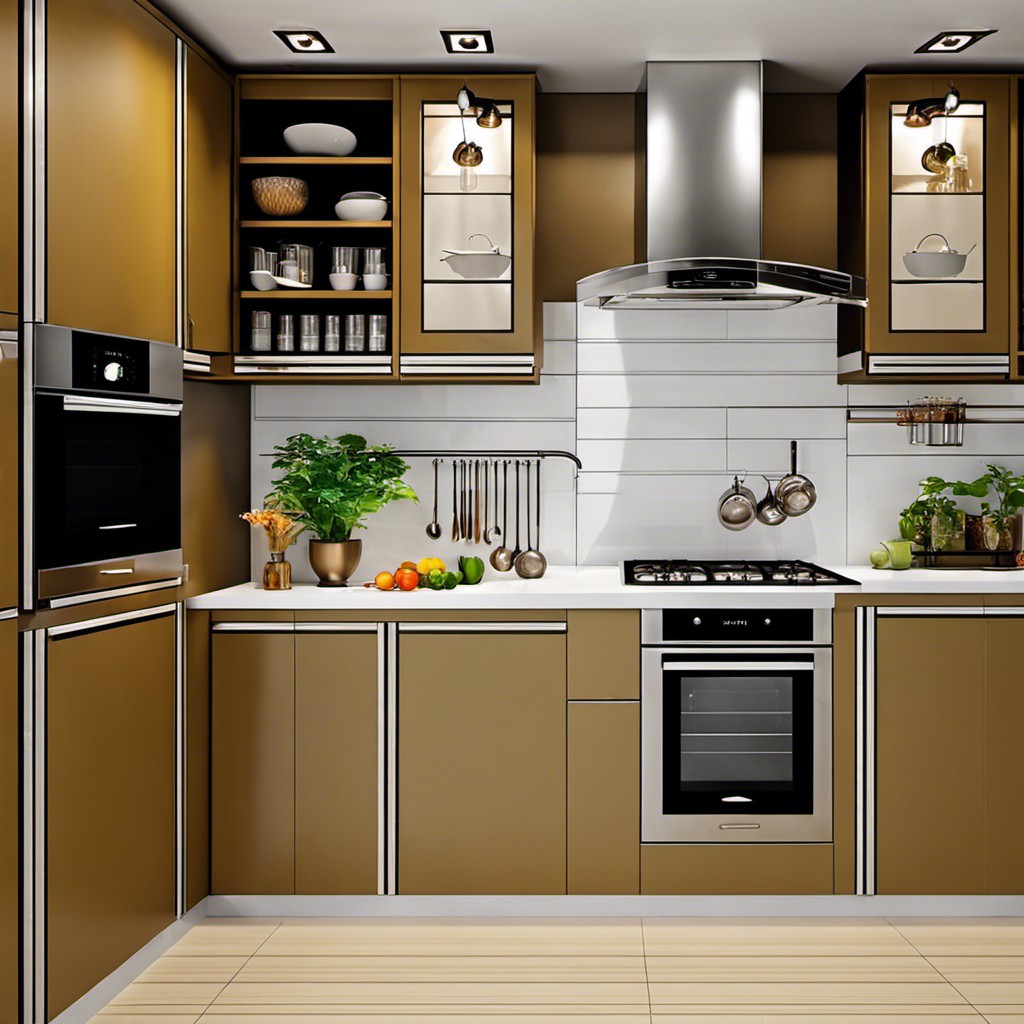
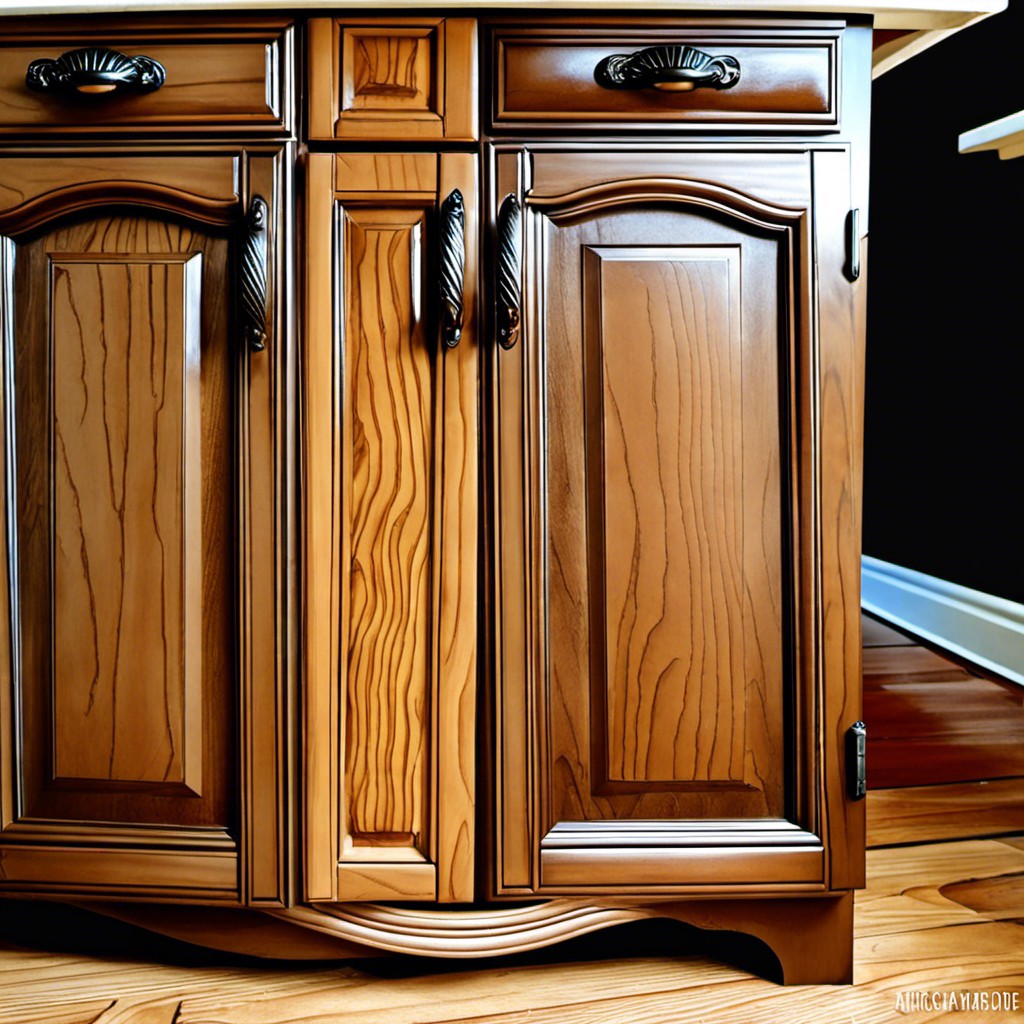
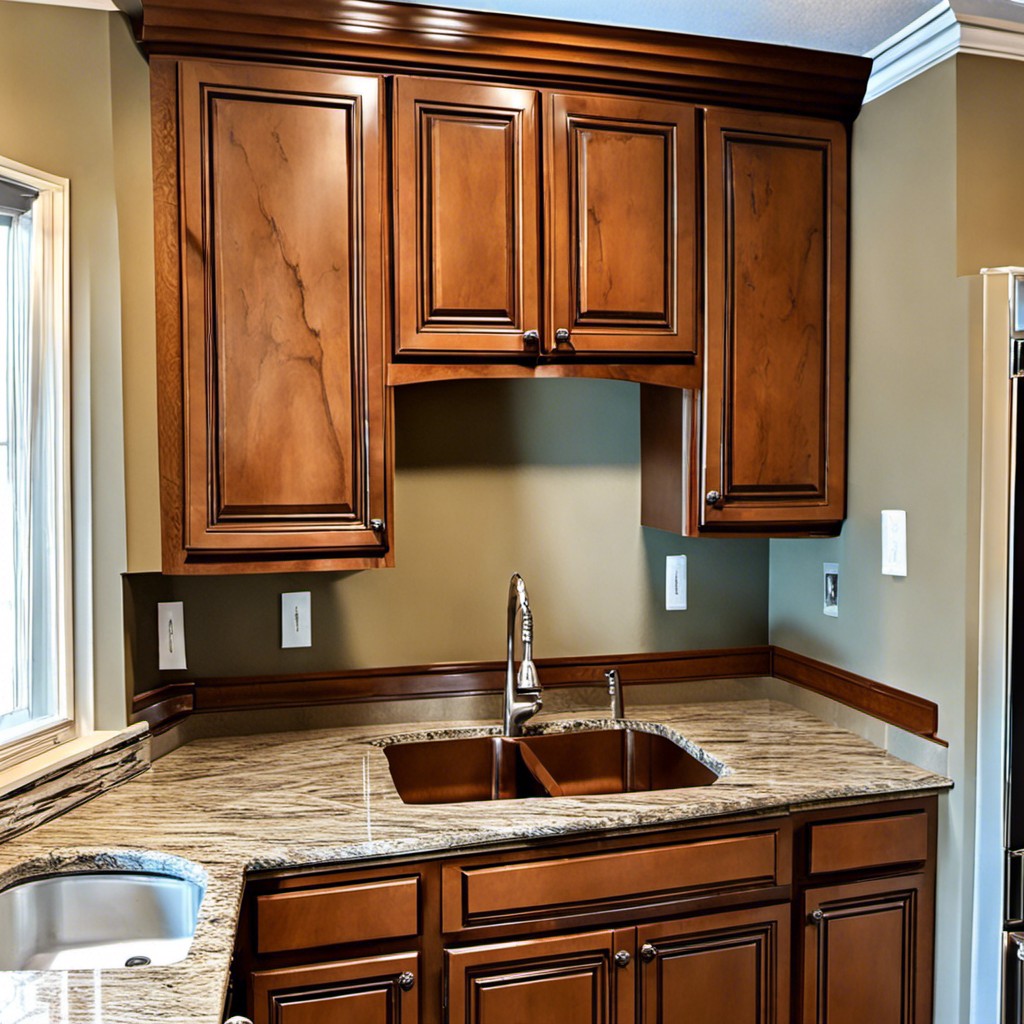
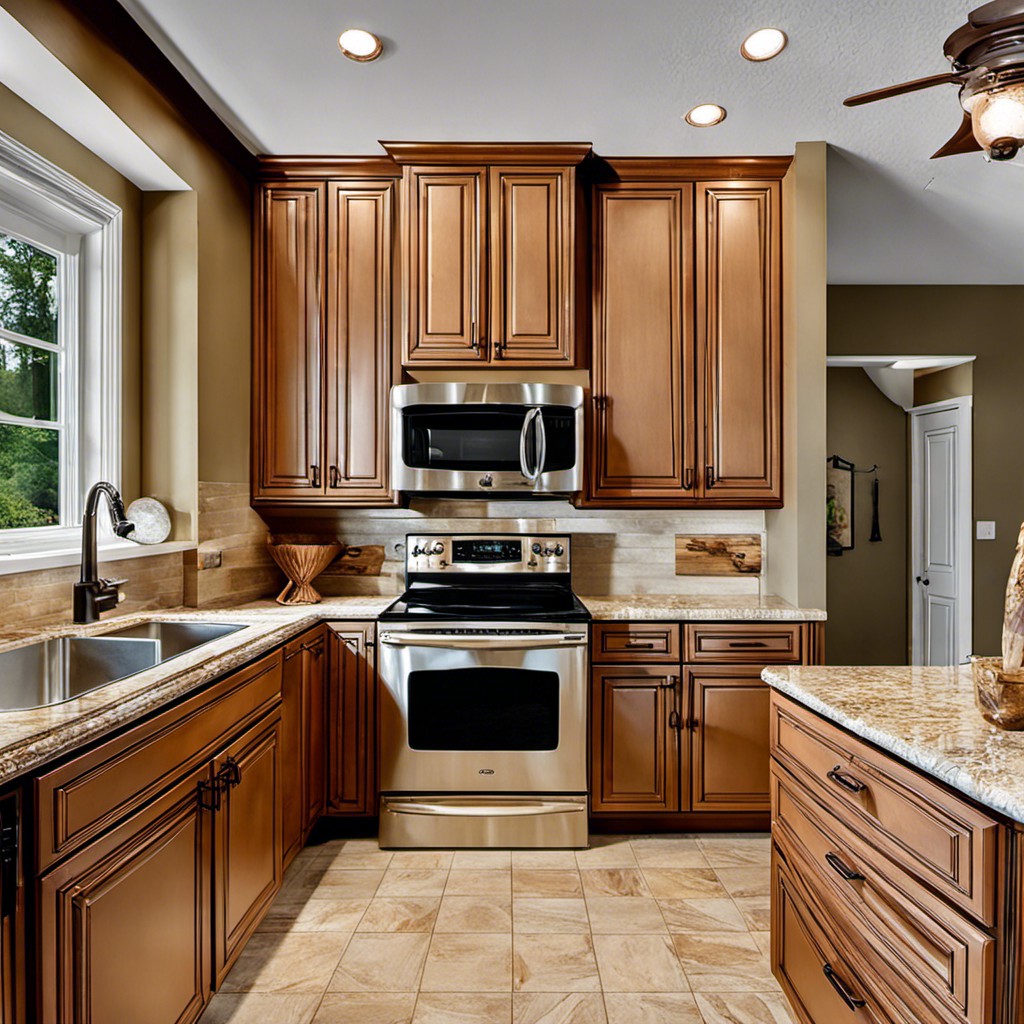
These are my unique design concepts made using design tools. I hope you find them inspiring!
Water damage can wreak havoc on your cabinets, transforming a once-beautiful staple of your kitchen or bathroom into a disheartening mess. Fear not, for this article aims to be your knight in shining armor with new and unique ideas for repairing water-damaged cabinets.
Although there are numerous repair tactics already available online, this piece will contribute fresh perspectives to reignite the beauty of your cabinets. As promised, valuable resources for existing repair methods will be provided towards the end.
Get ready to rescue those stricken cabinets with innovative solutions that steer clear of ordinary methods.
What's Inside
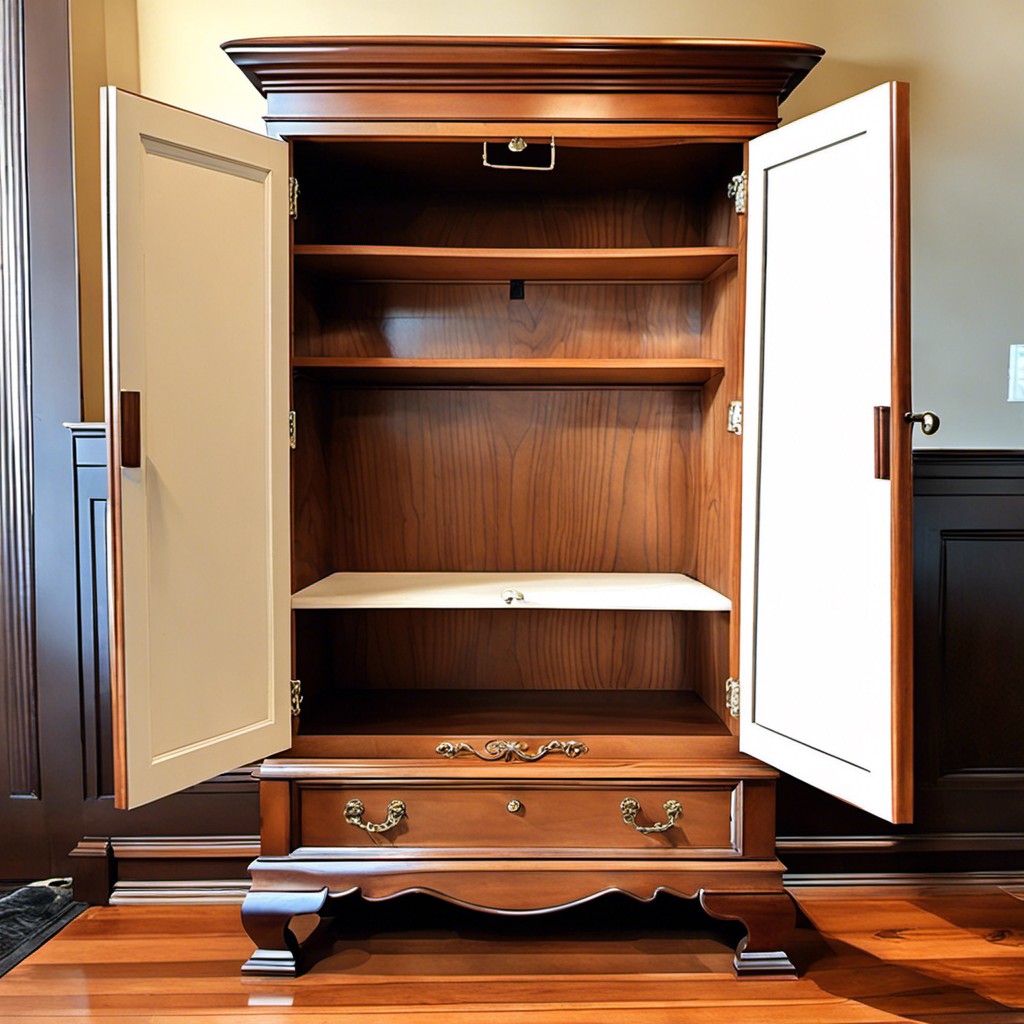
How to DIY Repair Water-Damaged Bathroom Cabinets
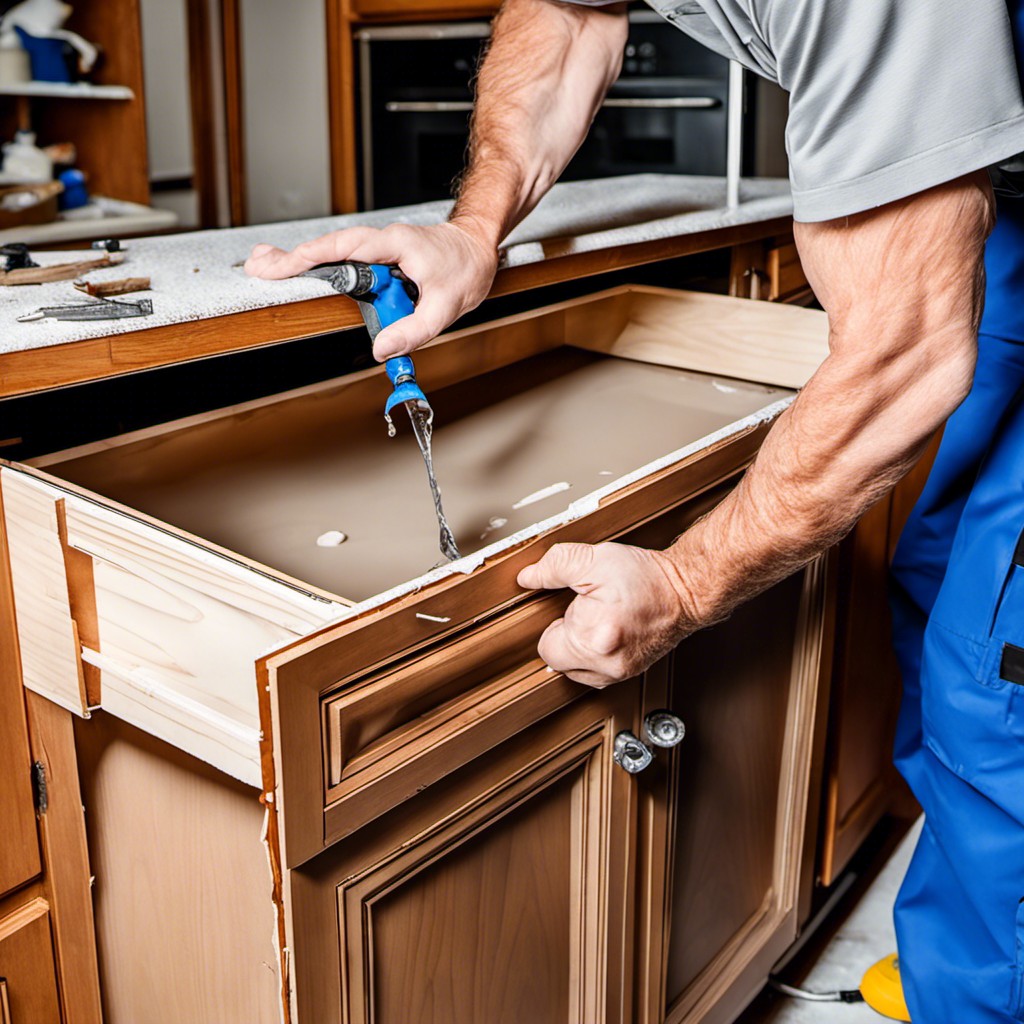
Firstly, identify the extent of the damage. If the wooden parts are damaged beyond repair, you might need to replace them. Tools such as a pry bar, replacement wood, wood filler, sandpaper, paint, and brushes are essential for this task. Start by removing the damaged areas using the pry bar. Following that, measure and cut the replacement wood to fit.
Next up, apply wood filler to any small holes or cracks to restore the appearance of the wood. Once dried, sand down the filler to ensure it aligns with the rest of the cabinet. After cleaning the cabinet to remove dust from sanding, apply a primer; this will help the paint adhere better and provide a smoother finish.
Finally, apply the paint in your chosen color. Let it dry before adding a second coat if necessary. Remember to open windows or ensure good ventilation while painting. With a little care and effort, bathroom cabinets can look as good as new, adding life to the overall aesthetics of this often overlooked space.
Evaluating Water Damage Level in Cabinets: A Guided Approach
Start by examining the affected cabinets visually, noting any discoloration or warping. These signs could indicate prolonged moisture exposure. For minor surface damage, lightly running your hand over the area may reveal raised grain or bumps, an early warning signal.
Next, assess the extent of the warping or swelling. This is often indicative of a more serious issue, necessitating professional repair or replacement.
Moldy or musty odors can’t be ignored either. Such smells linger where dampness does, even if the visual signs aren’t apparent. Also, poke the cabinet material gently with a screwdriver. If it feels soft and crumbly, the water damage could be severe.
Lastly, don’t forget about the adjacent areas, too. Water damage in cabinets often extends into the walls or floor. This check ensures a comprehensive overview of the situation.
Remember, early detection saves restoration costs, so regularly carry out this evaluation, especially after a plumbing mishap or flood.
Cost Comparison: Repairing Vs. Replacing Water-Damaged Cabinets
On fully examining the extent of the water damage, consider the costs involved. For minor issues such as peeling veneer or mildew stains, repair may be cost-effective. This typically involves sanding and resealing the damaged area – a process that could be DIY with minimal expenditure and effort.
More severe damages such as warping or structural instability might call for replacement. In such cases, the costs of new cabinets need to be weighed against the expense and effort of restoration. While replacements may seem expensive upfront, they offer a fresh start and can increase the longevity of your kitchen or bathroom.
Also, factor in the value of your time. A significant repair may take up considerable time and resources, while replacement can be quicker albeit pricier. However, neglecting such repairs can lead to more significant damage over time, incurring more expenses.
Rather than choosing the cheapest option, strive for value for money. It’s about striking a balance between quality, cost, and enhancement to your home.
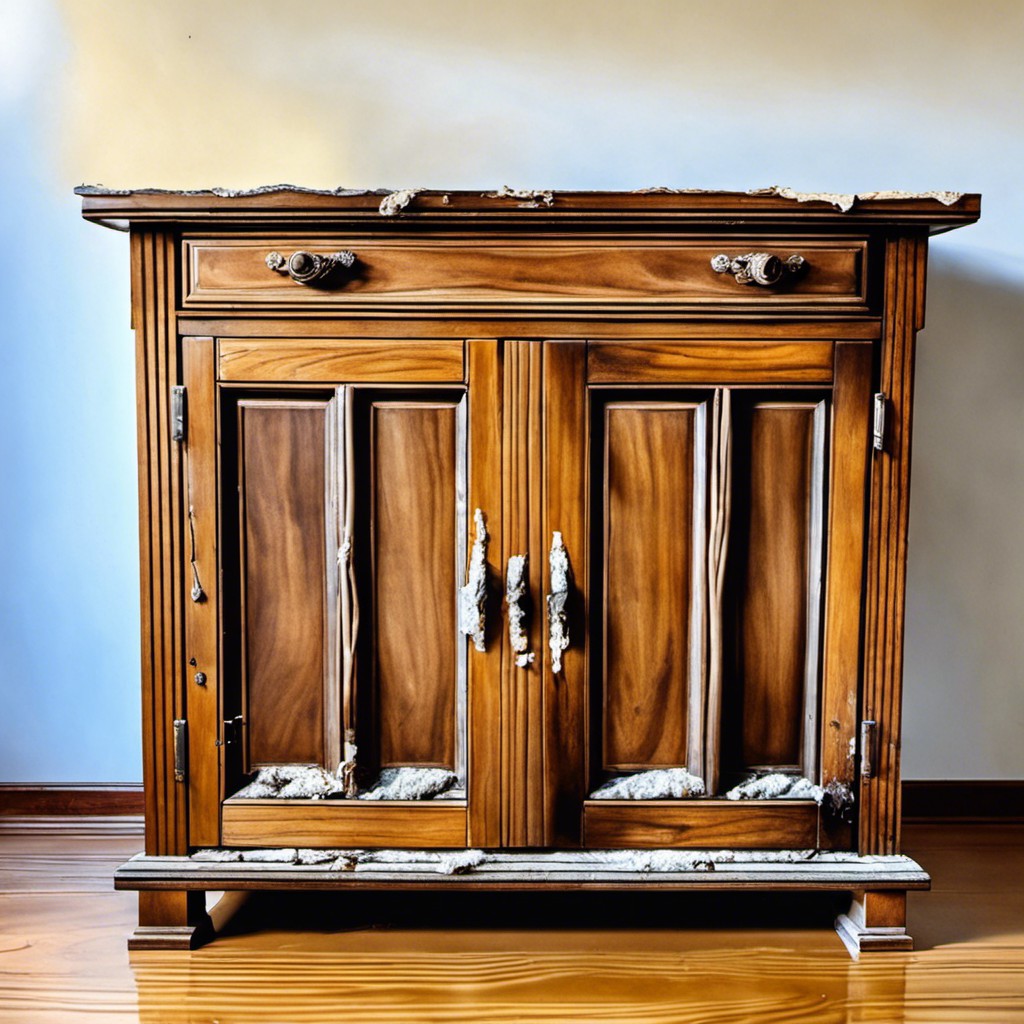
Impact of Water Damage On Antique Wooden Cabinets: A Study
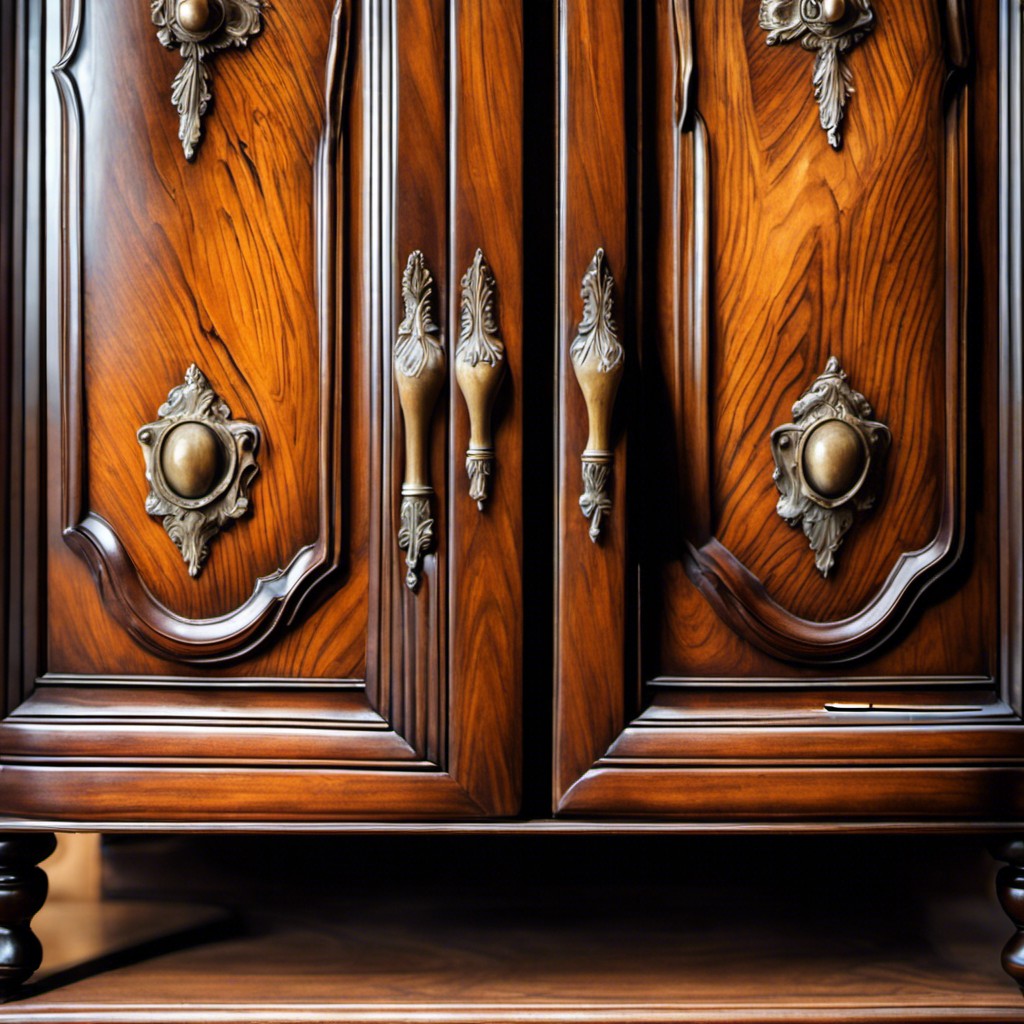
Antique wooden cabinets, with their intricate designs and historical charm, are particularly vulnerable to water damage. The aging wood, already bearing the effects of time, tends to be more porous and readily absorbs moisture. This not only weakens the structural integrity of the cabinet but may also cause warping and swelling.
Prolonged exposure to water can further enhance the deterioration process, leaching the wood of its natural oils, leading to drying and cracking. Often, peeling veneer and fading color may become imminent issues as water adversely impacts the cabinet’s finish.
Not only that, moisture can play catalyst to fungal growth. This mold isn’t just unsightly on your precious antiques, but can pose health hazards too. Equally concerning is the potential infestation of wood-boring insects that thrive in moist environments.
Beyond the visible changes, water damage often results in loosened joints, creating instability that may render the cabinet unsafe or nonfunctional. In the case of drawer cabinets, moistened wood frequently causes stuck or jammed drawers.
While it’s heartening to note that water damage can often be reversed if caught early, prevention remains the best policy for preserving the elegance and durability of antique wooden cabinets.
Remember, the goal is not just to maintain the aesthetic appeal, but to protect these cabinets’ stories, safeguarding an integral piece of history for future generations to appreciate.
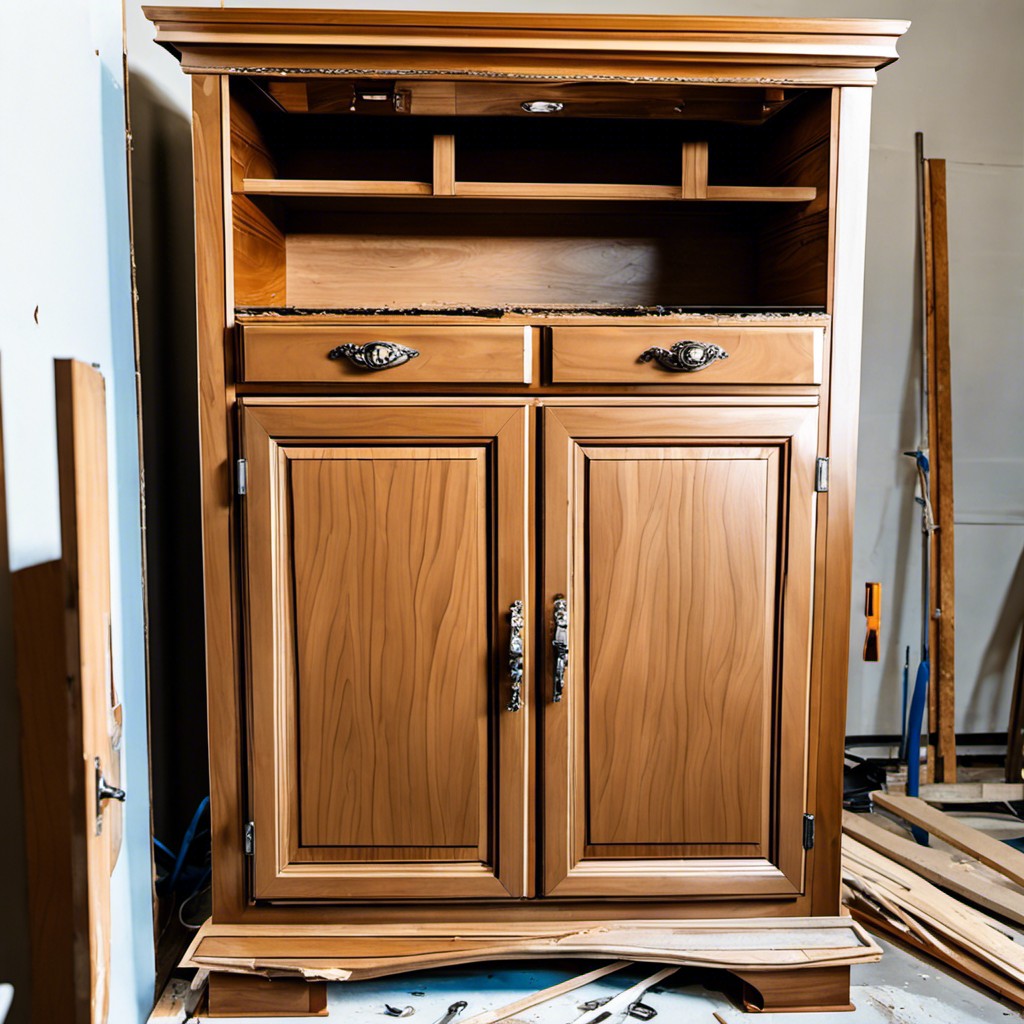
DIY: Replacing Water-Damaged Cabinet Panels
To handle this relatively straightforward repair project, a few readily available tools are required: screwdriver, utility knife, plywood sheet, primer, paint, and wood screws. Perfectionists might also consider investing in a router for a smoother edge result.
1. Assess the extent of the damage to ascertain whether a full panel replacement is indeed the best course of action. Excessive swelling or disintegration are strong indicators.
2. Remove the damaged cabinet panel using your screwdriver and utility knife, exercising caution to avoid injury or further damage.
3. Cut a new panel from the plywood sheet. Ensure its dimensions correspond exactly with the removed piece for a seamless fit.
4. Prime the new plywood panel and allow to dry. Follow up with a coat of paint matching your cabinet color. Let it dry completely before proceeding.
5. Install the new panel into the cabinet structure using the wood screws.
6. For an impeccable finish, try using a router after screwing the panel into place to tidy up any rough or jagged edges.
7. Optionally, apply one more paint coat on the installed panel and its surrounding areas to merge the fresh panel with the existing cabinet for an even look.
Following these steps will effectively replace water-damaged cabinet panels, thus restoring your cabinets to their former glory. Keep in mind that various types of cabinets may require slightly different approaches, so adapt as necessary. Remember to prioritize safety in every DIY project.
The Role of Dehumidifiers in Rescuing Water Damaged Cabinets
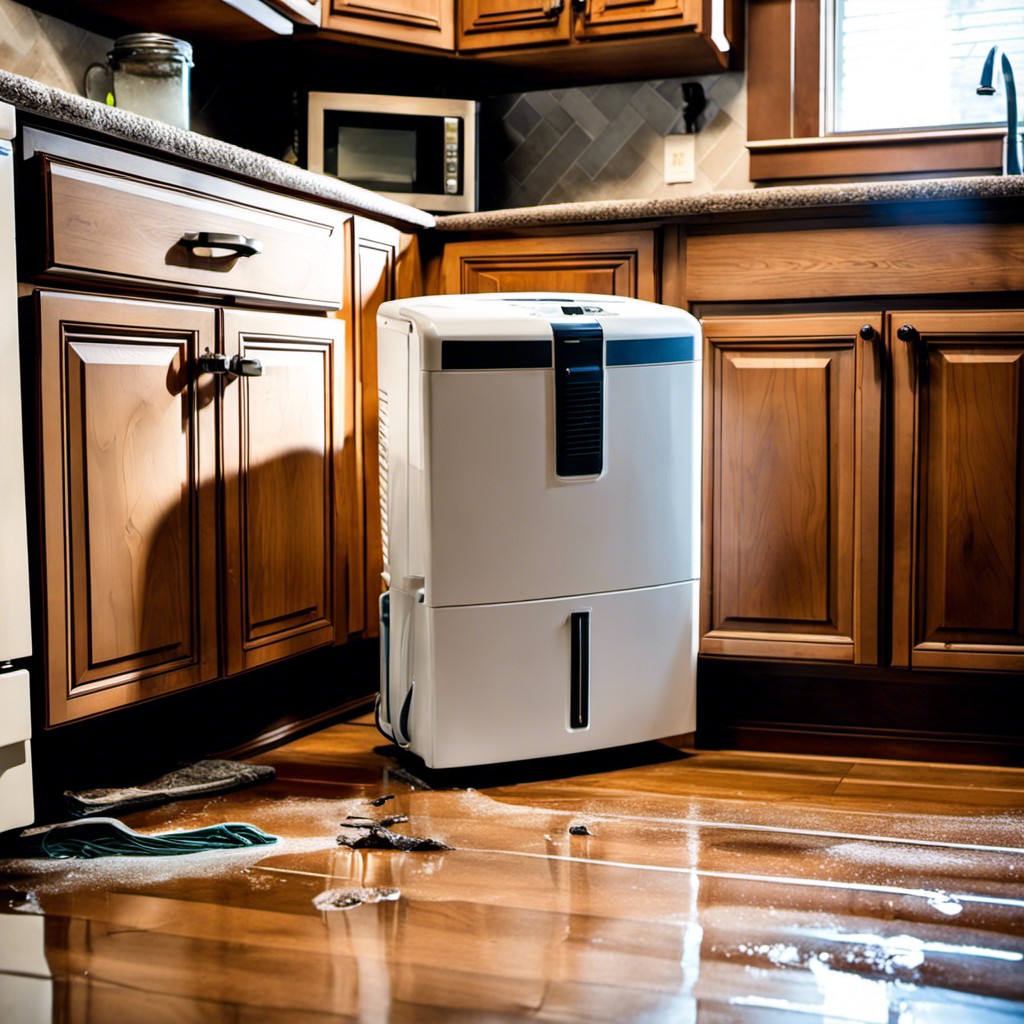
Dehumidifiers, equipped with absorbent materials, snatch moisture from the air, reducing the overall humidity levels. This capability makes them invaluable tools in rescuing water-damaged cabinets.
1. Moisture Reduction: By extracting excess humidity, dehumidifiers can halt and reverse the process of dampness and swelling in your cabinets.
2. Mildew Prevention: Lower humidity levels result in less condensation, which can effectively deter mold and mildew growth, a common malady in water-damaged cabinets.
3. Speeds Up Drying: If your cabinets are still damp after clean up, a dehumidifier can hasten the drying process, minimizing the likelihood of further damage.
4. Maintains Wood Integrity: A dehumidifier can also maintain the integrity of the wood, as it prevents the moisture level from becoming too detrimental.
5. Future Protection: Besides remediation, dehumidifiers also offer future protection by maintaining a dry, non-conducive environment for water damage or mold outbreaks.
Remember to choose an appropriately sized dehumidifier for your space. It will aid in ensuring optimal effectiveness for your cabinet rescue mission.
The Best Sealants to Prevent Cabinet Water Damage
Sealants play a crucial role in enhancing the longevity of your cabinets, reducing the possibility of water damage. An integral part of cabinet maintenance, they provide a protective barrier on surfaces prone to moisture exposure.
High-quality acrylic coating ensures excellent water resistance, given its quick-drying capabilities and durable, sleek finish. Easy to apply, it’s great for cabinets in high-humidity areas like the kitchen or bathroom.
Polyurethane sealant, while slightly more labor-intensive to apply, provides unrivaled moisture resistance. Available in both water- and oil-based versions, it enhances the wood’s natural color and offers superior durability.
Marine-grade sealant offers the highest level of protection against moisture and is used in conditions with extreme water exposure. Originally meant for boats, it works great for outdoor kitchen cabinets and vanities.
For ultimate protection, applying two to three coats of sealant is often preferable. Each layer enhances the product’s already existing waterproofing features, further safeguarding your cabinets from potential water damage. Always remember to carefully follow the manufacturer’s instructions for optimum results.
Techniques for Restoring Color in Water-Stained Wood Cabinets
Start the restoration process by gently sanding the stained area. Use fine-grit sandpaper for a smooth finish and to ensure the surface is prepared for the next steps. Always sand along the grain of the wood to avoid unnecessary scratches that could further damage the surface.
Next, apply a wood cleaner to the area. There are several types of wood cleaners available on the market, choose one that is suitable for your cabinet’s wood type. Follow the instructions on the container. Ensure the area is thoroughly cleaned and dried before moving onto the next step.
After cleaning, apply a wood conditioner. This product helps to bring out the wood’s natural beauty and prepares it for staining. It also ensures the stain distributes evenly across the surface and reduces blotchiness.
The final step is to apply a wood stain that matches the rest of your cabinet. Use a soft cloth or a brush to apply the stain, following the wood’s grain. Allow it to dry for the time suggested by the manufacturer before applying an additional coat if needed. If the color is restored to your satisfaction after the first application, finish by applying a wood sealant for protection against future water damage.
Importance of Timely Repair for Minor Water Damage in Cabinets
Prompt action upon discovering water damage is critical, irrespective of the severity. Here’s why tackling minor water damage at the earliest is important:
1. Prevents Escalation: Even a small spot can escalate into a massive problem. Without timely intervention, it could weaken the overall structural integrity of the cabinet resulting in costly repairs or replacements.
2. Saves Time and Money: Fixing minor issues is generally quicker and cheaper. It may require minimal material replacement or simple repainting, which is far less in terms of both cost and effort.
3. Helps Contain Moisture: Immediate repairs nip the problem in the bud, keeping the moisture from spreading to other parts of the cabinet.
4. Stops Mold Development: Damp wooden cabinets are breeding grounds for mold. Early repairs help to prevent this growth, thereby protecting your health.
5. Maintains Aesthetic Appeal: Repairing minor damage promptly upholds the visual appeal of your cabinets, so they continue to enhance the beauty of your space.
6. Avoids Need for Complete Replacement: Left untouched, minor water damage can expand to an extent where the only solution is a complete replacement. Prompt repairs conserve your cabinets for longer.
7. Secures Resale Value: If selling your home is in your plans, well-maintained, water-damage-free cabinets are a definite plus. They can help to improve your property’s resale value.
Remember, a stitch in time saves nine, and nowhere is this truer than in dealing with minor water damage in cabinets.
Effects of Long-term Water Exposure to Cabinet Materials
Protracted exposure to water can severely compromise the integrity of cabinet materials. Shields, barriers, or finishes can fail over time, allowing water to seep into your cabinets. Here, we delve into the precise implications:
1. Wood Swelling: Over time, absorbed water can cause timber to swell. This disturbs its original shape and alignment, leading to misaligned doors and dysfunctional drawers.
2. Discoloration: Water can lead to pigmentation and staining issues in the wood, ruining the aesthetics of your cabinets.
3. Warping and Bubbling: Ever noticed a wavy or bumpy surface on a cabinet? That’s a consequence of water-induced warping and bubbling.
4. Structural Instability: Severe damage leads to compromising of the faux veneer or plywood layers that can lead to collapsing cabinets due to loss in structural strength.
5. Mold and Mildew: Damp wood is prime real estate for fungi like mold and mildew. They not only cause further deterioration but can also pose health risks.
6. Odor: Over time, water-damaged cabinets can emit a musty odor that can impact the overall indoor air quality.
Remember, it’s essential to address these issues promptly to conserve both the aesthetics and functionality of your cabinets. Next, we’ll discuss the invisible yet concerning issue: the development of mold in water-damaged cabinets.
The Science of Wood Warping: Water Damage in Cabinets
Understanding wood warping is crucial in tackling water-damaged cabinets. Essentially, wood warping occurs when the moisture content in different parts of the wood changes unevenly. This discrepancy causes the material to bend or twist out of shape.
1. Differential Absorption: Wood is hygroscopic, meaning it absorbs and releases moisture depending on the ambient conditions. When one side of a cabinet panel absorbs more moisture than the other, it leads to swelling in one area and consequently, warping.
2. Fibrous Structure: Wood is a fibrous material, and these fibers tend to shorten as they absorb water. This causes the wood to curve towards the side with a higher moisture content.
3. Expansion and Contraction: Wood expands when it is warm and humid, and contracts during cool, dry conditions. These variations can stress the wood, leading to warping or cracking over time.
While the water-logged areas swell, the drier areas remain the same, creating stress and resulting in a distorted shape. It’s important to acknowledge these aspects when dealing with water-damaged cabinets to ensure proper restoration.
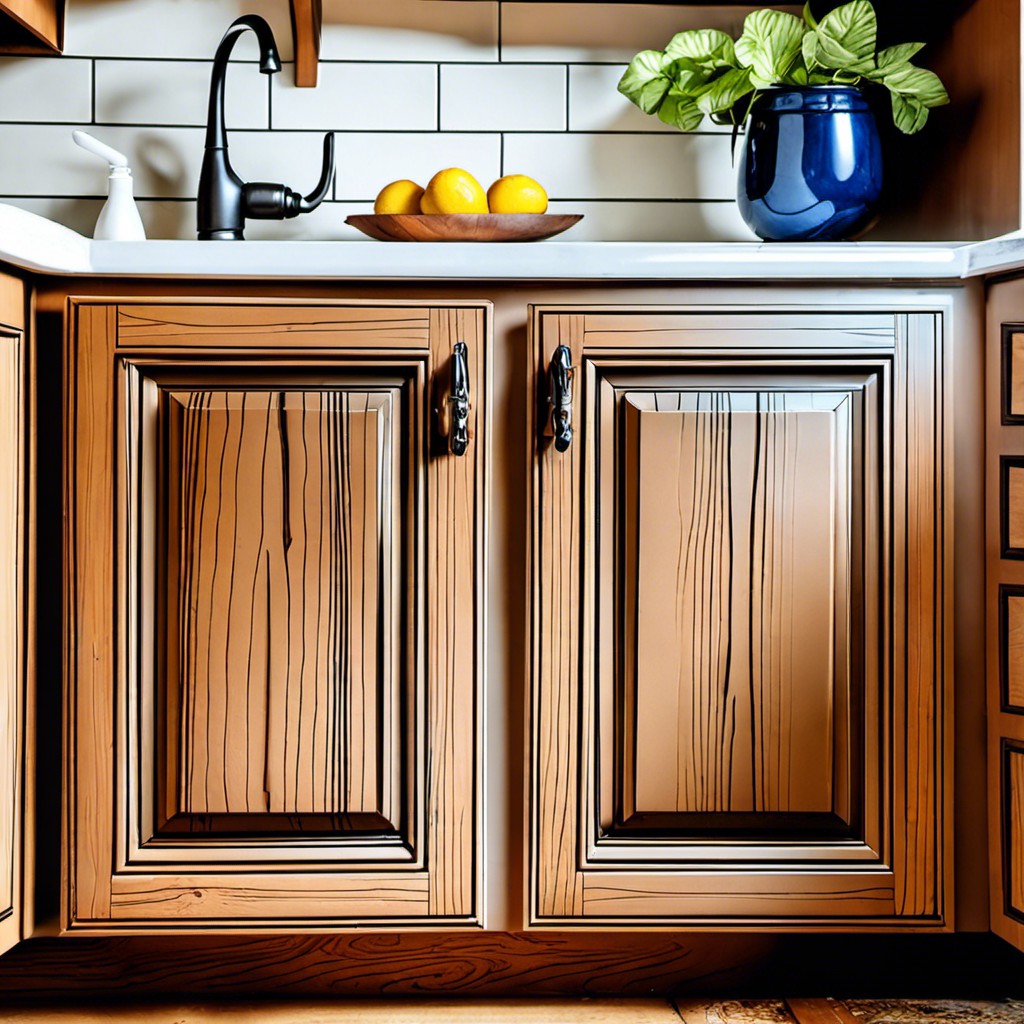
A Quick Guide to Choosing Water-Resistant Kitchen Cabinets
When it comes to selecting cabinets that can withstand water, there are several factors you should bear in mind:
1. Material: The most water-resistant cabinets are often made from plastic laminate or metal. This is because these materials can handle a good deal of moisture without warping or deteriorating.
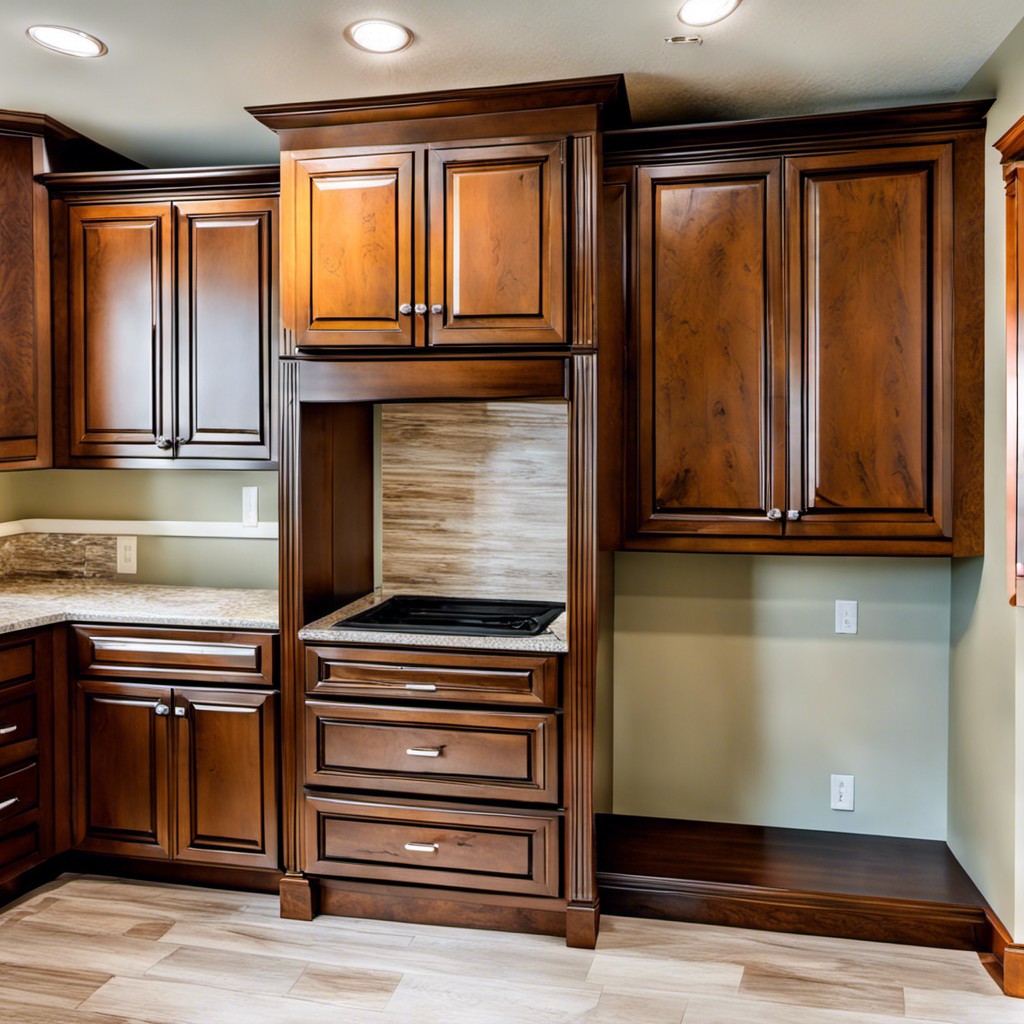
2. Design: Raised-panel door styles are more prone to warping whereas flat-panel designs shed water easily.
3. Finish: Cabinets with professional, factory-applied finishes are far more water-resistant than hand-painted models. A properly applied finish penetrates the fibres of the wood, giving it a defence mechanism against water.
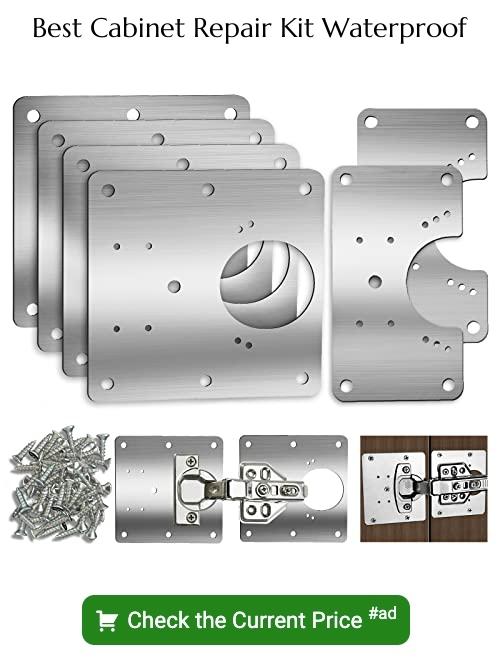
4. Hardware: Stainless steel, brass, or zinc alloy hardware are better options for withstanding moisture over time compared to iron which may rust.
5. Maintenance: Regardless of your cabinet choice, frequent wiping down and proper ventilation can significantly increase the life of your cabinets.
Essentially, it boils down to wise material choice, suitable design, and proper maintenance routines.
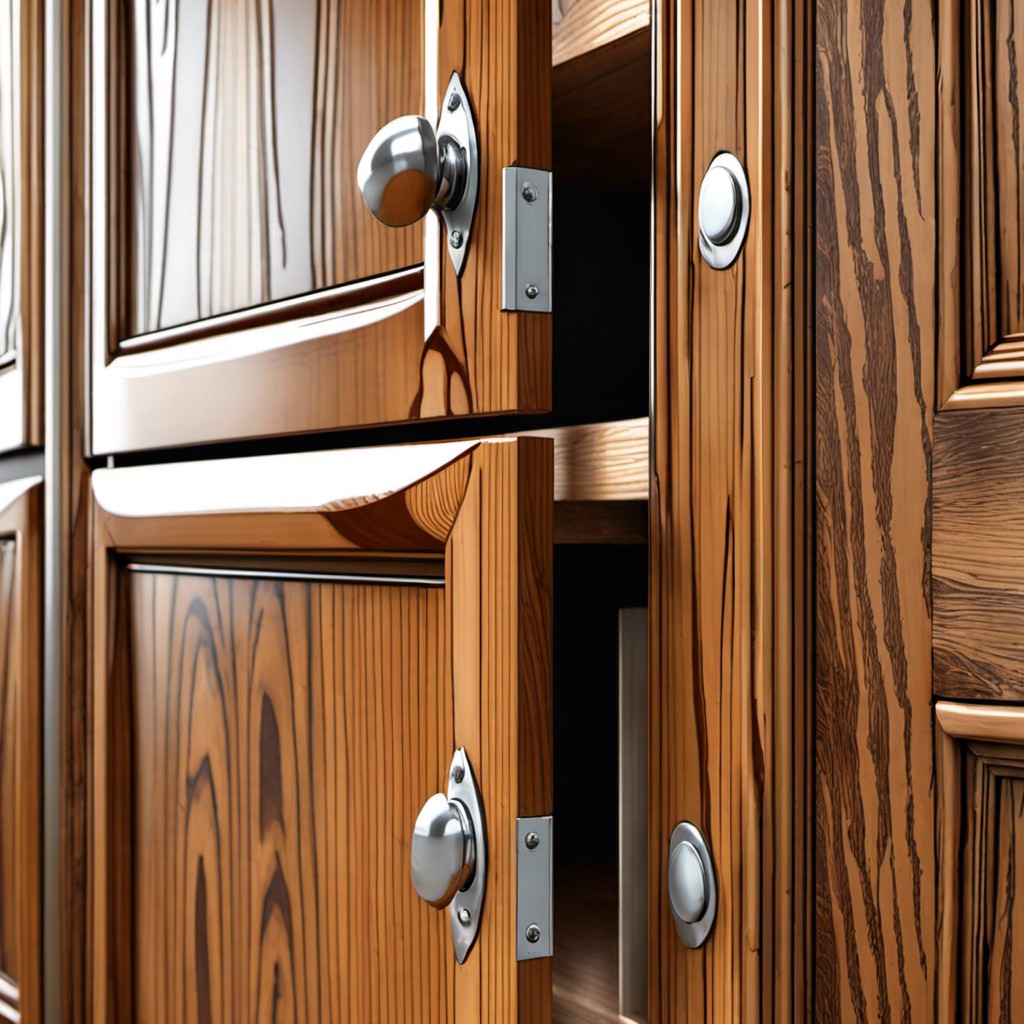
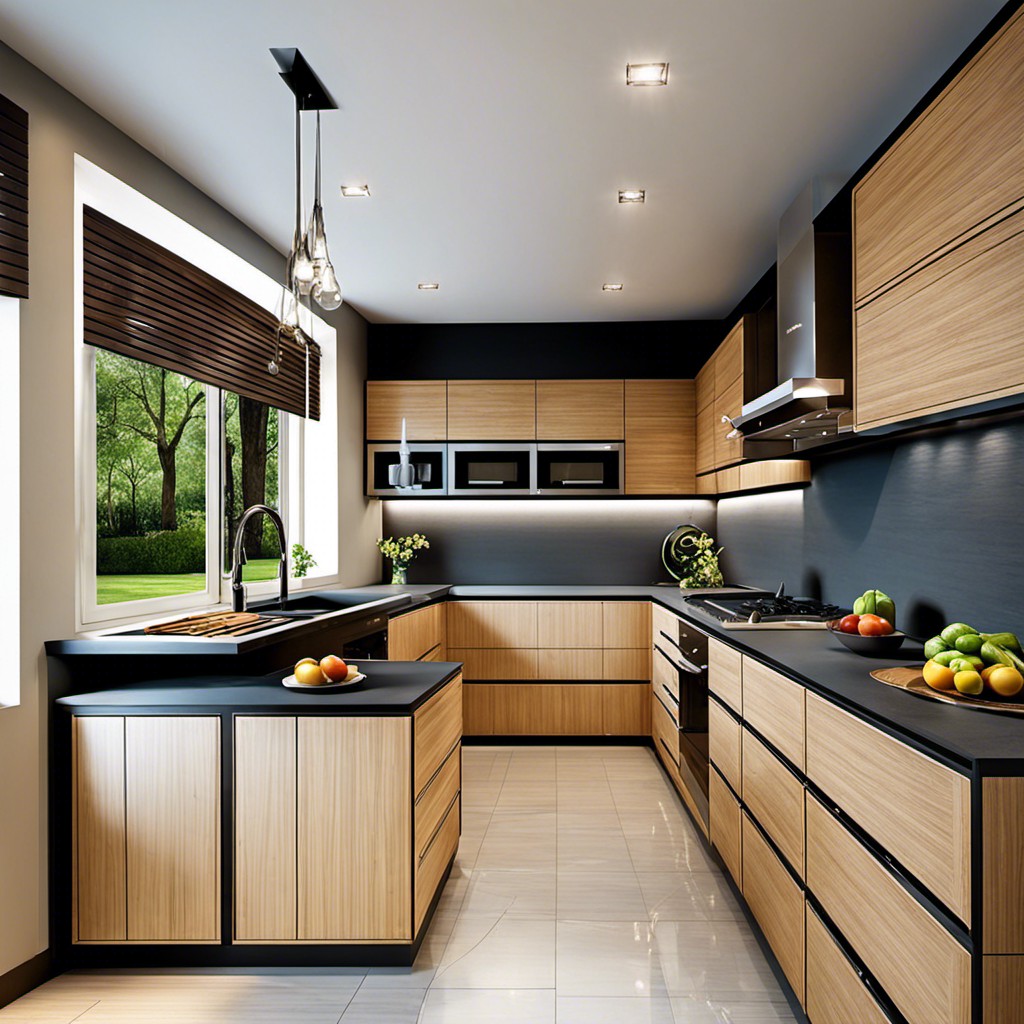
Innovative Designs: Can Waterproof Cabinets Be Stylish Too?
Without a doubt, style need not be compromised when opting for waterproof cabinets. Various materials offer an ideal blend of functionality and aesthetics.
First, stainless steel has grown in popularity for its industrial, modern appeal and incredible durability.
Second, polymers like PVC deliver flexibility in design and excellent resistance to water, ideal for bathrooms or kitchens exposed to humidity.
Lastly, there’s marine-grade wood, finished with water-resistant varnishes, showcasing the timeless elegance of natural grain.
So, whether you lean towards a classic or contemporary taste, water-resistant options cater to every preference without sacrificing design.
DIY: Giving a New Life to Water-Damaged Cabinet Doors
Begin by assessing the severity of the water damage on the cabinet doors. If it’s minor without extensive warping or discoloration, these doors might be salvaged and only require refinishing.
Start by drying the doors thoroughly. Following this, sand down the doors with medium-grit sandpaper. This task removes the old finish along with minor stains resulting from the water damage. Fair warning though, the doors may seem a bit rough post this process, but worry not!
Next, fill any gouges or holes with wood filler then sand the filler flush with the door surface after it dries completely. It’s paramount to apply a stain-blocking primer to provide a good base and to make sure any lingering stain doesn’t seep through the new finish.
After priming, paint your doors with your choice of color, or you can stain the wood instead. Use a fine-grit sandpaper between coats for a smooth, professional finish. Remember to seal your work with a clear, water-resistant topcoat to protect it from future water encounters.
In cases of severe water damage, consider replacing the cabinet door panel instead. Choose materials that complement your existing cabinet framework to maintain the coherent visual appeal.
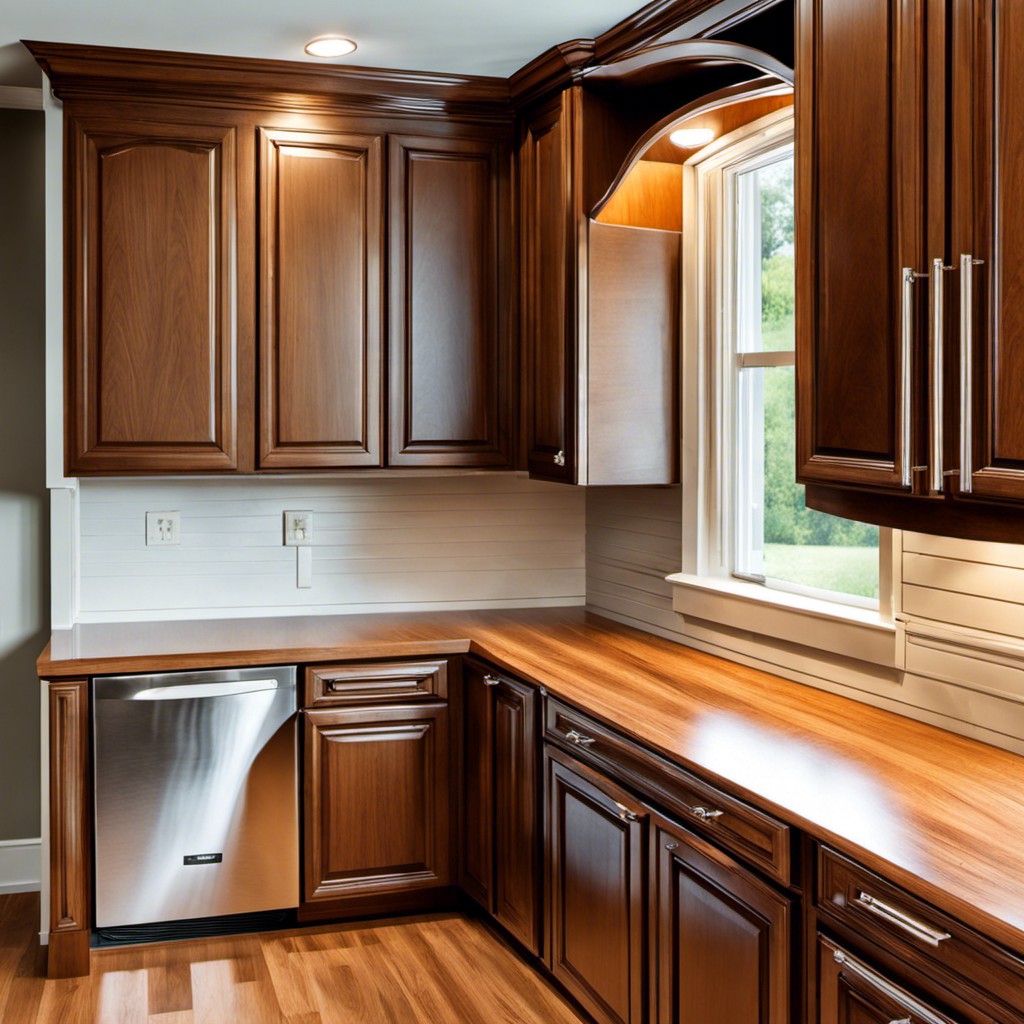
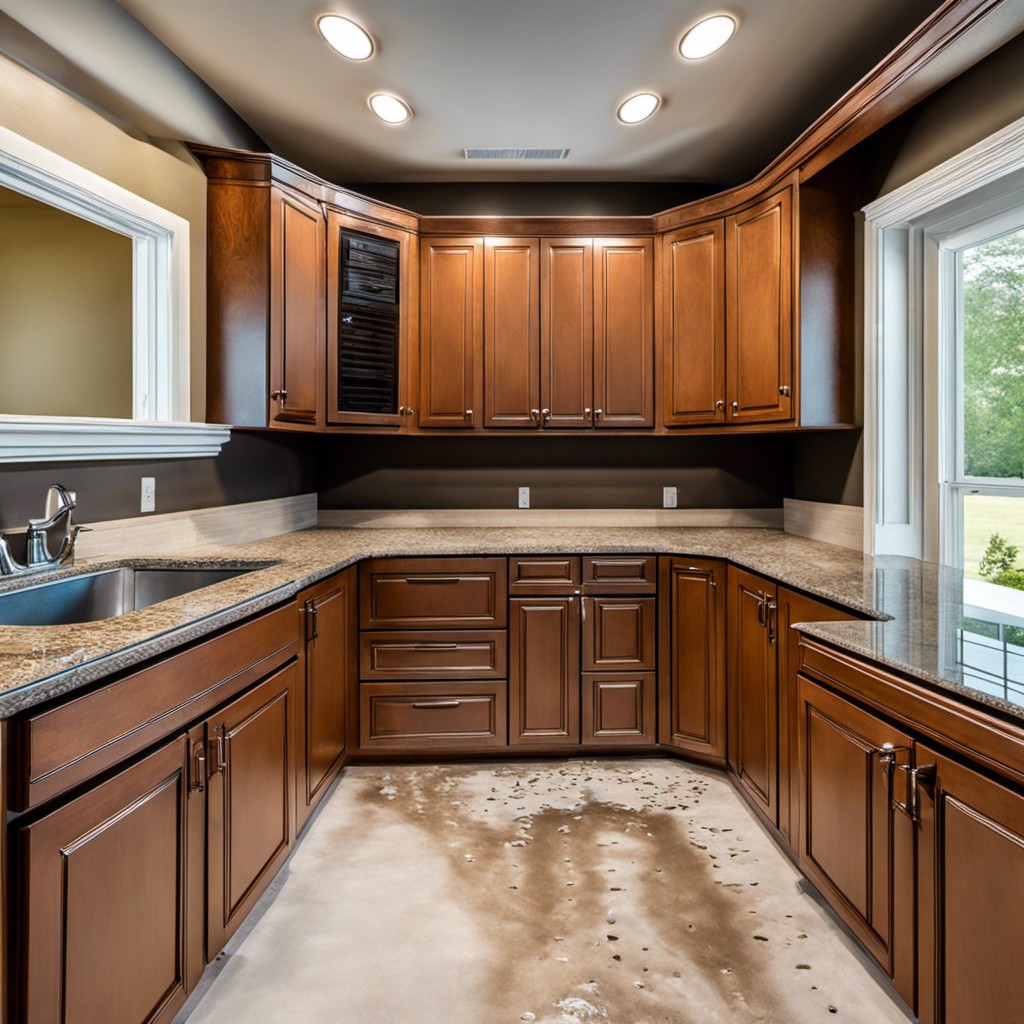
How to Revamp Your Water Damaged Kitchen: Starting With Cabinets
Transforming your kitchen doesn’t require the hefty cost of complete cabinet replacements. With a little knowledge and effort, your water-damaged cabinets can become the stunning focal point of your revamped kitchen.
1. Assess the extent of damage: This is where we identify which parts are salvageable or require replacement. Doors, drawers, and face frames often endure less damage than the box and can generally be restored.
2. Restoration: If the cabinet structure remains in good shape, refinishing surfaces might be the answer. This can involve sanding away water stains, repainting, or staining for a fresh look.
3. Replacement of cabinet parts: Severely damaged parts resulting from prolonged water exposure, like the cabinet box, can be replaced while retaining parts like doors and face frames that are in good condition.
4. Reviving cabinet doors and drawers: A new paint color or finish can give the cabinets a whole new life. Don’t forget new hardware for that finishing touch.
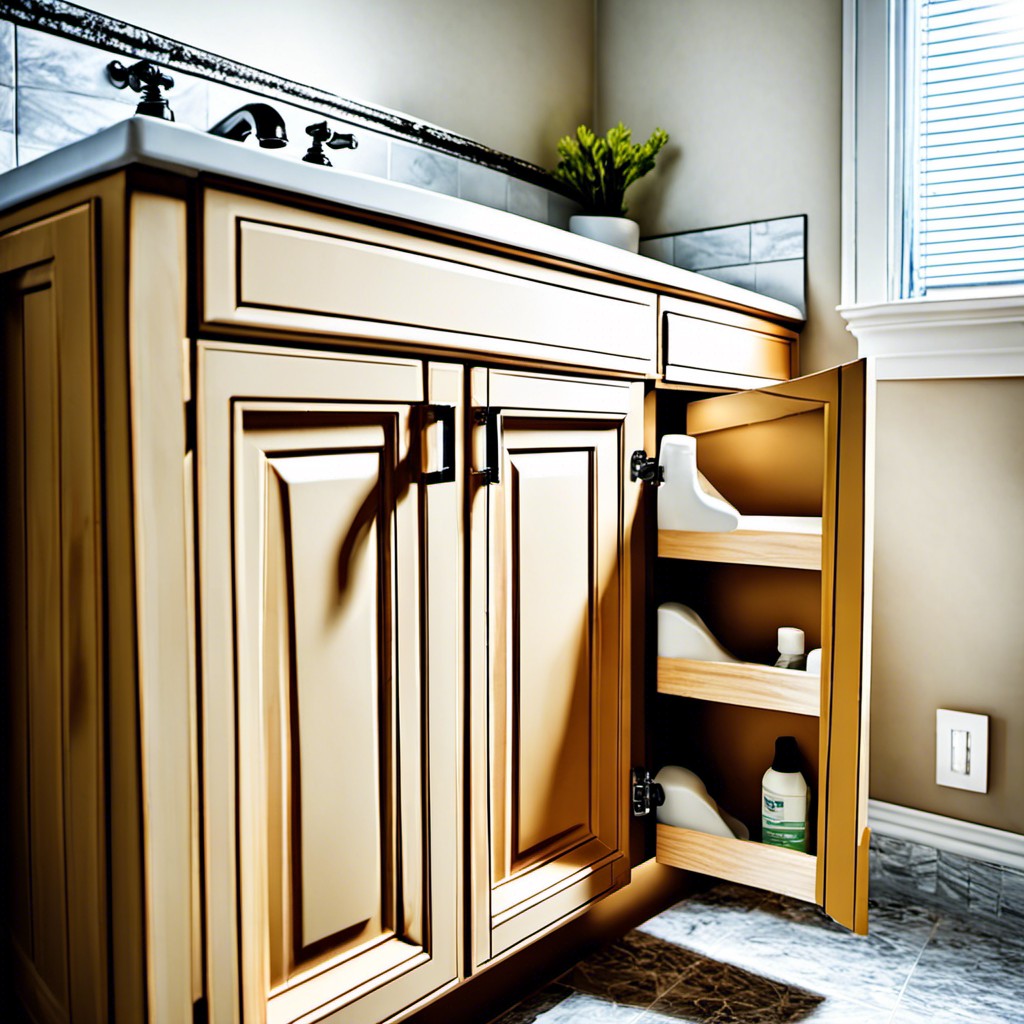
5. Improve functionality: As part of the revamp, consider adding rollout trays, waste and recycling bins, or pantry pullouts where water damage was less severe. This increases your kitchen’s functionality without the cost of all new cabinets.
Remember, a revamped kitchen begins with the cabinets, but doesn’t end there. Embrace the opportunity to change your kitchen’s aesthetic. New backsplash, countertops, or flooring can create an entirely different look, turning a water-damaged catastrophe into a design opportunity.
Can Refacing Be the Solution to Water-Damaged Cabinets?
Undoubtedly, refacing stands as a cost-effective solution, giving a fantastic makeover to cabinets showing only superficial water damage. This process involves replacing door and drawer fronts and applying a new veneer over the existing structure. It’s a makeover magic that turns the old into new!
But keep in mind that refacing is only recommended for cabinets that have not experienced considerable structural damage. If the cabinet box structure has warped or is weakened by prolonged water exposure, refacing won’t save the day. In these cases, replacement or substantial repair might be necessary.
Experts suggest you always assess the extent of water damage before deciding whether refacing is a viable solution. Delaminated plywood, swollen particleboard, or a pervasive musty smell are mute, telltale signs of severe damages, for which refacing wouldn’t suffice.
Nonetheless, when faced with minor exterior damage or if you desire a quick makeover, refacing brings an aura of freshness without emptying your pockets.
Unseen Consequences: Mold Development in Water-Damaged Cabinets

Mold is a common, often overlooked consequence of water damage. The warm, moist environment inside your home’s cabinets provides the perfect breeding ground for these fungi. Ignoring this issue not only ruins the aesthetics of your interiors but also poses serious health risks like respiratory issues.
Identifying mold in its initial stages is key. Smell your cabinets – an earthy or musty odor is a classic tell-tale sign. Visual cues include discolored patches, either green, black, or white, that might be seen on the exterior or interior of your cabinetry.
The proper removal of mold is crucial. Regular cleaning substances might not be effective since molds are notoriously resilient. Products with antimicrobial properties are recommended. If the mold infestation is severe, don’t hesitate to seek professional help.
Once removed, take steps to prevent future mold growth. Regularly ventilate the cabinets, especially after cooking a steamy meal or taking a hot shower. Check for any leaks or seepage in your home regularly, as prompt repairs can prevent potential mold formations. Consider using moisture absorbers or dehumidifiers if you live in a high humidity region.
Remember, proper care and maintenance is crucial in winning the battle against mold in water-damaged cabinets. Regular checks, proper cleaning, and appropriate preventive measures can save you from costly renovations in the future.
Home Upgrades: Switching to Water-Resistant Cabinet Materials
When considering home upgrades, diving into water-resistant cabinet materials can certainly protect your investment in the long run. Here are some valued insights:
1. Thermofoil: A budget-friendly choice, thermofoil cabinets are moisture-proof and easy to clean. As it’s made of vinyl, it doesn’t warp or discolor when exposed to humidity.
2. Stainless Steel: Offering a sleek, modern look, stainless steel is durable, waterproof, and resistant to heat and staining, making it a top-tier choice for water-prone areas like kitchens.
3. Plastic Laminate: Comparable to thermofoil in terms of water-resistance, plastic laminate comes in a variety of colors and finishes, lending flexibility in design aesthetics.
4. Marine-grade Plywood: Traditionally used in boat-building, this plywood boasts superior resistance to water, courtesy of its waterproof glue that binds layers together.
5. Solid Wood: Certain hardwoods like teak and cedar have a natural resistance to water. They can be an excellent, albeit expensive, choice for cabinets that marry durability with classic charm.
Remember, while these materials inherently resist water, proper care and maintenance will extend the life and look of your cabinets. Routine cleaning and immediate attention to spills can ensure that water damage becomes a thing of the past in your home.
Investing in Drainage & Ventilation Systems: An Antidote to Cabinet Water Damage?
Successfully installing drainage and ventilation systems can serve as a proactive step in battling potential water damage. Let’s dive into the reasons why.
1. Improved Air Circulation: An efficient ventilation system can dramatically reduce humidity levels, preventing the accumulation of moisture that leads to cabinet damage.
2. Leak Prevention: Having a well-structured drainage system in place will redirect water away from vulnerable areas, protecting your cabinets from potential leaks.
3. Dampness Reduction: These systems are designed to remove excess water, reducing the damp conditions that can cause wood to warp or rot over time.
4. Safety Against Mold & Mildew: By ensuring a dry and well-aired environment, you’re reducing the chance of mold and mildew growth, contributing not just to your cabinets’ health but also your household’s.
So, an investment in quality drainage and ventilation systems is indeed a wise move towards an all-encompassing solution to water damage, beyond just manual repairs.
Cabinet Degradation: Identifying Signs of Hidden Water Damage
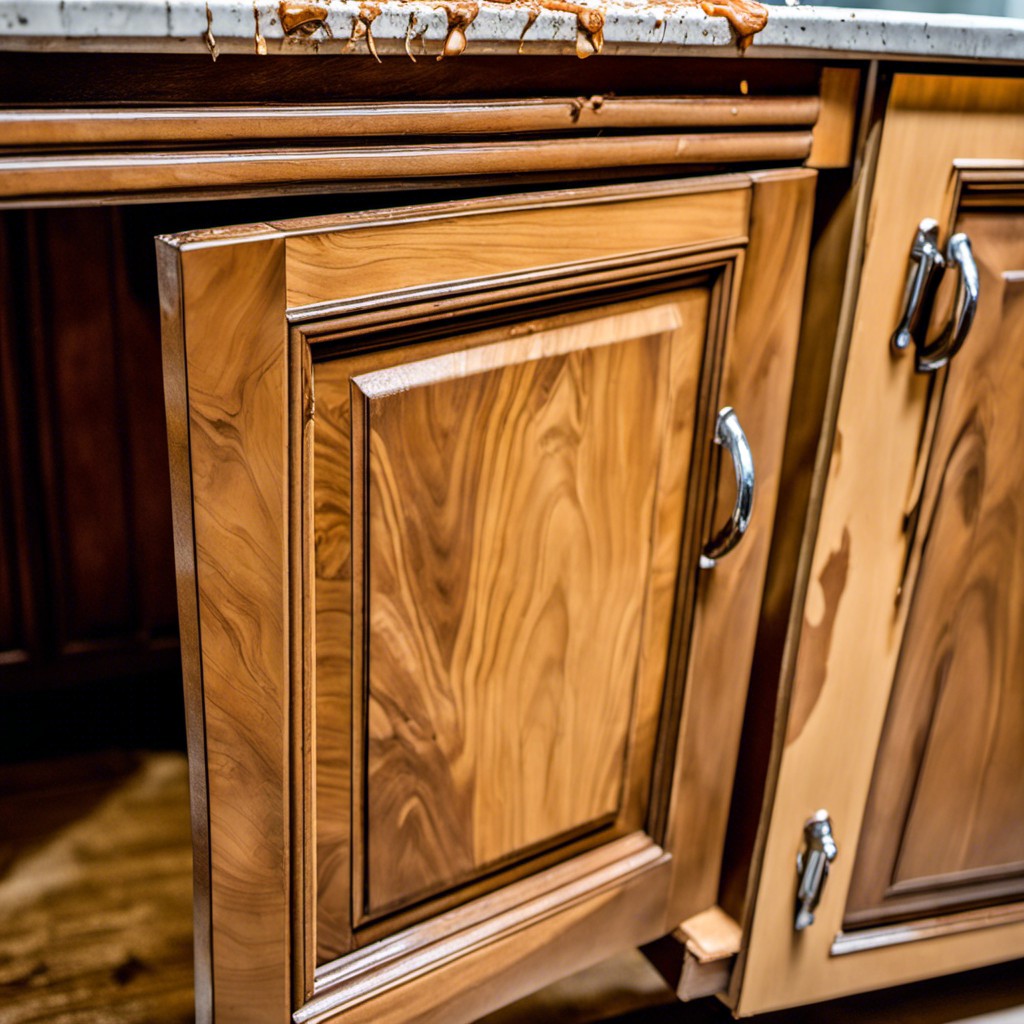
Spotting the indications early can prevent a minor issue from escalating into a major hassle. Pay close attention to these subtle signs:
1. Discoloration: This is often the first signal. Dark spots or streaks, usually a shade of brown or black, can indicate water exposure. In lighter cabinets, yellowish stains might appear.
2. Odor: A musky smell is a clear sign of water damage and possible mold growth. If your cabinet starts emitting such an aroma, it’s time for a thorough check.
3. Warping or Swelling: When moisture seeps into the wood, the fibers expand causing the cabinet to distort. Misaligned doors and unfitting drawers are typical signs of warping.
4. Soft or Crumbling Wood: If the wood has become soft to the touch or if it crumbles when scraped lightly with a knife, this is a severe sign of water damage.
5. Mold and Mildew: These fungal issues not only harm the cabinet but also pose serious health hazards. Look for visible growths, or spores appearing as black, white, or green patches.
Vigilance is crucial as early detection can save a lot of time, money, and stress. Regular maintenance, using proper cleaning supplies, and assuring adequate airflow will maintain the look and utility of your cabinets for years to come.
Ideas Elsewhere
- How To Repair Kitchen Cabinets with Water Damage in 3 Easy Steps
- Access Denied
- How To Repair Water Damaged Kitchen Cabinets
- Water Damage Under Kitchen Cabinets – Designing Idea
- How To Repair Water Damaged Cabinet Sides
- How to Repair Water Damaged Cabinet Doors in 9 Easy Steps
Read More
 How to Choose Kitchen Cabinets: Your Ultimate Buying Guide
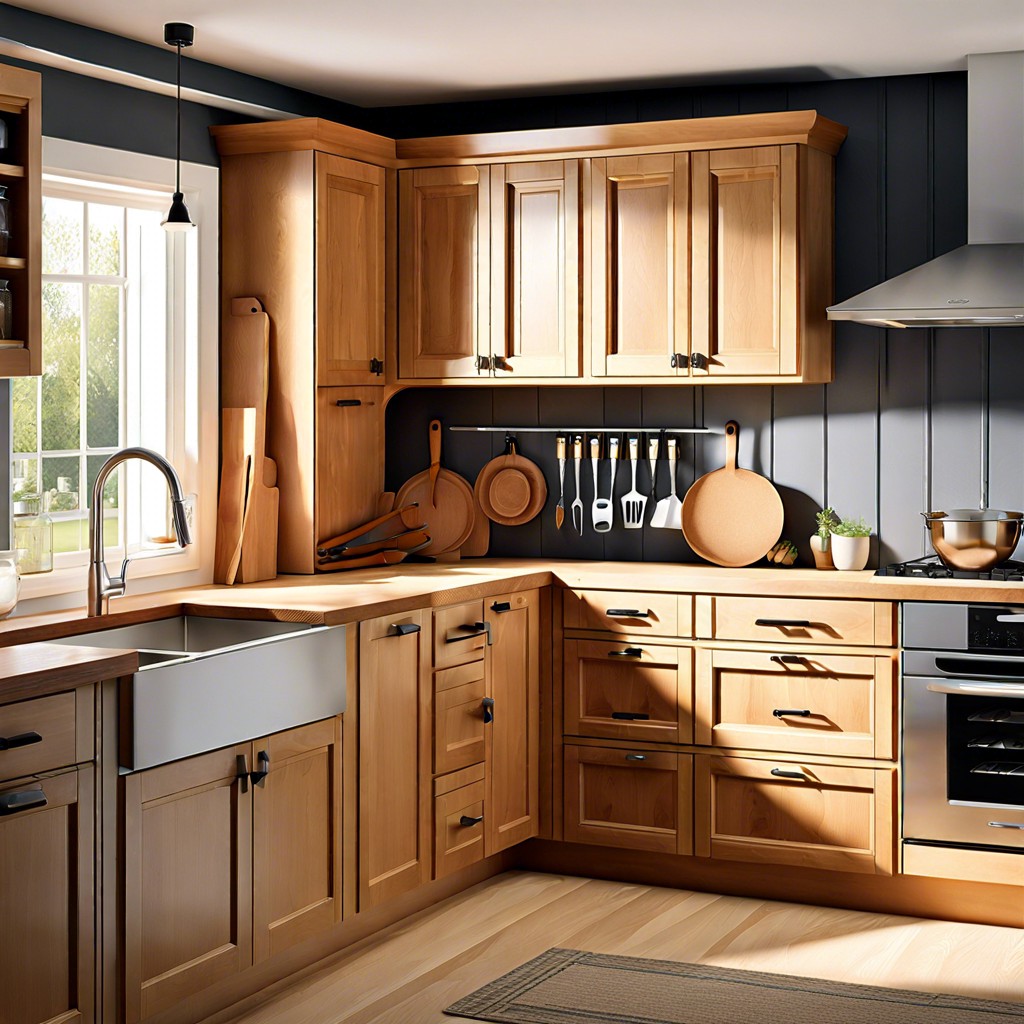 Staining Cabinets: A Step-by-Step Guide to a Fresh Look
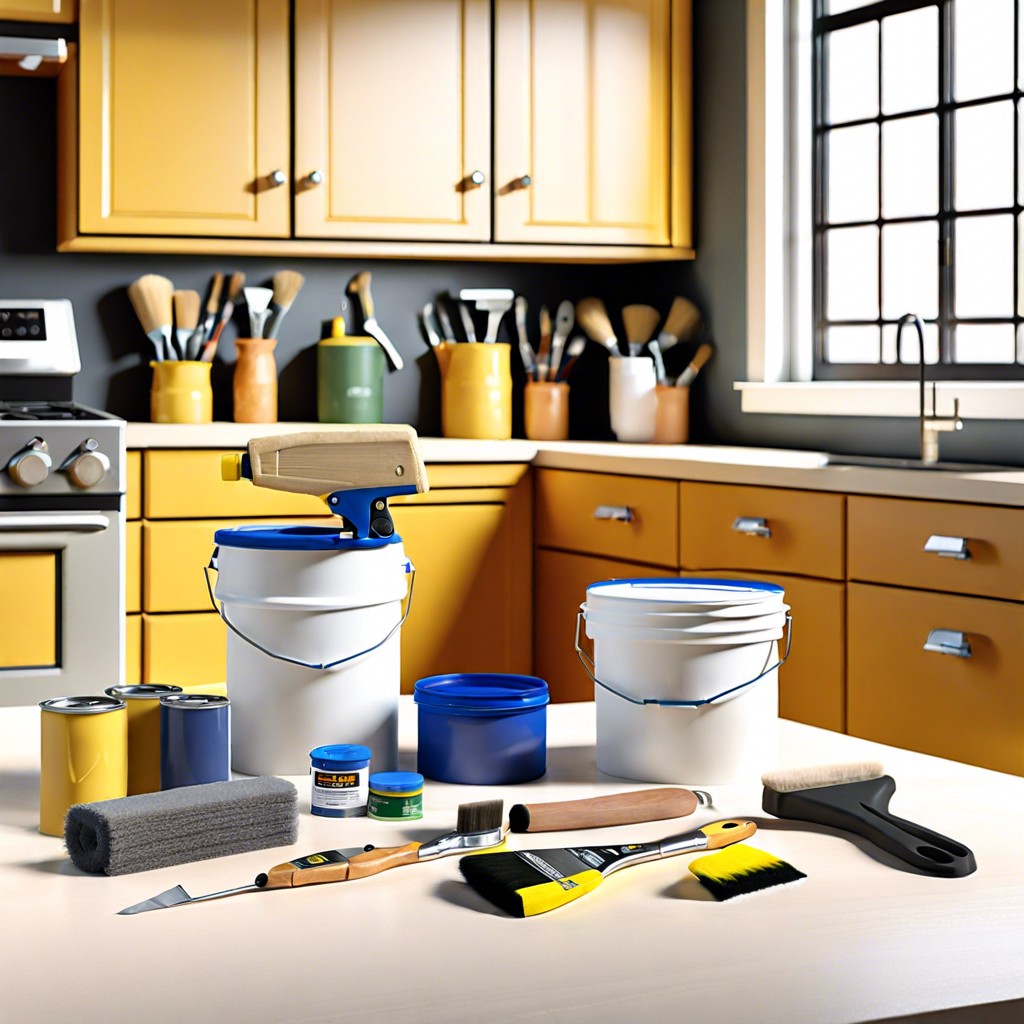 How Long Does It Take to Paint Kitchen Cabinets: A Time-Saving Guide
 Cost to Refinish Cabinets: A Cheaper Revival
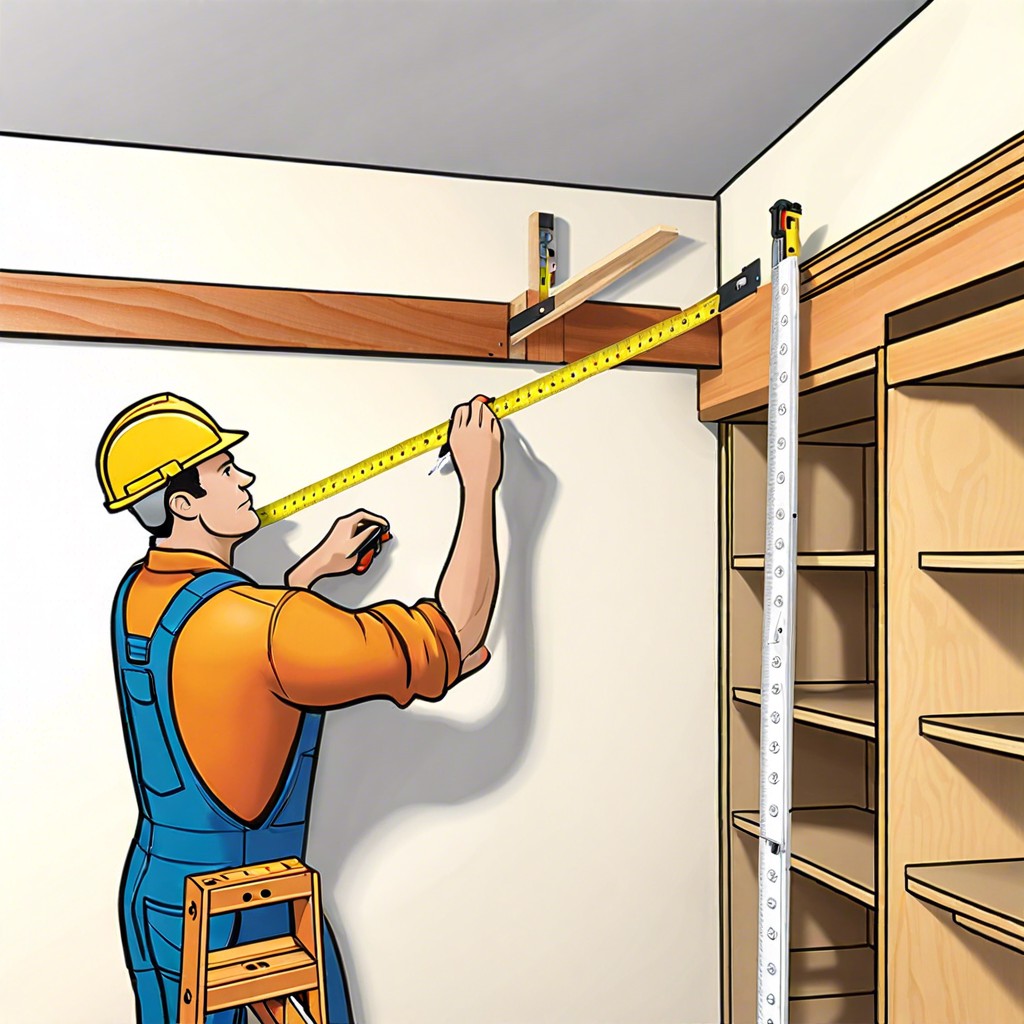 How to Install Upper Cabinets: Tips for a Perfect Kitchen Makeover