Last updated on
Discover the transformative power of paint as we delve into whether oak kitchen cabinets can be painted to refresh your cooking space.
Oak kitchen cabinets are a popular choice for homeowners due to their durability and timeless appeal. However, after years of use, they can start to look worn out and dated.
If you’re considering a kitchen renovation but don’t want to replace your oak cabinets, painting them is a great option. But can oak kitchen cabinets be painted? In this article, we’ll answer that question and provide you with all the information you need to know before taking on this DIY project.
So grab your paintbrushes and let’s get started!
What's Inside
Benefits of Oak Cabinets
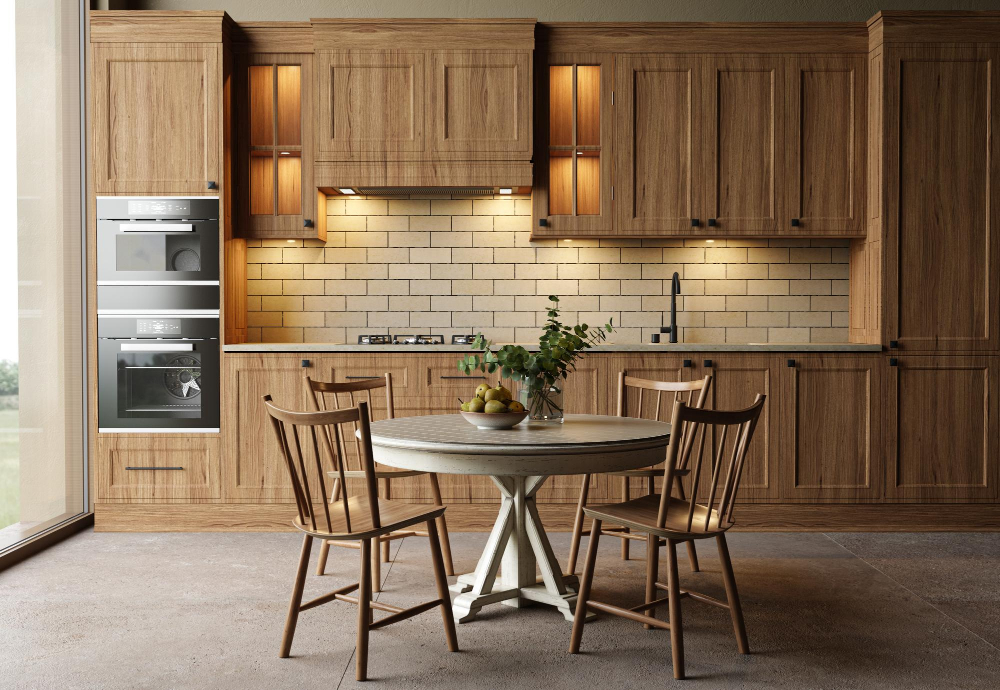
Oak is a hardwood that is known for its durability and strength, making it an excellent material for cabinetry. It can withstand the wear and tear of daily use in the kitchen without showing signs of damage or wear.
In addition to being durable, oak cabinets also have timeless appeal. They add warmth and character to any kitchen design, whether you prefer traditional or modern styles.
The natural grain patterns in oak wood create unique textures that make each cabinet door one-of-a-kind.
Another benefit of oak cabinets is their versatility when it comes to staining or painting them different colors. Unlike other woods that may not take well to certain finishes, oak takes stain evenly and can be painted with ease.
Benefits of Painting Oak Cabinets
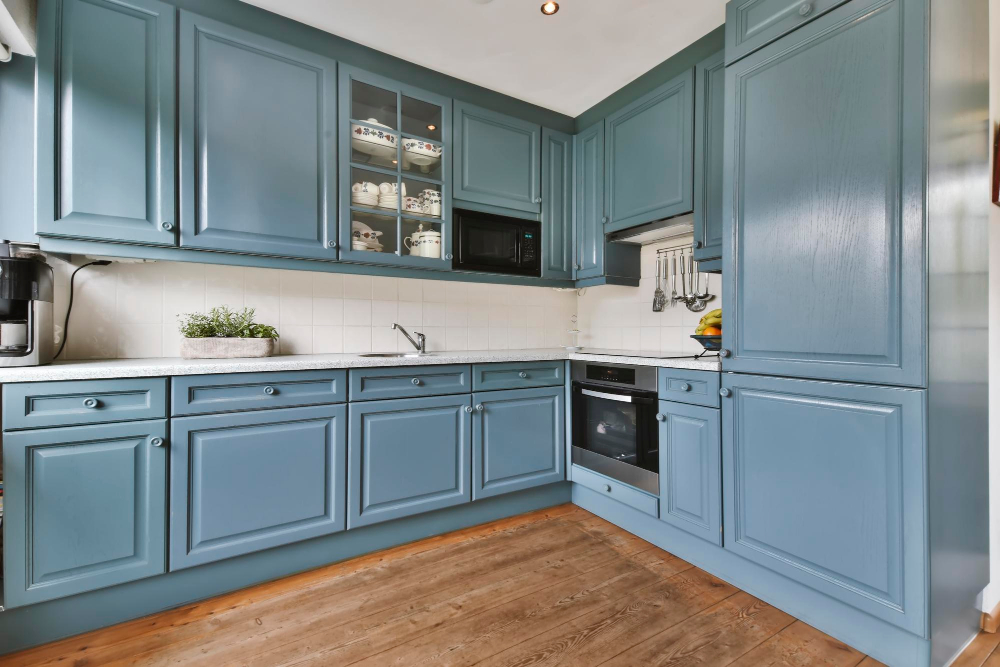
One of the main benefits of painting oak cabinets is that it’s an affordable way to transform your space without having to replace all of your cabinetry. It’s also a great option if you’re looking for a quick DIY project that can be completed in just a few days.
Another benefit is the ability to customize the color and finish of your cabinets. With so many paint colors available, you can choose one that complements or contrasts with other elements in your kitchen such as countertops or backsplash tiles.
You also have control over the sheen level – from matte to high gloss – which allows you to create different looks depending on what style you’re going for.
Painted oak cabinets are easier to clean than their natural wood counterparts because they don’t absorb grease and grime as easily. This makes them ideal for busy kitchens where spills are common occurrences.
Preparing Oak Cabinets for Painting
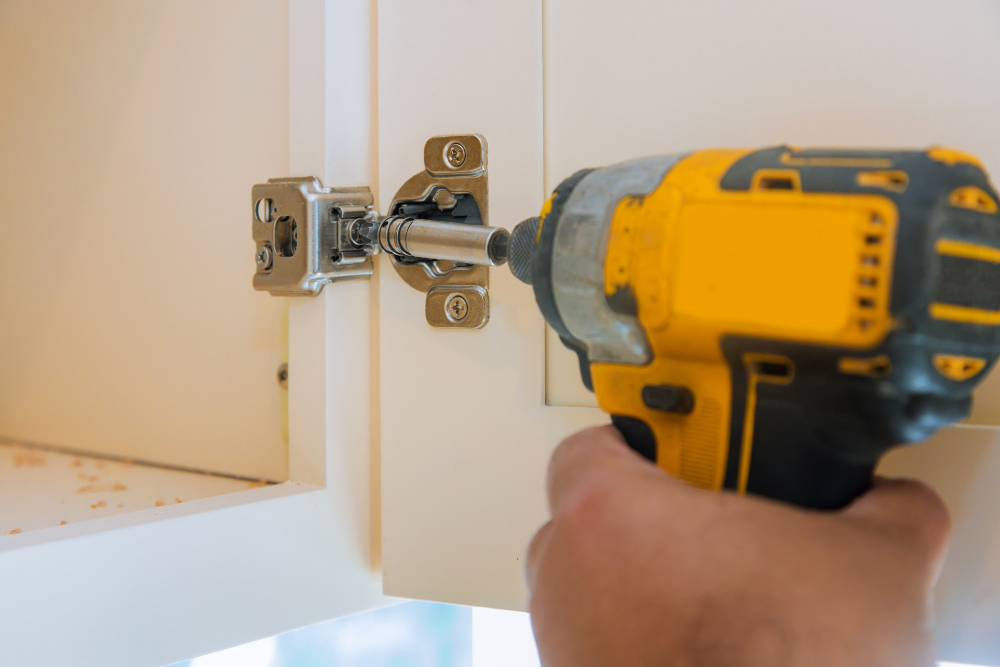
This step is crucial as it ensures that the paint adheres well and lasts longer. The first thing you need to do is remove all cabinet doors and hardware such as knobs, handles, hinges, etc., using a screwdriver or drill.
Next up is cleaning the cabinets thoroughly with warm soapy water or a degreaser solution to remove any dirt buildup or grease stains. Make sure you rinse off all soap residue and let the cabinets dry completely before moving on.
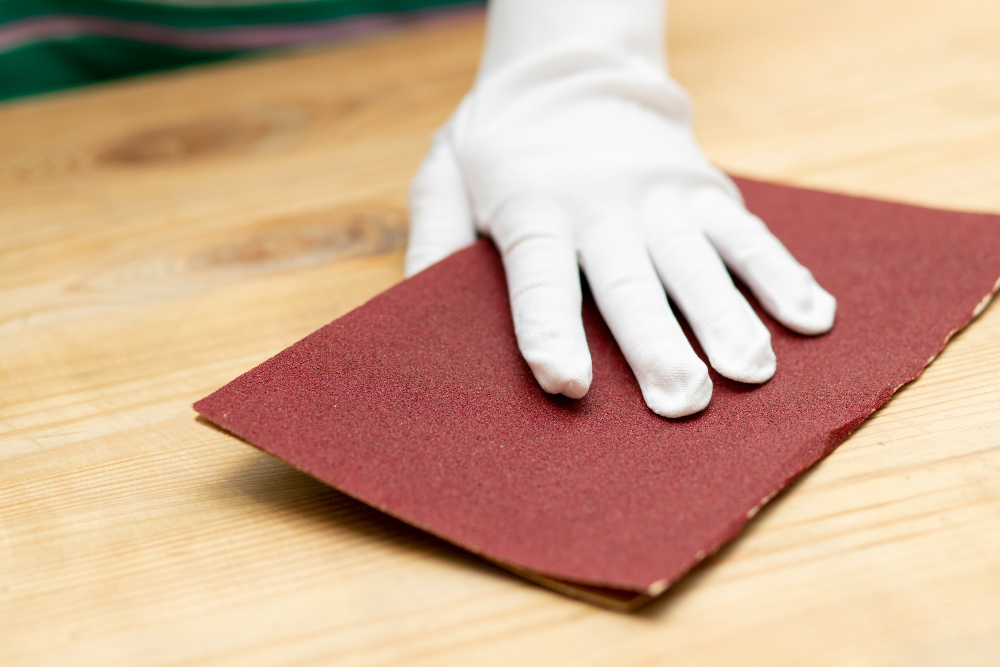
Once they’re dry, use sandpaper (120-grit) to roughen up the surface of each cabinet door and frame lightly. This process helps create tiny scratches on the surface that allow primer/paint better adhesion.
After sanding comes filling in any gaps between panels with wood filler if necessary; this will help create an even finish when painted over later down-the-line.
Lastly: wipe down everything again! Use tack cloth for best results – this removes dust particles left behind from sanding/filling gaps without leaving residue like other cloths might do!
Necessary Tools and Materials

Here are some of the items you’ll need:
1. Screwdriver: You’ll need a screwdriver to remove cabinet doors and hardware.
2. Sandpaper: To prepare your cabinets for painting, you’ll need sandpaper in various grits (120-220).
3. Tack cloth: After sanding, use a tack cloth to remove any dust or debris from the surface.
4. Painter’s tape: Use painter’s tape around edges and areas where paint should not be applied.
5. Drop cloths or plastic sheeting: Protect floors and countertops with drop cloths or plastic sheeting.
6. Paintbrushes/rollers/sprayer: Choose high-quality brushes, rollers or sprayers depending on your preference for applying paint.
7.Paint primer/topcoat/sealer – Select high-quality products that will provide durability over time.
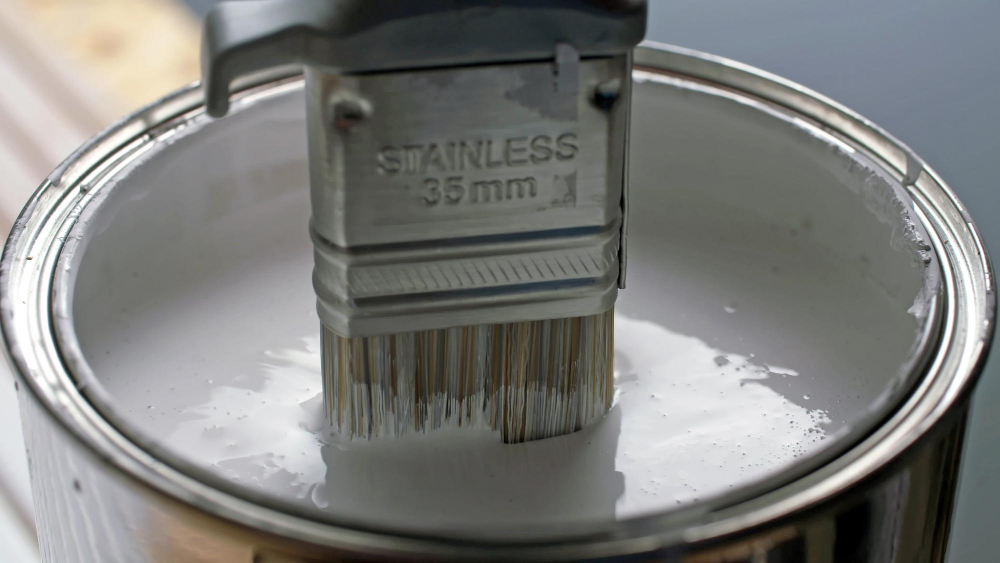
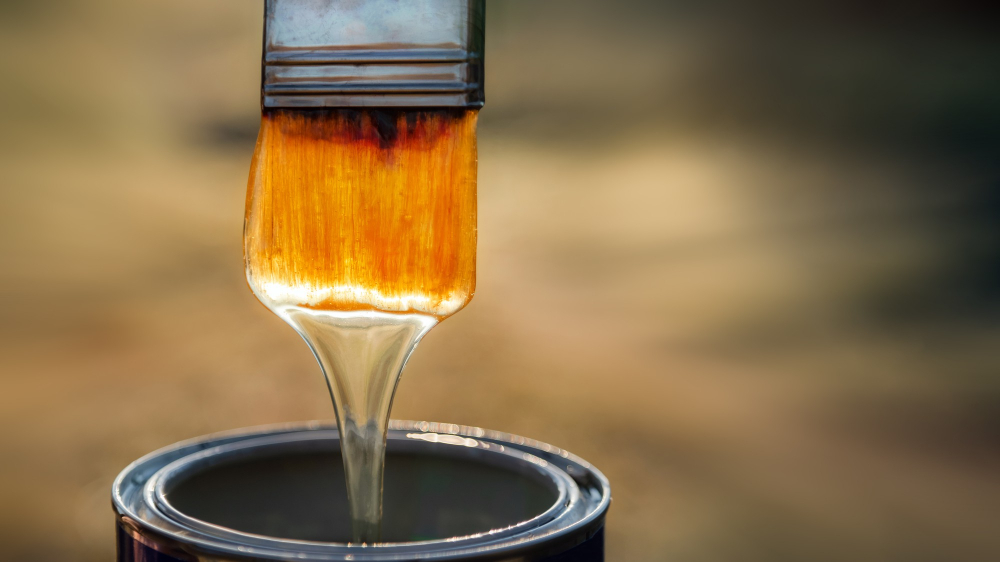
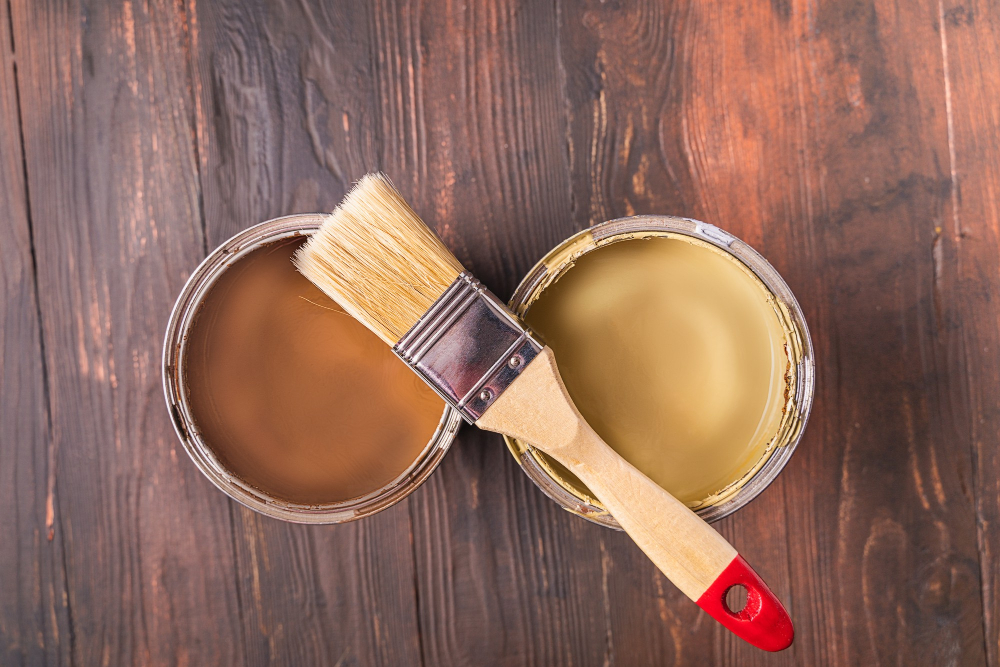
Selecting the Right Paint and Primer
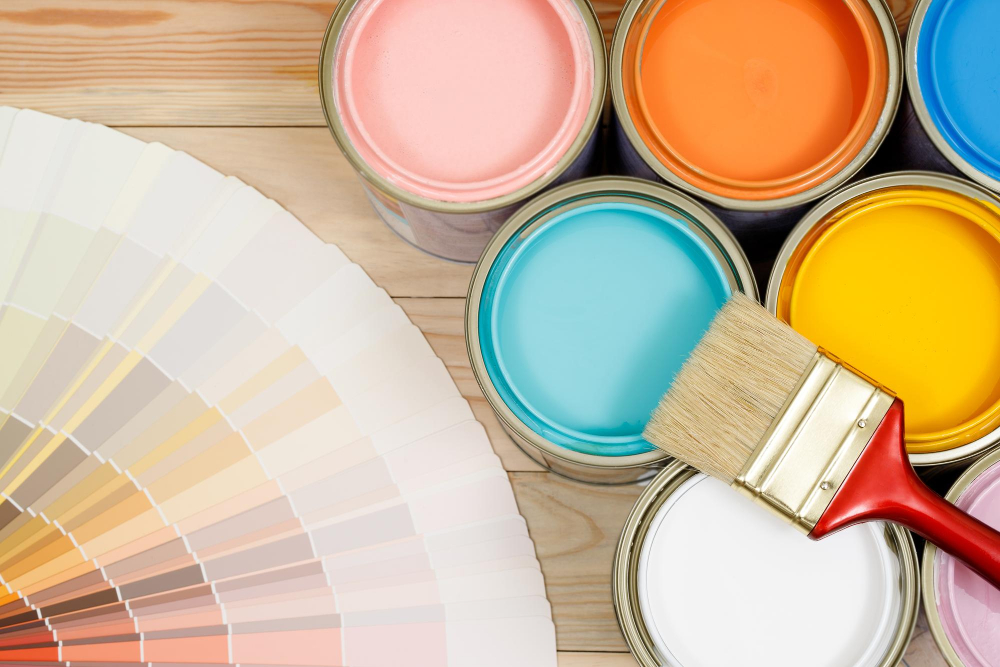
The type of paint you choose will depend on your personal preference, budget, and the level of durability you require. For example, oil-based paints are known for their durability but can be more difficult to work with than water-based options.
Before purchasing any paint or primer products, make sure they are specifically designed for use on wood surfaces such as oak cabinets. This will ensure that they adhere properly and provide long-lasting results.
In addition to choosing the right type of paint and primer, consider factors such as color selection and finish options. Matte finishes can hide imperfections in the wood grain while glossier finishes may highlight them.
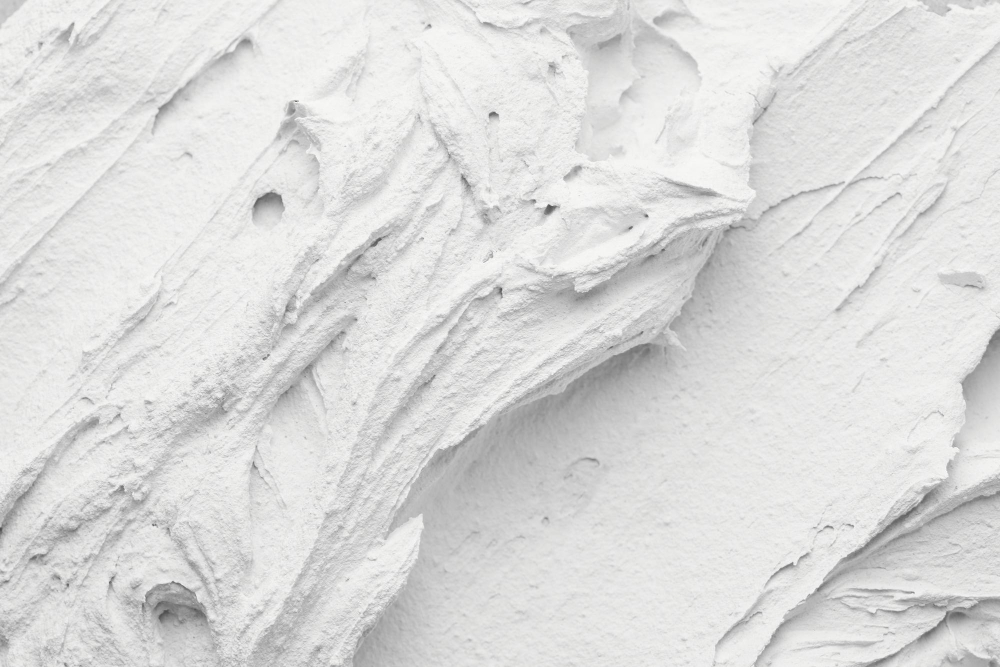
Dealing With Oak Grain
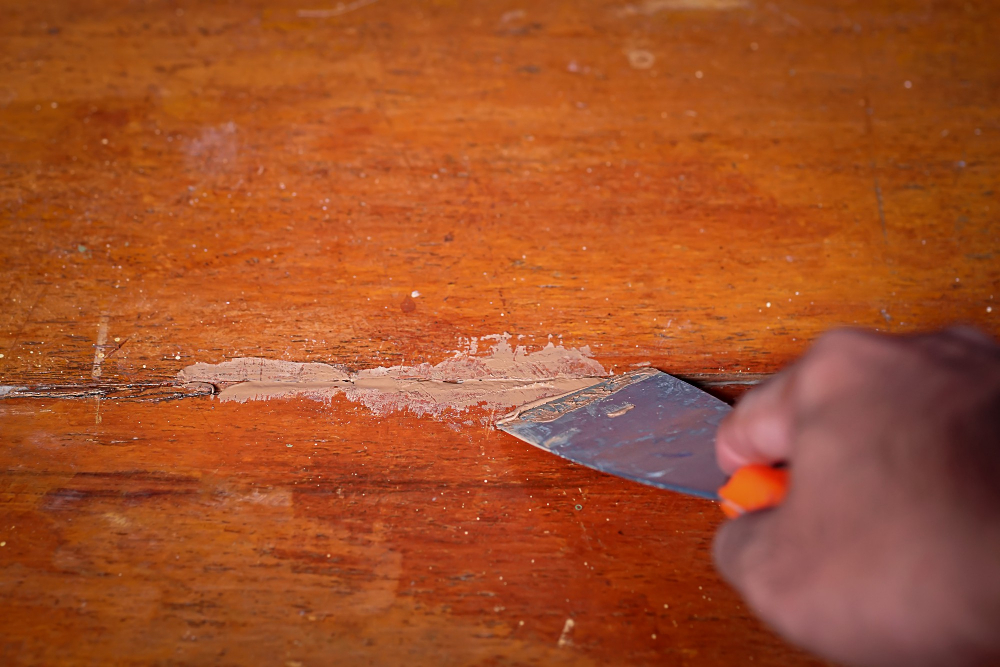
Oak has a distinctive and prominent grain pattern that can show through even after several coats of paint. To achieve a smooth finish, it’s essential to fill in the pores and grains before applying primer.
There are two types of grain filler: oil-based and water-based. Oil-based fillers are more durable but take longer to dry, while water-based ones dry faster but may not be as effective at filling large pores.
Before applying any filler, make sure your cabinets are clean and free from dust or debris. Use a putty knife or scraper to apply the filler in long strokes along the direction of the wood grain until all visible pores have been filled.
Once you’ve applied enough filler, let it dry completely according to manufacturer instructions before sanding lightly with fine-grit sandpaper until smooth. This step will ensure that your primer adheres well without any bumps or rough spots caused by excess dried-up pore-filler on your cabinet surface.
Cleaning and Degreasing Cabinets
Over time, grease and grime can accumulate on the surface of your cabinets, making it difficult for paint to adhere properly. Cleaning and degreasing will ensure that the paint sticks well to the surface of your oak cabinets.
To begin cleaning, remove all cabinet doors from their hinges using a screwdriver. This step is crucial as it allows you better access to every nook and cranny of each door or drawer front.
Next up is preparing a solution made with warm water mixed with mild dish soap or TSP (trisodium phosphate). Dip a sponge into this mixture then wring out excess water before wiping down each cabinet door thoroughly until they are free from dirt buildup.
For stubborn stains like oil splatters around cooking areas use vinegar diluted in hot water instead; its acidity helps break down grease effectively without damaging wood surfaces.
Removing and Organizing Cabinet Doors
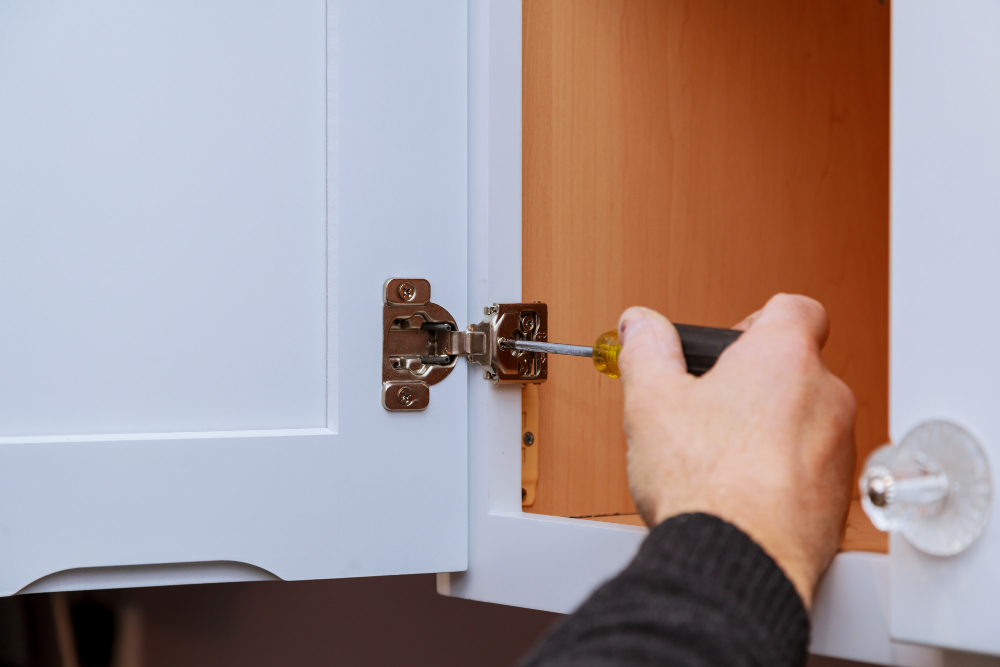
This step will make the painting process more manageable and ensure that you don’t miss any spots. Begin by labeling each door with a piece of tape or marker so that you know where they belong when it’s time to reassemble them.
Next, use a screwdriver to remove all hardware from the doors, including handles, hinges, and screws. Place these items in labeled plastic bags or containers so that they don’t get lost during the painting process.
Once all hardware is removed from your oak cabinets’ doors, lay them flat on a clean surface such as sawhorses or drop cloths. If possible arrange them in an order which makes sense for easy reassembly later on.
Proper Sanding Techniques
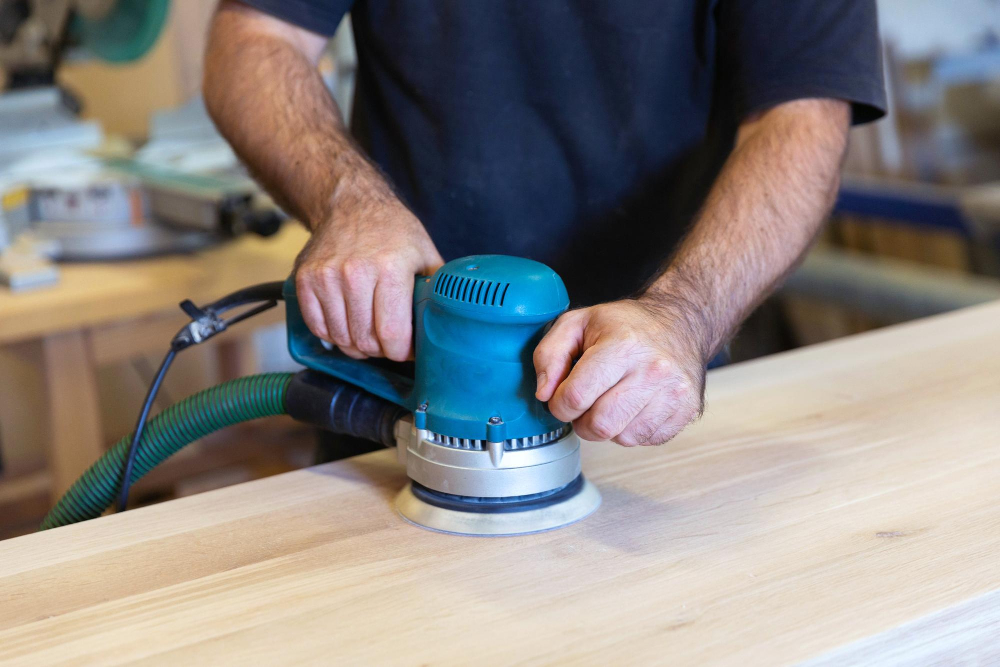
Sanding is a crucial step in this process as it helps remove any existing finish and creates a smooth surface for the primer and paint to adhere to. Proper sanding techniques are critical in achieving professional-looking results.
Start by removing all cabinet doors, drawers, and hardware before sanding. Use 120-grit sandpaper on an orbital sander or by hand with a block of wood for flat surfaces like cabinet faces or sides.
For detailed areas such as corners or edges, use folded-up pieces of sandpaper.
Be sure not to oversand; otherwise, you may damage the wood grain pattern on your oak cabinets’ surface. After completing each section with 120-grit paper move up gradually through finer grits until you reach at least 220-grit paper for final smoothing.
Applying Grain Filler
Oak has a distinctive and prominent grain pattern that can show through even after several coats of paint. To achieve a smooth, flawless finish, it’s essential to apply grain filler before priming.
Grain filler is a thick paste-like substance that fills in the pores and crevices in wood grains, creating an even surface for painting. It comes in different colors to match various types of woods or can be tinted to complement your chosen paint color.
To apply grain filler on oak cabinets:
- Sand down any rough spots or raised areas on your cabinet doors.
- Apply the grain filler using either a putty knife or plastic scraper.
- Spread it evenly over all surfaces you plan to paint.
- Allow it to dry completely according to manufacturer instructions (usually 24 hours).
- Sand lightly with fine-grit sandpaper until smooth.
Applying Primer to Oak Cabinets
Primer helps the paint adhere better and provides an even base for the color coat. When selecting a primer, choose one that is specifically designed for use on wood surfaces and has good adhesion properties.
To begin applying primer to your oak cabinets, start by removing all cabinet doors and hardware. This will make it easier to reach all areas of the cabinet frames without accidentally getting paint on other surfaces.
Next, clean the surface of each cabinet frame thoroughly with soap and water or a degreaser solution if there are any grease stains present. Once cleaned, allow them to dry completely before proceeding.
Using sandpaper or an electric sander with fine-grit sandpaper (220 grit), lightly sand each surface you plan on priming until they feel smooth when touched by hand. Be sure not to oversand as this can damage the wood grain pattern in your oak cabinets.
Afterward, wipe down every surface using tack cloth or microfiber cloth so that no dust remains from sanding before starting priming process. When applying primer onto Oak Cabinets use long strokes in one direction while holding spray nozzle 8-10 inches away from target area; alternatively brush-on method can be used too but requires more time than spraying technique.
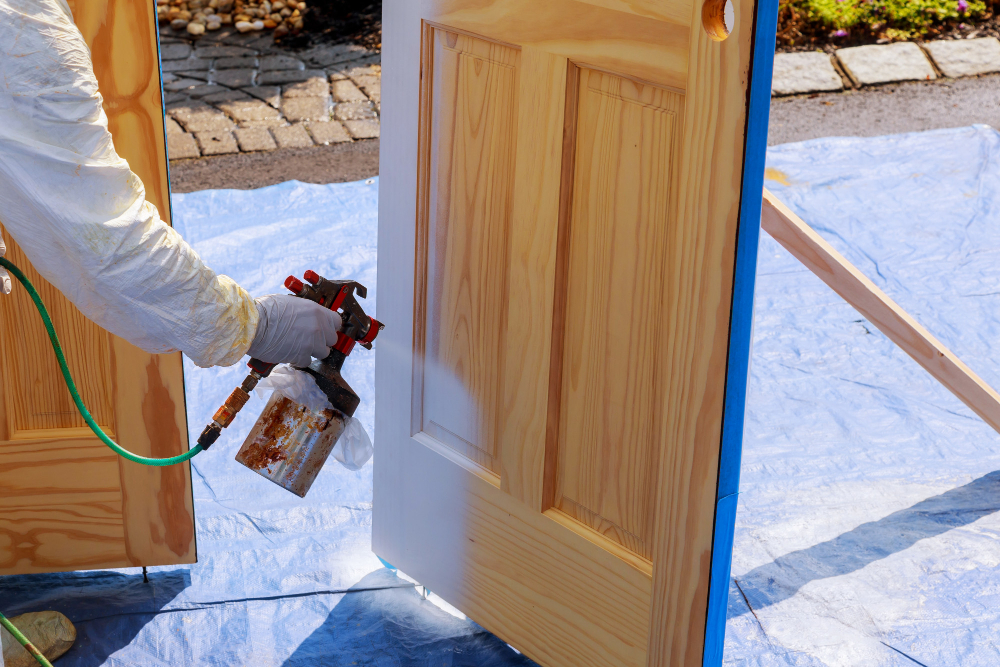
Painting Techniques for Oak Cabinets
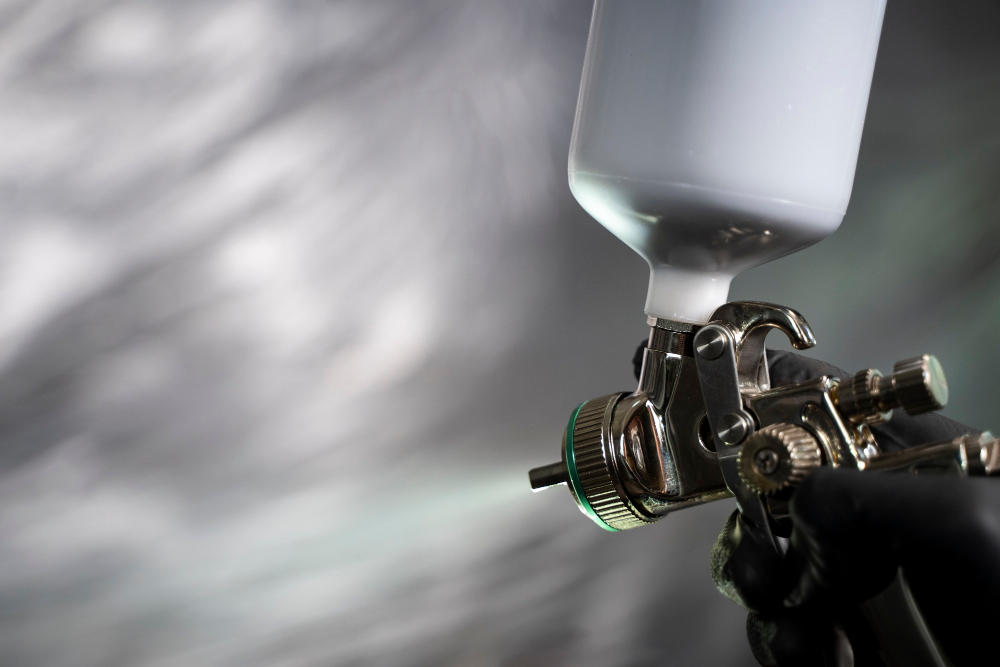
One popular method is using a paint sprayer, which allows for even coverage and smooth finishes. However, if you don’t have access to one or prefer not to use it, brushing and rolling are also effective options.
If you choose the brush-and-roll technique, start by using a high-quality brush with synthetic bristles that won’t leave streaks or hairs in your paint job. Begin by painting the edges of each cabinet door before moving on to larger surfaces like the center panel.
To avoid visible brush strokes on flat surfaces like cabinet doors and drawer fronts, apply thin coats of paint in long strokes from top-to-bottom or side-to-side without stopping mid-stroke. This will help create an even finish without any unsightly lines.
Rollers can be used for larger areas such as sides of cabinets but make sure they’re designed specifically for cabinetry work as they tend not hold too much paint at once while still providing good coverage.
Painting Cabinet Doors and Frames
Painting these parts can be a bit tricky, but with the right techniques and tools, you can achieve a professional-looking finish.
Start by removing all hardware from the doors and frames. This includes handles, hinges, knobs or any other fixtures that may be attached to them.
Place them in labeled bags so that they don’t get lost during the painting process.
Next up is sanding down all surfaces of both door fronts and backs as well as their respective frames using fine-grit sandpaper (220 grit). Sand until smooth then wipe off dust with a tack cloth before applying primer.
When it comes to painting cabinet doors and frames themselves there are two options: brush or spray paint application methods. Brushing requires patience because each coat must dry completely before adding another layer while spraying allows for faster coverage but also requires more prep work such as masking off surrounding areas like walls or countertops where overspray could occur.
Whichever method you choose make sure not to overload your brush/sprayer with too much paint at once which will cause drips on vertical surfaces like cabinet faces/doors if applied too thickly – instead apply thin coats allowing ample drying time between layers until desired opacity is achieved.
Using a Paint Sprayer Vs. Brush
Both methods have their pros and cons, so it’s important to consider which one is right for your project.
A paint sprayer can be faster and more efficient than using a brush, especially if you’re working with large surfaces like cabinet doors. It also provides an even coat of paint without leaving any visible brush strokes or marks.
However, there are some downsides to using a sprayer as well. They can be expensive and require more preparation time before use than brushes do since they need cleaning after each use thoroughly.
On the other hand, brushing allows for greater control over the application of the paint on smaller areas such as corners or edges that may not get covered by spray painting easily. Brushes are also less expensive compared to spray guns but take longer due to drying times between coats.
Drying and Curing Time

Drying time refers to the amount of time it takes for the paint on your cabinets to become touch-dry. Curing time, on the other hand, is how long it takes for the paint film to harden completely.
Typically, latex or water-based paints take around 24-48 hours of drying time before they can be touched without leaving a mark. However, curing times can vary depending on factors such as humidity levels and temperature.
It’s essential not only to wait until your painted oak cabinets are fully cured but also avoid using harsh chemicals or cleaning products during this period as they may damage or scratch off fresh paint.
Applying Top Coat or Sealer
A top coat will also add an extra layer of durability against scratches, stains, and other wear and tear that can occur in a busy kitchen.
When selecting a topcoat or sealer for your painted oak cabinets, choose one that is specifically designed for use on wood surfaces. Polyurethane is often recommended as it provides excellent protection against moisture damage while also being resistant to heat and chemicals.
Before applying the topcoat or sealer, make sure the paint has fully dried according to manufacturer instructions. Then lightly sand any rough spots with fine-grit sandpaper before wiping down with a clean cloth.
Apply the first coat of sealant using long strokes in one direction along each cabinet surface. Allow this first layer ample time (usually 24 hours) before adding additional coats if necessary – two coats are usually sufficient but follow manufacturer guidelines for best results.
Reassembling the Kitchen
This is where organization and attention to detail come into play. Begin by carefully reinstalling all cabinet doors and hardware, making sure everything lines up correctly.
Take your time with this step as any misalignment can affect the overall look of your newly painted cabinets.
Next, reattach any drawers or shelving units that were removed during the painting process. Again, make sure everything is level and secure before moving on.
Give your entire kitchen a thorough cleaning before putting back all appliances and decor items in their proper place. Admire how much brighter and fresher your space looks now that you’ve given those old oak cabinets a new lease on life!
Common Mistakes to Avoid
One of the most significant errors is not properly preparing the surface before painting. Failing to clean and degrease your cabinets thoroughly can lead to paint peeling or chipping off over time.
Another mistake is using low-quality paint or primer. Investing in high-quality products will ensure that your painted oak cabinets look beautiful for years to come.
It’s essential not to rush through the process of sanding and applying grain filler. Taking shortcuts during these steps can result in an uneven finish with visible brush strokes or roller marks.
Lastly, make sure you allow enough drying and curing time between coats of paint as well as after finishing touches like adding a topcoat or sealer. Rushing this step could cause damage such as scratches on newly painted surfaces when reassembling cabinet doors back onto their frames.
Maintaining Painted Oak Cabinets

To keep your newly painted cabinets looking fresh and clean, follow these simple maintenance tips:
1. Clean regularly: Wipe down the cabinets with a soft cloth or sponge and mild soap and water solution at least once a week.
2. Avoid harsh chemicals: Abrasive cleaners can damage the paint finish on your cabinets, so avoid using anything too harsh.
3. Use coasters: Protect cabinet surfaces from moisture by using coasters under glasses or cups.
4. Handle with care: Be gentle when opening and closing cabinet doors as rough handling can cause scratches or chips in the paint finish.
5. Touch up as needed: Keep some extra paint on hand for touch-ups if any nicks or scratches occur over time.
By following these simple steps, you’ll be able to enjoy your beautifully painted oak kitchen cabinets for many years to come!
FAQ
Is it OK to paint over oak cabinets?
Yes, it is OK to paint over oak cabinets, as long as proper prep work is done, even if parts of the cabinets are laminate.
What kind of paint is best for oak kitchen cabinets?
The best paint for oak kitchen cabinets is Insl-X Cabinet Coat Enamel in satin, an acrylic water-based enamel, applied with a paint sprayer.
Is it better to stain or paint oak cabinets?
Whether it is better to stain or paint oak cabinets depends on the desired look: choose paint for a clean, modern appearance that hides the wood grain, or opt for stain to accentuate the natural grain and create a classic aesthetic.
What preparation steps are necessary before painting oak kitchen cabinets?
Before painting oak kitchen cabinets, it is necessary to clean, sand, degrease, and prime the surfaces for proper adhesion and finish.
How can you ensure a smooth and even finish when painting oak cabinets?
To ensure a smooth and even finish when painting oak cabinets, carefully sand the surface, apply a suitable primer, and use a high-quality paint with appropriate brushes or rollers.
Are there any disadvantages to painting oak cabinets compared to other types of wood cabinets?
Painting oak cabinets may highlight their grain pattern more than other wood types, potentially creating an uneven appearance.


