Last updated on
Discover the simple steps to replace your kitchen sink without changing the entire countertop, saving time and money in the process.
Are you tired of staring at your old, stained kitchen sink? Do you want to upgrade your sink without the hassle and expense of replacing the entire countertop? You’re not alone! Many homeowners are looking for ways to update their kitchen without breaking the bank. The good news is that it’s possible to replace a kitchen sink without replacing the countertop.
In this article, we’ll explore some tips and tricks for making this process as smooth and straightforward as possible. So, grab a cup of coffee and let’s get started!
Key takeaways:
- Assess the condition of your current sink and countertop.
- Determine if your countertop is worth saving or if it needs to be replaced as well.
- Choose the right replacement sink based on size, style, and material.
- Consider the different types of kitchen sinks available and which one suits your needs.
- Make sure to measure your existing sink and countertop accurately to ensure a proper fit.
What's Inside
Assessing the Current Sink and Countertop
Before you start replacing your kitchen sink, it’s essential to assess the current sink and countertop. Take a close look at the condition of both and determine if they’re worth keeping or if it’s time for an upgrade.
If your countertop is in good shape but has seen better days, then replacing just the sink can give your kitchen a fresh new look without breaking the bank.
On the other hand, if both are outdated or damaged beyond repair, then you may want to consider investing in a full replacement. Keep in mind that changing out countertops can be costly and time-consuming compared to simply swapping out sinks.
Another factor to consider is whether you have an undermount or drop-in style sink currently installed. Undermount sinks are attached underneath countertops with adhesive sealant making them more challenging to remove than drop-in models that sit on top of counters held by clips.
Is Your Kitchen Countertop Worth Saving?

If your countertop is in good condition and made from a durable material such as granite or quartz, then it’s likely that you can replace the sink without having to change the entire surface. However, if your countertop has significant damage or wear and tear, then it may be more cost-effective in the long run to replace both the sink and counter together.
It’s also important to consider how well-matched a new sink will be with an existing counter. For example, if you have an older laminate countertop that has yellowed over time due to exposure from sunlight or heat sources like stovetops – installing a brand-new stainless steel undermount kitchen sink might look out of place.
Choosing the Right Replacement Sink

There are many factors to consider when selecting a new sink, including size, style, and material.
Firstly, measure your existing sink’s dimensions carefully before purchasing a new one. This will ensure that it fits perfectly into the countertop cutout without any gaps or overhangs.
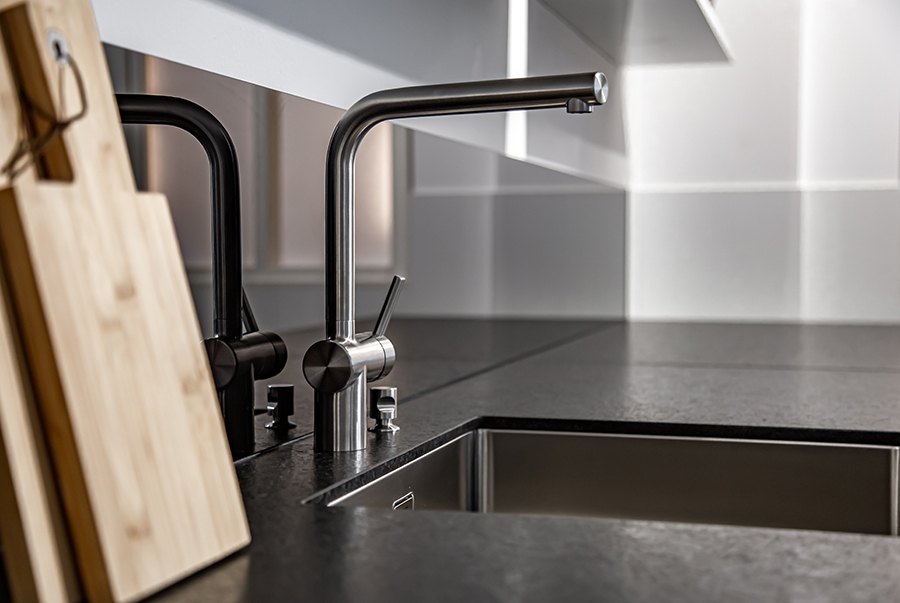
Next up is style – do you want an undermount or drop-in sink? Undermount sinks sit below the countertop for a sleek look while drop-in sinks rest on top of it with visible edges. Consider which option would work best with your current setup and personal preferences.
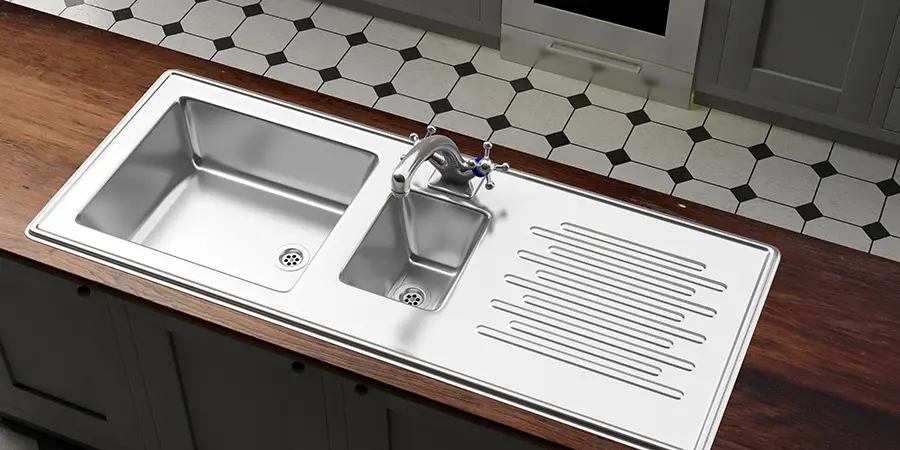
Finally comes material – stainless steel remains popular due to its durability and affordability but there are other options such as porcelain enamel-coated cast iron for those who prefer something more traditional-looking.
Types of Kitchen Sinks
The type of sink you select will depend on your personal preferences and the style of your kitchen. Here are some popular types of sinks:
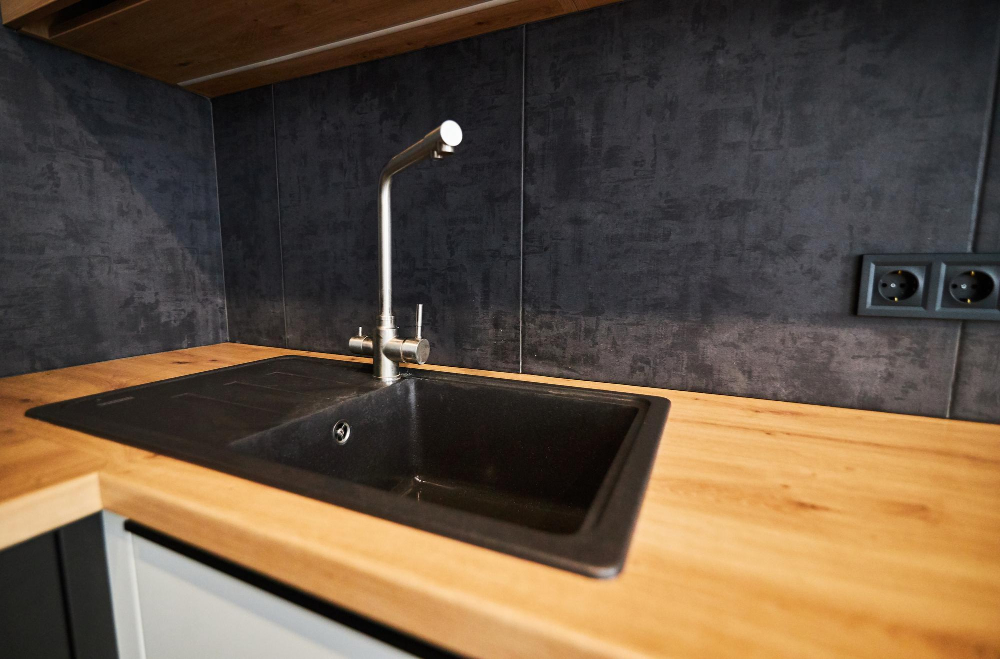
1. Top-mount Sink: This is the most common type of sink that sits on top or over the countertop.
2. Undermount Sink: This is installed underneath the countertop for a seamless look.
3. Farmhouse Sink: Also known as an apron-front sink, this style has a large basin and extends beyond the edge of cabinets for added depth.
4. Double Basin Sink: A double basin provides two separate compartments in one unit, allowing for multitasking while washing dishes.
5. Single Basin Sink: A single-basin design offers more space in one bowl but may not be ideal if you need to wash dishes while soaking something else at once.
Size Matters

You want to make sure that the new sink fits perfectly into the existing countertop cutout. If you choose a sink that is too small, you’ll be left with unsightly gaps around the edges.
On the other hand, if your new sink is too large for your current countertop opening, you may need to replace or modify your entire countertop.
To avoid these issues and ensure a seamless installation process, measure both the width and depth of your current kitchen sink before purchasing its replacement. This will help determine what size of replacement sinks are available for purchase.
It’s also important to consider how deep you want your new kitchen sink to be as this can affect how much space there will be between it and any cabinets below or above it.
Can It Be Removed Without Damaging the Countertop
If your current sink is a drop-in model, removing it should be relatively easy and straightforward. However, if you have an undermount sink that is glued to the underside of your countertop, things may get a bit more complicated.
In some cases, an undermount sink can be removed without damaging the countertop by cutting through any adhesive with a putty knife or scraper. However, this method requires precision and care to avoid causing damage to both the countertop and surrounding areas.
If you’re unsure about whether or not your existing kitchen sink can be safely removed without harming your countertops’ integrity; consider consulting with a professional plumber or contractor who has experience in this area. They will assess if there are any potential risks involved in removing and installing new sinks on different types of countertops such as granite countertops.
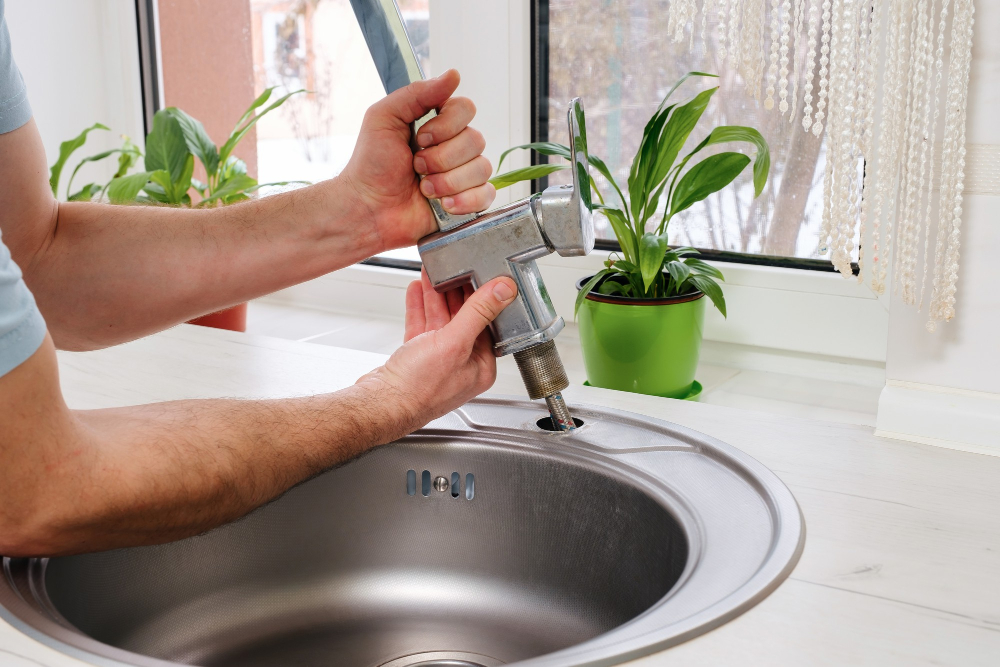
Preparing for Sink Removal
First, turn off the water supply and disconnect any plumbing connections from the sink. You’ll also need to remove any mounting hardware that secures the sink in place.
Next, clear out everything from under your kitchen sink and surrounding cabinets. This will give you plenty of room to work and prevent anything from getting damaged during removal.
It’s a good idea to have a bucket or container nearby as well since there may be some residual water left in pipes or hoses that could spill when disconnected.
Protect your countertop by placing towels or cardboard over it before starting work on removing the old sink. This will help prevent scratches or damage caused by tools slipping during removal.
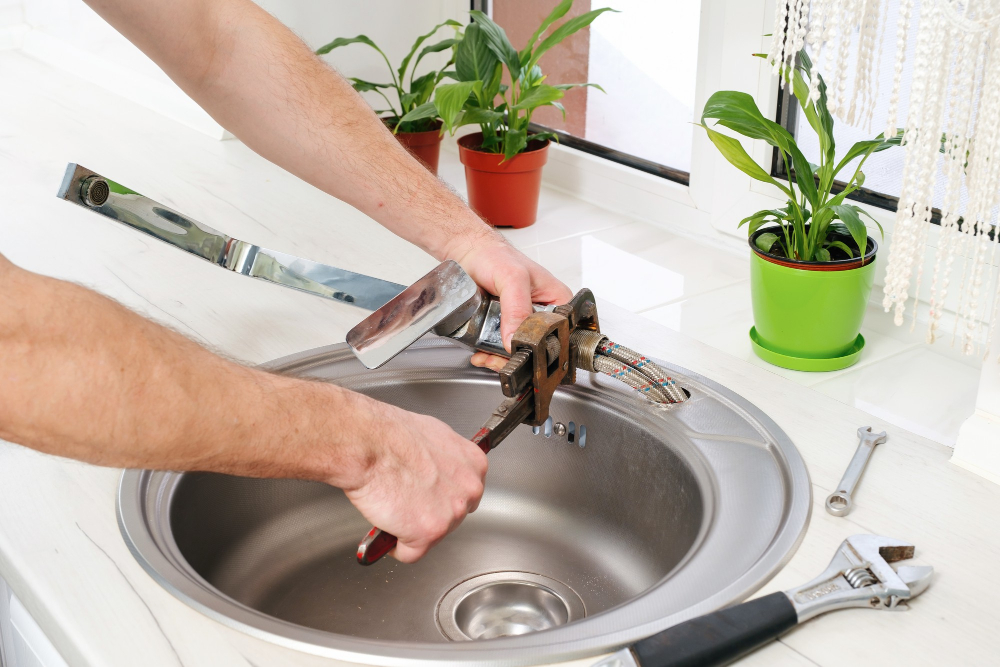
Removing the Existing Sink Safely
Before starting this process, make sure to turn off the water supply and disconnect any plumbing connections. You’ll also want to clear out any items from under your sink.
To begin removing your old kitchen sink, use a utility knife or putty knife to cut through any caulking or adhesive that is holding it in place. Be careful not to damage your countertop during this step.
Next, locate the mounting clips that are securing your current sink in place. These clips may be located underneath the countertop or on top of it depending on how they were installed initially.
Using a screwdriver or pliers (depending on what type of clip you have), loosen each clip until they can be removed entirely from their position around the edge of your old kitchen basin.
Inspecting the Countertop

Start by cleaning the area around the sink with soap and water. Then, use a flashlight to examine the underside of your countertop carefully.
Look for signs of water damage, such as discoloration or soft spots in wooden countertops.
If you have a laminate countertop, check for cracks or chips around where your old sink was installed. If you find any significant damages that could compromise your new installation’s integrity, it may be time to consider replacing your entire kitchen counter.
However, if there are only minor issues like scratches on granite countertops that won’t affect functionality but bother you aesthetically – don’t worry! You can still replace just the sink without having to replace everything else.
Adjusting the Countertop If Needed

If this is the case, don’t panic! It’s possible to make minor adjustments without having to replace your entire countertop.
Firstly, check if there are any gaps between the new sink and existing cutout in your countertop. If there are gaps or uneven areas around where you removed the old sink from, use a silicone caulk sealant around it before installing a new one.
If necessary, adjustments can be made by sanding down small sections of wood on either side of where you want to place your replacement kitchen basin until it fits snugly into its designated spot. Be sure not to remove too much material as this could weaken or damage your counter over time.
Alternatively, if significant changes need making for an undermount installation (where sinks attach underneath countertops), consider hiring a professional installer who has experience with these types of modifications and can ensure everything is done correctly while minimizing potential risks such as cracking or splitting during cutting procedures.
Installing the New Sink

Before you begin, make sure that your new sink is compatible with your existing countertop and plumbing. If not, adjustments may need to be made before installation.
To start installing the new sink, place a bead of silicone caulk around the edge of the cutout in your countertop where you will be placing your undermount or drop-in sink. This will help create a watertight seal between the sink and counter.
Next, carefully lower your new kitchen sink into place from above or below depending on whether it’s an overmount or undermount model respectively. Make sure that it fits snugly into its designated space without any gaps between its edges and those of surrounding surfaces.
If necessary for support purposes (for example if using an under-mount), attach clips underneath at regular intervals along each side of both sinks’ rims so they can hold them securely against their respective countertops while also providing additional stability during use over time by preventing movement due to vibrations caused by water flow etcetera).
Proper Sink Installation

Proper installation is crucial for ensuring that your sink functions correctly and doesn’t leak. Here are some tips for installing a kitchen sink:
1. Apply a bead of silicone caulk around the edge of the cutout in your countertop before placing your new sink into position.
2. Make sure that there is an even gap between the edge of the cutout and all sides of your new sink.
3. If you’re installing an undermount or flush-mount style, use clips or brackets to secure it in place from underneath.
4. For top-mount sinks, tighten mounting hardware evenly on all sides until snug but not overly tight as this can cause damage to both countertops and sinks over time.
5. Check again if everything is levelled properly before proceeding with reconnecting plumbing fixtures such as faucets etc., which should be done according manufacturer instructions.
Supporting Your Undermount Sink
If you’re installing an undermount sink, it’s essential to provide proper support for your countertop. Undermount sinks are attached from below and rely on a secure fit between the rim of the sink and the underside of your countertop.
To ensure that your undermount sink is adequately supported, apply a bead of silicone caulk around its perimeter before placing it into position. This will help create a watertight seal while also providing additional support.
Next, use mounting brackets or clips to secure your new undermount sink in place. These brackets should be installed at regular intervals along both sides of the basin and screwed securely into place using wood screws or other appropriate fasteners.
Double-check that everything is level before proceeding with any further installation steps such as reconnecting plumbing lines or sealing around edges with more silicone caulk if necessary.
Securing the Sink to the Countertop
This is an essential step that ensures your sink stays in place and doesn’t move around or cause any damage. To do this, apply a bead of silicone caulk around the edge of the sink where it meets with the countertop.
Make sure you use enough caulk to create a tight seal but not so much that it oozes out from under the rim.
Next, carefully lower your new kitchen sink into place and press down firmly on all sides until there is no gap between its edges and those of your countertop. Use clamps or weights if necessary to hold everything in position while waiting for 24 hours for curing.
Afterward, remove any excess caulking using a putty knife or scraper tool before wiping away residue with warm water and soap solution.
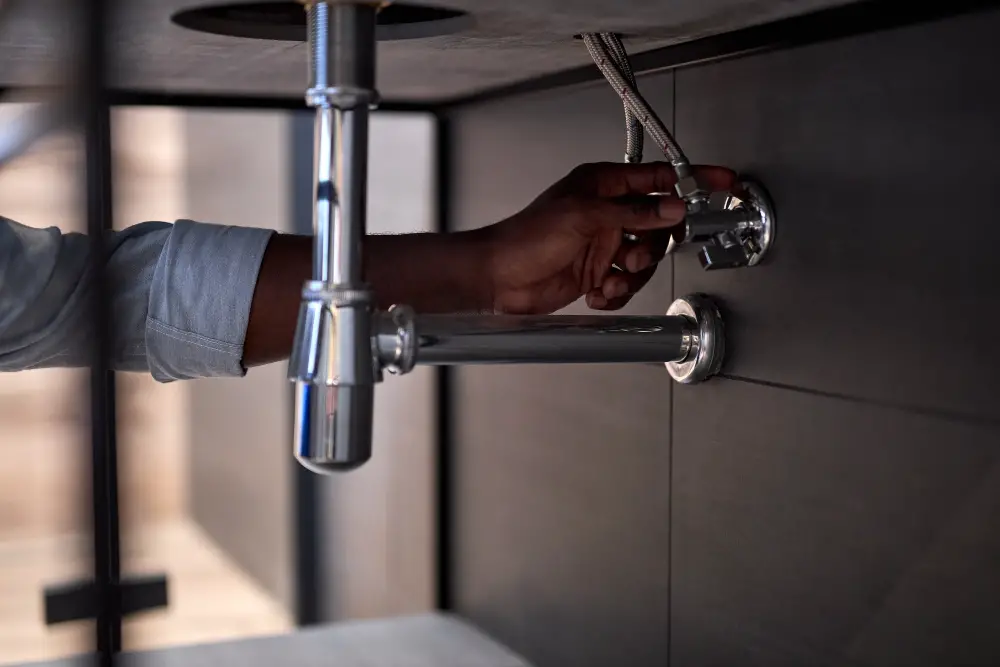
Reconnecting the Plumbing

This step can be a bit tricky, but with some patience and attention to detail, you’ll have your sink up and running in no time.
Firstly, connect the drain assembly to the bottom of your new sink. Make sure that all connections are tight and secure.
Next, attach any necessary water supply lines or hoses for your faucet.
Before turning on the water supply valves under your kitchen sink again (which were turned off during removal), double-check all connections for leaks by filling up both sides of the basin with water while checking underneath for drips or moisture.
Testing for Leaks and Functionality

Turn on the water supply valves under your sink slowly, checking for any signs of leakage around the faucet or drain area. If there are no visible leaks, fill up your sink with water and let it sit for a few minutes before draining it completely.
Next, check that all components of your new kitchen sink are functioning correctly. Run some hot water through each side of the basin to ensure proper drainage without any clogs or backups in either side.
Finishing Touches and Cleanup

First, check for leaks by running water through the faucet and drain. If everything is working correctly, wipe down the sink with a soft cloth or sponge to remove any fingerprints or debris.
Next, reattach any hardware that was removed during installation such as faucets or soap dispensers. Make sure they are securely fastened but not over-tightened.
Give your kitchen a thorough cleaning by wiping down countertops and cabinets with an all-purpose cleaner. Don’t forget to sweep or vacuum up any debris left behind from installation.
Replacing a kitchen sink can be an easy DIY project that can transform the look of your entire space without breaking the bank.
Sink Replacement Tips and Tricks

Here are some things to keep in mind when replacing your kitchen sink:.
1. Measure twice: Before purchasing your new sink, make sure you measure the existing hole in your countertop accurately.
2. Don’t forget about plumbing: Make sure you turn off the water supply before removing any pipes or fittings.
3. Use silicone sealant: Apply silicone sealant around the edges of your new sink before installing it to prevent leaks.
4. Take care when tightening bolts: Over-tightening bolts can cause damage to both sinks and countertops – use caution!
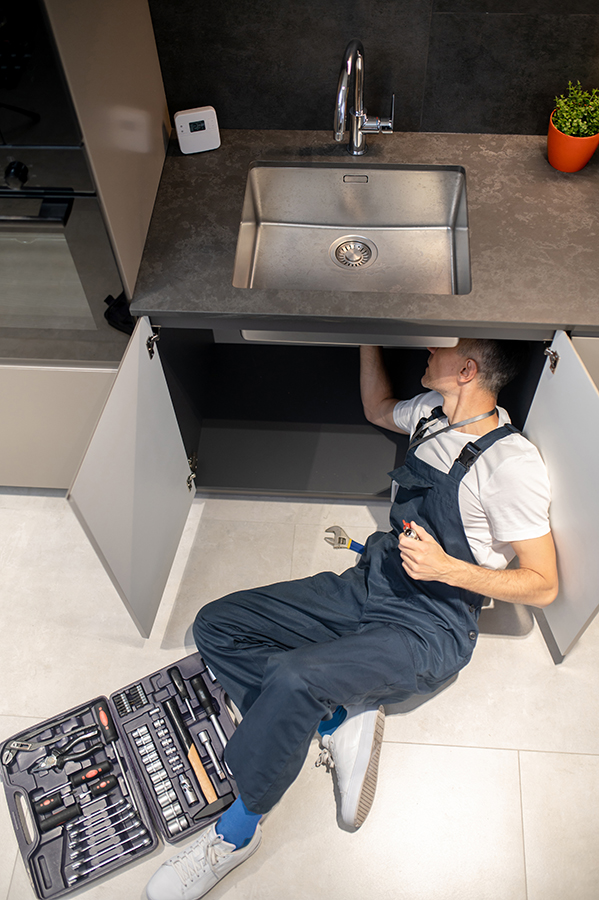
5. Consider hiring a professional if needed: If you’re not confident in DIY projects or don’t have experience with plumbing work, consider hiring a professional for help.
Can You Replace an Undermount Sink Without Removing the Quartz Countertop?

The answer is yes, but it depends on the type of sink and how well it was installed in the first place.
Replacing an undermount sink without removing a quartz countertop can be tricky because these sinks are typically glued to the underside of the counter. If your current sink was not installed correctly or has been damaged over time, attempting to remove it could cause damage to your beautiful quartz countertops.
However, if your existing undermount sink is in good condition and properly secured with clips or brackets rather than adhesive glue, then replacing just the sink should be possible. In this case, follow similar steps as outlined above for replacing any other kitchen sinks while taking extra care not to damage your countertops during removal or installation.
It’s always best practice when dealing with expensive materials like quartz countertops that require professional help from experienced contractors who specialize in this kind of work. They will know how best approach such projects while minimizing risks associated with damaging either component (sink/countertops).
FAQ
Can an undermount sink be replaced without damaging countertop?
Yes, an undermount sink can be replaced without damaging the countertop by disconnecting the plumbing, removing the clips, and breaking the silicone adhesive bond.
Can you just replace a kitchen sink?
Yes, you can replace a kitchen sink, although it is a straightforward yet time-consuming task and may involve working with various shapes, sizes, and materials.
Can you install a new sink in existing granite countertop?
Yes, you can install a new sink in an existing granite countertop by cutting into the granite with a saw and following a similar process to other countertop materials while ensuring to cut off the water supply and disconnect water lines.
Is it possible to change a drop-in sink without altering the countertop?
Yes, it is possible to change a drop-in sink without altering the countertop if the new sink has the same dimensions and configuration as the old one.
What are the best methods for removing a kitchen sink without affecting the countertop’s integrity?
The best methods for removing a kitchen sink without affecting the countertop’s integrity include disconnecting the plumbing and sink clips, carefully lifting and removing the sink, and avoiding any forceful actions that could damage the countertop.
Are there specific sink designs that allow for easier replacement without countertop damage?
Yes, there are specific sink designs, such as the top-mount or drop-in sinks, which allow for easier replacement without causing countertop damage.


