Last updated on
Change your cabinet color because a remarkable transformation awaits, which is easier to achieve than you might imagine with this comprehensive step-by-step guide.
Key takeaways:
- Assess cabinet condition and material for color change feasibility.
- Prep workspace and gather necessary supplies for the project.
- Remove cabinet doors and hardware, label for easy reassembly.
- Prepare surfaces by sanding, cleaning, and filling imperfections.
- Choose paint and application tools, apply primer and paint in thin, even coats.
What's Inside
Step 1: Examine Your Cabinets
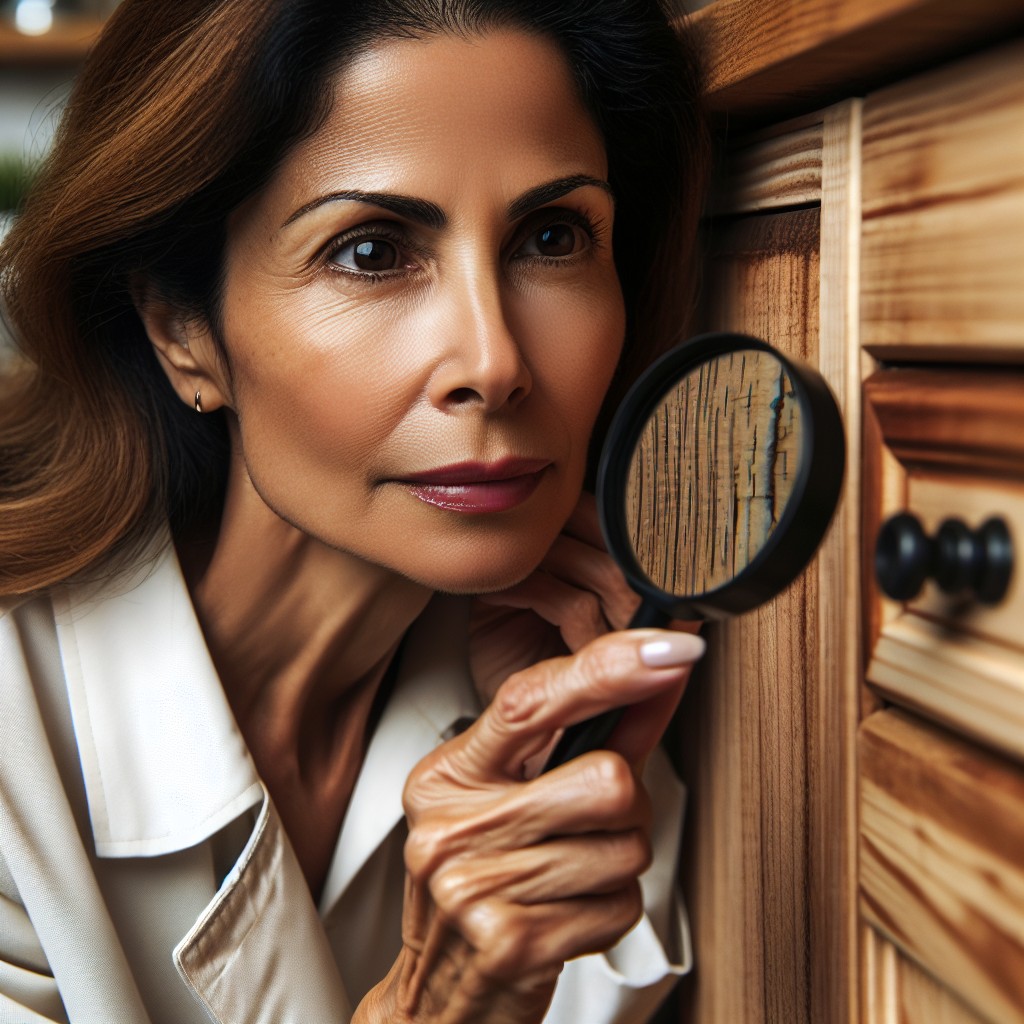
Before diving into a color update, it’s crucial to assess the state of your cabinets. This initial evaluation sets the stage for a successful transformation. Look for signs of damage like warping, water damage, or significant wear. If repairs are needed, factor them into your plan before painting. Also, consider the cabinet material. Wood, laminate, and metal each require different paint types and preparation methods. Identify any intricate designs or detailing that might influence the complexity of the project. This step ensures that your cabinets are prime candidates for a color change and that you’re ready to move forward with the right approach for your specific cabinetry.
Step 2: Prep the Space and Gather Your Supplies
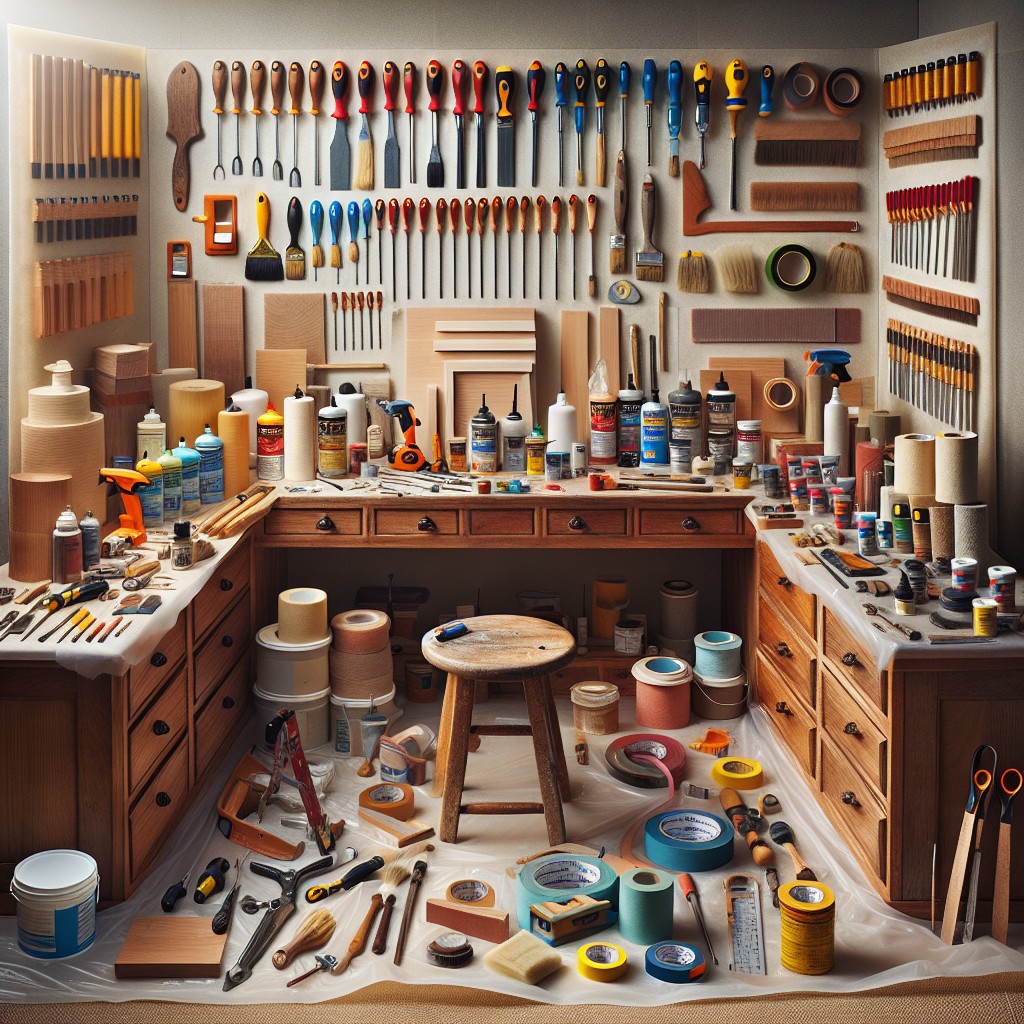
Before diving into your cabinet color transformation, it’s crucial to set yourself up for success by thoroughly preparing your work area and ensuring you have all necessary materials on hand. Clear countertops, protect floors and appliances with drop cloths, and ensure good ventilation.
Essential supplies include:
- Screwdriver for hardware removal
- Trisodium phosphate (TSP) or a degreasing cleaner for surface cleaning
- Sandpaper (medium and fine grit)
- Tack cloth or microfiber cloth for dust removal
- Painter’s tape for edge protection
- Primer designed for your cabinet material
- High-quality paintbrushes, rollers, or a paint sprayer
- Paint tray, if using brushes or rollers
- Quality paint suitable for cabinets
- Protective sealant or topcoat, if desired
Having all supplies at hand streamlines the process, making your project more efficient and stress-free.
Step 3: Remove the Doors and Hardware
With your workspace ready, it’s time to carefully remove each cabinet door. Use a screwdriver or power drill to unhinge the doors from the cabinet boxes. A tip to keep organized: label each door and its corresponding hardware with numbered tape. This small step will save you considerable time during reassembly.
Next, tackle the hardware. Take off handles and knobs, and remove any catches or latches. If you’re planning on reusing the hardware, clean and store them in labeled bags. For those looking to replace their hardware, now’s the perfect moment to fill any old holes with wood filler – just remember to sand it down once it dries.
Remember to protect any exposed hinges left on the cabinet frames with painter’s tape if you’re not removing them. This careful prep sets the stage for a smooth painting process, ensuring professional-looking results.
Step 4: Prepare Your Surface
Before diving into painting, ensuring a smooth surface is crucial for a professional-looking finish. Sanding your cabinets removes imperfections and creates a texture for the primer to adhere to. Start with medium-grit sandpaper and finish with fine-grit for a polished surface.
Make sure to clean off all the dust with a tack cloth or damp rag, so you’re painting over a clean slate. If you find any gouges or deep scratches, wood filler can work wonders to smooth these out. Let it dry completely and then sand again. Remember, patience during preparation can elevate the end result from good to great.
Step 5: Choose Your Paint and Application Tools
Selecting the right paint is crucial for durability and the finished look of your cabinets. Opt for a semi-gloss or gloss finish as it is easier to clean and stands up well to frequent scrubbing—ideal for kitchen grease and grime. Oil-based paints offer a hard, durable finish, while water-based latex paints are less noxious and dry faster. For a super smooth finish, consider enamel paint, though it requires a steady hand.
When it comes to application tools, brushes and rollers are the traditional go-tos. A brush is perfect for smaller areas and detail work, but ensure it has fine bristles to avoid brush marks. Foam rollers help achieve a smooth finish on larger flat surfaces but might require multiple coats. If you’re proficient with more advanced tools, a paint sprayer can offer a professional, flawless finish but take note that it involves a steeper learning curve and more extensive space prep due to overspray. Whatever tools you choose, invest in quality for the best outcome.
Step 6: Apply Primer and Paint
Before diving into the painting process, ensure you have a well-ventilated area to work in. This is crucial not only for your comfort but also for the quality of the finish.
When it’s time to apply primer, opt for a high-adhesion product designed for slick surfaces. A thin, even coat is your goal. Use a brush to cut in at corners and edges and a foam roller to achieve a smooth, brushstroke-free finish on flat surfaces. Let the primer dry according to the manufacturer’s instructions—patience here prevents future chips and peels.
Once the primer is fully dry, sand it lightly with fine-grit sandpaper. This step is key for a professional finish as it smooths out any imperfections and provides a gripping surface for the paint. Wipe down the dust with a damp cloth, and allow the surfaces to dry completely.
With a clean canvas, you’re now ready for paint. Choose a paint that is rated for cabinetry; these formulas resist moisture and daily wear better than standard paints. Begin with the backside of the doors. Apply paint with the grain in thin, even layers. Avoid the temptation to slather on a thick coat—it won’t dry evenly and will likely result in runs and sags.
Allow the first coat to dry completely, then add a second, and if necessary, a third coat depending on the color and coverage you’re looking to achieve. Remember, each layer should be thin to maintain a professional appearance.
Cabinet frames and sides are painted last, utilizing the same careful methodology: cut in with a brush, followed by a roller for larger surfaces. After the final coat, let everything cure for at least 24 hours before reassembling. This ensures your hard work lasts for years to come.
Step 7: Put It All Back Together
Reassembling your transformed cabinets is the crowning moment of your project. To ensure a flawless finish:
1. Confirm the paint is fully cured – Rushing can lead to dents and smudges, compromising your hard work. Refer to the paint instructions for dry times.
2. Replace hardware – Consider upgrading to new handles or knobs to complement your fresh cabinet color, adding a modern touch.
3. Hang doors evenly – Use a level to align the cabinet doors, adjusting the hinges for a uniform appearance. This step is crucial for both aesthetic and functional purposes.
4. Reattach drawers and doors – Start from the bottom and work your way up. This strategy prevents leaning over freshly installed parts, minimizing the risk of accidental paint damage.
5. Test movement – Ensure that doors and drawers open smoothly. Tighten or loosen hinges as needed for optimal operation.
6. Last adjustments – Step back and inspect for any out-of-place elements. Minor tweaks now can make a big difference in the overall look.
Enjoy the refreshed and revitalized heart of your home, paying attention to these details for an end result that is not only striking but also harmonious and functional.
How Do I Choose the Right Paint Color?
Selecting the perfect hue for your cabinets can redefine your space. To ensure a choice you’ll love long-term, consider the following points:
1. Assess Your Kitchen’s Palette: Analyze existing colors in your countertops, backsplash, appliances, and flooring. Aim for a paint shade that complements these elements.
2. Factor in Lighting: Observe how both natural and artificial light play in your kitchen. Light can dramatically affect how a color appears. Test paint samples at different times of the day.
3. Reflect Your Style: Whether you prefer the timeless appeal of white, the modern edge of black, or the warmth of a bold color, let your personal style guide you.
4. Trends vs. Classics: Keep in mind current color trends but balance them with classic choices for a look that endures—one that you won’t tire of quickly or that won’t date your kitchen in a few years.
5. Size Matters: Lighter colors can make a small kitchen feel larger, while darker tones add sophistication but may be better suited for larger spaces.
6. Finish: Decide on the finish, from matte to high-gloss. Remember that glossy finishes can highlight imperfections, while matte finishes may be better at hiding them.
By considering these factors, you’re more likely to choose a color that not only looks great but also creates the desired atmosphere in your kitchen.
How Much Does It Cost and How Long Does It Take to Paint Kitchen Cabinets?
Painting kitchen cabinets offers a cost-effective way to transform your space without the expense of a full remodel. A DIY approach to painting cabinets can range between $200 to $600, depending on the quality of materials you select. Hiring professionals will increase the cost to anywhere from $1,200 to $6,000, influenced by factors such as cabinet size, labor rates, and complexity of the project.
Timewise, the process typically spans 4 to 7 days. The duration can fluctuate based on the size of your kitchen, the number of cabinets, and the drying time required between coats of primer and paint. Planning your project around these timeframes ensures you’ll have a usable kitchen promptly and helps to manage expectations around project completion.
Cabinet Refacing Vs. Painting
When deciding between refacing and painting your cabinets, consider the following key differences:
1. Definition: Refacing involves replacing doors, drawer fronts, and hardware, then applying new veneer to the cabinet boxes. Painting simply means covering the existing surfaces with a new color of paint.
2. Cost: Refacing typically costs significantly more than painting due to the materials and labor involved.
3. Time: Painting cabinets is a quicker process than refacing, which may involve custom-made components that can extend the project timeline.
4. Aesthetics: While painting offers a fresh look, refacing can completely change the style of your cabinets with a variety of material options like wood, laminates, or thermofoil.
5. Durability: Quality paints can be long-lasting, but refaced cabinets might offer a longer lifespan, depending on the materials chosen.
6. Home Value: Both options can increase home value, but a full refacing project may offer a higher return due to its perceived higher-end change.
Ultimately, the choice depends on budget, desired outcome, and whether you’re looking for a simple refresh or a more dramatic transformation.
FAQ
Can I change the color of my cabinets?
Yes, you can change the color of your cabinets through a DIY painting project, giving your kitchen a completely new feel.
What is the cheapest way to change the color of cabinets?
The most affordable method to alter the color of cabinets is by refacing them, which entails stripping the current stain or paint and applying a new one or potentially using a stick-on veneer.
Can I just paint over my kitchen cabinets?
Yes, you can paint over your kitchen cabinets if they are made of wood, wood-laminate, or metal, but plastic laminate cabinets may not take the paint well and might require specific paints and techniques.
How much does it cost to change Colour of kitchen cabinets?
The cost to change the colour of kitchen cabinets typically averages around $5,000 for a medium-sized kitchen, although prices may vary between $3,000 to $10,000 depending on the complexity and scale of the project.
What kind of paint is most durable for kitchen cabinets?
Acrylic enamel paint is considered the most durable for kitchen cabinets.
How can one prepare kitchen cabinets for painting?
To prepare kitchen cabinets for painting, you should begin by removing hardware, cleaning surfaces, filling any dents or gaps with wood filler, sanding the surfaces smooth, and then applying a layer of primer.
Are there alternatives to painting for changing the color of kitchen cabinets?
Yes, alternatives to painting for changing the color of kitchen cabinets include staining, using contact paper, and installing cabinet veneers.


