Last updated on
In this how-to guide, you will learn practical steps to build your unique kitchen island.
Key takeaways:
- Measure accurately and plan the kitchen space for the island.
- Gather the necessary tools and materials for the project.
- Choose the right base cabinets and countertop material.
- Follow step-by-step instructions for assembly and installation.
- Consider both functionality and aesthetic when designing the island.
What's Inside
What You’ll Need
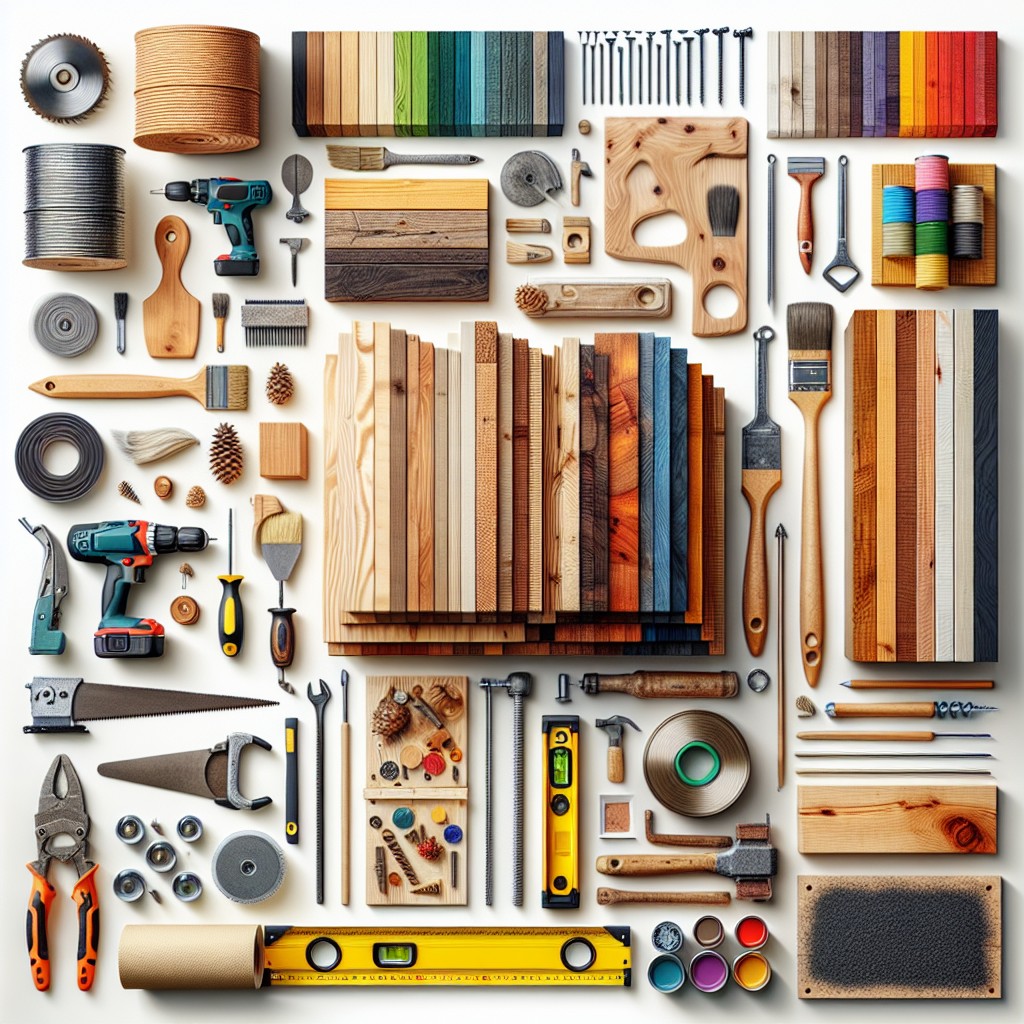
Equipping yourself with the right tools and materials is crucial for a successful kitchen island project. Let’s dive straight into what’s necessary for the build:
Equipment / Tools:
- Measuring tape: Precision is key for proper fit and function.
- Circular saw: An essential for cutting materials to size.
- Drill with bits: For assembling cabinets and attaching the countertop.
- Level: To ensure everything is perfectly horizontal and stable.
- Hammer or nail gun: For securing parts together.
- Safety glasses and gloves: Always prioritize personal protection.
Materials:
- Base cabinets: The core structure of your island.
- Countertop material: This could range from butcher block to granite, depending on your taste and budget.
- Screws and nails: For sturdy assembly.
- Wood filler: To seamlessly cover any nail holes or imperfections.
- Sandpaper: For smooth finishing touches on wood.
- Paint or stain: To match the island with the existing kitchen decor.
Select materials and tools that align with the complexity of your design and personal comfort with DIY projects. Preparation is the foundation of your island’s success.
Equipment / Tools
Before diving into the creation of your kitchen island, gathering the right equipment and tools is essential for a smooth process. You’ll be performing tasks ranging from measuring and cutting to assembling and finishing—each requiring specific tools for efficiency and safety.
Tape Measure: Precision is crucial, so a reliable tape measure will be your constant companion.
Circular Saw: For cutting pieces to size, a circular saw offers versatility and power.
Jigsaw: Perfect for cutting out custom shapes or curves if your design calls for it.
Drill with Bits: Assembling will involve drilling screw holes and possibly making openings for utilities.
Screwdriver Set: It’s always handy for tightening and adjusting various components.
Hammer or Nail Gun: Depending on your fastening preferences for molding or trim.
Level: Ensures all parts of your island are perfectly horizontal and plumb.
Clamps: To hold materials in place while you work—like an extra set of hands.
Sander or Sandpaper: Smoothens edges and surfaces for a professional finish.
Safety Gear: Safety goggles and gloves protect against splinters and sawdust.
While these are just the basics, your specific design might call for other specialized tools—always tailor your toolkit to the project at hand. Stay organized and keep your workspace clear to not only work smarter, but also to work safer.
Materials
Selecting the right materials is crucial for the durability and appearance of your kitchen island. Here’s a condensed view of what you might consider:
- Base Cabinets: Prefabricated or custom-designed to serve as the island’s framework.
- Countertop Material: Choices range from laminate to granite, considering your budget and desired aesthetic.
- Hardware: Pulls, knobs, and hinges that complement your kitchen’s design theme.
- Building Supplies: Plywood or MDF for any additional structural support and side panels.
- Finishing touches: Paint or stain to match your existing cabinetry, plus sealant for natural stone countertops.
- Electrical Supplies: Outlets and wiring if you plan to incorporate electricity.
- Fixtures: Sinks or cooktops require specific materials and additional plumbing or gas lines.
Your choices here will define the island’s functionality and integrate it with the overall kitchen style.
Instructions
Begin by taking precise measurements of your kitchen to ensure the island won’t obstruct any pathways. Mark out the projected footprint with painter’s tape to visualize the space it will occupy. With the dimensions in hand, sketch a basic layout, including any desired features like a sink, cooktop, or storage.
The next step involves selecting and preparing cabinets that will form the base of your island. Standard base cabinets are a popular choice due to their ready-made structure. Secure the cabinets together to create a solid base, being sure to level and anchor them to the floor.
Finally, focus on the island’s top surface. Choose a countertop material that complements your kitchen’s style and fits the island frame. Cut the countertop to size, if necessary, and fix it onto the cabinets. Ensure the overhang is even on all sides for a balanced look and to provide comfortable seating areas if desired.
With the structural aspect complete, you may opt to install additional elements like electrical outlets for convenience or decorative panels for a more finished appearance. Remember that every choice should marry both function and form to create an island that’s not only a focal point but a productive addition to your kitchen space.
Measure the Kitchen Space
Ensuring you have enough room to move efficiently is crucial when you embark on adding an island to your kitchen. Start by delineating a clear path around where your new fixture will reside. Adhering to the recommended clearances—about 36 to 48 inches between the island and any cabinets or appliances—will facilitate a comfortable workflow and safe movement.
Grab a tape measure and jot down the dimensions of your kitchen, noting both the width and length. Consider door swing paths and the proximity to major appliances when visualizing your island placement. Remember, it’s not just about fitting the island in; you’ll want to maintain an uncluttered atmosphere conducive to culinary activities and social gatherings.
Mapping out the space on the floor with painter’s tape can offer a tangible reference for your proposed island’s footprint, highlighting how it will harmonize with the room’s flow. And think vertically too—check for any hanging fixtures or vents that could intersect with your island’s height.
As you measure, keep in mind that this isn’t just a functional element but a potentially prominent focal point for your kitchen. Balance is key so that the island doesn’t overwhelm the space nor seem insignificant within it. With careful measurement and thoughtful consideration to spacing, your kitchen island can blend seamlessly with the room’s dynamics.


