Last updated on
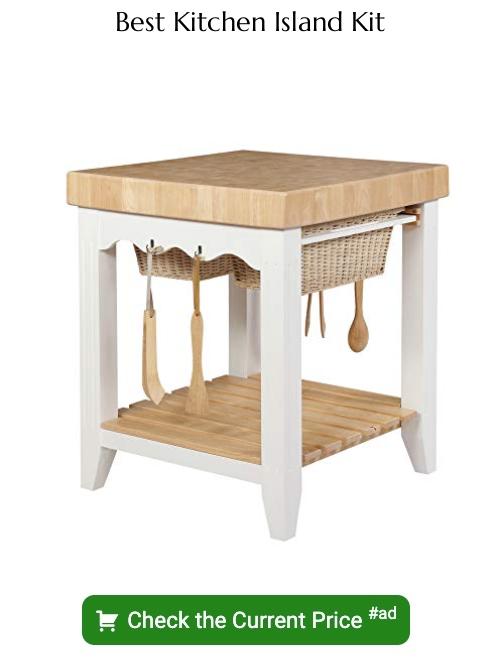
Learn how to create your own kitchen island with simple, step-by-step instructions and practical tips.
Key takeaways:
- Aim for at least 42 inches of clearance for a well-sized island.
- Consider island function: prepping, cooking, dining, storage, social hub.
- Choose materials wisely: wood, countertops, hardware, finishes, adhesives and fasteners.
- Build a sturdy base from 2x4s, with careful measurements and snug joints.
- Install the countertop carefully, ensuring levelness and alignment with the base.
What's Inside
Island Size

When planning your DIY kitchen island, proportions are key. A well-sized island enhances functionality without overpowering the space.
As a rule of thumb, aim for at least 42 inches of clearance on all sides to ensure easy movement. For small kitchens, a narrow island can provide valuable workspace while maintaining an open feel.
Standard counter height is 36 inches, but consider a higher bar-style island if you prefer standing while prepping food.
For those envisaging seating, factor in legroom—about 24 inches width per stool—and an overhang of at least 12 inches to tuck in chairs.
Compact kitchens benefit from mobile carts or small, square islands that provide utility without the clutter.
Remember, an island should improve your kitchen’s efficiency, not become an obstacle.
Island Function
Functionality shapes the design of any DIY kitchen island. Primarily, consider the activities it will support:
- Prepping: An island tailored for food preparation needs a durable and easy-to-clean surface. Materials like butcher block or stainless steel are ideal for chopping and slicing without damaging the island.
- Cooking: Planning to install a cooktop? Ensure there’s proper clearance for appliances and include heat-resistant materials and ventilation in your design.
- Dining: If doubling as a dining area, the height must accommodate seating comfortably, with enough legroom and space for diners to pull out chairs without hitting the surrounding cabinetry.
- Storage: Incorporate cabinets, drawers, or open shelving for extra storage. Think about what needs storing—from pots and pans to small appliances—and tailor the space accordingly.
- Social Hub: For islands that become a family gathering spot, consider space for interaction. This could mean a wider countertop overhang to allow for bar stools and casual seating.
- Specialized functions: Tailor the island for unique needs, such as baking centers with built-in flour bins or marble slabs for rolling dough.
Each function demands specific design features and dimensions. Balancing these elements will ensure the DIY island fits seamlessly into the kitchen’s workflow.
DIY Kitchen Island Materials
Selecting the right materials is key to building a kitchen island that’s both functional and aesthetically pleasing. Here’s what you need to consider:
1. Wood: Commonly used for the base, choose a type that complements your kitchen cabinetry. Hardwoods like maple or oak are durable and can be stained or painted for a customized look.
2. Countertops: For the work surface, granite, quartz, butcher block, or stainless steel are popular choices, each offering a unique appearance and varied durability.
3. Hardware: Opt for quality drawer slides and hinges that can handle the island’s usage. Cabinet pulls or knobs should match the overall style of your kitchen.
4. Finishes: Water-resistant paints and stains will protect the wood and keep your island looking fresh. Consider also the sheen level, from matte to high gloss, based on preference and wear considerations.
5. Adhesives and Fasteners: Use construction-grade adhesives and screws for a sturdy build. Be sure to select fasteners suitable for the materials you’ve chosen to avoid corrosion.
Remember, the choice of materials will impact not just the island’s functionality and longevity, but also the budget, so choose wisely to strike a balance between cost and quality.
Build an Island Base From 2x4s
Crafting your island’s base with 2x4s is a solid choice for a robust and cost-effective foundation. It’s essential, though, to ensure stability and support for the countertop and any additional weight.
To start, sketch your base frame, taking into account the overall dimensions of your island and the inclusion of any shelves or cabinets.
When you’re ready to build:
- Cut your 2x4s to the desired lengths based on your sketch, including pieces for the top frame, bottom frame, and vertical supports.
- Assemble the top and bottom frames separately, using wood screws and corner braces to secure the joints for added durability.
- Stand the vertical supports upright and connect the top and bottom frames at each corner, creating a box shape – think of it as the skeleton of your island.
- To prevent wobbling, install cross braces between the vertical supports; this not only ensures the base’s rigidity but also offers potential storage options or the possibility of integrating drawers or shelves later on.
For enhanced functionality, consider leaving space at one end of the base as a niche for bar stools or as open shelving to store frequently used items. With the base structure complete, you’re ready to move on to cabinet installation or attaching your countertop. Remember, precise cuts and snug joints make for a sturdier island base, prepared to bear the weight of kitchen endeavors.
Install Countertop
Selecting the right countertop for your DIY kitchen island hinges on both your budget and style preferences. Typically, options range from butcher block to granite, with each offering distinct advantages. Butcher block, for instance, adds warmth and is ideal for chopping tasks, while granite provides a durable and heat-resistant surface.
For installation, begin by ensuring the base structure is level—it’s the key to a perfectly fitted countertop. Use shims beneath the base if necessary to achieve this. Following the level check, attach the countertop using a combination of adhesives for grip and screws for security, inserted from underneath for a clean finish.
Always perform a “‘dry fit'” before securing, to confirm the countertop aligns properly with the base. Avoid common pitfalls by measuring for any overhang, usually 1 to 1 1/2 inches beyond the base, to provide adequate knee space and to balance the island aesthetically.
Finally, if you’re opting for heavy materials like stone, ensure your base can support the weight, reinforcing it if necessary, and consider bringing in an extra pair of hands to help with the placement—it’s essential to prevent damage to both the countertop and the island base during installation.


