Last updated on
Explore our simple and effective steps to clean your kitchen chimney, enhancing its efficiency and keeping your cooking space smoke-free.
Cleaning the kitchen chimney may not be the most glamorous task, but it is an essential one to ensure a clean and healthy cooking environment. A dirty chimney not only affects the efficiency of your exhaust system but also poses a fire hazard.
So, if you’re ready to roll up your sleeves and give your kitchen chimney some much-needed TLC, you’ve come to the right place! In this article, we’ll guide you through the step-by-step process of cleaning your kitchen chimney effectively and effortlessly. Trust me, with our handy tips and tricks, you’ll have that sparkling clean chimney in no time! Let’s get started!
What's Inside
“Understanding Kitchen Chimneys”

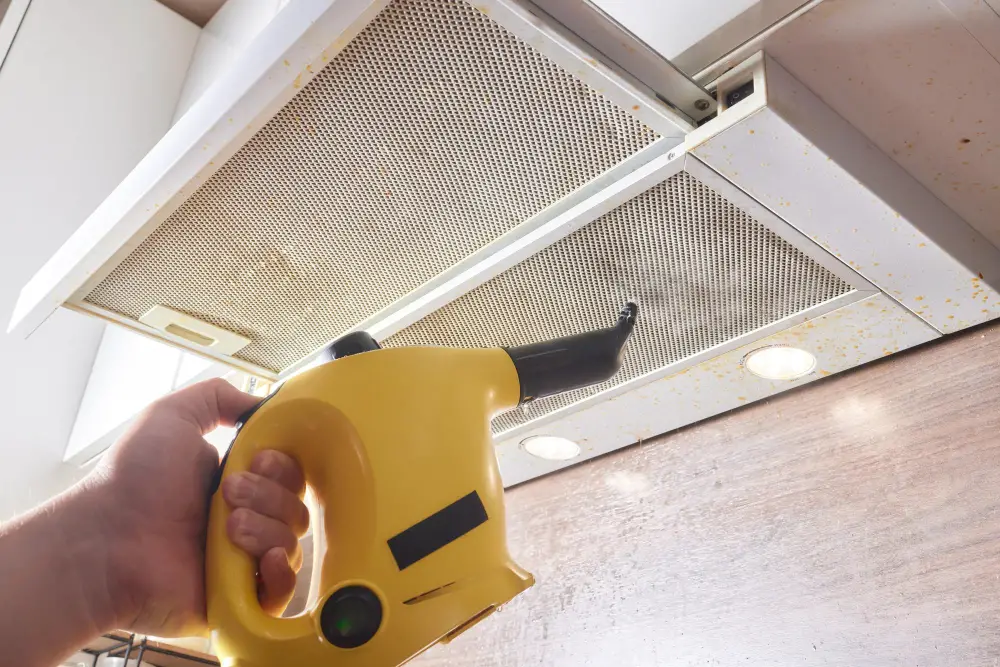
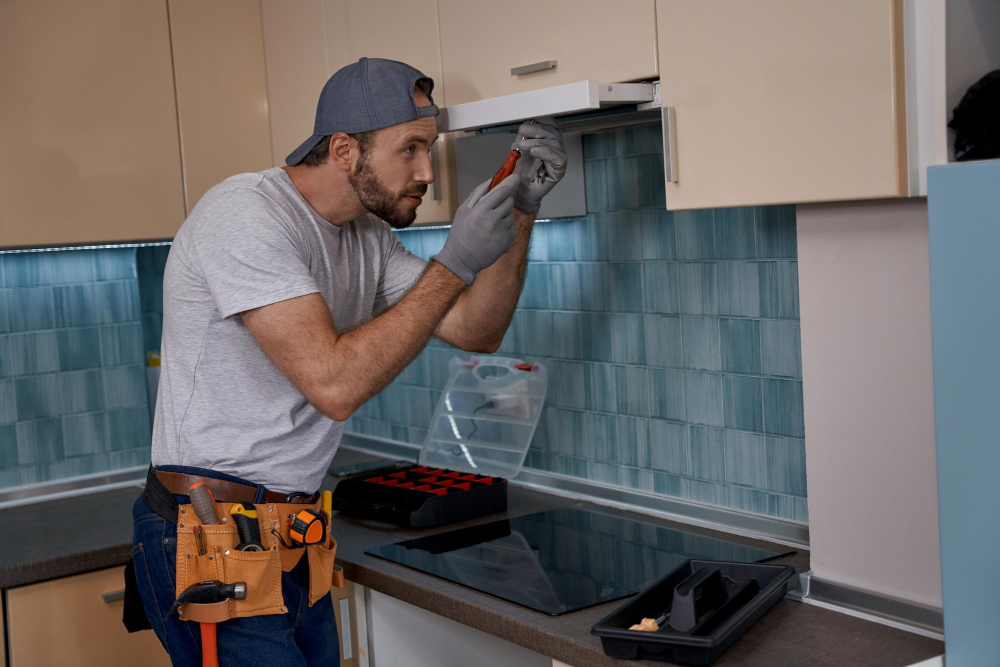
Before we dive into the nitty-gritty of cleaning your kitchen chimney, it’s important to have a basic understanding of what exactly a kitchen chimney is and how it works. A kitchen chimney, also known as an exhaust hood or range hood, is an appliance installed above your cooktop or stove that helps remove smoke, odors, grease particles, and other airborne pollutants generated during cooking.
Kitchen chimneys consist of three main components: the hood (also called canopy), filters (usually made of aluminum or stainless steel), and a motorized fan. The hood captures the fumes and smoke rising from your cookware while cooking.
These captured particles are then filtered through one or more layers of mesh filters inside the chimney before being expelled outside through ducts by means of a powerful fan.
Understanding how these components work together will give you better insight into why regular cleaning is crucial for maintaining optimal performance. Over time, grease buildup can accumulate in both the filters and inner surfaces of the chimney itself.
This not only reduces its efficiency but also poses potential fire hazards due to clogged vents.
“Importance of Cleaning Your Kitchen Chimney”

As we continue our journey into the world of chimney cleaning, let’s delve deeper into why regular maintenance is so important.
Over time, your kitchen chimney accumulates grease, oil residue, and other particles from cooking. These substances can clog the filters and reduce the airflow capacity of your exhaust system.
A dirty chimney not only hampers its performance but also increases the risk of fire hazards due to built-up grease deposits.
Moreover, when your kitchen chimney isn’t functioning optimally, it fails to effectively remove smoke and odors from your cooking area. This can lead to unpleasant smells lingering in your home long after you’ve finished preparing meals.
By regularly cleaning your kitchen chimney as part of routine maintenance, you ensure that it operates at peak efficiency while keeping harmful pollutants out of circulation within your living space. It also helps extend the lifespan of both mechanical components like motors or fans as well as non-mechanical parts such as filters or ducts.
“When to Clean Your Kitchen Chimney”
Over time, grease, oil, and other residues can accumulate in the chimney’s filters and hood, reducing its ability to effectively remove smoke and odors from your kitchen. So how do you determine when it’s time for a thorough cleaning?
One key indicator that your kitchen chimney needs cleaning is reduced suction power. If you notice that the exhaust fan isn’t pulling out smoke or steam as efficiently as before, it may be due to clogged filters or a dirty hood.
If you start experiencing lingering smells in your kitchen even after cooking with proper ventilation, it could be an indication of a buildup inside the chimney.
Another factor to consider is usage frequency. If you’re an avid cook who uses the stove frequently or cooks dishes with high oil content regularly (such as deep-frying), then chances are that your chimney will require more frequent cleaning compared to someone who cooks occasionally.
It’s also important to keep track of any visible signs of dirt or grime on the exterior surfaces of the hood or filters. Grease stains accumulating over time not only affect aesthetics but can also attract dust particles which further hinder performance.
“Frequency of Chimney Cleaning”
While it may vary depending on factors such as cooking habits, fuel type, and usage intensity, a general guideline can help you stay on track.
Consider how often you use your kitchen and the type of cooking methods employed. If you’re an avid cook who uses oil or spices frequently, it’s advisable to clean your chimney every three months.
This regular maintenance will ensure that grease buildup doesn’t compromise its efficiency.
On the other hand, if your kitchen sees less action or if you primarily use electric appliances instead of gas stoves with open flames, cleaning once every six months should suffice. However, keep in mind that even infrequently used chimneys can accumulate dust over time due to environmental factors like humidity or nearby construction work.
It’s important not to overlook signs indicating when a cleaning is overdue: excessive smoke while cooking despite proper ventilation adjustments or unpleasant odors lingering in your kitchen are clear indicators that it’s time for some deep-cleaning action!
“Pre-Cleaning Preparations”
These pre-cleaning steps will help you get organized and minimize any potential mess or damage.
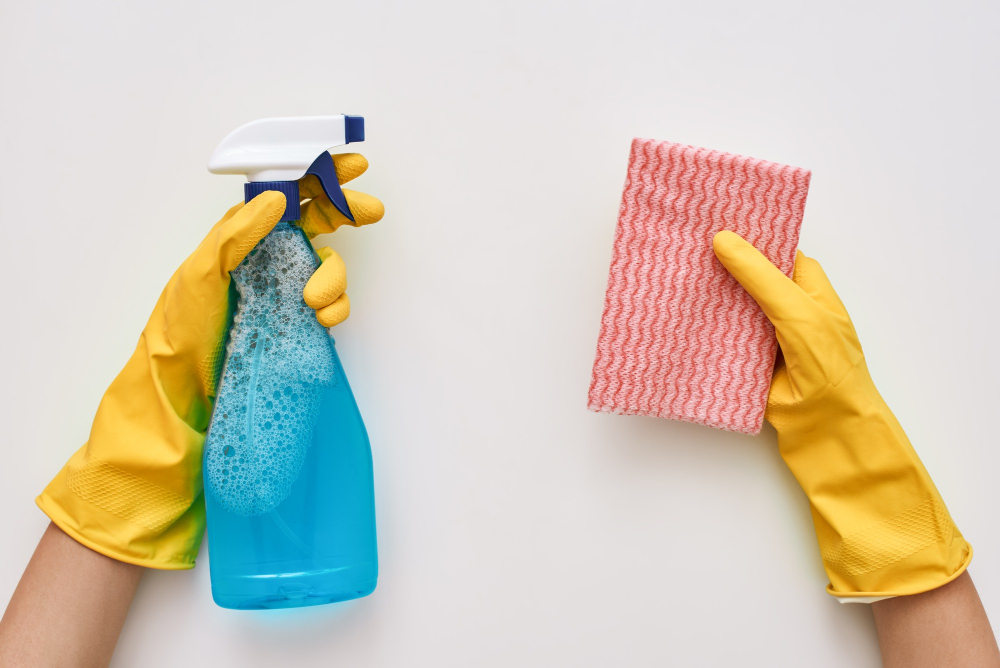
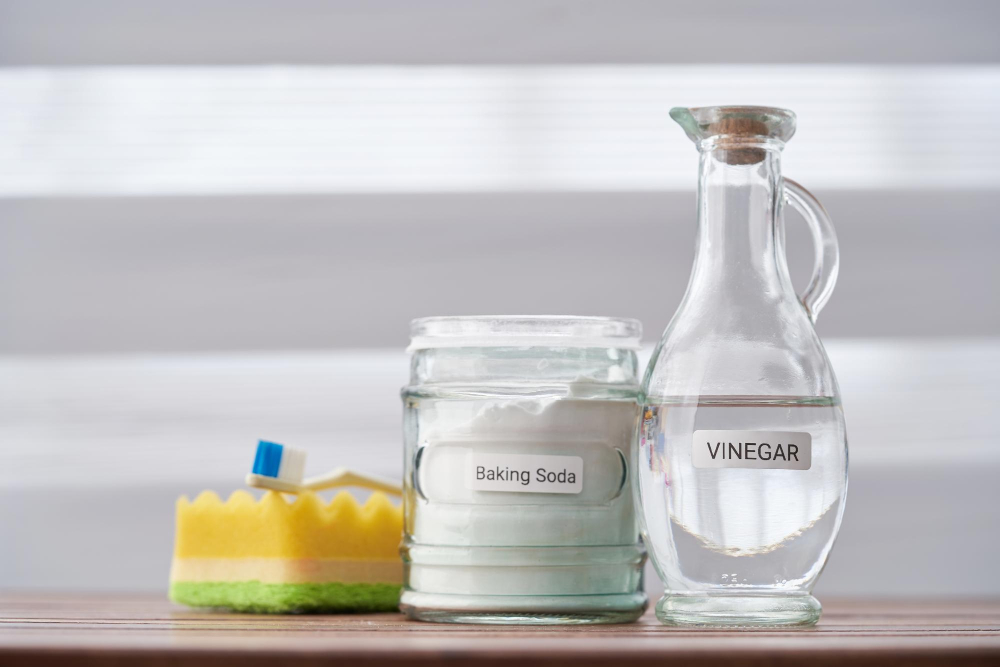
Firstly, gather all the necessary tools and supplies for the task. You’ll need gloves to protect your hands, old newspapers or drop cloths to cover your kitchen countertop and floor, a sturdy ladder if required for accessing higher parts of the chimney, as well as cleaning agents like vinegar or dishwashing liquid depending on your preferred method.
Next, switch off the power supply connected to your kitchen chimney. This step is crucial for safety reasons since you’ll be working with water during certain stages of cleaning.
To avoid any accidental spills or splatters on nearby surfaces while disassembling components of the chimney hood (such as screws), it’s advisable to place an old towel underneath them before starting. This will catch any loose debris that may fall during disassembly.
Lastly but importantly – protect yourself! Wear comfortable clothing that covers exposed skin areas adequately. Cleaning can sometimes be messy work so wearing clothes that you don’t mind getting dirty is recommended.
“Tools Required for Cleaning Kitchen Chimney”
These tools will make the cleaning process easier and more efficient, ensuring that every nook and cranny of your chimney is thoroughly cleaned. Here are the must-have tools for cleaning your kitchen chimney:
1. Screwdriver: A screwdriver will come in handy when it’s time to disassemble the various parts of your chimney for thorough cleaning.
2. Cleaning Brush: Invest in a good-quality brush with sturdy bristles that can reach into tight spaces and remove stubborn grease and grime from the hood, filters, and other components.
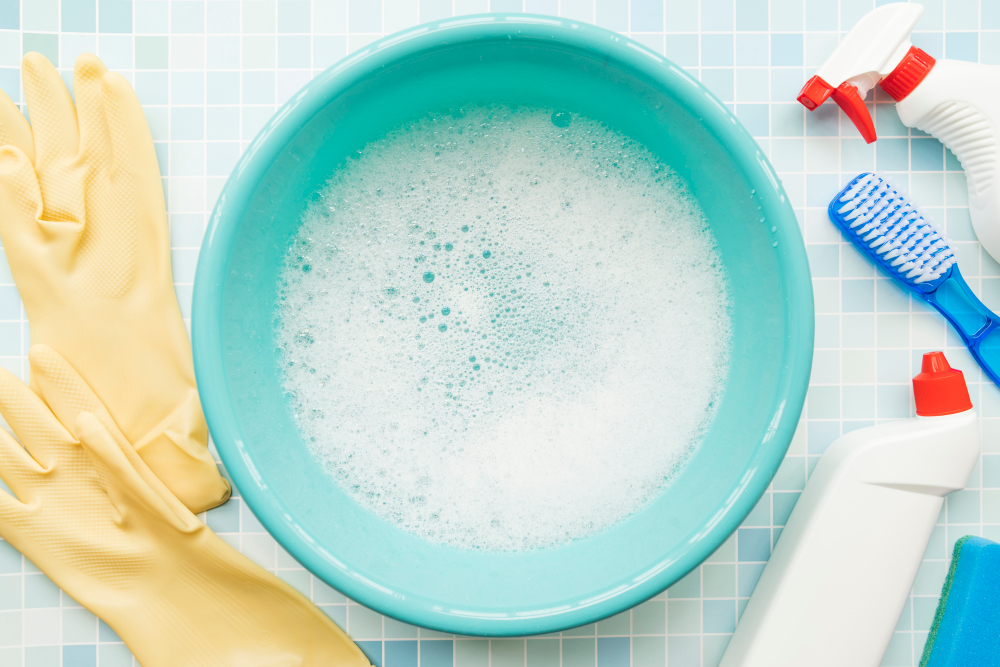
3. Bucket or Basin: You’ll need a bucket or basin filled with warm water mixed with mild dishwashing liquid to soak removable parts like filters before scrubbing them clean.
4. Microfiber Cloth or Sponge: Use these soft materials to wipe down surfaces after scrubbing away dirt and grease from different parts of the chimney.
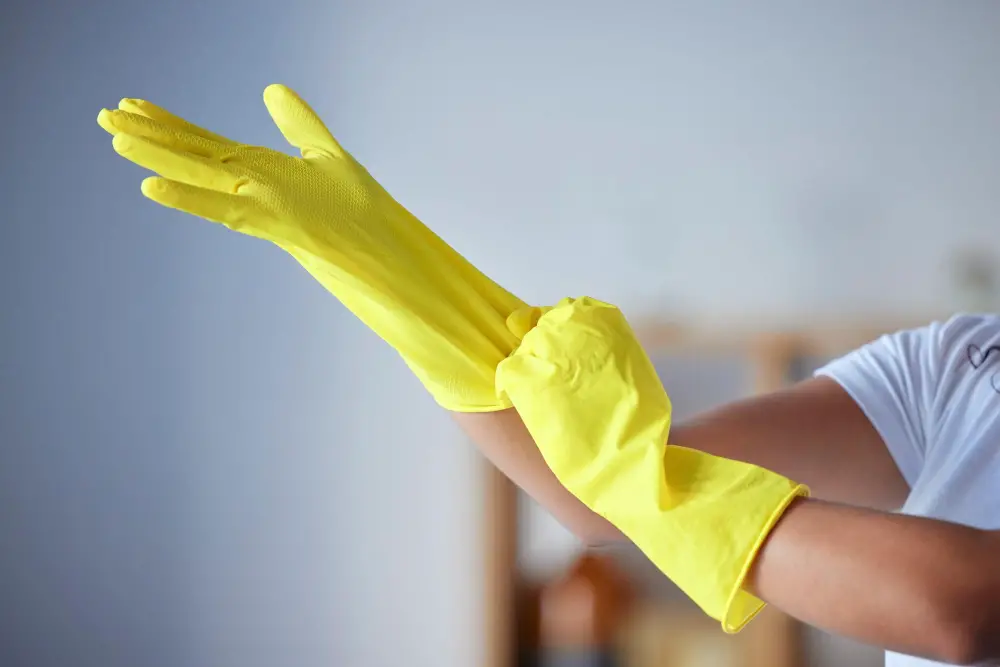
5. Gloves: Protecting your hands is crucial while dealing with chemicals or hot water during certain stages of cleaning; therefore, wearing gloves is highly recommended.
6. Safety Goggles/Mask/Apron (Optional): While not mandatory but advisable for added safety measures during deep-cleaning sessions as they protect against any splashes or fumes that may occur while using strong cleaners.
“Disassembling the Chimney”
This step is crucial as it allows you to access all areas of your chimney for a thorough clean.
Start by turning off the power supply to your kitchen chimney. Safety should always be a priority when working with electrical appliances.
Next, carefully remove any decorative covers or panels that may be attached to your chimney hood.
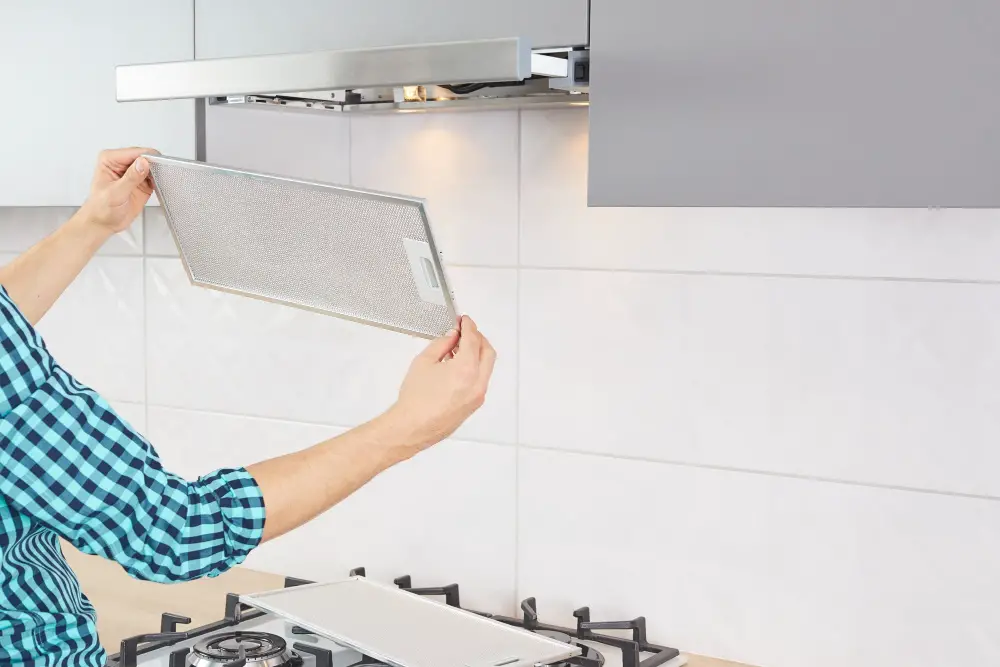
Most chimneys have removable grease filters that need regular cleaning. These filters are usually located inside the hood and can be easily accessed by unlocking or unscrewing them.
Gently detach these filters from their housing and set them aside for later cleaning.
In some cases, there might also be additional components such as baffles or charcoal filters present in certain types of chimneys. Referencing your manufacturer’s manual will help you identify if any further disassembly is required before proceeding with cleaning.
Remember, each model may have its own unique design and assembly method, so take note of how each component fits together during disassembly – this will make reassembling much easier later on!
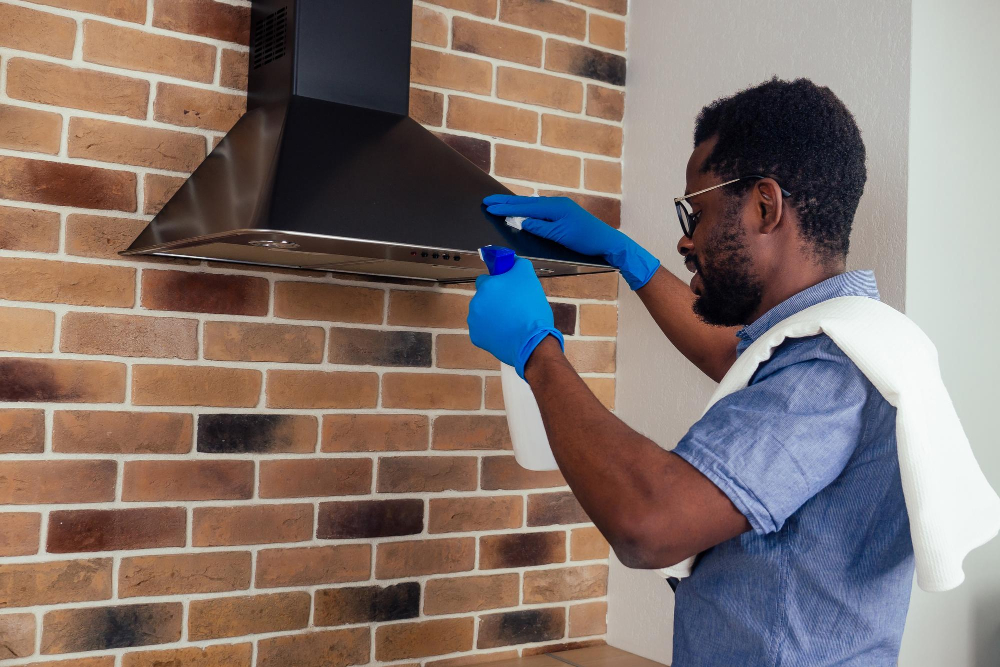
“Cleaning the Chimney Hood”
The hood is the visible part of the chimney that hangs above your stove and captures all the grease, smoke, and odors generated during cooking.
To begin with, make sure you have a clean cloth or sponge handy along with a mild detergent solution. Gently wipe down the exterior surface of the hood to remove any loose dirt or grime.
Pay special attention to areas where grease tends to accumulate such as around buttons or knobs.
Next, inspect for any stubborn stains or greasy residue that may require extra attention. For these tough spots, mix some baking soda with water until it forms a paste-like consistency.
Apply this paste onto those areas using a soft brush and let it sit for about 10-15 minutes before scrubbing gently in circular motions.
Remember not to use abrasive cleaners or harsh chemicals as they can damage the finish of your chimney hood. Stick to gentle cleaning agents like dishwashing liquid mixed with warm water if needed.
Once you’ve thoroughly cleaned both sides of your chimney hood and removed all traces of dirt and grime, rinse off any remaining soap residue using clean water. Wipe dry with a soft cloth ensuring there are no damp spots left behind.
“Cleaning the Chimney Filters”
The filters play a crucial role in trapping grease, oil, and other particles that can accumulate over time. Cleaning them regularly ensures optimal performance and prevents any potential blockages.
To clean the chimney filters effectively, start by removing them from the hood or casing. Depending on your chimney model, you may have either metal or mesh filters.
Metal filters are usually dishwasher-safe while mesh ones require manual cleaning.
For metal filters: Place them in a sink filled with warm water and add some dishwashing liquid or vinegar for extra grease-cutting power. Let them soak for about 15-20 minutes to loosen up any stubborn residue.
Then use a soft brush or sponge to gently scrub away the dirt and grime from both sides of the filter until they appear clean.
For mesh (or baffle) filters: Fill a basin with warm water mixed with dishwashing liquid or vinegar as well. Submerge each filter into this solution and allow it to soak for around 30 minutes so that accumulated grease loosens up further before cleaning manually using gentle scrubbing motions.
After thoroughly washing both types of chimneys’ respective filter types under running water until all soap residue is gone ensure they’re completely dry before reassembling everything back together again according to manufacturer instructions provided in their user manual guidebook accompanying purchase package when initially bought new appliance unit at store retailer outlet where purchased item was acquired originally sold during sale transaction process conducted between buyer customer consumer purchaser shopper client individual person acquiring product goods merchandise items article commodity wares chattel property asset possession acquisition procurement obtainment buying purchasing transactional exchange agreement deal negotiation settlement contract arrangement understanding pact covenant compact treaty entente bond concordat stipulation accord consensus mutual consent meeting of minds harmony unity cooperation collaboration partnership alliance association relationship connection link affiliation tie-up liaison interaction communication rapport bonding solidarity support assistance aid help backing encouragement guidance direction mentorship coaching counseling tutoring advising.
Remember, cleaning the chimney filters should be done regularly to maintain their efficiency. A good rule of thumb is to clean them at least once every month or as recommended by the manufacturer.
“Dealing With Stubborn Stains”
After disassembling and cleaning the hood and filters of your chimney, it’s time to address any stubborn stains that may have accumulated over time.
One common culprit for stubborn stains is grease buildup. To combat this, mix equal parts of baking soda and water to create a paste-like consistency.
Apply this mixture directly onto the stained areas using a soft brush or sponge. Let it sit for about 15-20 minutes before gently scrubbing away the stain in circular motions.
For tougher stains that refuse to budge, you can try using vinegar as an alternative solution. Vinegar’s acidic properties work wonders in breaking down grease and grime.
Simply dampen a cloth or sponge with white vinegar and rub it onto the stained surface until the mark starts fading away.
If neither baking soda nor vinegar does the trick, consider investing in specialized chimney cleaning products available on the market specifically designed for removing tough stains from chimneys.
Remember always to follow manufacturer instructions when using any chemical-based cleaners or products on your kitchen chimney surfaces as they may vary depending on their composition.
By addressing these stubborn stains head-on during your regular cleaning routine, you’ll ensure that not only is your kitchen chimney functioning optimally but also looking its best!
“Common Cleaning Methods”
There are several common cleaning methods that you can choose from, depending on your preference and the level of grime accumulated in your chimney.
One popular method is using vinegar. Vinegar is a natural cleaner that effectively cuts through grease and removes stubborn stains.
Mix equal parts of white vinegar and water in a spray bottle, then generously spray this solution onto the surfaces of your chimney hood and filters. Allow it to sit for a few minutes before scrubbing with a soft brush or sponge.
Rinse thoroughly with warm water afterward.
Another effective option is baking soda. Create a paste by mixing baking soda with some water until it forms a thick consistency.
Apply this paste onto greasy areas or stained spots on both the hood and filters, gently scrubbing them clean using circular motions with either an old toothbrush or sponge.
Dishwashing liquid can also be used as an alternative method for cleaning kitchen chimneys effectively without causing any damage to its components. Dilute dishwashing liquid in warm water according to package instructions, then use this solution along with a soft cloth or sponge to wipe down all surfaces of your chimney thoroughly.
For more heavy-duty cleaning tasks where grease buildup may be excessive, paint thinners can come in handy but should be used cautiously due to their strong chemical nature; always follow safety precautions mentioned on product labels when handling such substances. Caustic soda (sodium hydroxide) is another powerful option for deep-cleaning purposes but requires extra caution during usage due to its corrosive properties; ensure proper ventilation while working with caustic soda solutions as they emit fumes that could irritate eyes and skin if exposed directly.
Lastly, detergent powder mixed into warm soapy water provides an effective yet gentle way of removing dirt from various parts like hoods & filters without causing any harm to the chimney’s surface.
Remember, regardless of the cleaning method you choose, always follow manufacturer guidelines and safety precautions.
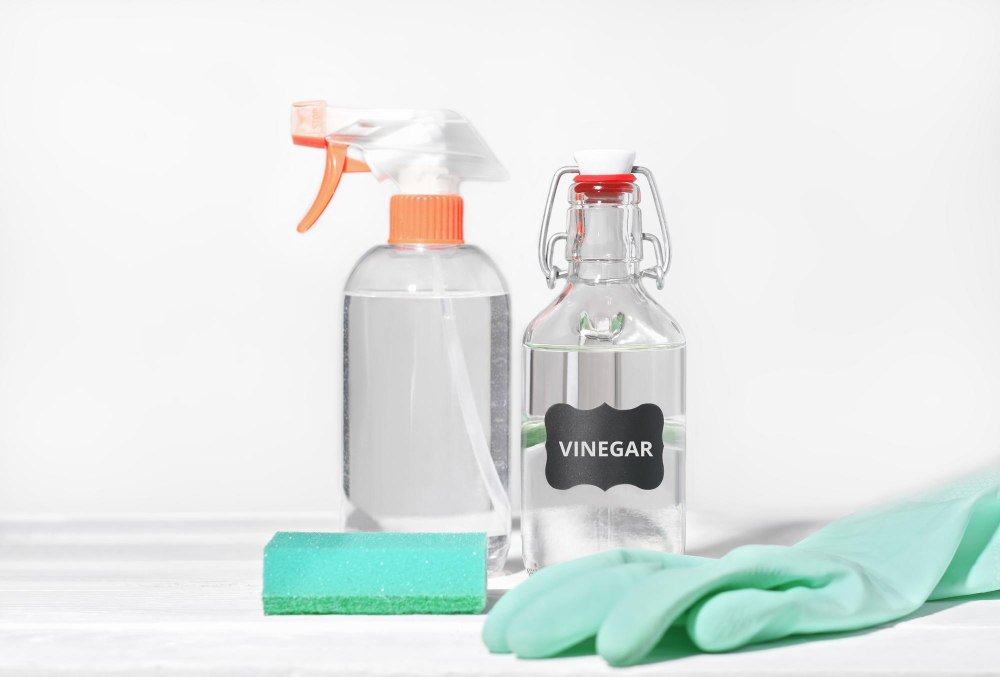
“Using Vinegar for Chimney Cleaning”
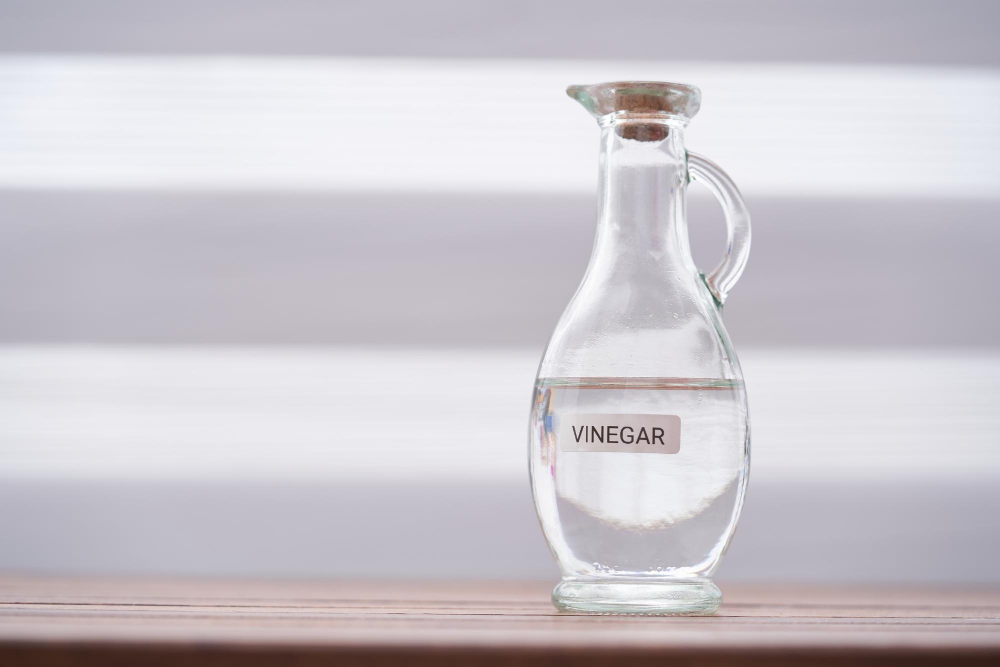
Its acidic properties make it an effective solution for cutting through grease and grime that accumulate over time. Plus, vinegar is non-toxic and environmentally friendly.
Once you have disassembled the chimney hood and filters as per our previous instructions, it’s time to tackle the cleaning process using vinegar. Start by diluting white distilled vinegar with equal parts of water in a spray bottle or a bucket.
Next, generously spray or apply the diluted vinegar solution onto all surfaces of the chimney hood and filters. Let it sit for about 10-15 minutes to allow the acidity of vinegar to break down stubborn residue effectively.
Afterward, use a soft brush or sponge dipped in warm soapy water (mild dishwashing liquid works well) to scrub away any remaining dirt or grease from both sides of each filter panel thoroughly. Rinse them under running water until no traces of soap are left behind.
For metal chimneys with visible stains or discoloration caused by heat exposure over time, you can create a paste using baking soda mixed with enough white distilled vinegar until you achieve toothpaste-like consistency. Apply this paste onto affected areas using a cloth or sponge and gently rub in circular motions before rinsing off thoroughly.
“Using Baking Soda for Chimney Cleaning”
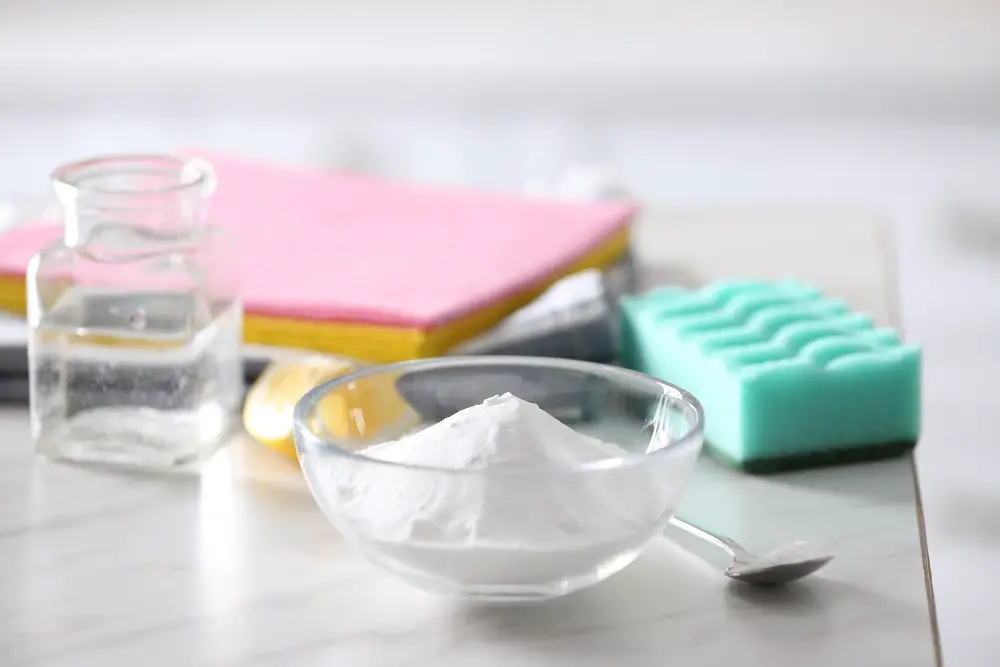
This common household ingredient is not only great for baking but also works wonders when it comes to removing grease, grime, and odors from your chimney.
To begin with, take a small bowl and mix equal parts of baking soda and water to create a thick paste. This paste will act as a powerful cleaning agent that can cut through stubborn stains on metal surfaces without causing any damage.
Next, apply the baking soda paste onto all visible areas of your chimney hood using a soft brush or sponge. Make sure to cover every nook and cranny where grease tends to accumulate over time.
Allow the mixture to sit for about 15-20 minutes so that it can penetrate deep into the dirt.
Afterward, use warm water or vinegar solution (a mixture of equal parts white vinegar and water) along with a clean cloth or sponge to wipe away the loosened grime from your chimney hood thoroughly. Rinse off any residue left behind by wiping again with plain warm water.
For filters made out of aluminum mesh or baffle filters in particular – which tend to get clogged easily – you can soak them in hot soapy water mixed with some baking soda overnight before giving them a gentle scrubbing in order remove accumulated oil residues effectively.
Once you’ve cleaned all components using this method, rinse everything well under running tap water until there are no traces left behind from either soap or cleaning agents used during this process. Remember always read manufacturer instructions before attempting any DIY maintenance on appliances like chimneys as they may have specific recommendations regarding suitable cleaners.
“Using Dishwashing Liquid for Chimney Cleaning”
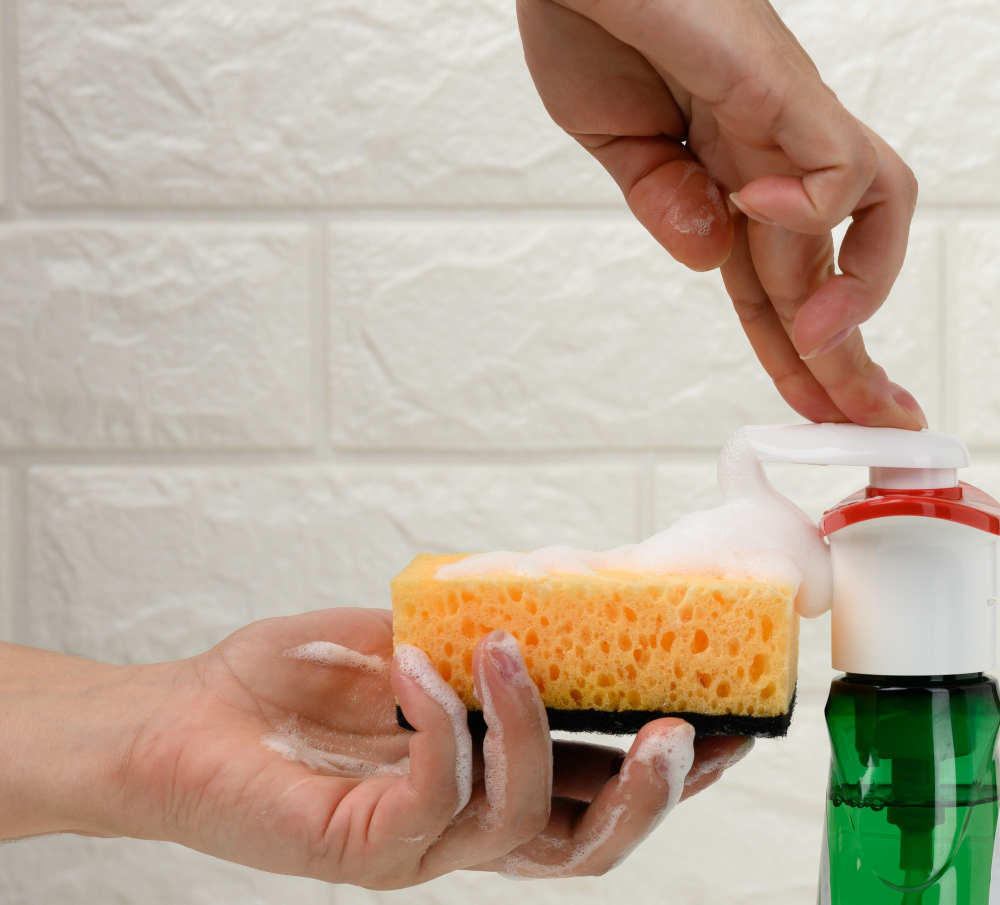
This common household item is not only effective in cutting through grease and grime but also gentle enough to protect the surface of your chimney.
After disassembling the various parts of your chimney as mentioned earlier, it’s time to tackle those stubborn stains and accumulated dirt. Take a bucket filled with warm water and add a few drops of dishwashing liquid into it.
Mix well until you create a soapy solution.
Now, take a soft sponge or cloth and dip it into the soapy solution. Gently scrub all the surfaces of your chimney hood, filters, and any other removable parts that require cleaning.
Pay special attention to areas where grease tends to accumulate.
The dishwashing liquid will help break down tough stains while removing any lingering odors from cooking fumes that may have been absorbed by the surfaces over time.
Once you’ve thoroughly cleaned each component with the soapy solution, rinse them off under running water until all traces of soap are gone. Make sure not to leave any residue behind as this could affect both performance and hygiene.
Allow all components ample time for air-drying before reassembling them back into place within your kitchen chimney structure. Remember: always follow manufacturer guidelines when handling specific materials or finishes on different types of chimneys.
“Using Paint Thinners for Chimney Cleaning”
One effective option is using paint thinners. Paint thinners contain powerful solvents that can effectively dissolve grease and grime buildup on the surfaces of your chimney.
To begin, make sure you have all the necessary safety equipment such as gloves and goggles to protect yourself from any potential harm. Then, carefully disassemble the different parts of your chimney according to the manufacturer’s instructions.
Next, take a clean cloth or sponge and dampen it with paint thinner. Gently scrub away any stubborn stains or residue on both the hood and filters of your chimney.
The solvent in paint thinner will help break down tough grease deposits for easier removal.
After thoroughly cleaning each component with paint thinner, rinse them off with warm water to remove any remaining residue or odor from the solvent. Allow them to air dry completely before reassembling everything back together.
It’s important to note that while using paint thinners can be effective in removing stubborn dirt from your kitchen chimney, they should be used sparingly and only when other milder methods have failed. Always follow proper safety precautions when handling these chemicals as they can be flammable if not handled correctly.
By incorporating this method into your regular maintenance routine for kitchen chimneys along with other suitable techniques mentioned earlier like vinegar or baking soda solutions – you’ll ensure a clean and efficient exhaust system that keeps smoke at bay while cooking up delicious meals!
“Using Caustic Soda for Chimney Cleaning”
It’s important to exercise caution when using this strong chemical.
Before you begin, make sure you have protective gloves and goggles on to shield yourself from any potential splashes or fumes. Start by diluting the caustic soda in water according to the manufacturer’s instructions.
Remember, always add the caustic soda to water and not vice versa.
Once your solution is ready, carefully apply it onto the greasy areas of your chimney hood and filters using a brush or sponge. Allow it to sit for a few minutes so that the caustic soda can penetrate through layers of dirt.
Afterward, scrub gently with a non-abrasive brush or sponge until all traces of grime are removed. Rinse thoroughly with clean water multiple times until there are no remnants of caustic soda left behind.
It’s crucial to note that while effective in removing tough stains, excessive use of caustic soda may damage certain materials such as aluminum or delicate finishes on your kitchen chimney components. Always test this method on an inconspicuous area first before applying it extensively.
“Using Detergent Powder for Chimney Cleaning”
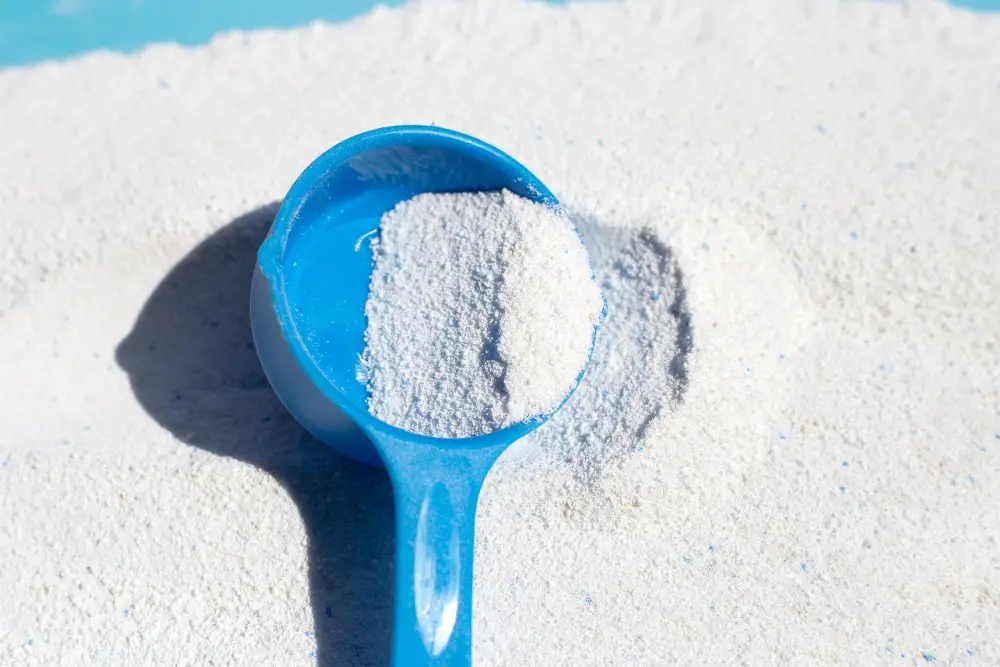
This versatile cleaning agent is readily available in most households and can work wonders in removing grease, grime, and stubborn stains from your chimney surfaces.
To begin the process, make sure you have disassembled the chimney as per our earlier instructions. Once you have access to the individual parts of the chimney hood and filters, take a small amount of detergent powder on a damp cloth or sponge.
Gently scrub all visible surfaces of the hood with this soapy solution. Pay extra attention to areas that are prone to accumulating grease buildup such as around vents or near cooking zones.
The detergent’s powerful degreasing properties will help break down any oily residue effectively.
Next up is tackling those greasy filters! Dip them into a bucket filled with warm water mixed with some detergent powder for about 15-20 minutes. Afterward, use a soft brush or sponge to gently scrub away any remaining dirt particles from both sides of each filter.
Once you’re satisfied that all parts have been thoroughly cleaned using detergent powder, rinse them well under running water until no traces of soap remain. Allow everything to air dry completely before reassembling your kitchen chimney according to our previous instructions.
Remember not only does regular cleaning keep your kitchen environment healthy but also ensures optimal performance from your beloved appliance!
“Reassembling the Chimney”

Reassembling the chimney may seem like a daunting task, but with our guidance, you’ll breeze through it effortlessly.
Start by referring to any notes or pictures you took during the disassembly process. This will help ensure that each part is placed in its correct position.
Begin by reattaching the filters and securing them tightly.
Next, carefully align and reconnect any ductwork or pipes that were disconnected earlier. Make sure they are properly sealed to prevent any air leaks.
Now comes the crucial step of reattaching the hood or canopy of your kitchen chimney. Align it correctly with all necessary screws and bolts in place before tightening them securely.
Take a moment to double-check all connections and fittings for stability before moving on to testing your newly assembled kitchen chimney.
“Quality Check After Cleaning”

This step is crucial as it guarantees that your efforts have paid off and that your chimney will function optimally.
Start by turning on the exhaust fan and observing its performance. Check if there are any unusual noises or vibrations coming from the motor or fan blades.
A smooth operation without any strange sounds indicates a job well done.
Next, inspect the airflow by holding a tissue near each vent of the chimney hood while it’s running. The tissue should be drawn towards the vents with ease, indicating good suction power.
If you notice weak airflow or no movement at all, double-check if all components are properly installed and aligned.
Examine both internal and external surfaces for any remaining dirt or residue after cleaning. Wipe down these areas using a clean cloth dampened with mild soapy water if necessary.
Lastly, don’t forget to test out different speed settings on your kitchen chimney control panel (if applicable) to ensure they’re functioning correctly.
By conducting this post-cleaning quality check diligently, you can rest assured knowing that your kitchen chimney is now clean inside out – ready for efficient smoke extraction during cooking sessions!
“Maintenance Tips for Kitchen Chimney”
Regular maintenance not only prolongs the lifespan of your chimney but also ensures its efficient performance. Here are some valuable tips for maintaining your kitchen chimney:
1. Check and Clean Filters: The filters in your kitchen chimney play a crucial role in trapping grease and other particles from the cooking fumes.
It is recommended to clean or replace these filters every 2-3 months, depending on usage.
2. Wipe Down Exterior Surfaces: Over time, the exterior surfaces of your chimney can accumulate dust and grime as well.
Use a soft cloth dampened with mild soapy water to wipe down these surfaces regularly.
3. Inspect for Damage: Periodically inspect all components of the kitchen chimney for any signs of damage or wear and tear such as loose screws, cracks, or broken parts.
Addressing these issues promptly will prevent further damage.
4.Clean Grease Traps: Some chimneys have built-in grease traps that collect excess oil and grease from cooking vapors before they reach the exhaust system; make sure you clean them regularly according to manufacturer instructions.
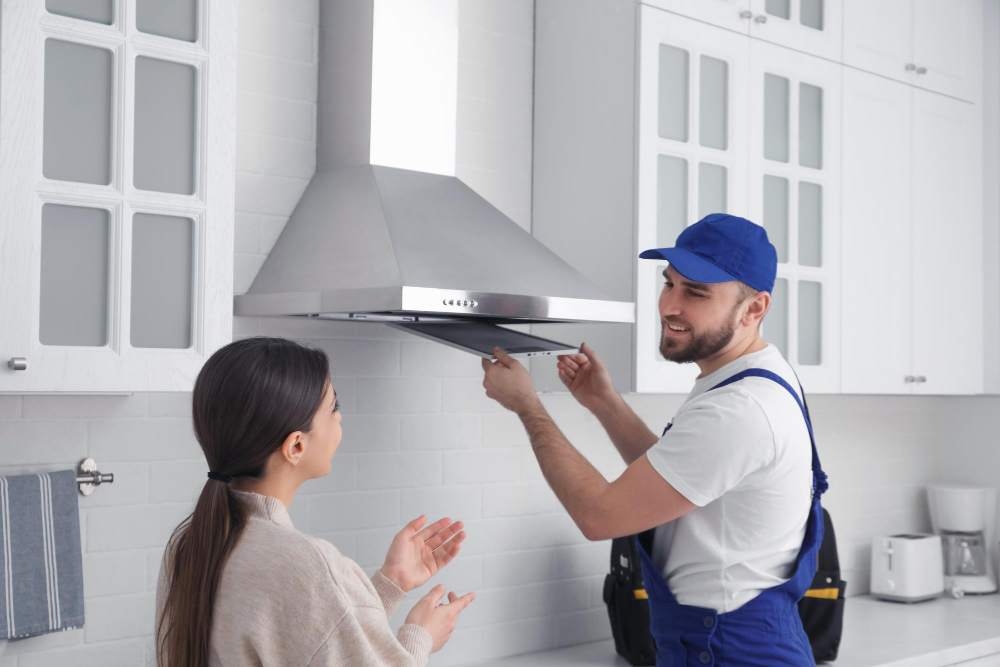
5.Schedule Professional Servicing: While regular cleaning can be done by homeowners themselves, it is advisable to schedule professional servicing at least once a year for thorough inspection and deep cleaning by experts who specialize in this field.
By following these simple yet effective maintenance tips consistently over time, you’ll ensure that your kitchen remains free from smoke while extending the life expectancy of your beloved appliance.
FAQ
Is it OK to clean your own chimney?
Yes, it is acceptable to clean your own chimney if you have the right tools and knowledge about the proper sweeping procedure and the necessity of an annual chimney inspection.
Can you clean a chimney from the bottom or top?
Yes, a chimney can be cleaned from both the bottom, through the fireplace, and the top, from the roof, using a wire brush with an attached extension.
What tools are necessary for a comprehensive kitchen chimney cleaning?
Essential tools for a comprehensive kitchen chimney cleaning include a chimney brush, extension rods, dust mask, goggles, ladder, dust sheets or tarps, flashlight, and a vacuum cleaner.
How often should a kitchen chimney be cleaned to ensure optimal performance?
The kitchen chimney should be cleaned once every three to six months to ensure optimal performance.
What are some warning signs that your kitchen chimney needs cleaning?
Warning signs your kitchen chimney needs cleaning include excessive smoke, a strong burnt wood smell, poor fire performance, and a black soot buildup.


