Last updated on
Learn how to accurately measure for kitchen cabinets to ensure a perfect fit and avoid costly mistakes.
Key takeaways:
- Draw floor plan accurately with doors, windows, and utilities.
- Record horizontal measurements, accounting for appliances and obstacles.
- Record vertical measurements, consider fixtures and clearances.
- Choose layout: U-shaped, L-shaped, galley, island, peninsula, or one-wall.
- Determine cabinets based on layout, appliances, and storage needs.
What's Inside
Draw Your Floor Plan

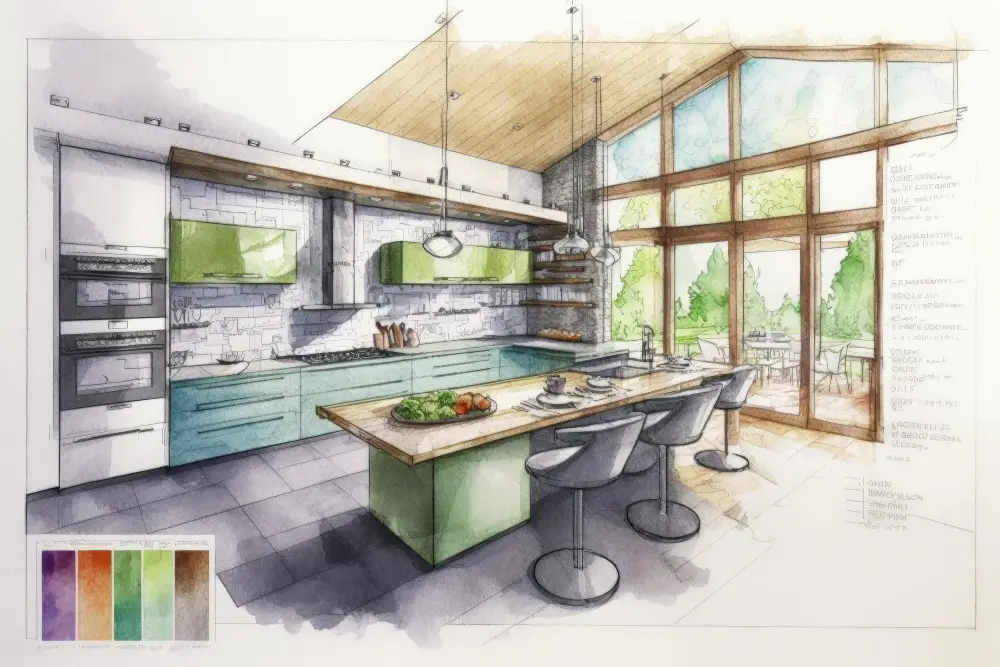
Begin with a clean sheet of graph paper to accurately plot the kitchen’s shape. Jot down all the immovable features: doors, windows, and any utility connections. These elements will affect where cabinets can be placed. As you sketch, maintain a consistent scale—for instance, one square to six inches—enabling a more precise visualization of how much space you actually have.
Remember to include any protruding baseboards or moldings in your drawing as they can alter the available space for your new cabinets. Use a straight edge to ensure lines are parallel and perpendicular, which reflects the true shape of your kitchen. This floor plan will become the foundation for all subsequent measurements and layout decisions.
Record Your Horizontal Measurements
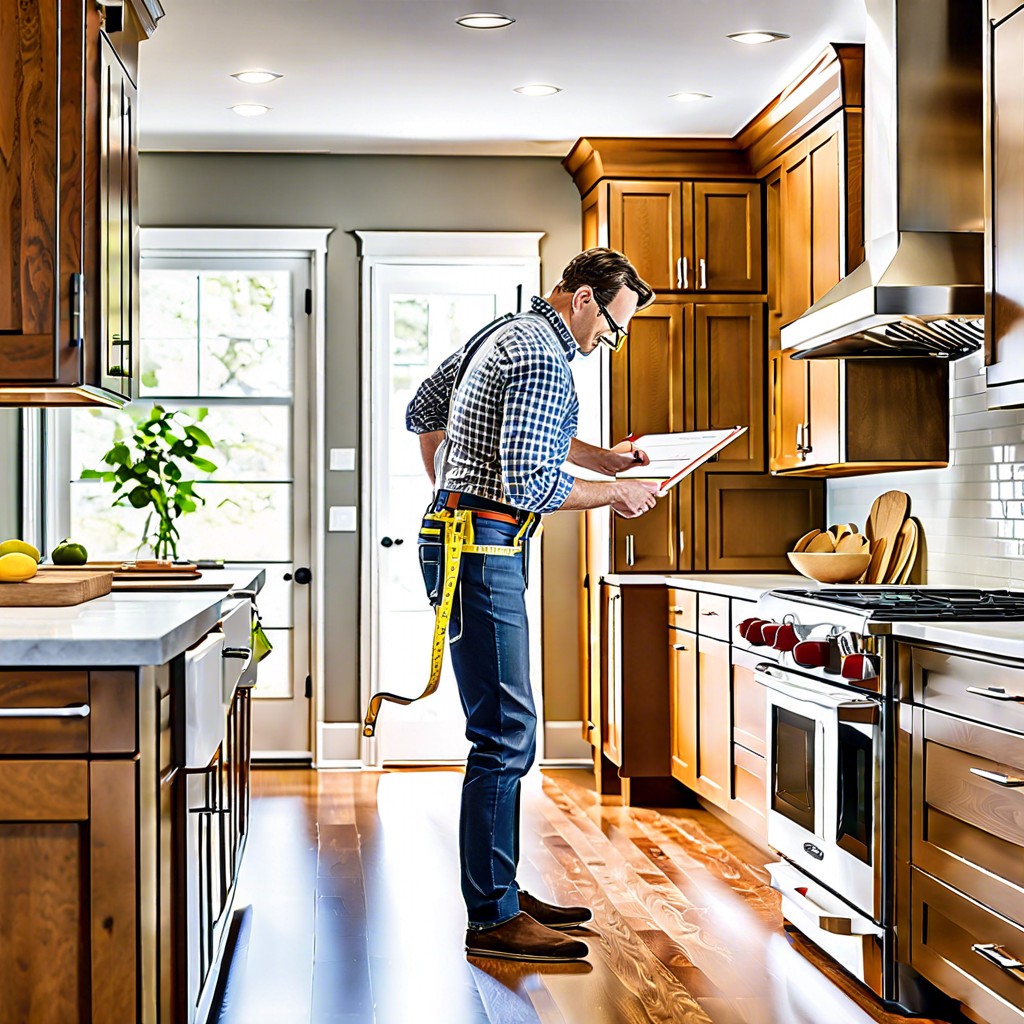
Begin by measuring the length of each wall, from corner to corner. Accuracy is key; even a small mistake can result in cabinets that don’t fit. Use a tape measure that’s long enough to span each wall in one stretch, ensuring a straight and precise read.
Don’t overlook the spaces for appliances and fixtures. Subtract these from your wall measurements to get the available space for cabinetry. For standard appliances, allocate 30 inches for a range, 24 inches for a dishwasher, and typically 36 inches for a refrigerator.
Measure the width of doors and windows, then add their trim to the total. This specificity ensures the cabinets won’t interfere with window openings or door swings. Record the distances of these features from the corners of the room, so you can plan clearance and ensure cabinet doors can open without obstruction.
Consider any obstacles, such as radiators or pipes, that could affect the placement and dimensions of cabinets. Allow a few extra inches for breathing space to avoid a cramped layout and to provide easier installation.
Finally, when it comes to corners, if you’re considering corner cabinetry options like lazy Susans or swing-out units, measure from the corner out to where you want the cabinet to end, keeping in mind that most corner cabinets require a filler strip to ensure the doors can open smoothly.
Record Your Vertical Measurements
Vertical measurements are critical to ensure your cabinets will fit between the floor and ceiling and around any fixed objects like windows. When taking vertical measurements:
- Measure from the floor to the ceiling at each corner of the space. Floors and ceilings can be uneven, so checking different areas avoids surprises.
- Note the height of existing fixtures, such as windowsills or backsplashes, to ensure new cabinets won’t interfere.
- If you’re planning to have cabinets above the sink or stove, consider the clearance needed for comfortable use.
- Check for any soffits or molding that could affect the cabinet’s fit and note their distances from the floor and ceiling.
Remember to always use a level when measuring; proper alignment is key to making sure your cabinets hang straight. Keep a detailed diagram with all of these measurements clearly indicated—it will be an invaluable reference as you move forward with your kitchen renovation.
Choose Your Kitchen Layout
Once you’ve taken your kitchen’s measurements, it’s time to consider layout options. This step profoundly influences the number and size of cabinets you can accommodate. Here are some common configurations:
- U-Shaped: Ideal for spacious kitchens, a three-walled layout encircles the cook with cabinets and appliances.
- L-Shaped: A versatile option for medium-sized areas, fitting nicely into a corner, offering efficient work triangle.
- Galley: Two parallel runs, a great choice for narrow spaces, providing plenty of cabinet storage without needing corner units.
- Island: Adds additional workspace and storage, perfect for open-plan living, but requires ample floor area.
- Peninsula: Similar benefits to an island but attached to a wall, suitable for medium-sized kitchens with open floor plans.
- One-Wall: A space-saving solution for small apartments or lofts, with all cabinets lined along a single wall.
Consider workflow and the classic “kitchen work triangle”, ensuring your fridge, stove, and sink are not too close to one another but remain easily accessible. The proper configuration maximizes functionality and optimizes movement while cooking or cleaning – a crucial aspect to a well-designed kitchen.
Determining The Cabinets For the Space
Once you’ve sorted out your measurements and settled on a layout, it’s time to match your vision with the right cabinetry. Start by figuring out where your appliances will go, as they are typically non-negotiable items in terms of space. Then, consider the work triangle principle, ensuring that the stove, sink, and refrigerator are laid out in an efficient pattern.
With the major fixtures in place, focus on base cabinets. These will be the workhorses of your kitchen, providing storage and serving as the foundation for countertops. Keep in mind that standard base cabinets are typically 24 inches deep and 34.5 inches tall. If you’re opting for a kitchen island, account for clearance space around it, ideally around 36 to 48 inches, to ensure a comfortable workflow.
Next, tackle the wall cabinets. They should complement the base cabinets in terms of style but also meet your storage needs. Wall cabinets are usually 12 inches deep and vary in height. If you’re going for an airy feel or have a stunning backsplash to showcase, consider leaving some wall space open.
Don’t forget the finish line – the countertops. They should overhang the base cabinets by about 1 to 1.5 inches to help protect the cabinets from spills and give a sleek look. For tall and pantry cabinets, you’ll need to assess your storage requirements. Usually, they extend from floor to ceiling, so be sure to measure the ceiling height accurately.
Finally, take stock of the “extras” or specialty cabinets such as corner cabinets, lazy Susans, or appliance garages. They can greatly increase functionality but require careful planning to fit into the overall scheme.
By carefully considering the role each type of cabinet plays, you can create a kitchen that’s both beautiful and highly functional.
Continue reading:


