Last updated on
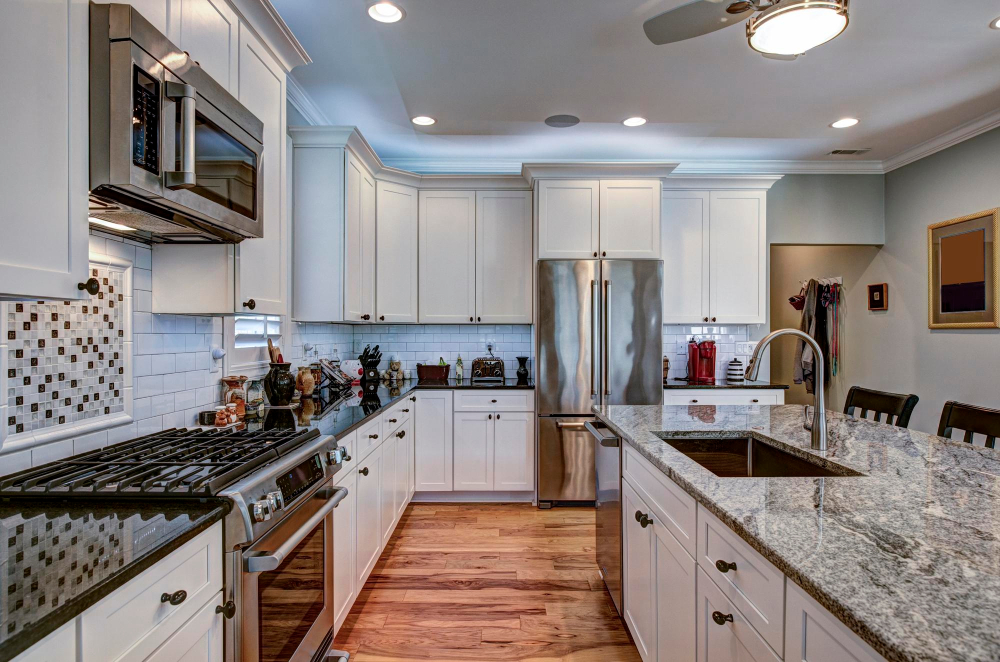
Discover the secrets to extending your kitchen cabinets all the way to the ceiling, maximizing storage space and transforming your kitchen’s aesthetic in this detailed guide.
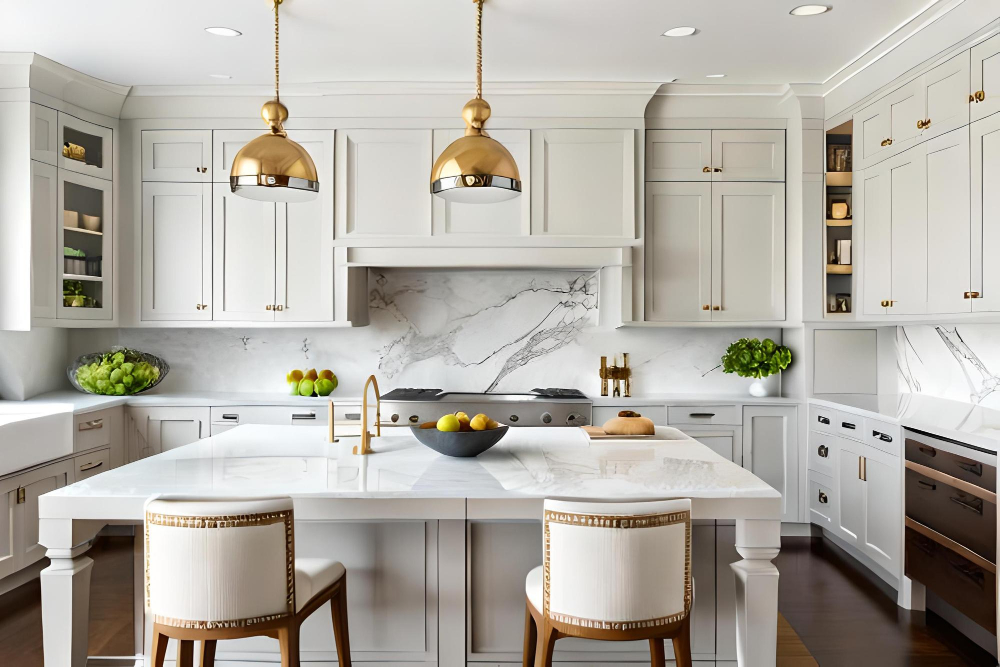
Are you looking for ways to maximize the storage space in your kitchen? One often overlooked area is the space above your cabinets. By extending your kitchen cabinets to the ceiling, you can create additional storage and give your kitchen a more polished look.
In this article, we’ll show you how to extend kitchen cabinets to the ceiling in a few simple steps. With just a bit of effort, you can transform your cluttered kitchen into an organized and stylish space that will make meal prep a breeze.
So let’s get started!
What's Inside
Assessing Cabinet Space

Before you begin extending your kitchen cabinets to the ceiling, it’s important to assess the space available. Take a look at your existing cabinets and determine if they have enough room for extension without interfering with any appliances or fixtures in your kitchen.
You should also consider how much storage space you need and whether extending all of your cabinets is necessary.
If you have limited cabinet space, then adding extensions can be an excellent way to increase storage capacity while keeping everything organized. However, if there isn’t enough clearance between the top of your current cabinetry and ceiling height or other obstacles like ductwork or lighting fixtures are present above them that could interfere with installation; then this may not be feasible.
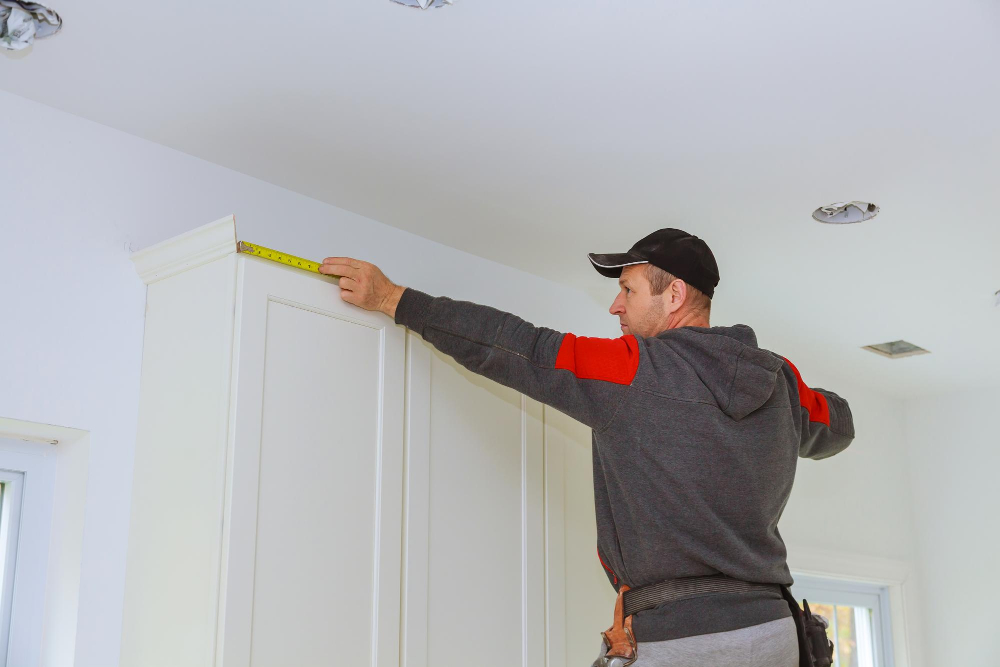
Measuring Ceiling Height

This will help you determine how much space you have to work with and what type of extension material will be needed. To measure, use a tape measure or laser level to get an accurate measurement from the top of your existing cabinets up to the ceiling.
It’s important that you take into account any crown molding or trim that may already be installed on top of your current cabinets when taking measurements. If there is existing molding, it may need to be removed before adding extensions.
Once you have measured and determined how much space there is between your current cabinet tops and ceilings, it’s time for choosing extension materials based on budget constraints as well as aesthetic preferences.
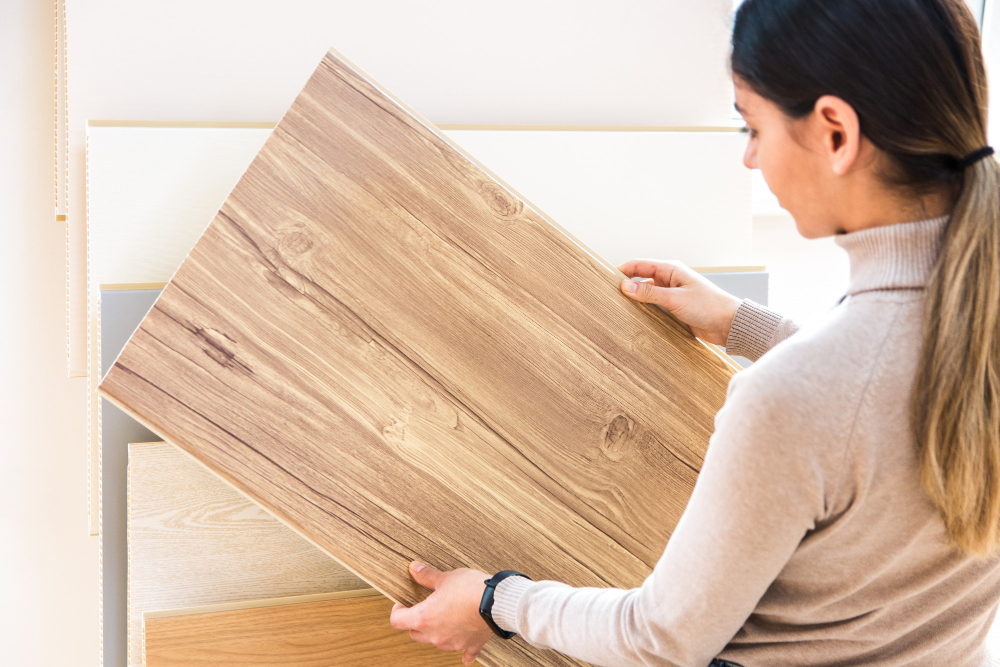
Choosing Extension Material
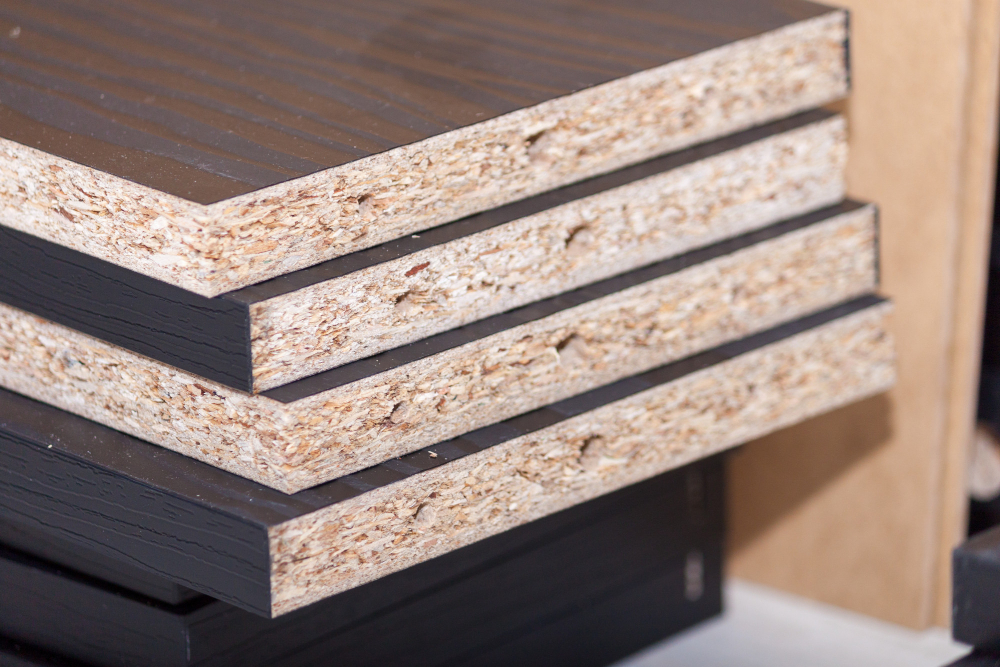
The most popular choices are wood and MDF (medium-density fiberboard). Wood is the more expensive option but offers durability and a natural look that many homeowners prefer.
MDF is less expensive than wood, but it’s also heavier and may require additional support when attaching to the ceiling.
Before choosing an extension material, consider your budget as well as the overall style of your kitchen. If you’re going for a rustic or traditional look, then wooden extensions might be best suited for you.
However, if modern minimalism is more up your alley then sleek white MDF panels could be just what you need.
Once you’ve decided on an extension material that suits both your budget and design preferences – make sure to measure twice before cutting! Accurate measurements will ensure that everything fits together seamlessly during installation.
Assessing the Space and Requirements

Start by taking a good look at your existing cabinets and measuring their height. This will help you determine how much additional material is needed for extension.
Next, consider what items you plan on storing in these newly extended cabinets. Will they be used for everyday dishes or seasonal items? Knowing what will go into these new spaces can help guide decisions about cabinet depth and shelf spacing.
It’s also important to take note of any obstacles that may hinder installation such as light fixtures or vent hoods above the current cabinetry. These factors can impact how high up extensions can be installed without interfering with other elements in your kitchen.
Choosing Between Double-stacked Cabinets and Overlay Panels
Double-stacked cabinets are exactly what they sound like – two sets of cabinetry stacked on top of each other. This option provides maximum storage space and a seamless look, but can be more expensive due to the need for additional cabinetry.
Overlay panels, on the other hand, are simply pieces of wood that extend from your existing cabinet up to the ceiling. They provide a similar aesthetic as double-stacked cabinets but at a lower cost since you don’t need any additional cabinetry.
Choosing between these two options ultimately depends on your budget and personal preference. If you have enough room in your budget and want maximum storage space with no visible seams or gaps between upper and lower sections, then double-stacked cabinets may be right for you.
However if cost is an issue or if there isn’t enough room above existing cabinetry for another set of full-sized cupboards then overlay panels might be better suited.
Preparing Cabinets for Extension
Start by removing all items from the top of your cabinets and cleaning them thoroughly. This will give you a clear view of what needs to be done and ensure that there is no dust or debris left behind.
Next, remove any crown moulding or trim from the top of your existing cabinets. You may also need to remove cabinet doors if they interfere with extending the cabinetry upward.
Once everything has been cleared away, inspect your existing cabinetry for any damage or wear-and-tear that could affect its ability to support an extension. If necessary, make repairs before proceeding with installation.
Measure and mark where you want each new cabinet piece installed on both sides of each cabinet box using a level line as reference point for accuracy during installation.
Cutting Extension Pieces
You can use a variety of materials for this step, including MDF or plywood. Make sure that the material you choose is sturdy enough to support the weight of your cabinets.
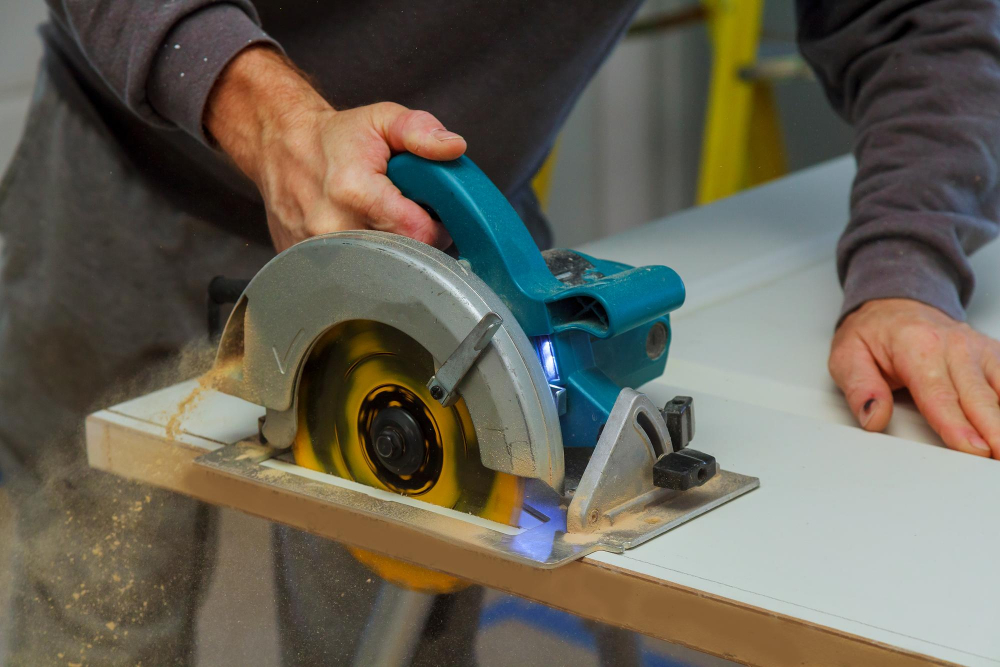
To begin cutting extension pieces, measure each section carefully and mark where cuts need to be made on your chosen material. Use a circular saw or jigsaw with a fine-toothed blade for precision cuts.
It’s important to take safety precautions when cutting extension pieces – always wear protective eyewear and gloves while using power tools. If possible, work in an open area with plenty of ventilation.
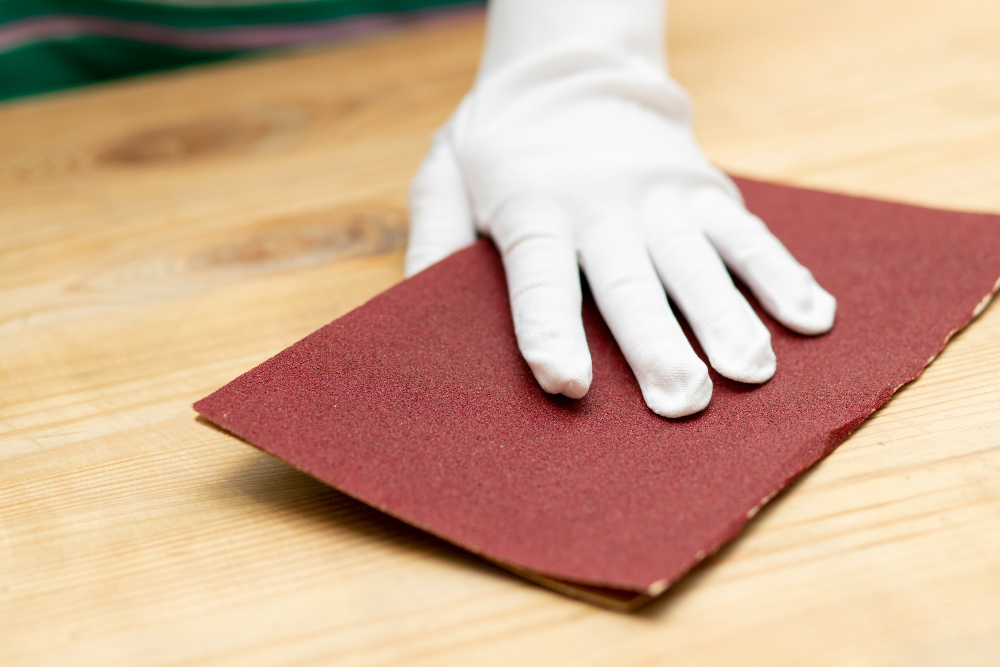
Once all necessary cuts have been made, sand down any rough edges before attaching them securely onto existing cabinets using wood glue and screws from inside the cabinet frames.
Attaching Extension Pieces
You can use a combination of screws and wood glue for added stability. First, apply a generous amount of wood glue along the edge of your cabinet where you will be attaching the extension piece.
Then place your extension piece on top and secure it with screws from inside the cabinet.
Make sure that each screw is driven in straight so that they don’t poke through or damage any part of your cabinets or walls. Use clamps to hold everything in place while drying if necessary.
If you’re using overlay panels instead, simply attach them directly onto existing cabinets with adhesive strips or nails depending on their weight and thickness.
Building Custom Cabinet Extensions
This option allows you to create cabinets that fit perfectly in your space and match the style of your existing cabinetry. To build custom cabinet extensions, start by measuring the height and width of the area where you want to install them.
Then, choose materials that match or complement your current cabinets.
Next, cut pieces for each side of the extension using a table saw or circular saw with a guide rail attachment for precision cuts. Attach these pieces together using wood glue and clamps before securing them onto existing cabinets with screws.
Once attached securely in place, sand down any rough edges before painting or staining as desired. Install doors on each new section if desired.
Installing Upper Cabinets

This is a crucial step in the process and requires careful attention to detail. Begin by measuring and marking where each cabinet will be installed on the wall.
Use a level to ensure that they are straight.
Next, locate studs in the wall using a stud finder or by tapping along until you hear a solid sound indicating wood behind drywall or plasterboard. Mark these locations with pencil lines so that you know where to attach your mounting screws.
With help from another person, lift each cabinet into place and secure them onto their respective studs using long screws through pre-drilled holes at back of cabinet frames (or use toggle bolts if there are no studs). Make sure all cabinets are level before moving on.
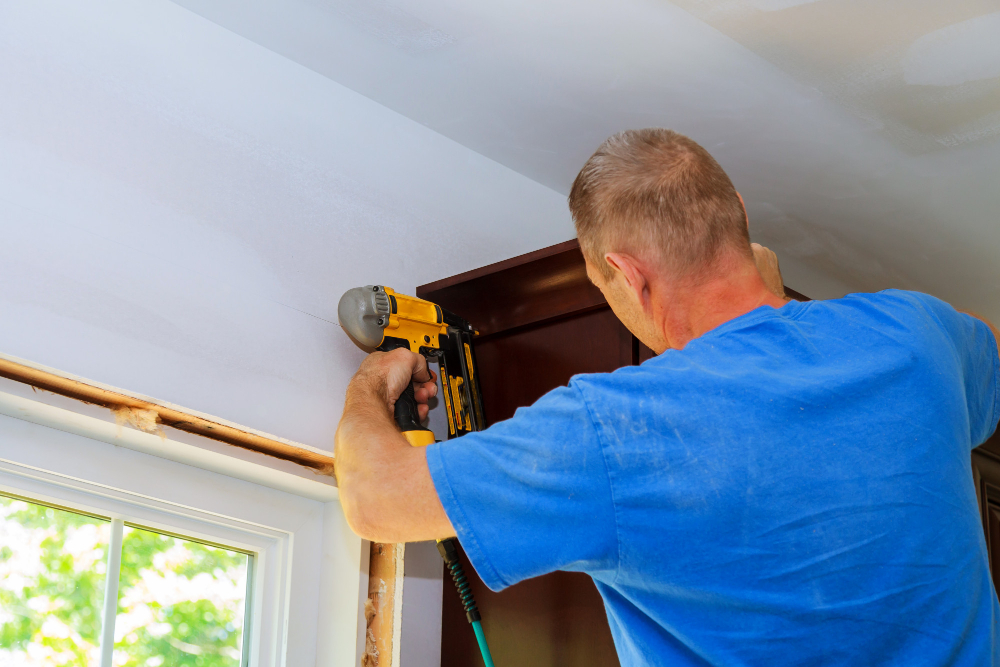
Adding Moulding and Trim
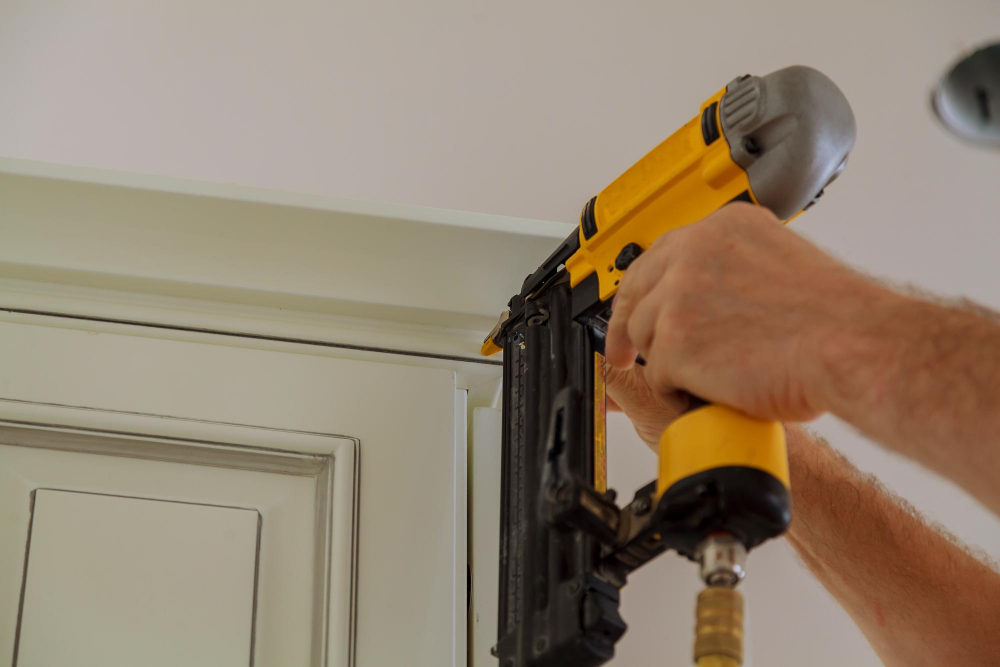
Moulding and trim come in various styles, from simple to ornate, so choose one that complements your kitchen’s aesthetic. Crown moulding is a popular choice for extending cabinets as it creates an elegant transition between the cabinet and ceiling.
Before installing any moulding or trim pieces, ensure that they are cut precisely to fit the space above your cabinets. You may need to use a coping saw or miter saw for this task.
When attaching crown moulding or other types of trim pieces, use wood glue along with finishing nails for added stability. Be sure not to overdo it with nails as too many can weaken the structure of your extension.
Painting and Finishing
This step is crucial in achieving a polished look that will make your kitchen feel brand new. Before painting, ensure that all surfaces are clean and dry.
Sand any rough spots or edges with fine-grit sandpaper for a smooth finish.
When choosing paint colors, consider the overall color scheme of your kitchen. Neutral tones like white or gray can create an airy feel while bold colors can add personality and depth.
For finishing touches, consider adding crown molding along the top of the cabinets for a seamless transition between cabinet and ceiling. You may also want to update hardware such as knobs or handles for a fresh look.
Remember to take safety precautions when painting including wearing protective gear like gloves and goggles as well as ensuring proper ventilation in your workspace.
Installing and Aligning Doors
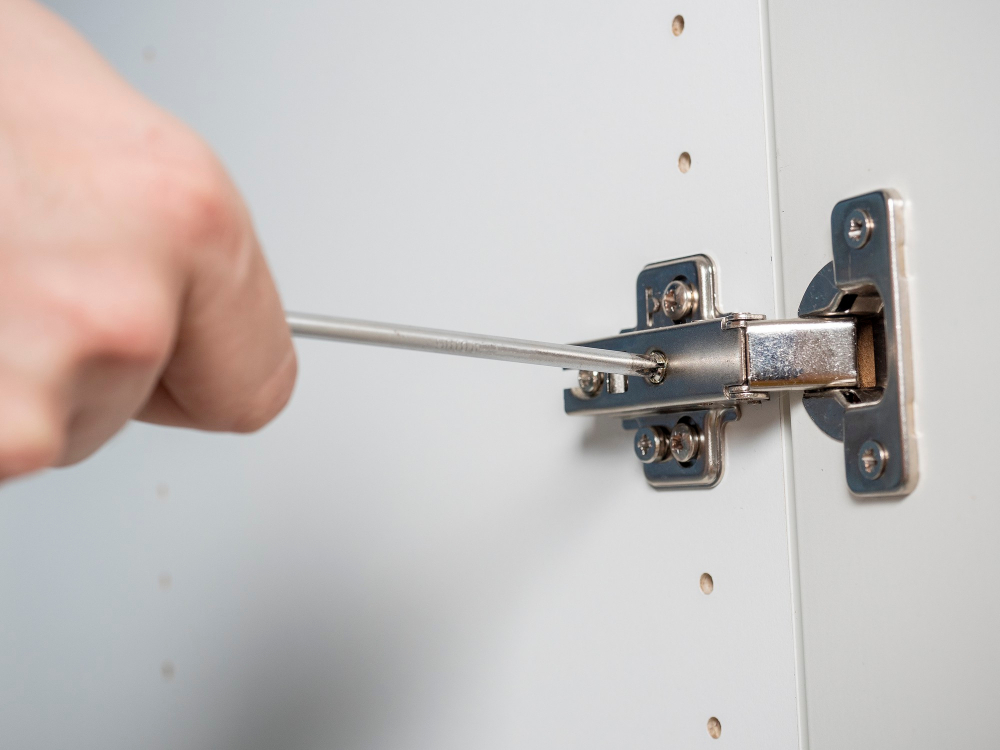
This step is crucial for achieving a polished look in your kitchen. Begin by installing any hinges or hardware onto the cabinet extensions themselves before attaching them to the existing cabinets.
Next, attach each door onto its corresponding hinge on both sides of each cabinet extension. Make sure that all doors are level with one another and flush against their respective cabinets.
To ensure proper alignment, use a level tool along with shims if necessary. Adjust as needed until all doors hang straight and open smoothly without rubbing against other surfaces.
Updating Hardware
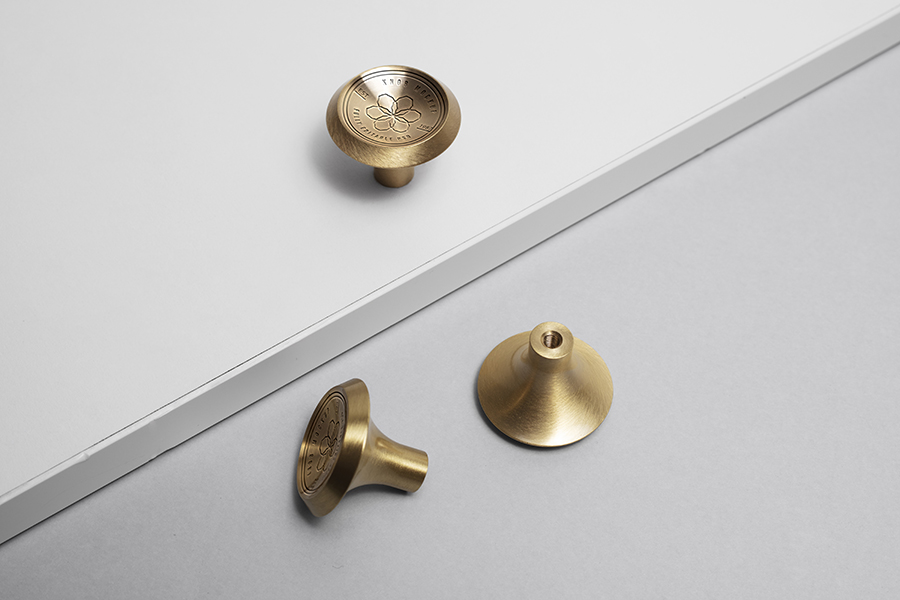
New knobs and pulls can give your cabinets a fresh look and feel. When choosing new hardware, consider the style of your kitchen and choose something that complements it.
Before installing new hardware, remove all old handles or knobs from each cabinet door or drawer front. Use a screwdriver to loosen screws holding them in place.
When selecting new handles or knobs for drawers and doors, make sure they fit properly into existing holes so that no additional drilling is required. If you’re changing sizes of handles/knobs then fill any previous holes with wood filler before sanding smooth.
Bulkhead Trim and Crown Moulding Techniques
Bulkhead trim is used to cover any gaps between the top of your cabinets and the ceiling, while crown moulding adds an elegant touch.
To install bulkhead trim, measure the length of each section that needs covering and cut pieces accordingly. Attach them using finishing nails or adhesive caulk.
Crown moulding installation requires precise measurements for cutting angles at corners where two pieces meet. It’s important to use a coping saw or mitre saw for accurate cuts.
When installing both types of trims, it’s essential to ensure they are level with one another as well as straight along their entire length.
Safety Precautions
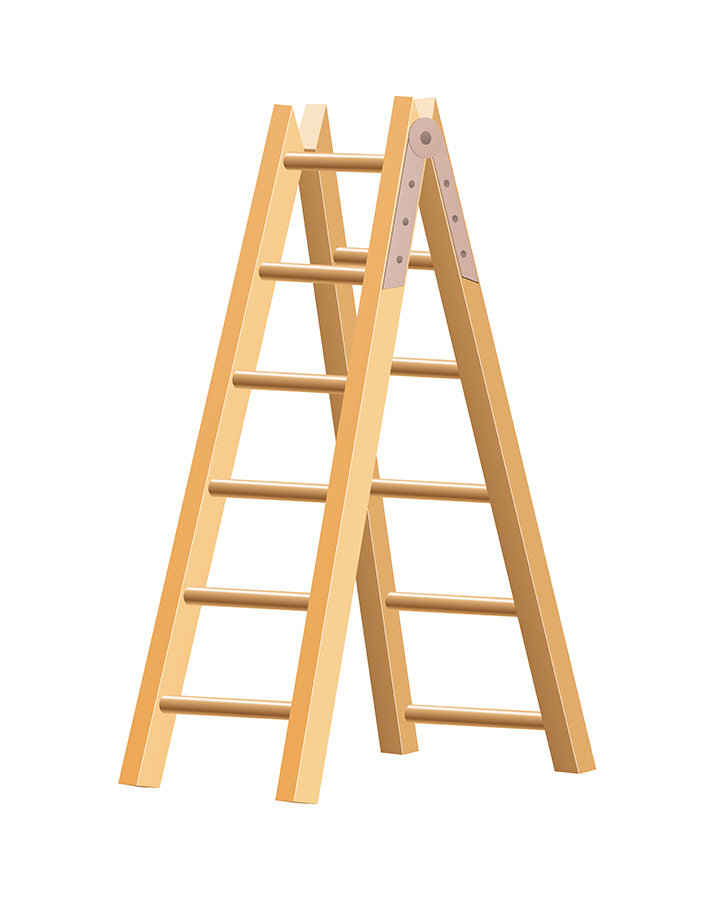
First and foremost, make sure that you have a sturdy ladder or step stool that can support your weight as well as any tools or materials you’ll be using. It’s also a good idea to wear protective gear such as gloves and eye protection when cutting wood or working with power tools.
When measuring and cutting extension pieces, always use caution and follow manufacturer instructions for any saws or other equipment used in the process. If possible, enlist the help of another person when installing upper cabinets onto extended frames.
Ensure that all electrical outlets are turned off before beginning work on cabinet extensions near them. This will prevent accidental electrocution from occurring while handling metal screws around live wires.
Tools and Materials Checklist
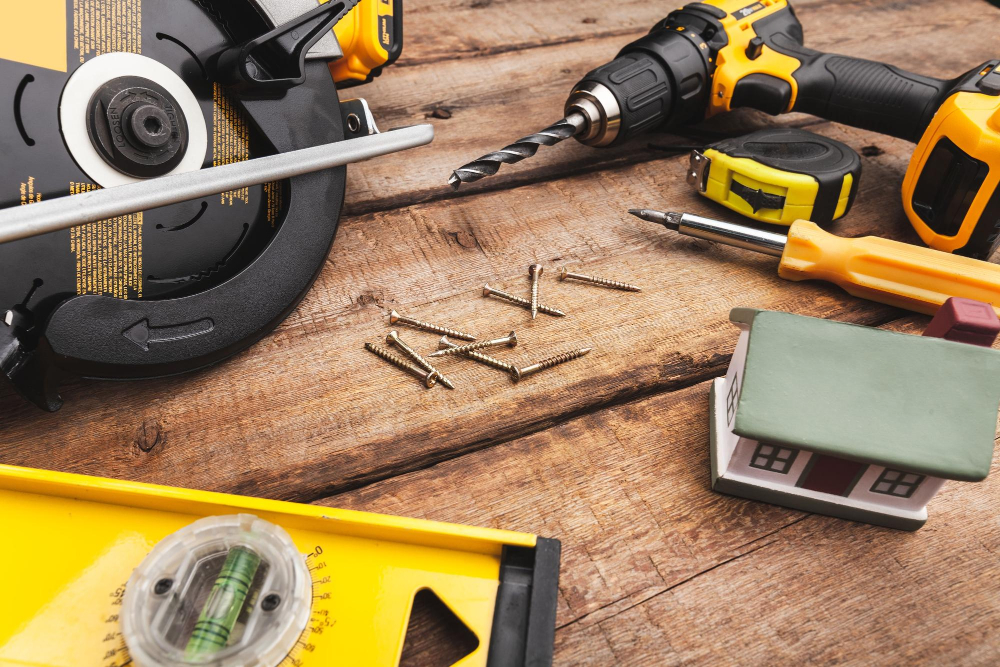
Here is a checklist of what you’ll need:
Tools:
- Measuring tape
- Level
- Circular saw or jigsaw
- Drill/driver with drill bits and screwdriver bits
- Clamps
- Wood glue
- Miter saw (optional)
- Paintbrushes
Materials:
- Wooden boards for extension pieces (MDF, plywood or solid wood)
- Screws in various sizes and lengths.
- Cabinet doors if needed.
- Hardware such as knobs, handles etc. if desired.
- Paint primer & paint color of choice.
Having these items ready before starting will make the process smoother and more efficient. It’s also important to ensure that all tools are in good working condition before beginning any project.
Cost Estimates for Cabinet Extension

Extending your kitchen cabinets to the ceiling can be a relatively inexpensive way to add storage space and update your kitchen’s look. The cost of extending your cabinets will depend on several factors, including the size of your kitchen, materials used for extension pieces and trim work, labor costs if you hire professionals or do it yourself.
If you’re looking for an affordable option that doesn’t require custom cabinetry or extensive modifications, overlay panels may be a good choice. These are thin sheets of wood that attach directly onto existing cabinet doors and sides.
On average though expect to spend between $500-$1500 depending on how much material is needed as well as whether you choose professional installation or DIY methods.
Tips for Keeping Cabinet and Hardware Costs Lower
There are several ways you can keep the expenses down without sacrificing quality or style. Here are some tips for keeping cabinet and hardware costs lower:
- Consider using MDF (medium-density fiberboard) instead of solid wood for the extension pieces.
- Opt for pre-made overlay panels instead of double-stacked cabinets.
- Shop around and compare prices from different suppliers before making a purchase.
- Look out for sales or discounts on materials and hardware.
- Reuse existing cabinet doors if possible by painting them to match new extensions.
What NOT to Do: Avoiding Common Mistakes

One mistake is failing to measure accurately before cutting extension pieces. This can lead to uneven or poorly fitting extensions that detract from the overall appearance of your cabinets.
Another mistake is using inappropriate materials for cabinet extensions. For example, if you use particleboard instead of solid wood, it may not hold up well over time and could even warp or break under heavy weight.
It’s also important not to rush through any steps in this process as it requires precision workmanship; otherwise, you risk damaging both existing cabinetry and new additions alike.
By avoiding these common mistakes when extending your kitchen cabinets upwards towards the ceiling will ensure a successful project with beautiful results!
FAQ
Can you extend existing kitchen cabinets to ceiling?
Yes, extending existing kitchen cabinets to the ceiling is possible without removing the current cabinets.
How do you fill the gap between kitchen cabinets and ceiling?
Fill the gap between kitchen cabinets and ceiling by installing trim along the top of the upper cabinets for a cohesive, built-in look and reduced dust collection.
Why don’t kitchen cabinets go all the way to the ceiling?
Kitchen cabinets don’t go all the way to the ceiling mainly due to accessibility, maintenance, cost, and varying kitchen sizes and ceiling heights.
What are the benefits of extending kitchen cabinets to the ceiling?
Extending kitchen cabinets to the ceiling offers benefits such as increased storage space, a cleaner appearance, and reduced dust buildup.
What materials and tools are needed to extend kitchen cabinets to the ceiling?
Materials and tools needed to extend kitchen cabinets to the ceiling include additional cabinet materials or crown molding, a tape measure, a level, a saw, nails/screws, a drill, and a ladder.
Are there any specific design considerations when extending kitchen cabinets to the ceiling?
When extending kitchen cabinets to the ceiling, consider the design aesthetic, available space, proper measurements, and potential difficulties in accessing higher shelves.


