Last updated on
Dive straight into our comprehensive step-by-step guide to master the art of painting kitchen cabinets, effortlessly transforming your cooking space with a splash of color and enhanced aesthetics.
Key takeaways:
- Gather Painting Supplies: Paint, primer, sandpaper, brushes, drop cloths, tape, safety gear.
- Prepare and Repair the Cabinets: Clean, fill nicks, remove hardware.
- Prime Kitchen Cabinets: Use oil-based primer for durability and smooth surface.
- Paint the Kitchen Cabinets: Use high-quality brush or roller, apply even coats.
- Reinstall the Cabinet Doors and Hardware: Align doors, adjust hinges, place hardware.
What's Inside
Gather Painting Supplies
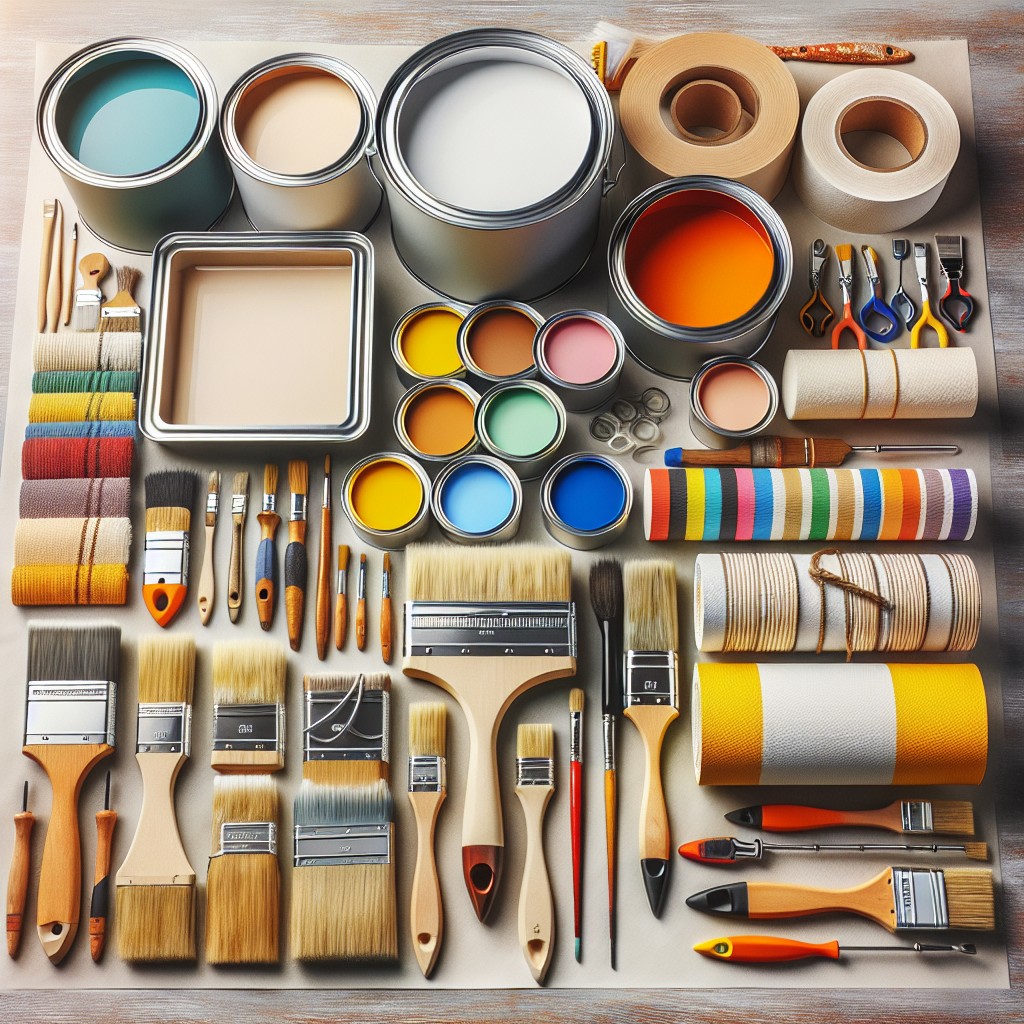
Embarking on your kitchen cabinet painting project requires assembling all necessary materials from the get-go. Ensuring you have every tool and supply at hand will streamline the process and help maintain efficiency.
- Paint: Choose a self-leveling, easy-to-clean option; enamel-based paints are a favorite for their durability in high-use areas like kitchens.
- Primer: Opt for a high-adhesion primer to ensure the paint adheres properly and lasts longer.
- Sandpaper: Grab both medium and fine grits to smooth the surface after filling in nicks or scratches.
- Paintbrushes and Rollers: Invest in high-quality brushes and rollers for a smooth finish. A small brush can navigate nooks and crannies, whereas a roller can swiftly cover flat panels.
- Drop cloths or plastic sheeting: Protect countertops, floors, and appliances from drips and spills.
- Painter’s Tape: Shield hinges and glass windows on cabinet doors, along with the edges of your backsplash and walls.
- Safety Gear: Don gloves, masks, and goggles to protect yourself from fumes and particulates.
- Cleaning supplies: TSP cleaner or a degreaser is essential for removing kitchen grime.
By gathering these items before diving into the task, you’ll be poised to move through the steps efficiently with minimized disruption.
Prepare and Repair the Cabinets
Before diving into the actual painting process, ensuring your cabinets are in prime condition is critical. Start with a thorough cleaning to remove grease and grime; a mixture of trisodium phosphate (TSP) and water works wonders.
Next, assess for any damages. Fill nicks or holes with wood filler, let it dry, and sand it smoothly. For consistency, sand the entire surface lightly to improve adhesion.
Then, it’s time to remove all hardware, hinges, and doors. Label them to keep track of where everything belongs when it’s time to put it all back together. Quick tip: Store screws and small pieces in labeled bags to avoid confusion later on.
Finally, protect your workspace with drop cloths and painter’s tape around the edges to ensure a clean and professional finish. Now, your cabinets are ready for a fresh new look!
Prime Kitchen Cabinets
Primers act as the intermediary layer that ensures your final coat of paint adheres effectively, and your cabinets have a flawless finish. They also block stains and wood tannins from bleeding through the paint. Opt for an oil-based primer for its durability and smooth surface preparation, especially on wood cabinets.
Starting with a clean canvas, apply the primer with a brush or roller, reaching all the nooks and crannies. Be vigilant for drips or build-ups, as these can spoil the end look. One coat might do, but for dark cabinets or when transitioning from a dark to a light color, a second coat ensures an even base. Allow ample drying time as per manufacturer instructions before embarking on painting; patience here pays dividends in the long run.
Remember, this phase has substantial impact on the longevity and aesthetic of your kitchen cabinets, so take the time to do it right.
Paint the Kitchen Cabinets
Embarking on the painting process, you’ll want to use a high-quality brush or roller to ensure a smooth, professional finish. For brush application, a synthetic bristle brush specifically designed for use with water-based paints is ideal. Start with the back of the cabinet doors, as this allows the fronts to remain pristine while you perfect your technique.
Apply paint with long, even strokes to avoid brush marks. For recessed areas, a smaller brush can catch drips and provide a more detailed finish. If you’re using a roller, opt for a high-density foam roller to achieve a smooth, texture-free surface often sought after in kitchen aesthetics.
Even application is crucial: two light coats often yield better results than one heavy coat, reducing the propensity for drips or uneven coverage. Do not rush the process; allow sufficient drying time between coats. Subsequent coats should only be added once the previous layer is fully dry to the touch, which typically means waiting about four hours.
Coverage may vary based on paint type and color. For instance, light colors may require additional coats, especially if you’re transitioning from a darker shade. However, patience during this stage pays dividends. With meticulous attention to detail, the final product will exude that enviable, professional-grade appearance that can completely transform your kitchen’s ambiance.
Reinstall the Cabinet Doors and Hardware
With your freshly painted cabinets dry and looking rejuvenated, it’s time to bring the kitchen back together. Start by gently hanging the doors back onto the frames, aligning them perfectly with the hinge plates. It’s important to not rush this step; precision is key to ensure that the doors open and close smoothly.
For a seamless finish, adjust the hinges so that each door sits flush with the cabinet frame. A screwdriver makes it a cinch to tweak the hinge tension and alignment.
Reattaching hardware can add that splash of elegance to your revitalized cabinets. Replace knobs and pulls using the original holes, or fill in the old ones if you’re refreshing the look with new styles. Use a template for consistent placement, and remember, this is the jewelry of your kitchen—it’s all about the details.
Finally, reinsert the shelves and give them a quick wipe down to remove any dust. Slotting them back into their original position will restore order and completeness to your space.
By taking care with each step, your kitchen cabinets will not only look professional but they’ll be ready to withstand everyday use while adding significant charm to your kitchen’s aesthetic.


