Last updated on
Dive right into the straightforward steps to replace a kitchen faucet, making your DIY tasks simpler with easy-to-follow instructions and clear examples.
Key takeaways:
- Clear out under the sink for easy access.
- Turn off water supply and disconnect the hose.
- Remove the old faucet, clean the area, and be prepared for water spillage.
- Install the new faucet and connect the water supply lines.
- Test for leaks and make any necessary adjustments.
What's Inside
Clear Out Under the Sink
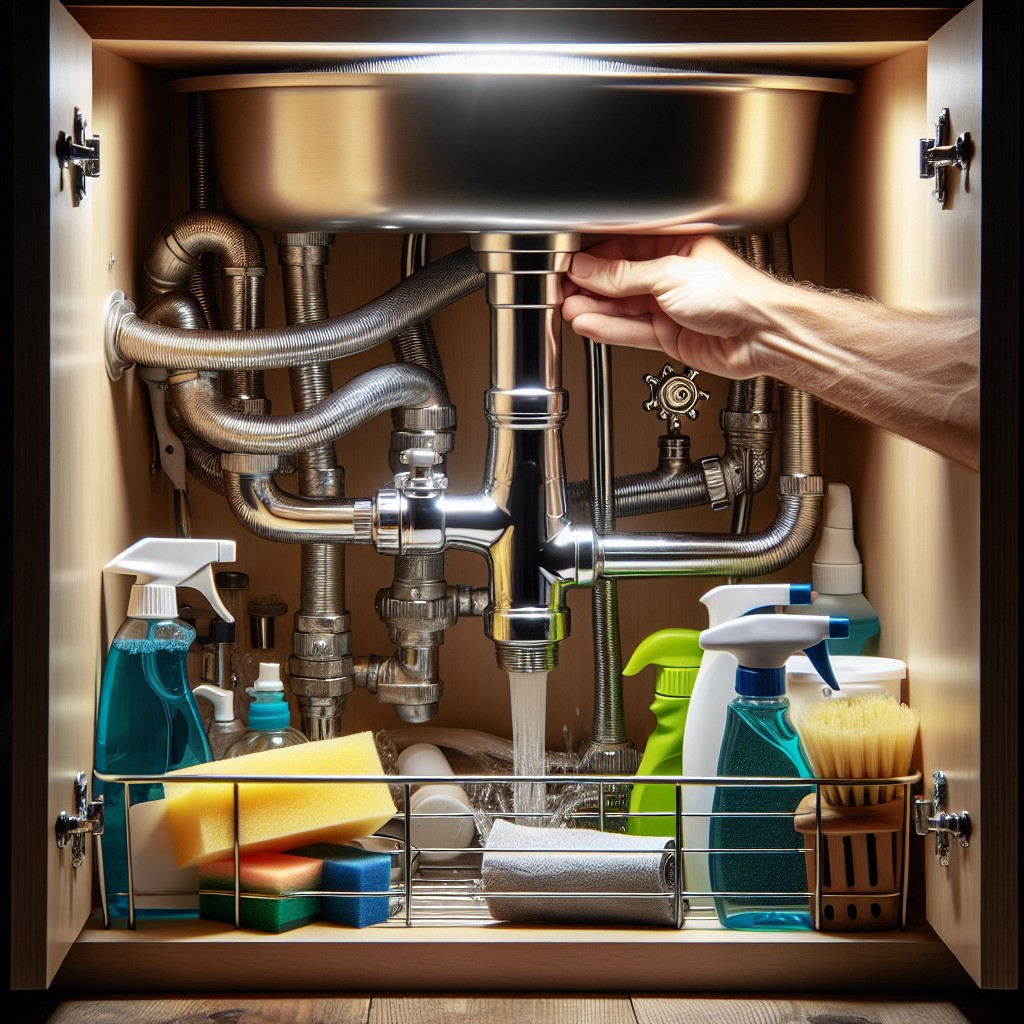
Before diving into the task, you’ll need ample room to work. Clearing the space under the sink lets you maneuver easily and spot the necessary hardware.
Remove cleaning products, bins, and anything else stored there to avoid any accidental spills or damage. With a flashlight at hand, illuminate the area to give you a clear view of the water supply lines and mounting nuts you’ll soon tackle.
Ensure you have a bucket within reach; it’ll be handy for catching any residual water when you disconnect the hoses later on. Now, with a decluttered workspace, the stage is set for a smooth operation.
Turn Off the Water and Disconnect the Hose
Before you dive into the task at hand, halting the water supply is crucial to avoid an impromptu indoor shower. Locate the shutoff valves under the sink; these are typically chrome with a small oval knob or a lever. Turn the knobs clockwise until they stop or the lever is perpendicular to the pipe, signifying that the water is off.
After shutting off the valves, open the faucet to release any water pressure and to ensure the water is completely turned off.
Next, slide under the sink with a basin wrench or a pair of adjustable pliers. You’ll find the supply lines connected to the underside of the faucet. Place a small bucket or towel underneath to catch any dribbling water. Use the wrench to turn the nuts counterclockwise—just a few twists should loosen them enough to complete the job by hand. Once disconnected, gently remove the supply lines, keeping them upright to minimize water spillage.
Remove the Old Faucet
With your workspace clear and the water supply safely shut off, disassembling the existing faucet is your next step. Begin by loosening the nuts that secure the faucet to the sink using a basin wrench or a pair of adjustable pliers. These are typically found underneath the sink, attaching the faucet to its base. Patience is key here – these nuts can be stubborn due to water mineral build-up or corrosion.
In some cases, you may encounter a situation where the nuts are too tight or have become fused with the faucet’s body. If penetrating oil and elbow grease aren’t doing the trick, a faucet nut removal tool can prove invaluable.
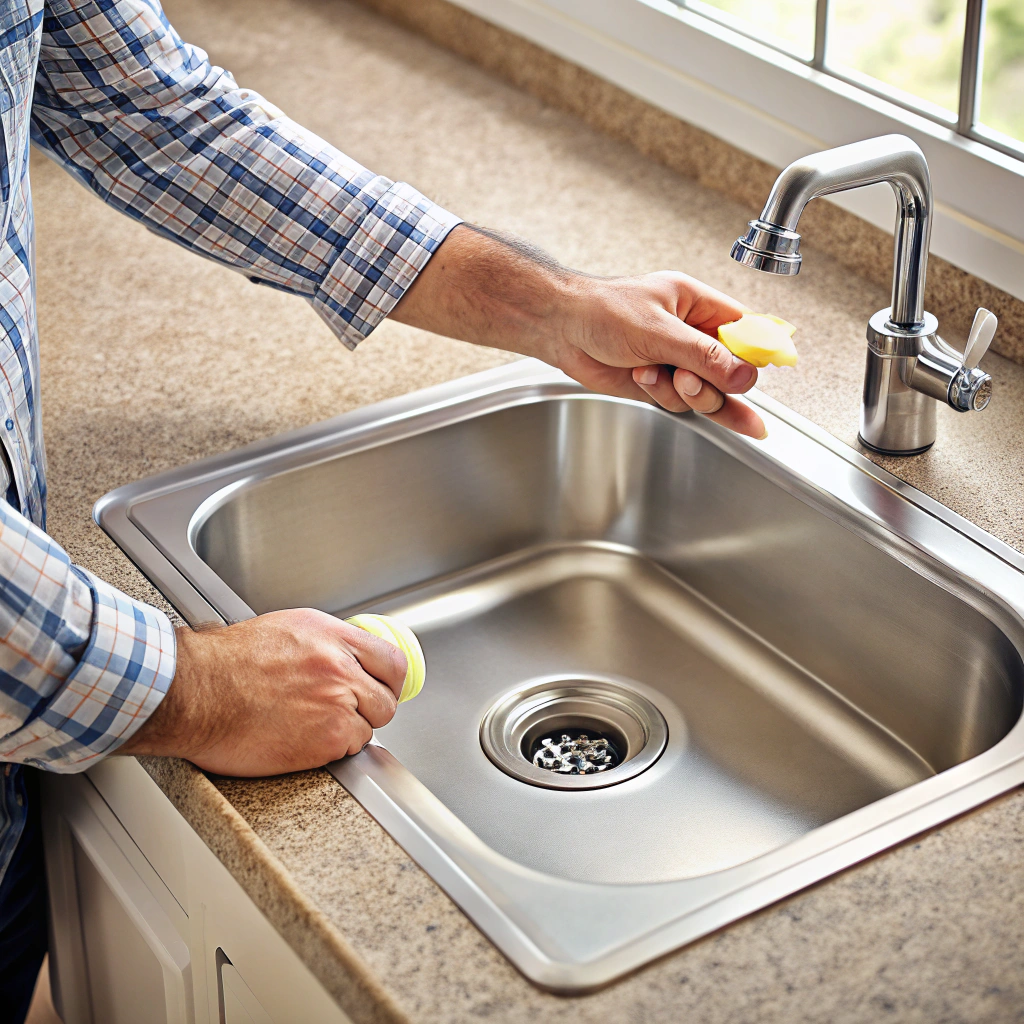
Once the mounting nuts are removed, you can lift the faucet away from the sink. Be sure to clean the area where the old faucet sat. A putty knife or a similar scraping tool works wonders to remove old plumber’s putty or grime, ensuring a clean surface for the new installation. It’s not just about aesthetics; a clean interface between the sink and the new faucet will prevent future leaks.
Remember to keep a towel handy throughout this process. Residual water in the lines or the faucet itself may spill out, so being prepared minimizes potential water damage to the cabinet floor.
Install the New Faucet
Begin by placing the deck plate over the sink’s holes, ensuring a snug fit. If your model calls for silicone or a gasket, apply it as directed by the manufacturer for a proper seal. Next, guide the new faucet’s tailpieces through the holes. From beneath, secure the unit by threading on any necessary washers and nuts. Make certain not to overtighten, which could compromise the fixture’s integrity or alignment.
Now, connect the water supply lines to the corresponding tailpieces of the faucet. The common practice is to attach the hot water line to the left and the cold to the right as you face the sink. Use adjustable wrenches to tighten these connections—firm enough to prevent leaks but not so tight that the pipes are strained.
Lastly, if your faucet comes with a pull-down sprayer, attach the hose to the designated port. Make sure to feed it through the faucet spout before securing it, and check if any weight needs to be attached to the hose beneath the sink to aid in retraction. Adhering to the manufacturer’s instructions here is crucial for proper function.
Test for Leaks
Once the new faucet is in place, it’s time to verify that all connections are secure. Slowly turn on the water supply valves and observe. Run both hot and cold water and check the base of the faucet and the supply line connections for any drips. A leak could signal a need to tighten fittings a bit more or the requirement for additional plumber’s tape around the threads.
Keep a dry cloth handy; wipe down connections after a few minutes to ensure no water is seeping through. Remember, leaks can lead to water damage under your sink, so don’t skip this crucial step. If you do find a persistent drip, it’s essential to address it immediately by tracing it to the source—be it the connections or the faucet itself—and remedying the issue. This might mean adjusting a washer or reapplying a sealant for a watertight fit.
It’s not unusual for small adjustments to be needed after the initial installation, so don’t be discouraged if you have to go back and tweak a few things. Ensuring a leak-free faucet now will save you headaches and potential repair costs down the line. Remember, careful and thorough testing is the key to a successful faucet installation.
